
Used by crafters, cosplayers, and makers alike, craft foam is a versatile material. This guide will show you how to make some simple craft foam look like metal! This goes hand in hand with the Foam Leather Tutorial, and can be used alongside our Bookbinding and Book Cover [Link TBA] workshops as well!
As this will use tools that can potentially burn and hurt people. If you are an adult working with children, please make sure to be one using the hot tools. If you are not an adult, please ask an adult to help you with the iron!
If you are using any aerosols (spray paint or plasti-dip), make sure you are doing this outdoors, or in a well ventilated indoor space.)
I will be using ⅛ inch craft foam for this, but you can use ¼ inches or more or even EVA foam for thicker projects!
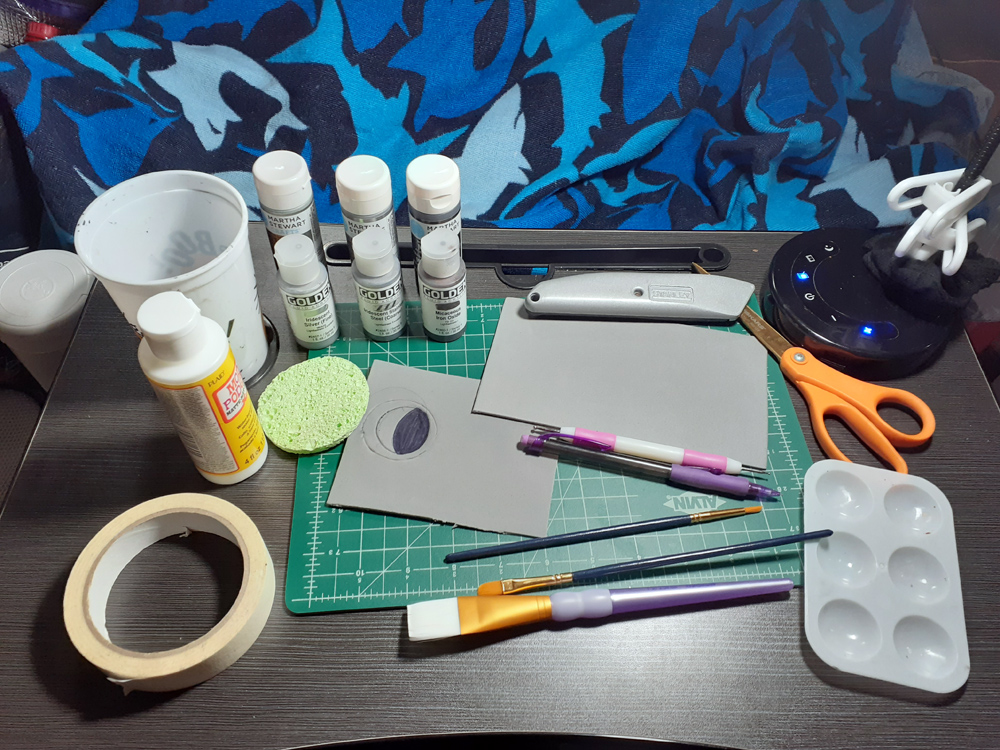
What You Will Need:
- Craft Foam
- Ruler
- Pencil
- Scissors OR Craft knife
- Metallic paint (spray or acrylic)
- Mod podge OR wood glue OR plasti-dip
- Sponge
- Paper Towels
- Cutting board (for craft knife)
- Newspaper or drop cloths (for paint)
Optional:
- Plastic gem cabochons
- Plastic animals (snakes, spiders, lizards, things that flat)
- Hot glue gun and glue sticks
- Velcro dots, or snaps
- Puff Paint
- Embossing tool, or craft knife
- Hair dryer or heat gun
- Aluminum foil
- Iron
- Masking or Painters tape
- Contact cement or foam glue
How to Make:
Your craft foam can be any color as you will be painting over it. But it doesn’t hurt to match your ideal paint color! Freehand or use a stencil to make your shapes in the foam. Using scissors or a craft knife, cut out your pieces.
Texture Embossing:
You may want to add some embossing to your leather. Using an embossing tool or craft knife, draw out your design. With the craft knife, be light– you want to score, not cut, so be especially light on thinner leather sheets. Feel free to make or use a stencil too!
Feel free to leave random scratches or dents for battle wear, you can even use crumpled aluminum foil and lightly scrape. Or follow the Leather Tutorial [LINK] for ironing on a foil texture!
You can also go over the shape with an ultra fine sharpie (like I did). It will help get some depth, but not a lot!
Next, go over your piece with a hair dryer or heat gun for the design to set into the foam.

Cutting and Shaping:
Make sure to do any embossing designs on your foam before cutting and shaping!
If you intend to make it a specific shape (like the chest part of a cuirass), you want to shape now before painting. Put your foam over your “mold”– that is the heat friendly item you use to shape it and form it with a hair dryer or heat gun.
The Color:
This will be a process and will have to be left out to dry several times. Make sure you have a space you can easily clean up and safely paint and dry for this.
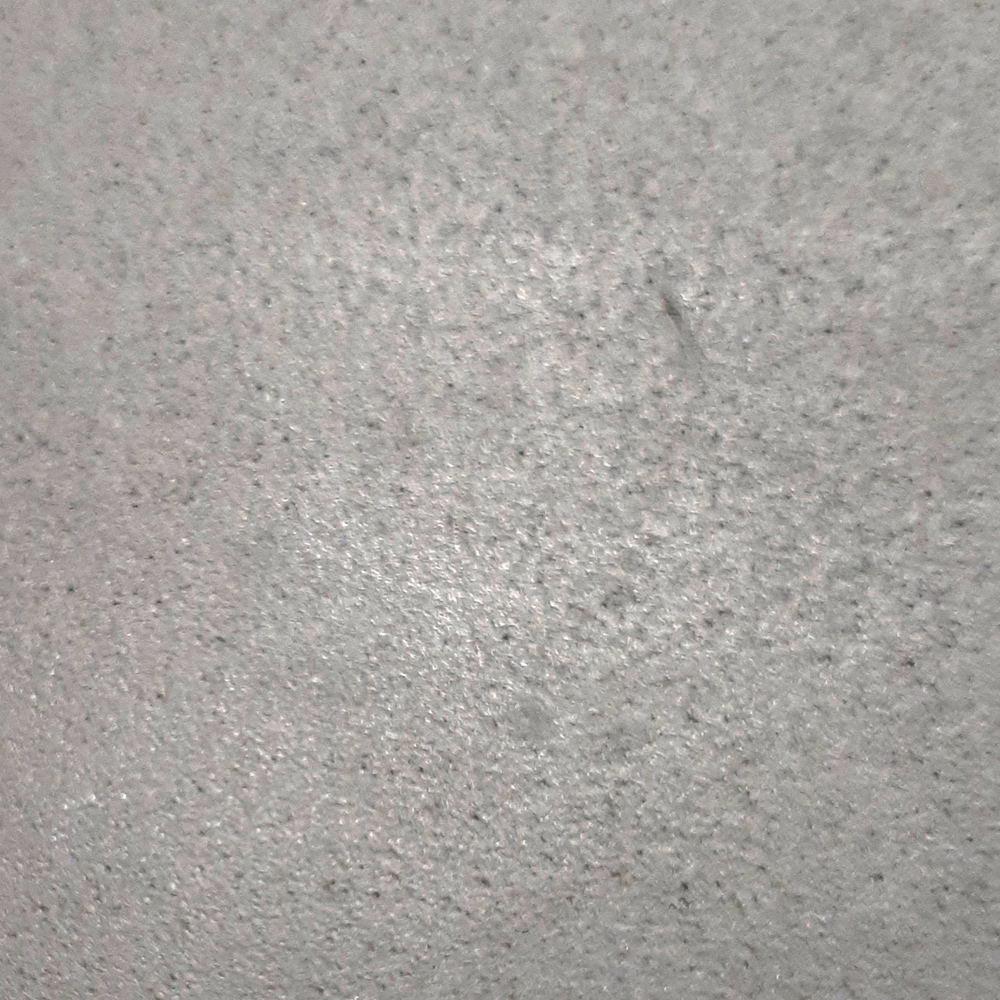
Prime your foam. This can be a coat of mod podge, acrylic medium, or watered wood glue, or plasti-dip. Make sure your coat covers the entire surface you plan to paint on. You should try to keep it smooth, but if you’re planning on something beat up, some aberration is okay. I am using a matte finish mod podge.

Wait for your primer to dry.
Once dry, you can paint it. There are brands of metallic acrylic as well as metallic spray paint. Whatever you decide, paint your base coat.
I am using acrylic paint, here is my sampler. I am using paints from Golden and Martha Stewart Crafts. Golden comes in smaller containers but are more expensive, Martha Stewart has a larger container and is comparatively affordable.
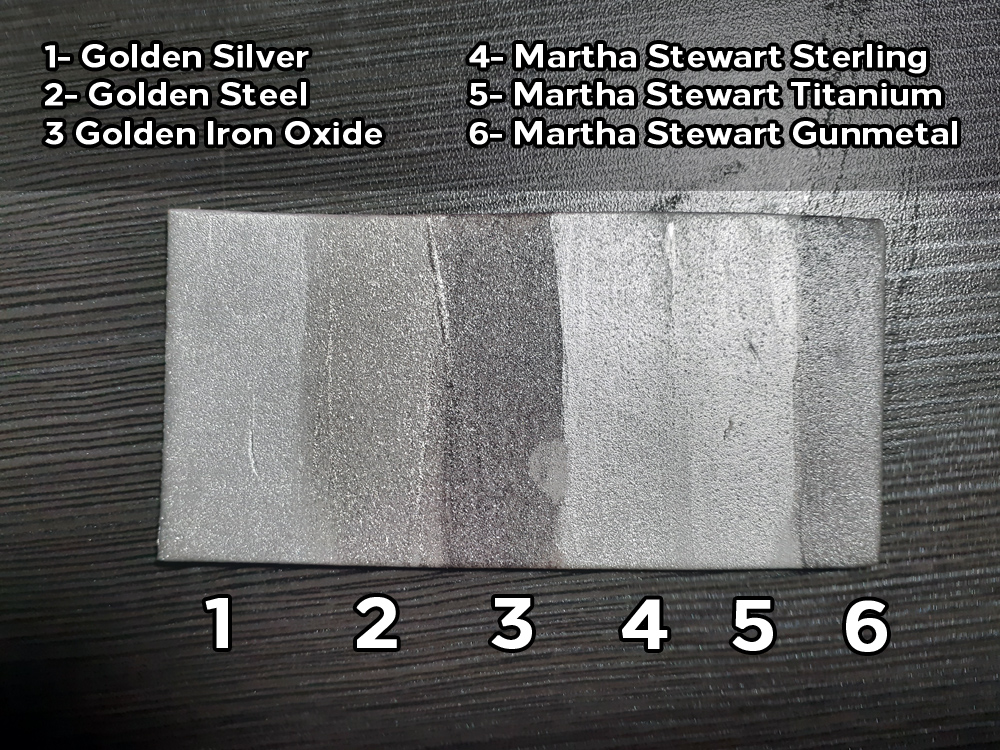
From Left to Right: 1- Golden Iridescent Silver (Fine), 2- Golden Iridescent Stainless Steel (Coarse), 3- Golden Micaceous Iron Oxide, 4- Martha Stewart Sterling, 5- Martha Stewart Titanium, 6- Martha Stewart Gunmetal.
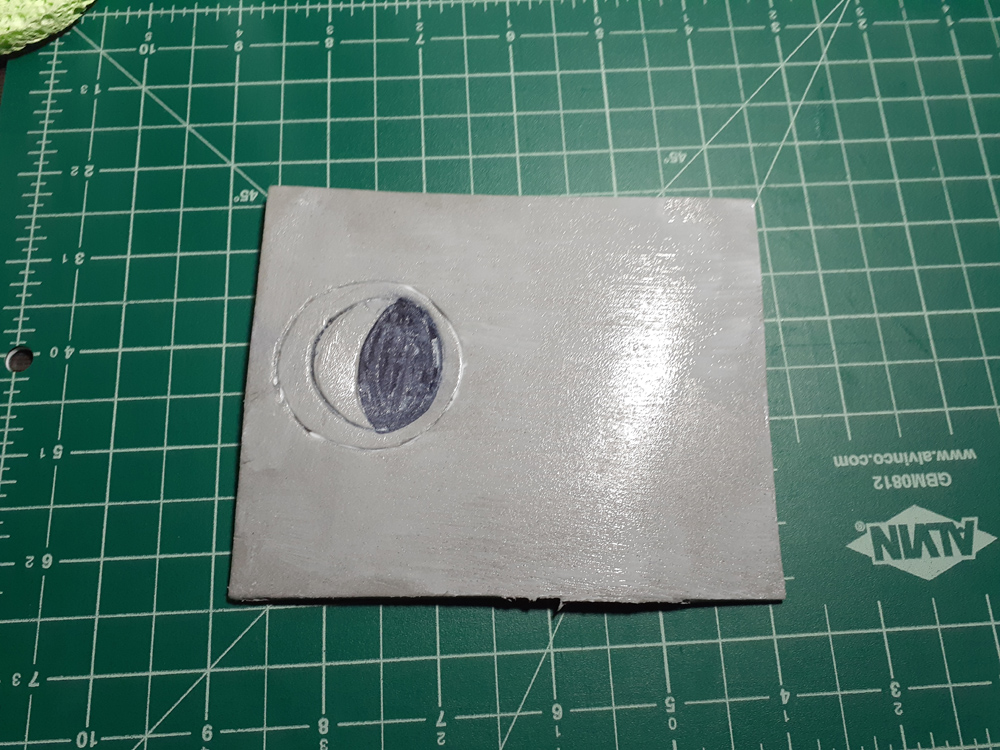
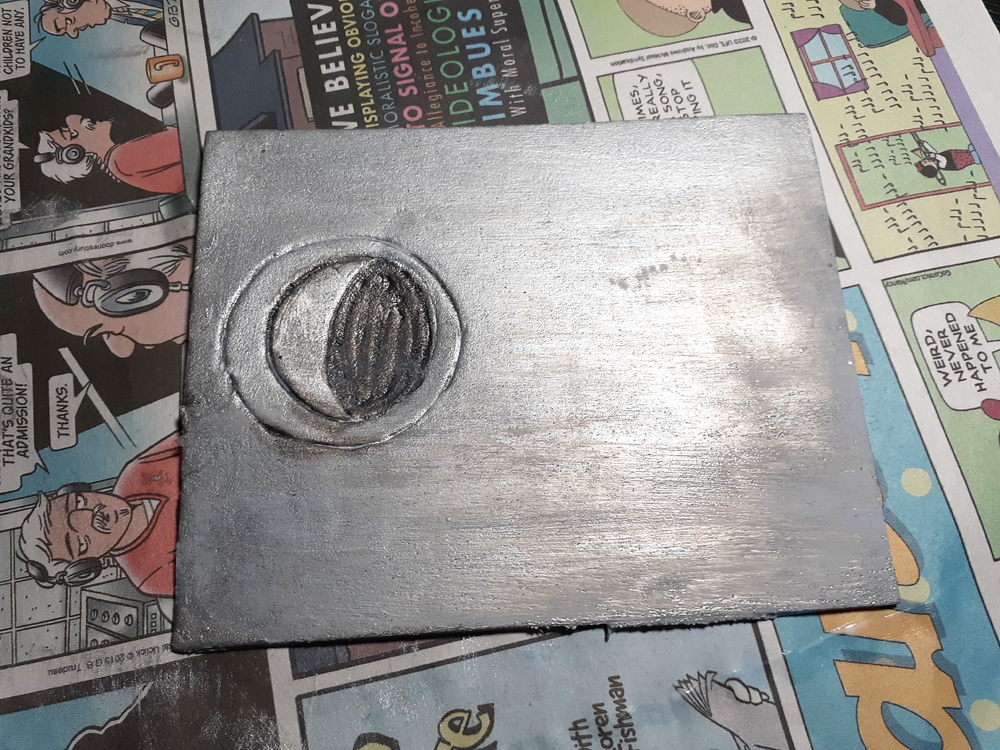
I used the foam Golden Iridescent Silver and Martha Stewart Sterling for the metal and Martha Stewart Gunmetal in for the embossed parts.
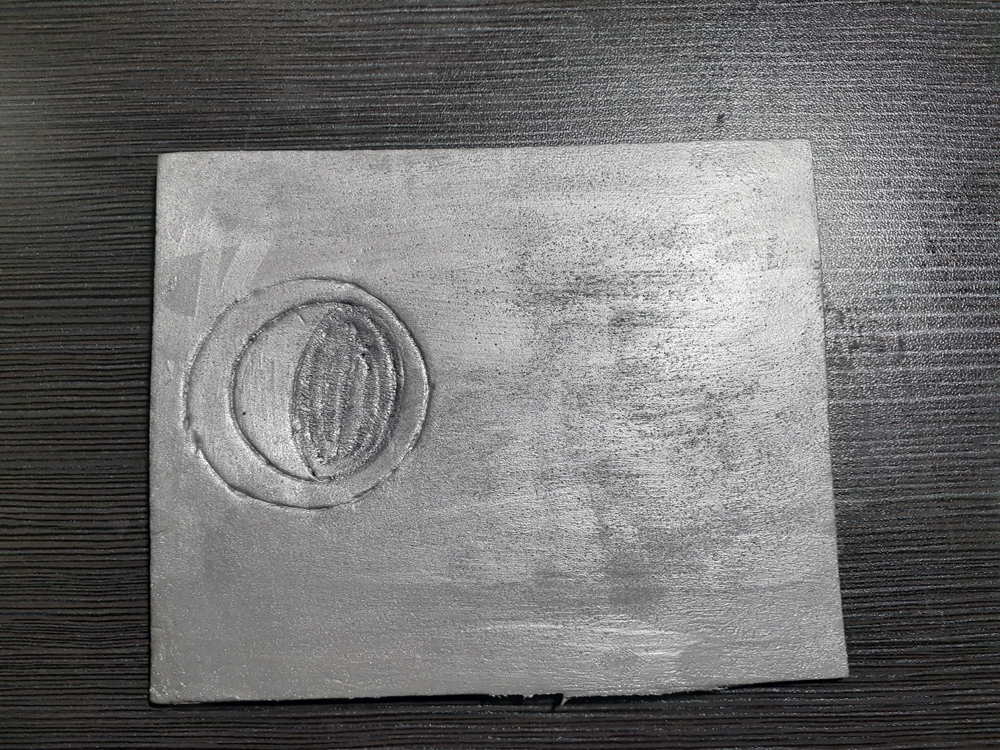
You may need to paint several coats for coverage depending on your paint. Once you have your base coat, add your lighter color, again, you may need to add multiple coats for coverage.

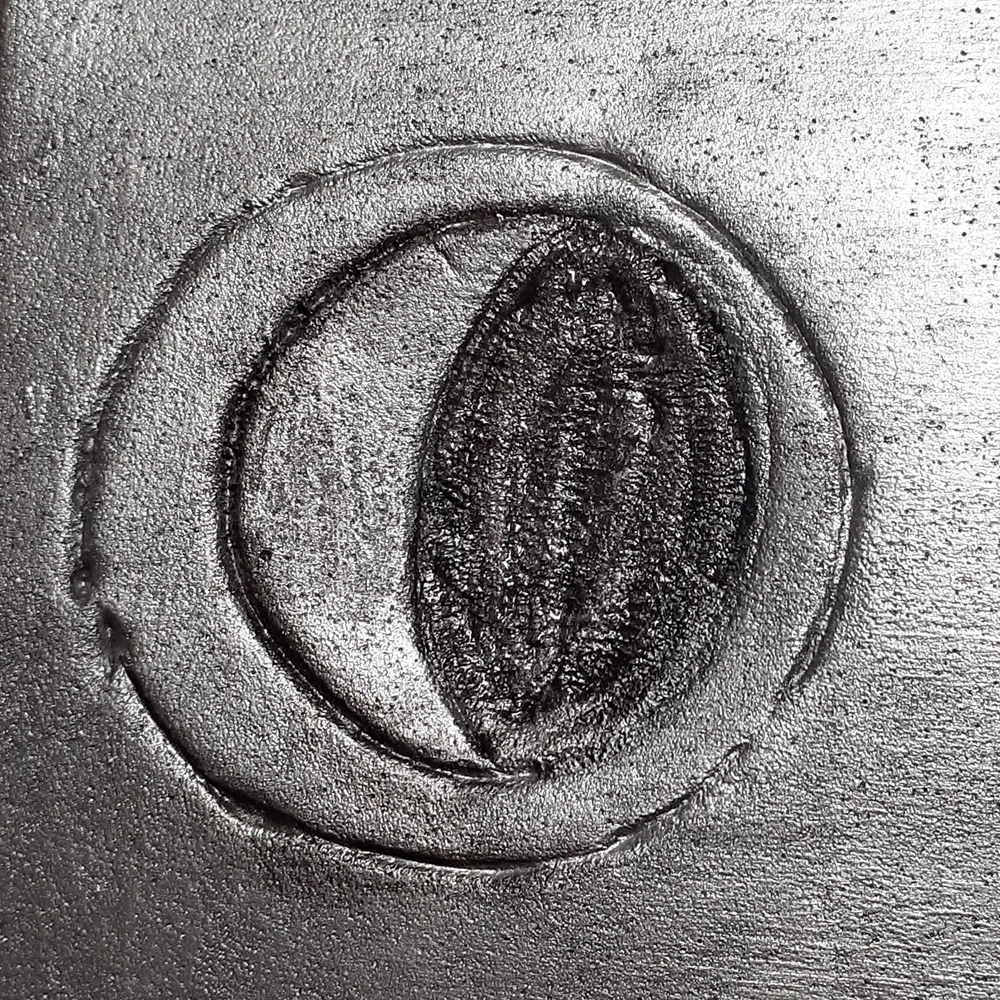
Next, you can fill in your embossing (if you have it) with a metallic or black for a filigree look, or sponge and wipe some patina or tarnish. (black and dark greys work for silver, browns and green works for gold/copper/bronze).
You may want to do several layers if you’re going for a more beaten look, and maybe one or two coats if you’re wanting to keep it shiny and new. As many coats as you need to make use your original foam is not showing.
To seal your paint, another coat of mod podge or wood glue will work. I am using a matte finish mod podge, but you can use a glossy finished one if you want something nice and shiny.

If your foam curls during the process, you can try to put some small weights to try to tape the unpainted side down to try to keep it in place, but don’t worry if you can’t. You can always try to leave it under some heavy books for a day or two after it’s dry to help flatten it.
Optional: Decoration!
Above, I mentioned a list of optional materials. These are all depending on what you make. Velcro, snaps, or string can be used for headbands pouches. You may want to add decorative elements like embossing, flowers, or gems. You may have also designed rivets in your foam sheet you painted earlier.
Using the hot glue, you can glue on your physical accessories. For gems, you will also leave a little ring around the edge to look like it is embedded.
You can add plastic animals or puff paint for raised details or motifs– just add another coat of paint and seal over. (You can also glue these on after the primer if you plan to color everything the same.
Construction:
Once your parts are all ready to go, you can construct with hot glue or a contact cement. Hot glue is messy and will leave seams, contact cement will not if applied right. A great resource to know is This to That— the whole site is dedicated to adhesives!