
For our demo, I’ll be using the p5.js editor. P5.js is a language built off two other languages: Processing, and Javascript. So you may see similarities between the two and p5. (If you do want to look more into Arduino, I would visit our Physical Computing page).
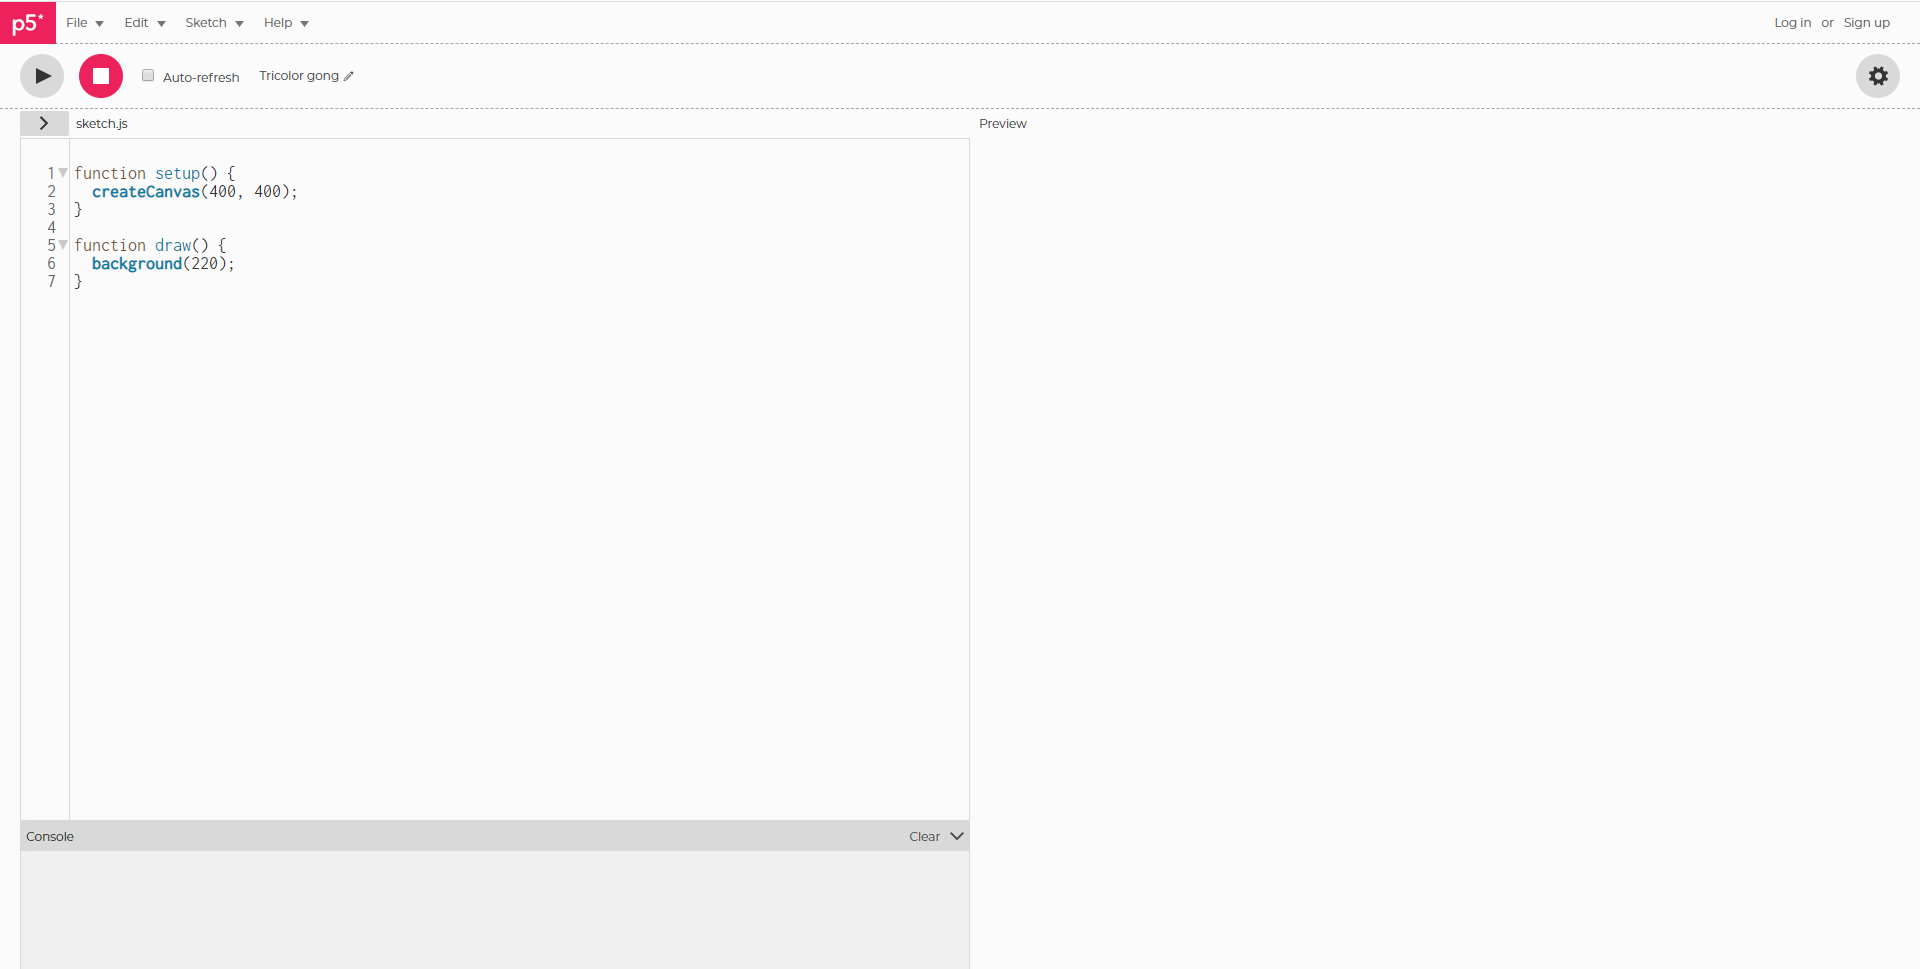
As you can see, p5 uses a web based editor that doesn’t need to be installed. You may use it free without an account, or make one to save your code “sketches” to edit or build upon later. To the right, you will see a “preview” space that will show how your program is running, and at the top left are buttons to run and stop the sketch. There is a console at the bottom that will inform you of errors and where that error might be. (It should be said most programming isn’t really writing the code as much as it is troubleshooting it!)
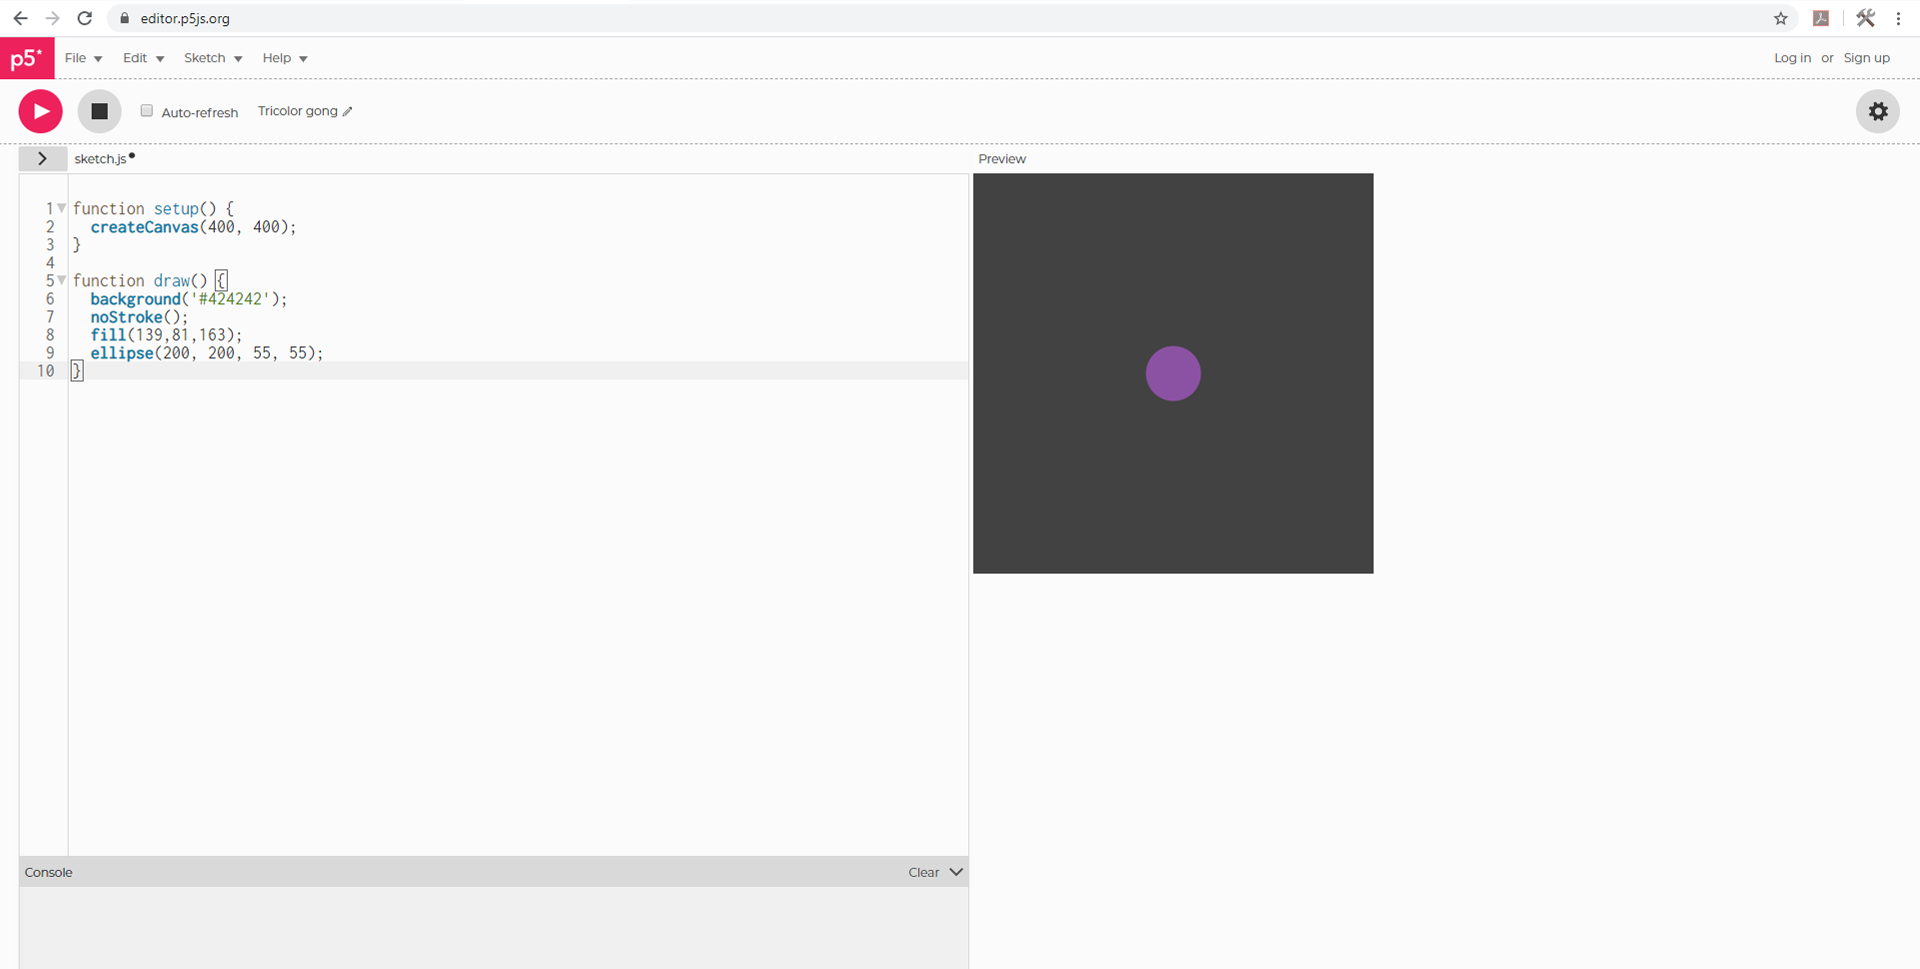
In the editor, you can see we already have some code in there, great! Those are called functions and those are orders for the sketch to follow and are very important. function setup() sets up things right away when the program starts, these are things by sketch size and the background environment of the sketch goes in setup.
function draw() is the dynamic part of your program this is where the magic happens. And if not specified will loop infinitely. At the moment we just have the background() function right now so when we hit play, it will only generate a light grey square. You can change the color by changing the integer inside the parentheses. An integer is a set whole number in programming. In some instances it can be positive or negative or a set of numbers!
There are several ways we can change the color of this background. At current it is following p5’s greyscale value (0 being black, and 255 being white). But if you can set in a whole manner of ways, from RGB to Hex code!
I am going to make my background using RGB color. If you want to play around with colors please check the bottom of our Stock Resource page for links to web color references.
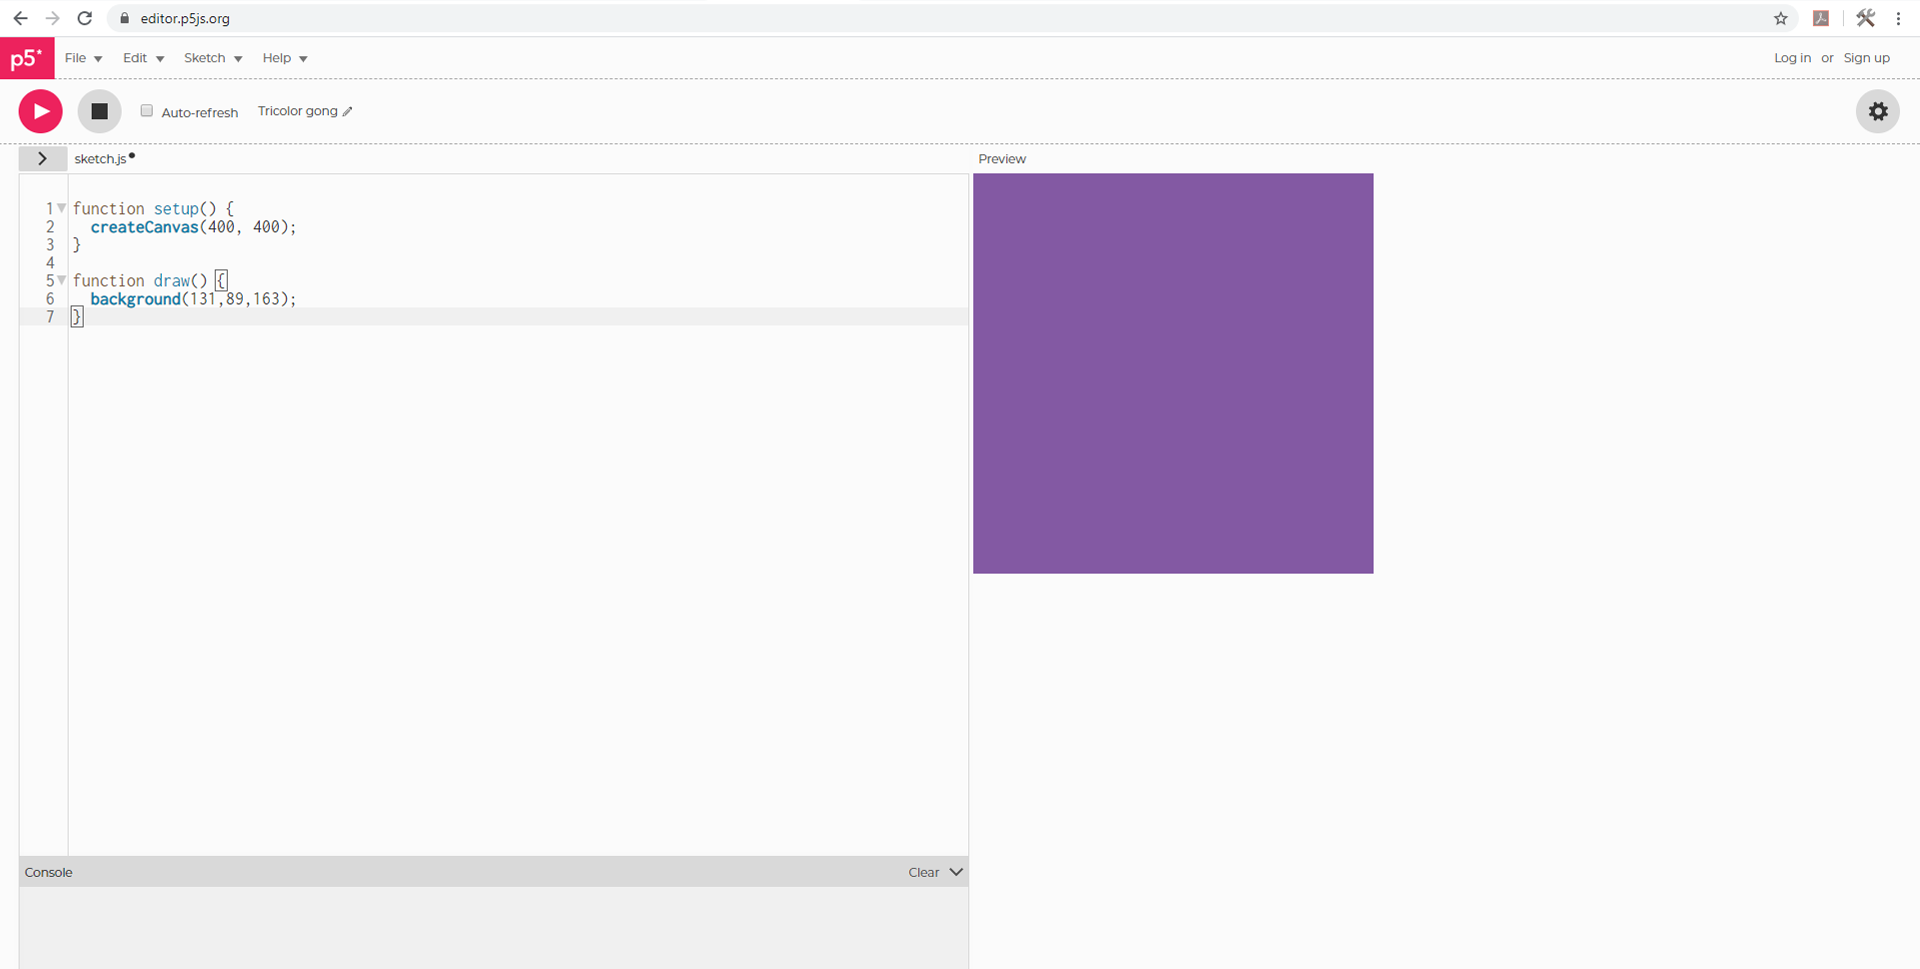
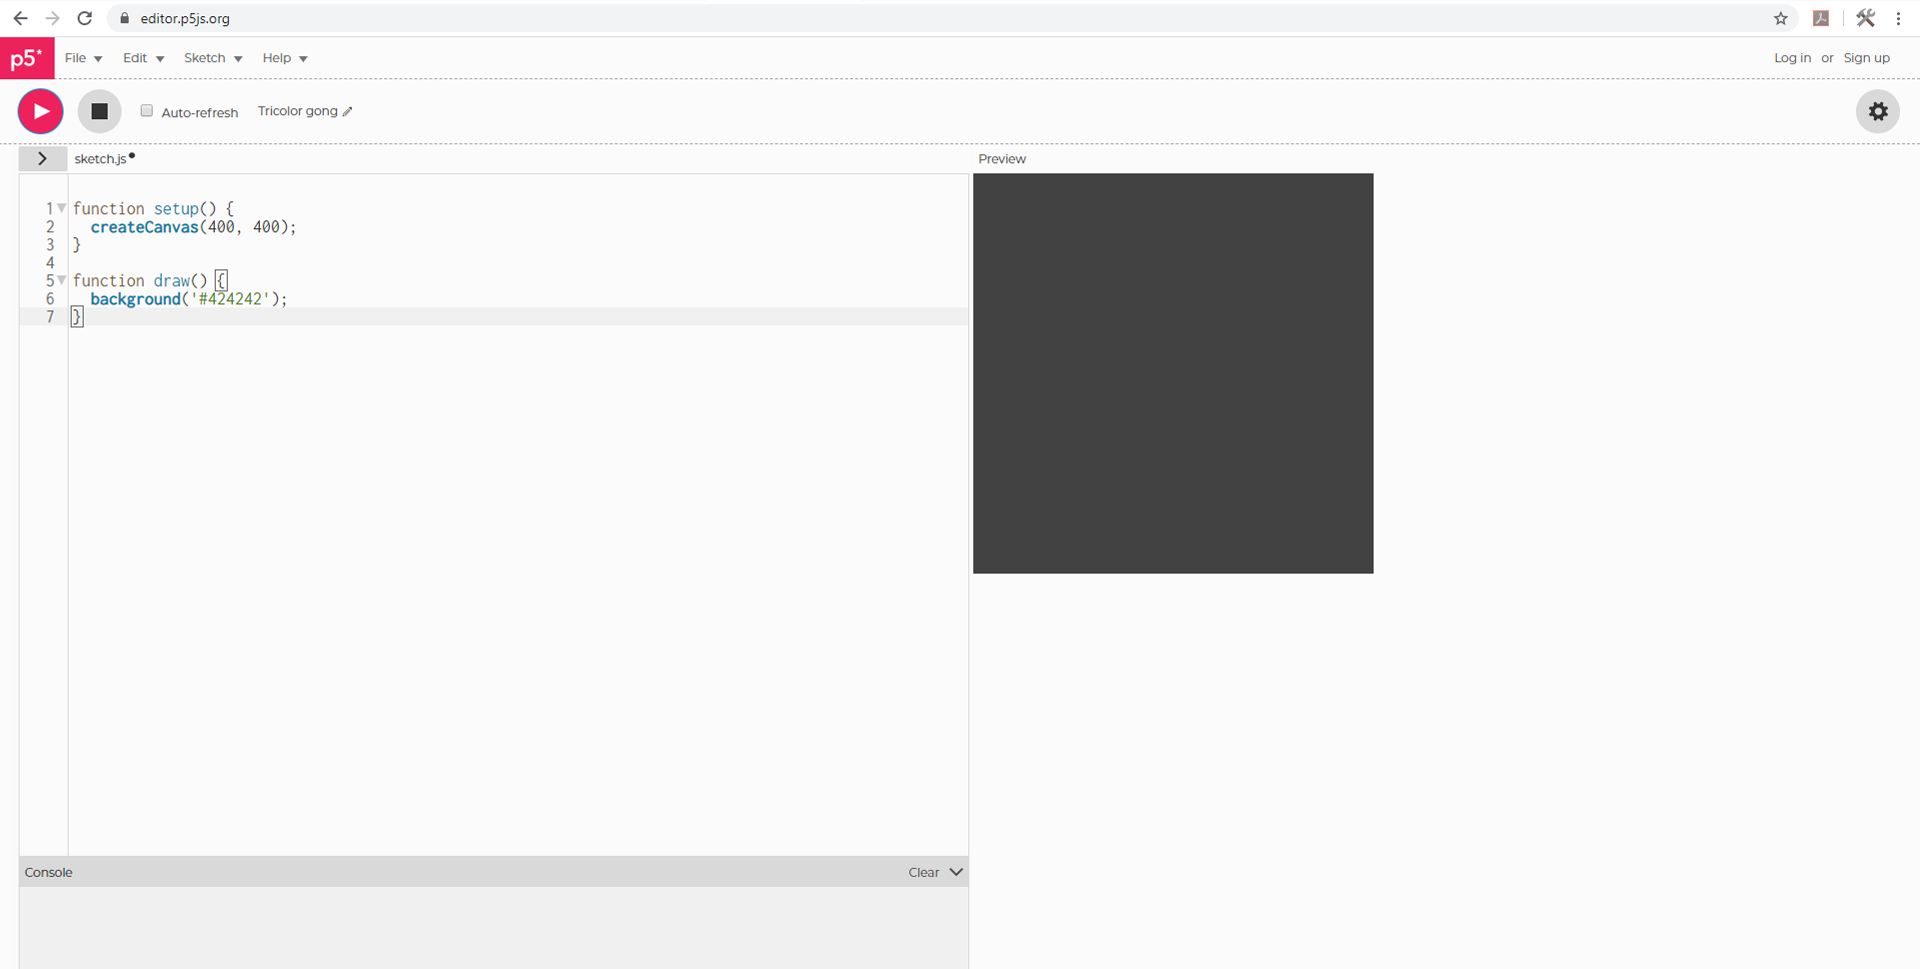
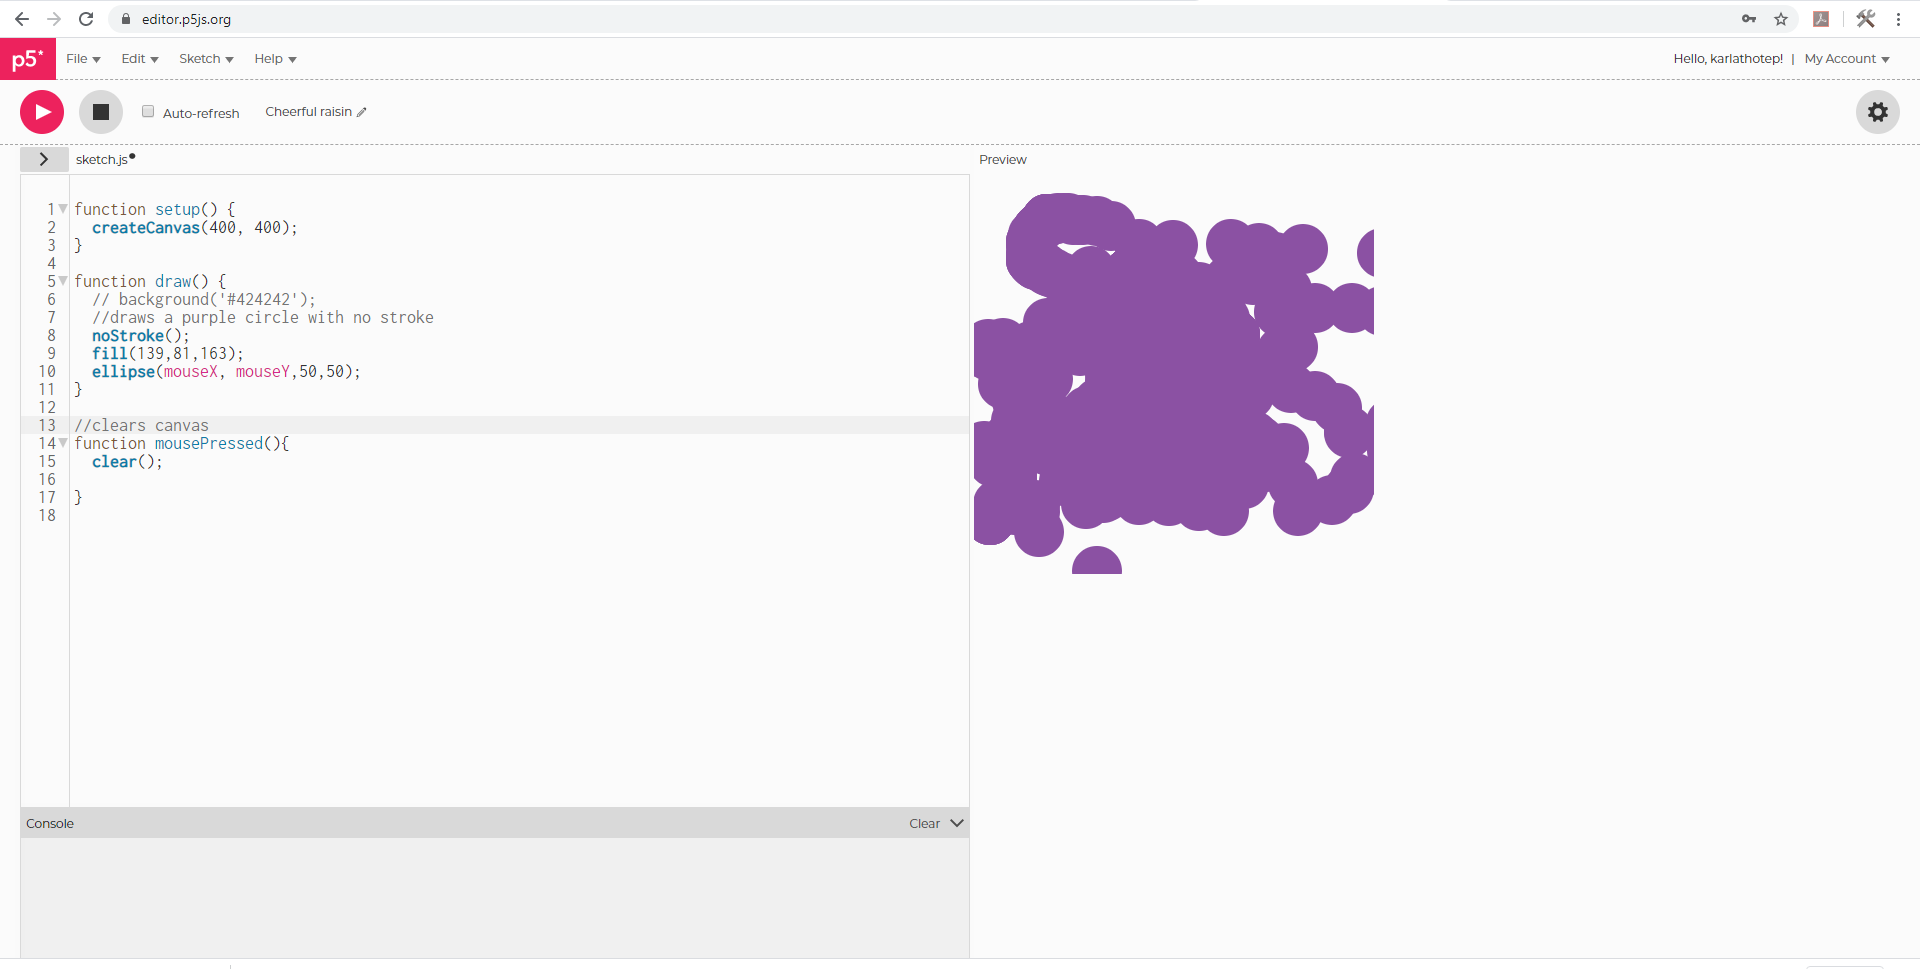
So as I changed my integers to (139,81,163), it is now a light purple! Since RGB is a set standard it knows to change it to the value I set: Red = 139, Green = 81, Blue = 163. Likewise, changing it to background(‘#424242’); will make it a dark grey, as that is a set standard color code.
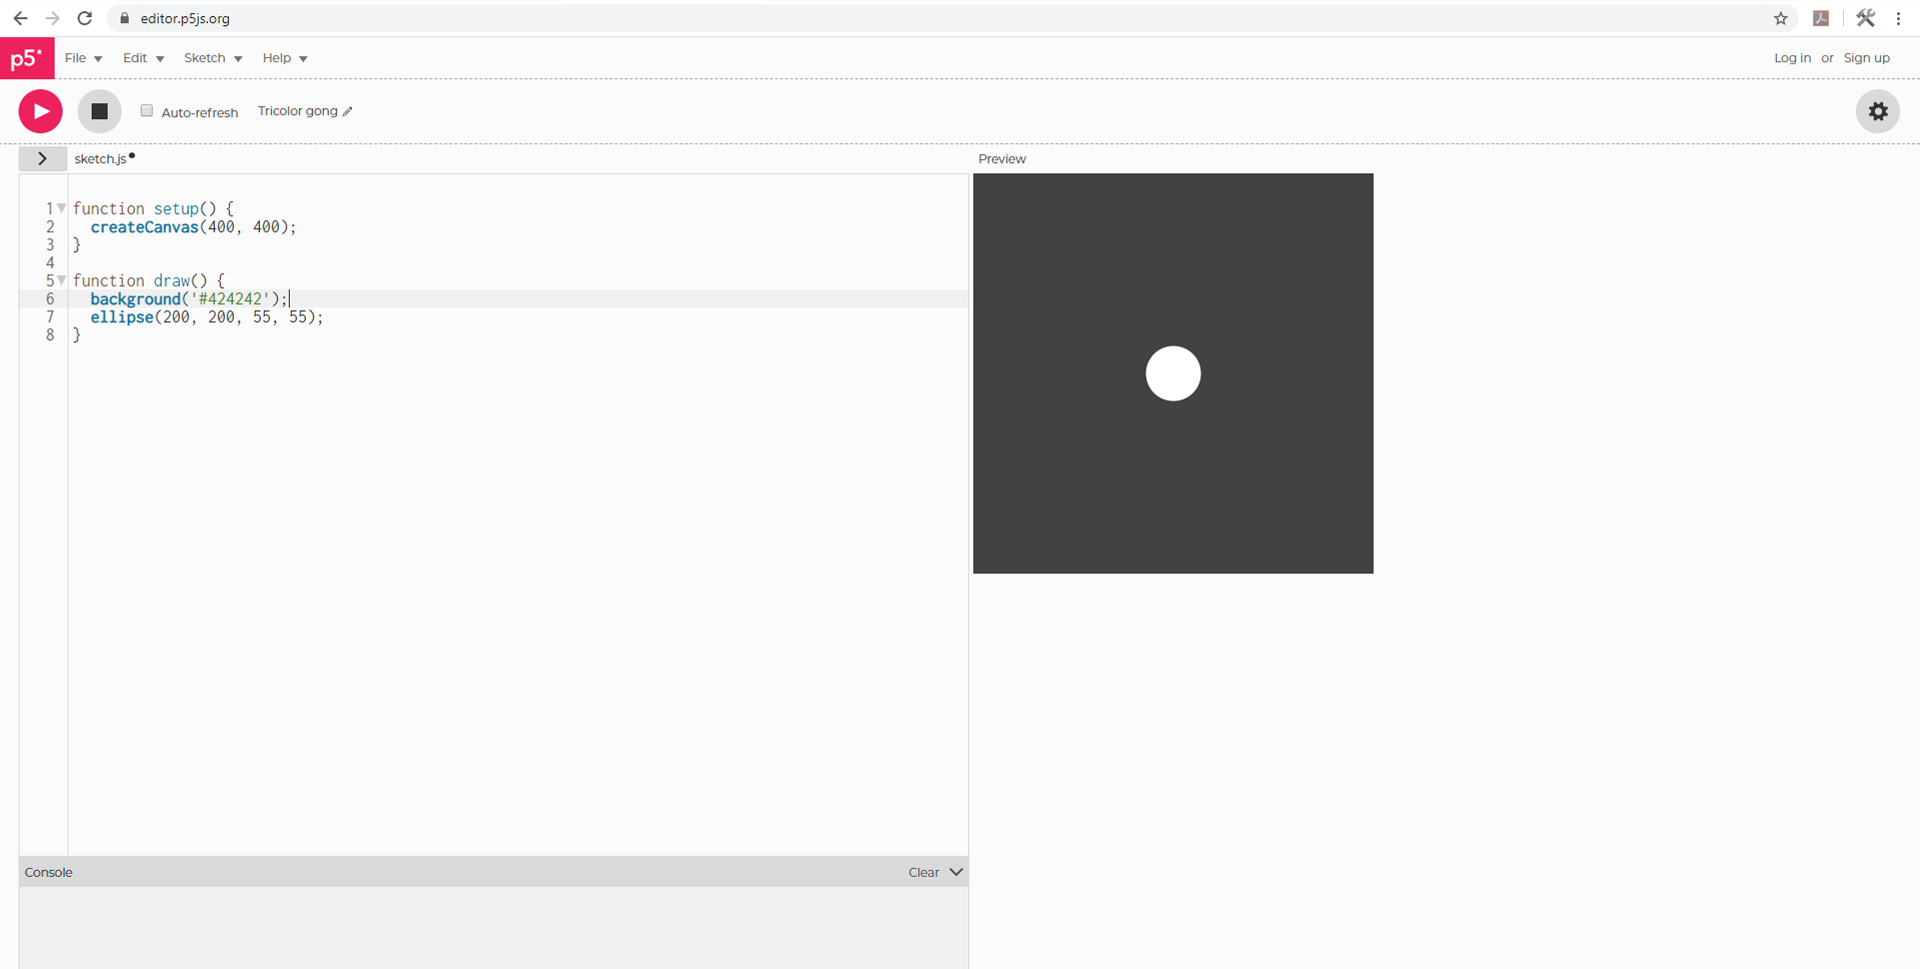
Now that we’ve played around with the background, let’s actually add something in! We’re going to draw a circle using the ellipse() command. A command is like a function in some ways, but it is an action usually placed within a function. Under the background, you’re going to add ellipse(200, 200, 55, 55);.
What we are doing is we’re telling p5 that we want to make a circle that is positioned at 200 px on the X-coordinates, and 200px on the Y-coordinates of the square, and that our circle is 55 pixels high and 55 pixels wide.
You can also change the shape/position at will, but also the color and stroke around the shape. P5 defaults to a white object with a black 1 pixel stroke.
It is important to make sure you end every command with a semicolon (;) and you function with a curly bracket ( } ) or your code may not function.
Here are two new commands added to the code: noStroke() and fill(). noStroke() removes the stroke from the ellipse, and the fill() changed the color. You can also use the stroke() function to add a stroke with varying color and line thickness.
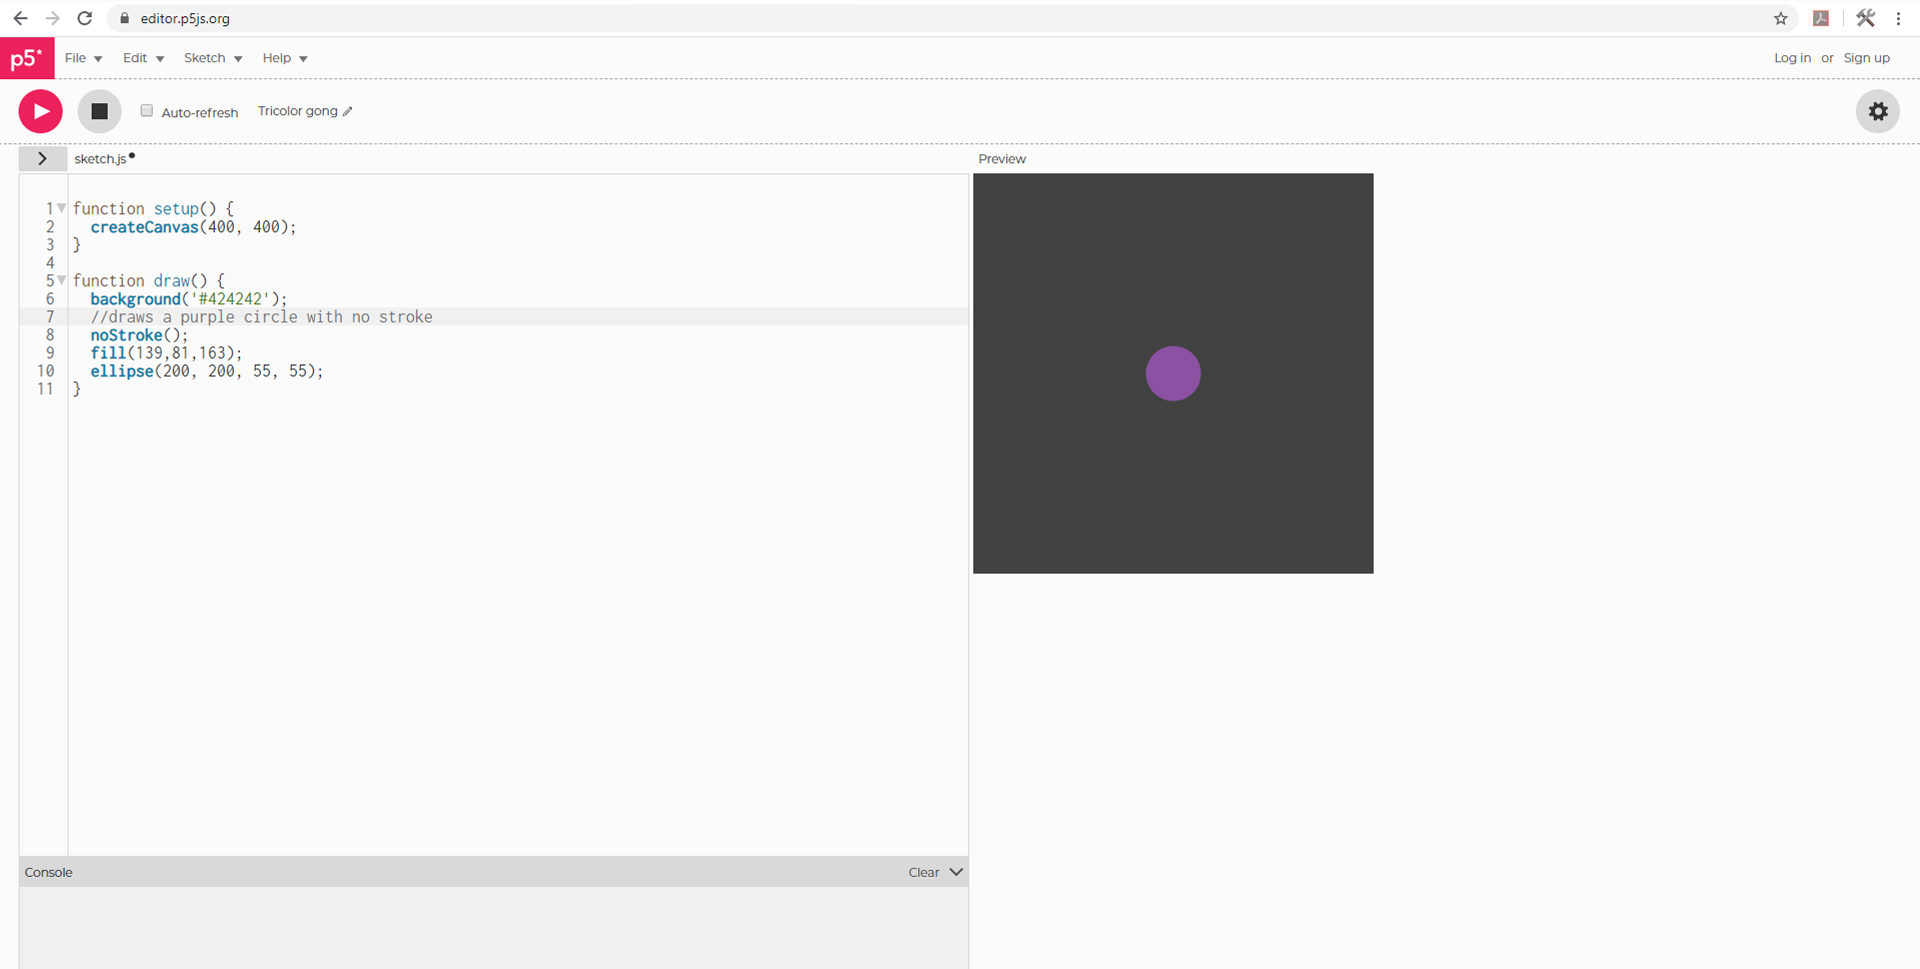
It also is good practice to make notes on your code about what things are doing. This helps as a reference for when you are troubleshooting, or if someone else is looking at your code!
Now let’s see if we can add some minor interactivity!
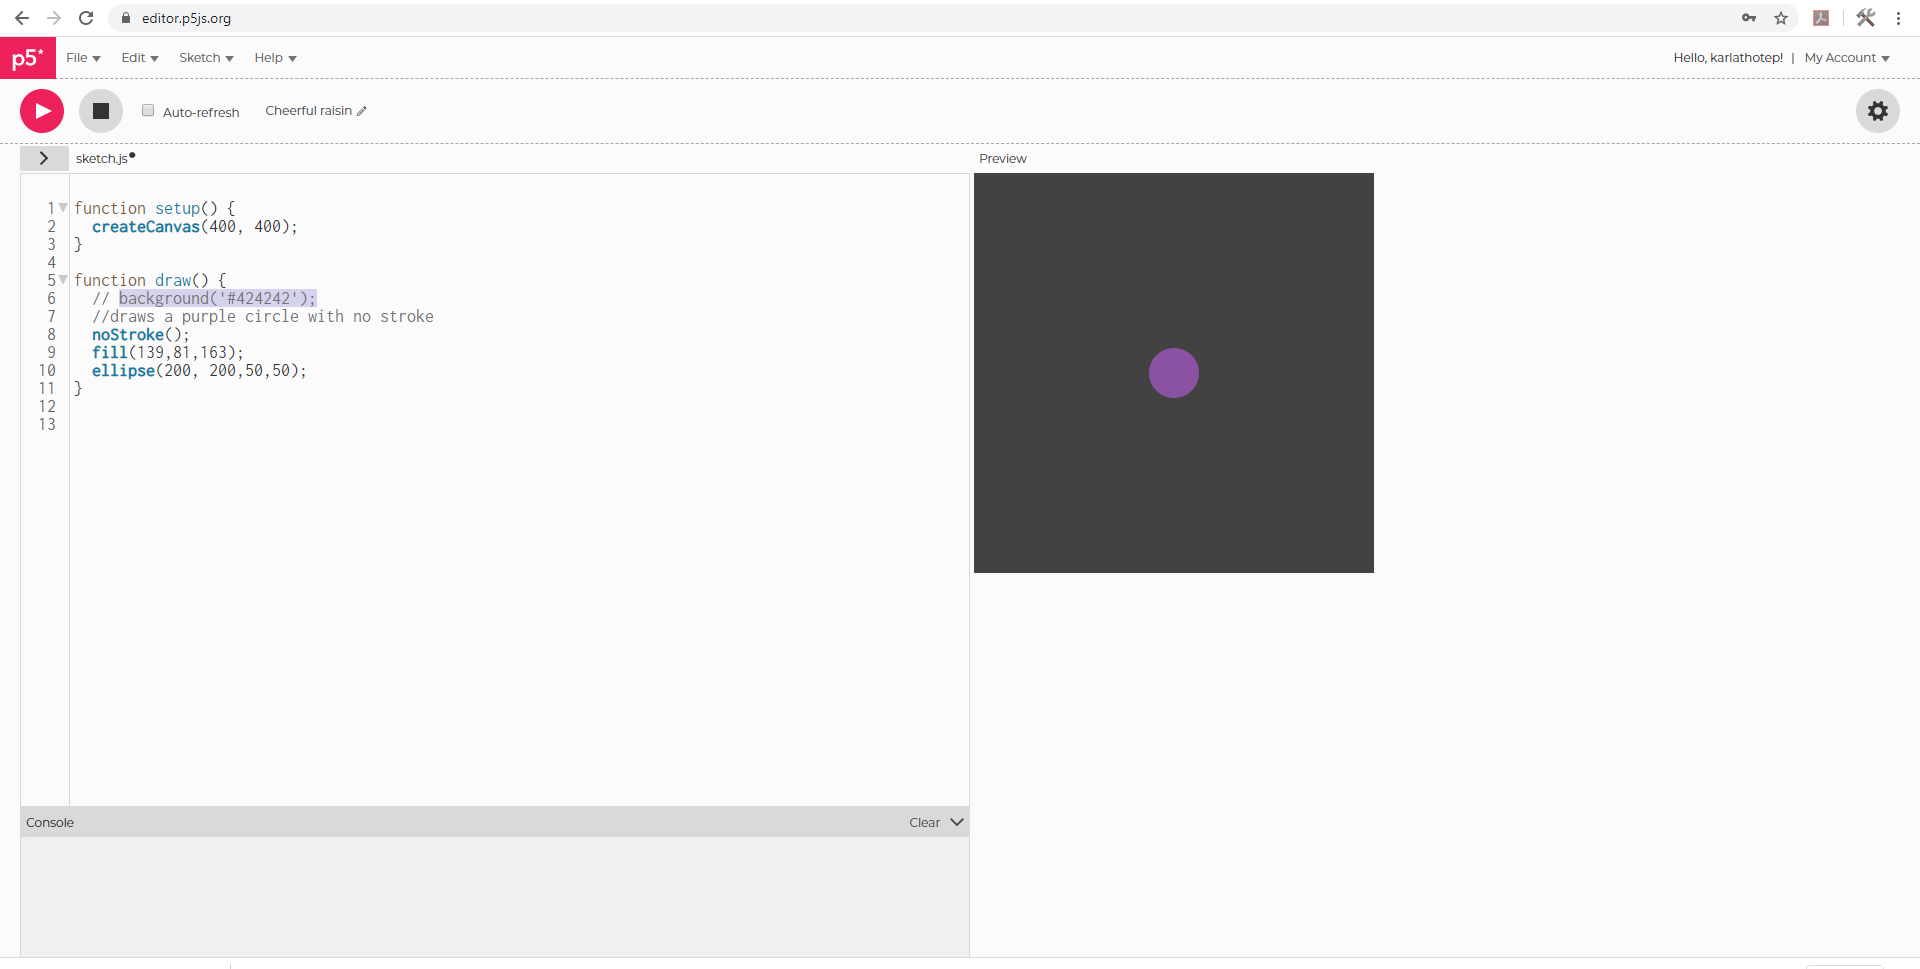
Before we start, comment out your old code as opposed to deleting it. You may want to add it in later. You can always delete after if you wind up not using it at all. What we will be doing does not support a background and won’t work with one, so comment that out by adding two slashes ( //). You can also highlight it and hit ctrl + / (PC) or command + / (Mac).
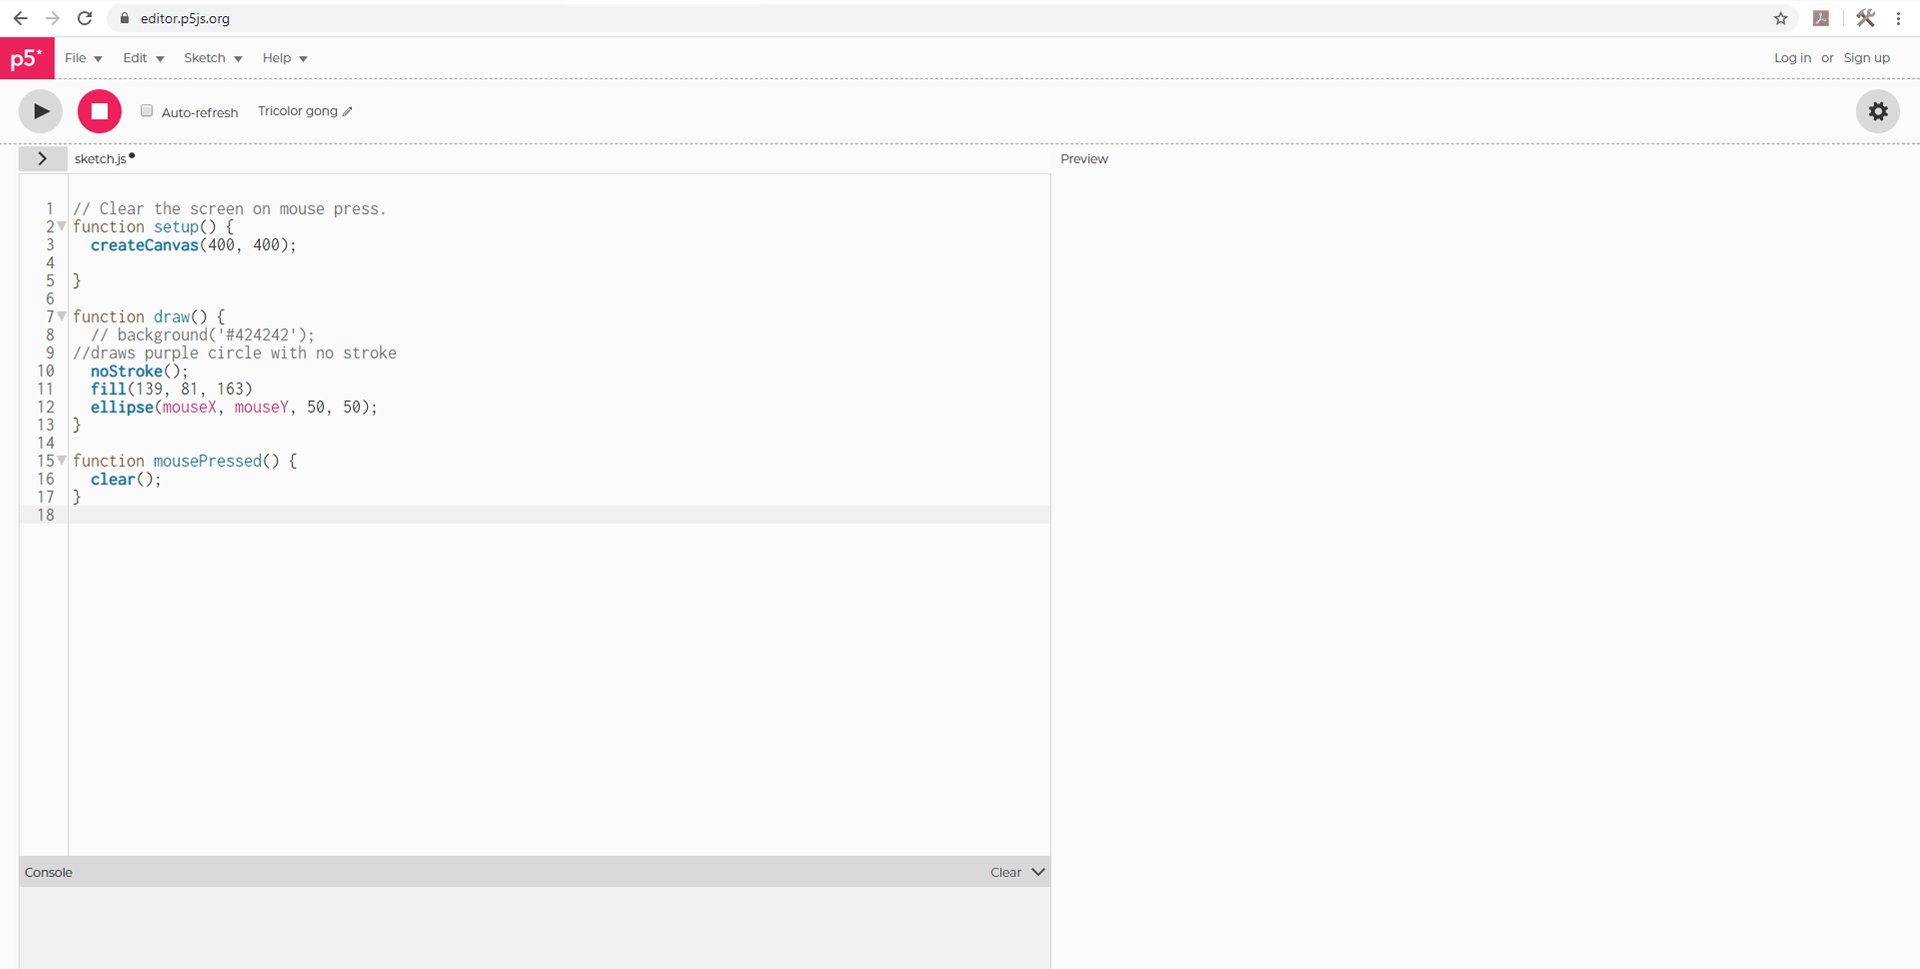
Notice there are some changes. We’ve changed our location integers for where the ellipse is drawn. With mouseX and mouseY, you are telling it to figure out where your mouse is on the canvas and draw the circle there.
We also now have the mousePressed() function, when you click your mouse/trackpad it will clear the canvas blank for you to fill again.
And there you have it, you’ve just written your first program in p5.js!
Still want to do more? Look no further!
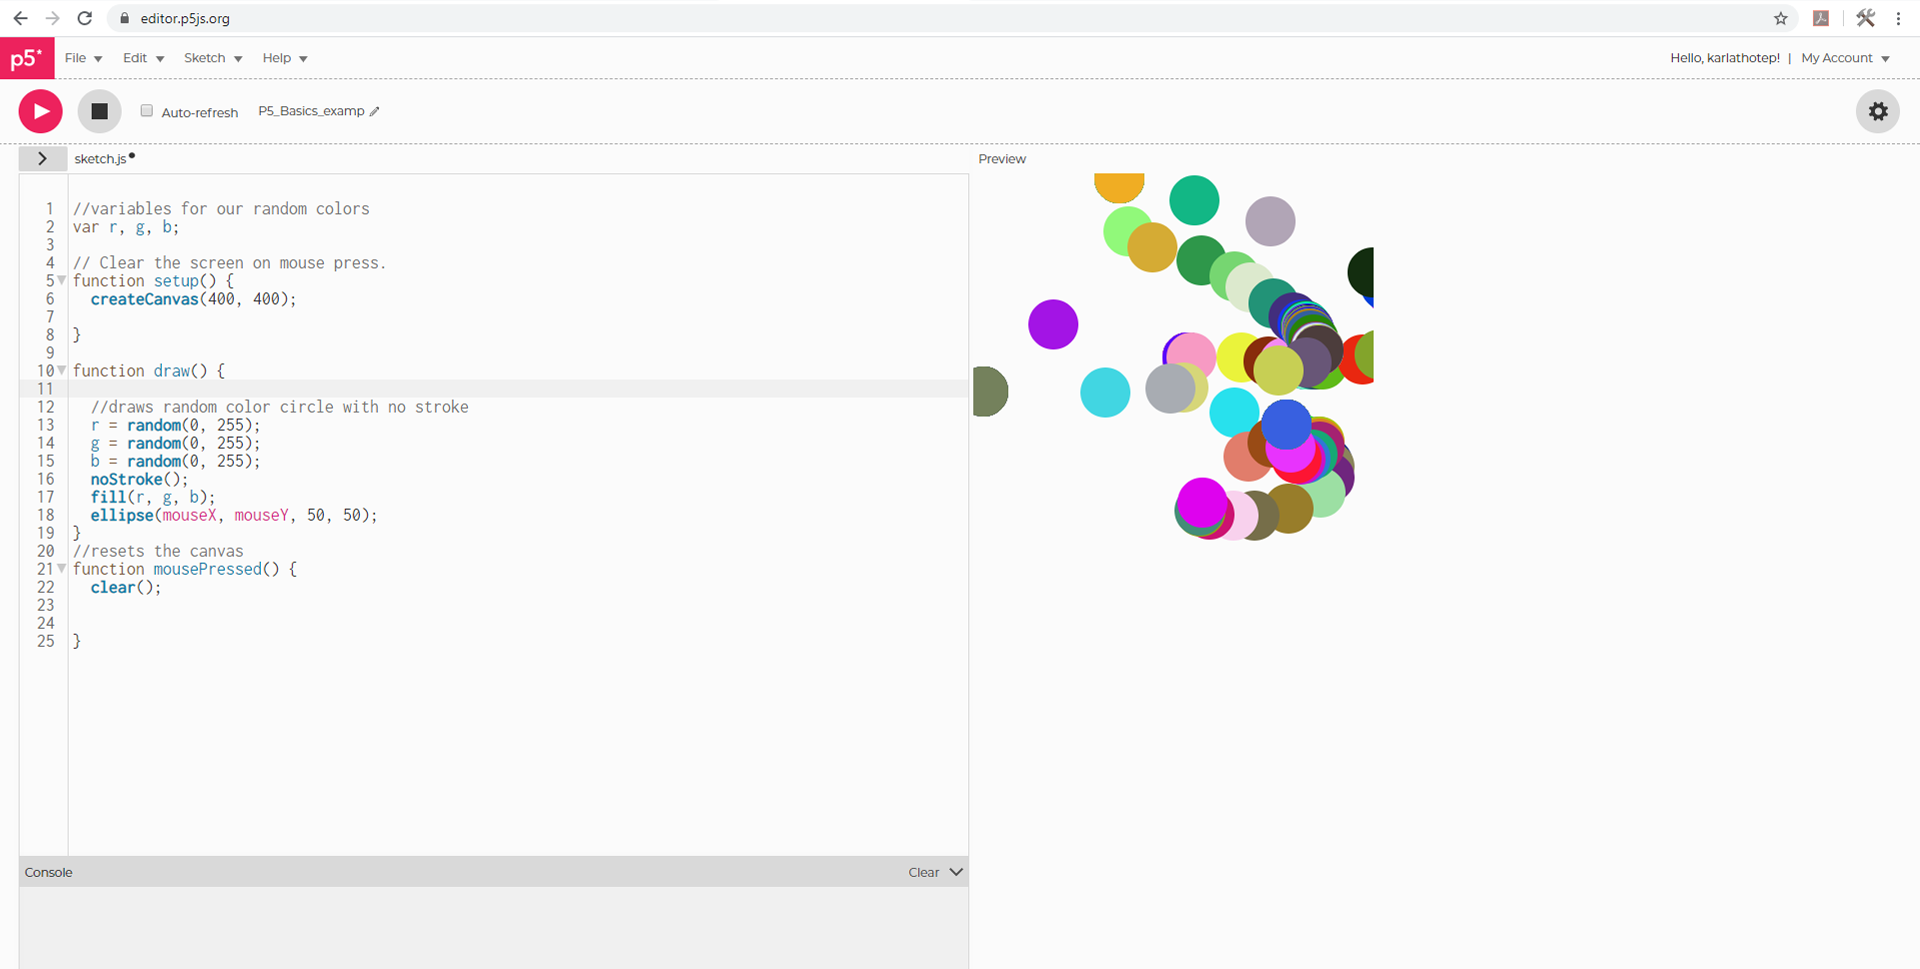
Whoa. Now there’s a lot going on visually,but trust me, once you understand how the code is read, you’ll get it. This is also why you add comments to code as much as possible!
You’ll see at the top there’s three variables.These are basically custom bits of data, usually numeric values to your code. For us, we want to generate random colors so our R,G,B values in the fill function need to be randomly generated. For that we use the random()function as well. As the sketch runs, the ellipse changes color randomly and draws where the mouse is positioned.
If you’ve made an account, feel free to save the sketch and play with it further!
References:
- p5js.org: p5.js’ official site.
- Coding Train: videos on p5.js and more!
- Programming in the Makerspace: lists many more kinds of programming languages and learning resources!