
Bookbinding in the way we know it has been around for quite a long time. The earliest known were called codices (singular codex), which were two or more sheets of wax covered wood and bound by string. These were used by the Romans and adopted by the rest of the world as their empire grew.
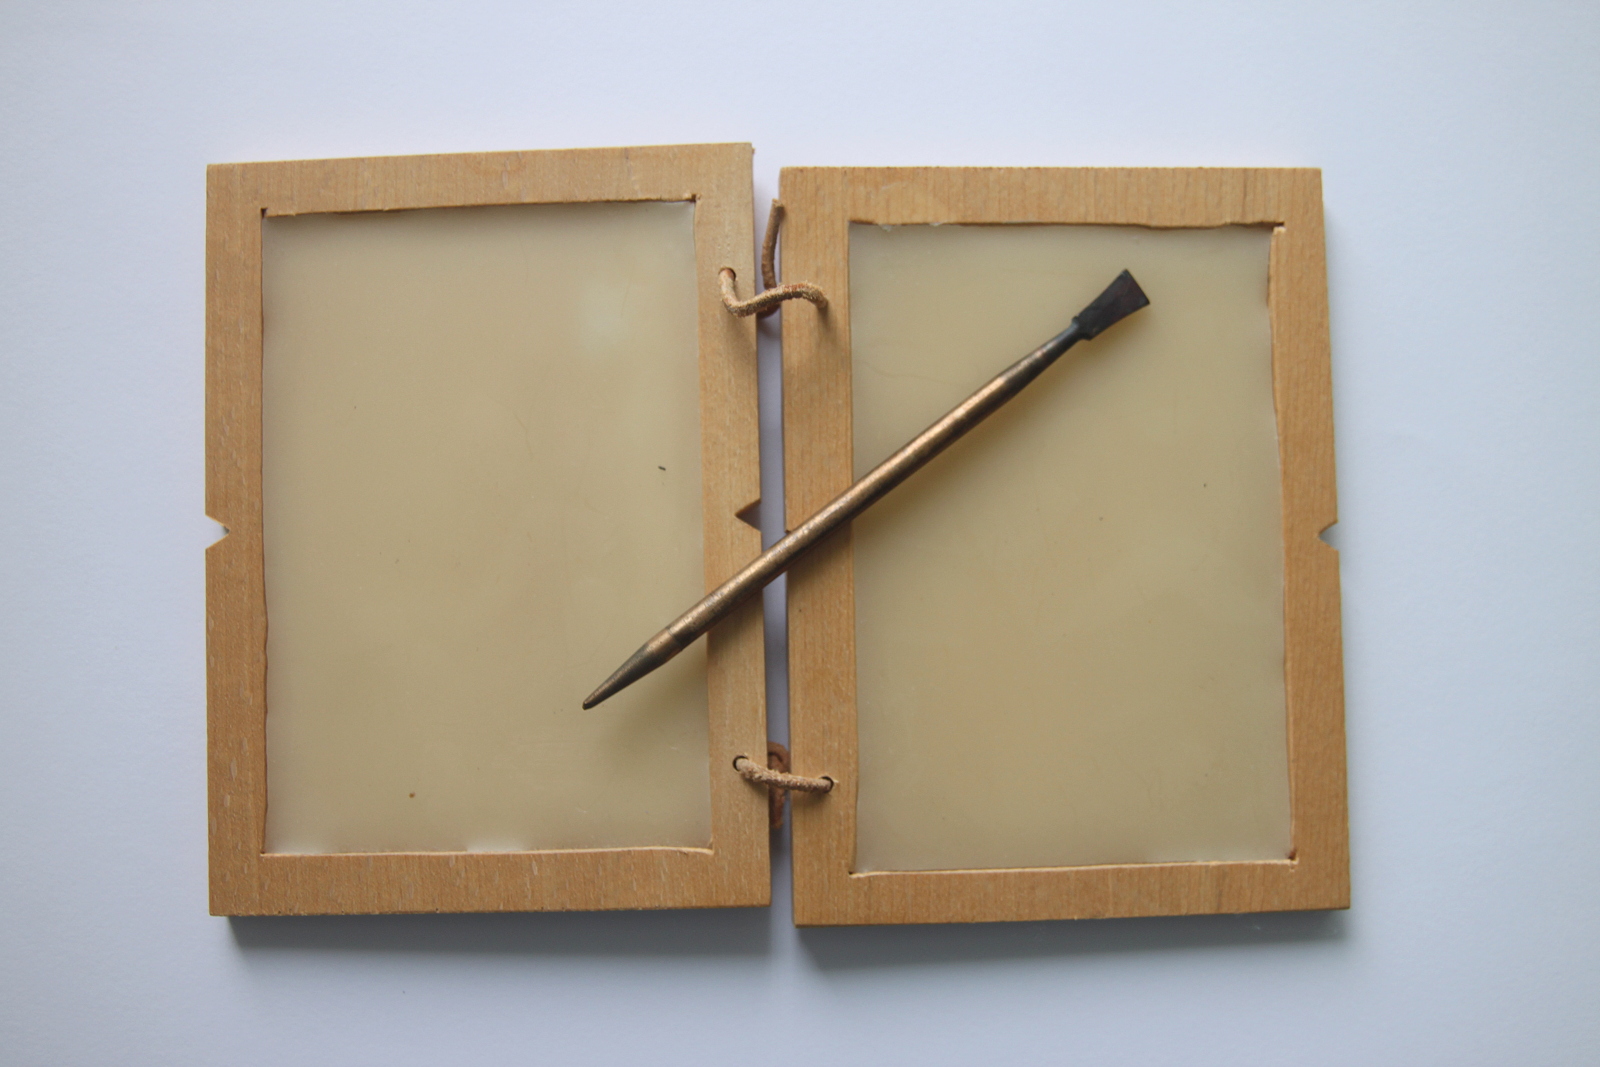
Soon the codex would be bound parchment or vellum, the earliest “books” as we know them came with the rise of illuminated manuscripts in the early Monasteries (which interestingly enough closely rose with the invention of woodblock printing in Japan). Sheets of vellum would be stitched and glued into protective covers of leather covered wood– often tooled or sometimes covered with metalwork and jewels. Up until the invention of the the press, books were a commodity only the wealthiest could afford.

There are many many kinds of ways to bind books, some take a lot more work than others. We will be covering 2 kinds of simple stitches: one which works best for pamphlets, zines, and soft cover binding, and the other which is better suited for “hard” covers. (cardboards and the like).
It may look a little confusing at first, but you’ll quickly get the hang of it! These are great to make your own sketchbooks, notebooks, or gifts.
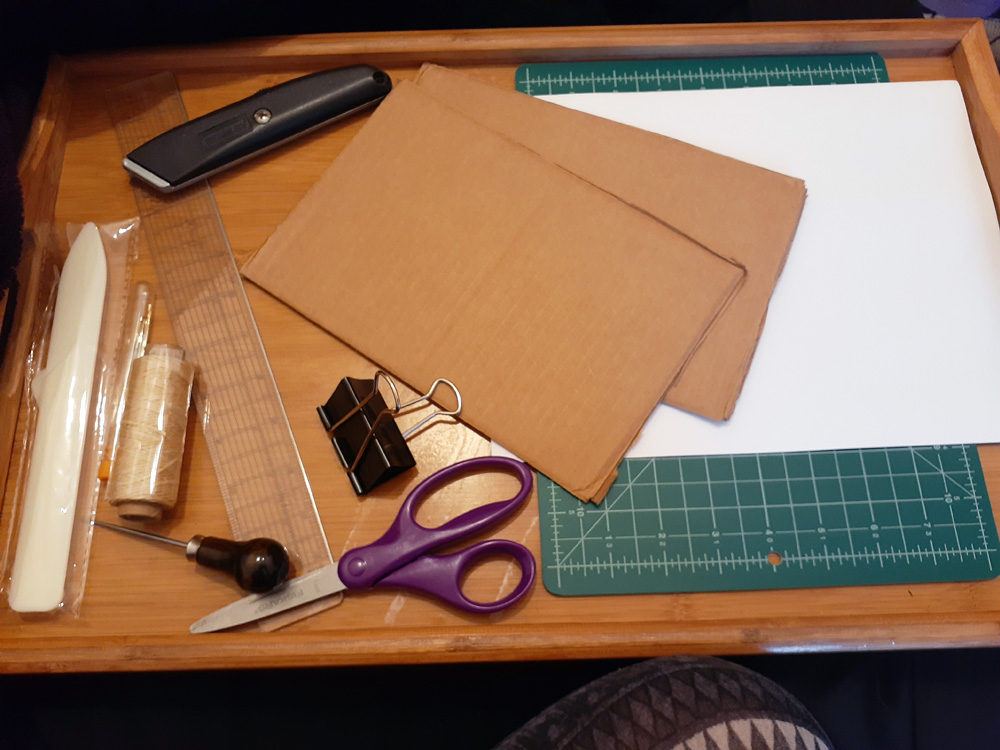
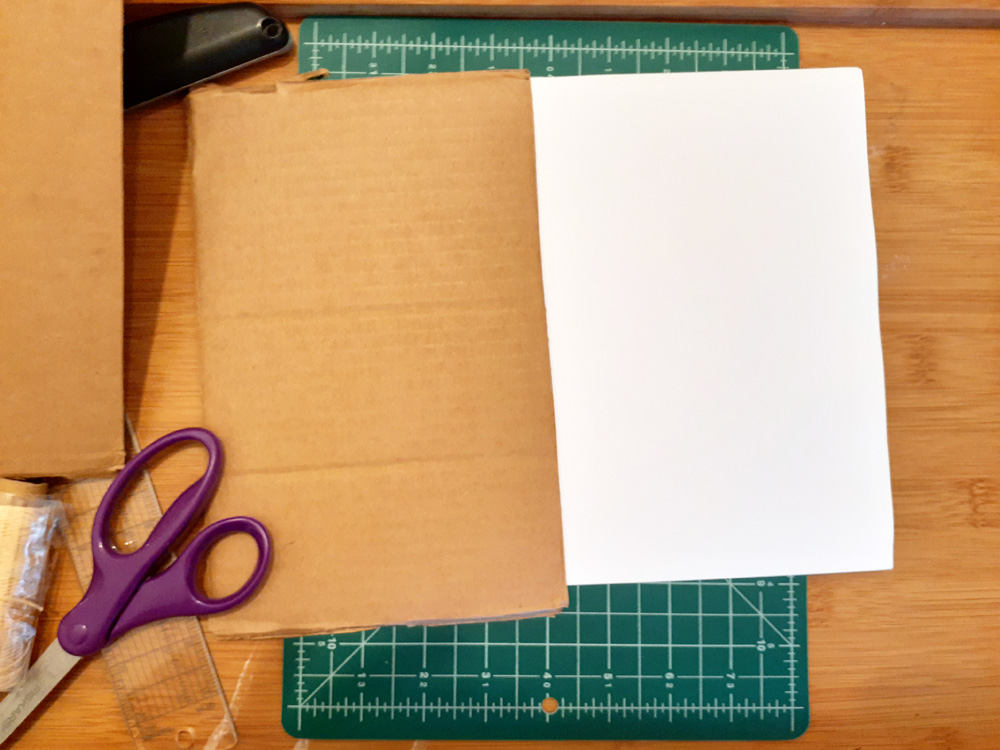
What You Will Need:
General:
We have made a list of things that can be easily purchased physically or online, If you’re not sure where to purchase things, you can visit our Materials page, or contact us! Our info is in the Staff page.
- Paper
- Awl
- Linen/Waxed thread (Or craft yarn with a wax block works too!)
- Large bookbinding/leather work needle
- Binder Clips
- Pencil
- Ruler
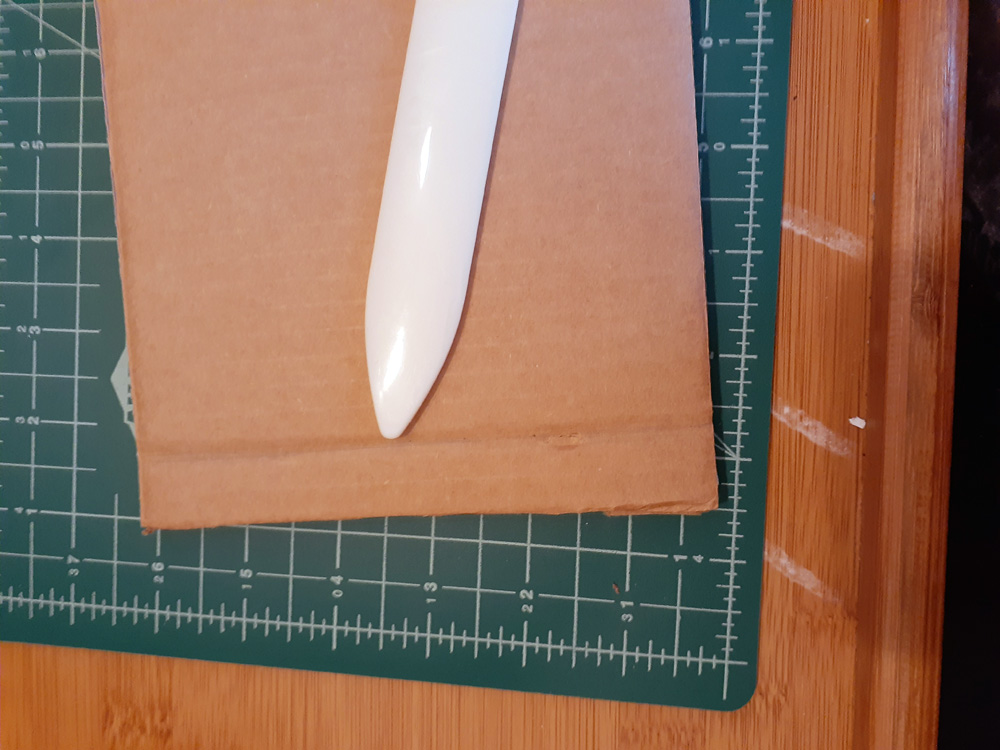
- Bone Fold
- Cutting tool (scissors, x-acto, box cutter)
For Soft Covers:
- OPTIONAL: Stapler (In lieu of stitching)
For Hard covers:
- 1 Sturdy, thick board (cardboard, chipboard, binderboard)
- 1 Stiff but thin board (card stock, kraft paper, thin cardboard, poster board)
- OPTIONAL: Pliers (to help pull the needle through thicker materials)
Files for Laser Cutter:
While the template is set to 4×6 inches, you may adjust size as needed before saving for the laser cutter.
General:
Waxed thread works best, but if you don’t have it, linen thread or craft yarn works in a pinch (you could also use a wax block to wax them). This helps it slide through the stitch holes. Also don’t be worried if your waxed thread unravels from your needle– it’s a common occurrence. (It happened many times throughout my own documentation!)
If you have to untangle or cut the thread and start over, it’s okay! It does happen. As the thread will have to go through some of these holes several times, it’s smart to keep things taut and on different sides of the hole. If you find yourself having a hard time stitching, widen the hole with the awl. Just have patience, and keep trying!
Part 1: Binding for Soft Covers:
This type of binding works well with soft covers, like pamphlets or using construction or decorative paper as a cover.

First things first, gather your paper and stack them up as evenly as possible. The top sheet will be your innermost pages. Find the center and lightly draw a line (mine is 8.5×11 inch paper so my middle is around 5.5 inches. This may vary depending on your paper size.)


Repeat that with your cover. My construction paper is a little larger than my paper, so I had the additional task of centering it the best I could. In most cases, construction paper should be 8.5×11 inches and line up with your paper. (If you’re using different sizes you might need to do it all the same.

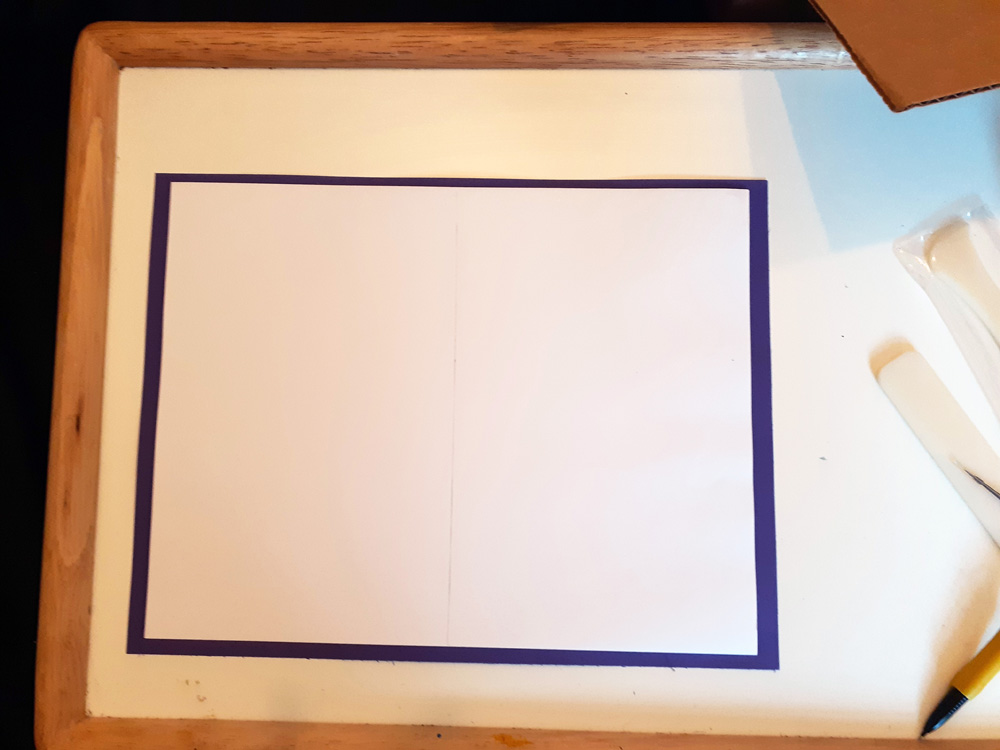
Next, you are going to fold along the seam you made. It might help to use the bone fold or ruler on the inside to keep it as even as possible. Once you’re satisfied, use the flat edge of your bone fold (or ruler if you don’t have one) to crease your binding.


Now open up to your innermost page. At this point, if you’re using staples to bind, staple 2-4 staples along the inside crease. And that’s it!

But if you’re following along and stitch binding, let us go further!
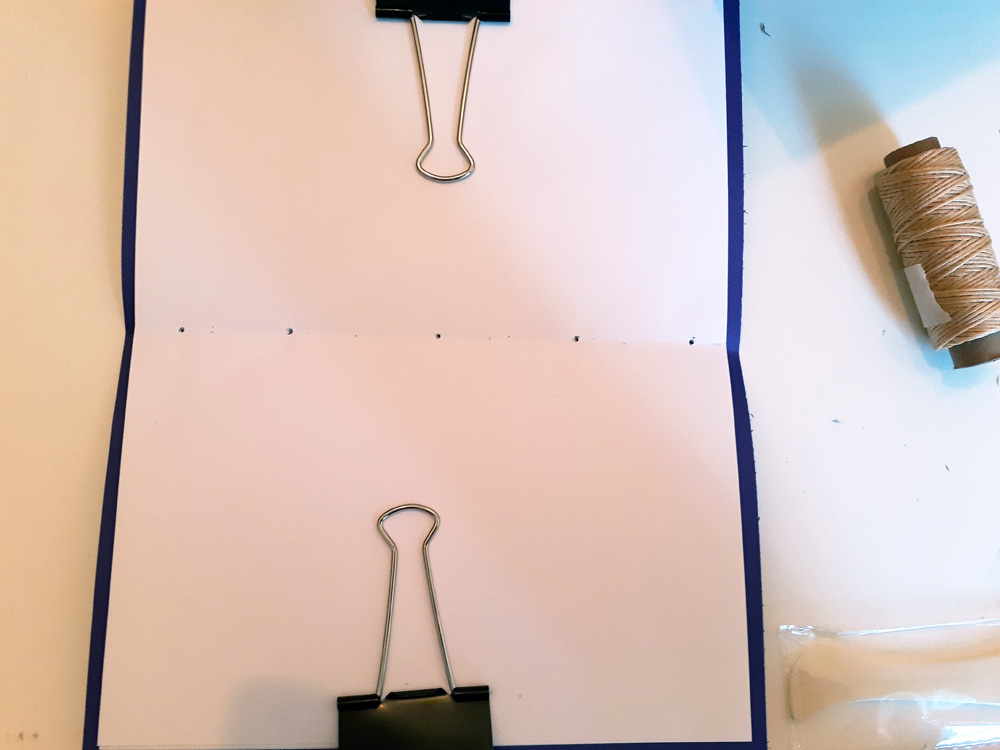
Using your ruler, mark the center of the page. Then add 4 more holes. 1 hole will be 1/4 inch from the bottom edge, another 1/4 inch from the top edge , and the last 2 will each be between the center hole and these 2 holes.

Following along, here are the hole “numbers” I will be referring to in the following instructions. Do not feel bad if you need to scroll back up as reference.
At this point, I might suggest clipping binder clips to each end of your book to keep your pages from moving. Next, poke your awl through these marks to make your stitch holes.
Now thread your needle but if you can, do not knot it. Or if you do, make sure you have some extra thread. About an arm span should be fine with extra to spare (at least it did for me!)
From the inside (where your paper is) thread your thread through hole 3 and draw it out, saving about 1-2 inches inside. feel free to tape it to keep it from slipping. Going across the binding, draw the thread back inside through hole 4.

Inside 
Outside
Inside, go across to hole 2 and draw it out to the cover. Go across to hole 1 and draw the thread back inside.

Outside 
Inside
Go across through hole 5 and back out to the cover, then inside again through hole 4.

Outside 
Inside
Inside, go across to hole 2 and bring it back out to the cover. Then go across to hole 3 and back inside. Remove the tape from the extra piece we left earlier, and make sure your binding in all your stitches are taut. Then tie a knot using the extra thread and the thread you’ve threaded through last. Clip with a scissor.

Inside 
Outside 
Inside
And there is your soft cover book!

Part 2: Binding for Hard Covers:
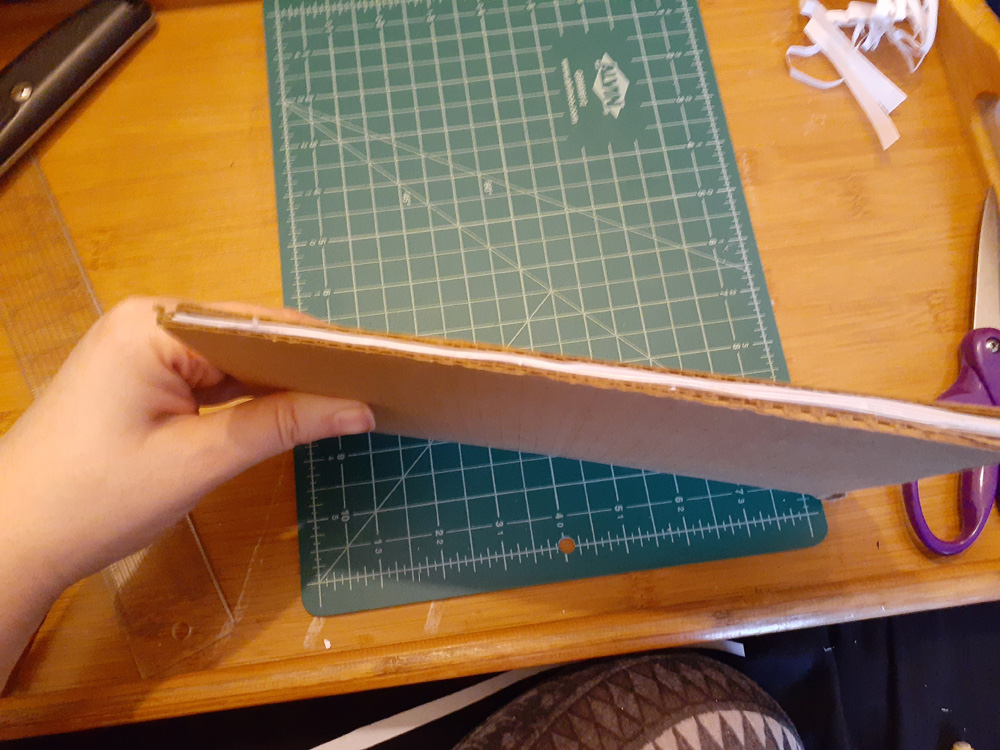
Some things to note: This works well if you use the cardboard for the back cover and a lighter but stiff material like a heavy weight card stock, poster board, kraft paper, or thin chipboard. I am using double cardboard since it’s what I have on hand.
Make sure your cardboard fits the size of your paper, you can make it as large or as small as you wish. (I’m going with 5.5 x 8.5 inches– roughly half the size of a standard sheet of paper, meaning I can use less paper and double up on sheets! Here, I am measuring where the cardboard fits on the sheet of paper.

Then (if applicable), cut your cardboard/paper! For paper, if you have a paper cutter, that works wonders, but you can try to cut multiple sheets by holding the sheets with the binder clip and going over with a box cutter on a self-healing mat. Or hand cut with scissors, whichever you have available!
Once you have all the paper you need, you’ll stick it between your covers. Gently tap each side on the table to help align. If everything is a little bit uneven, make sure the space where your spine will be is the most even.

Next, put on a binder clip opposite of where your spine will be. You may also add another two on the other sides to keep the paper from shifting as well.
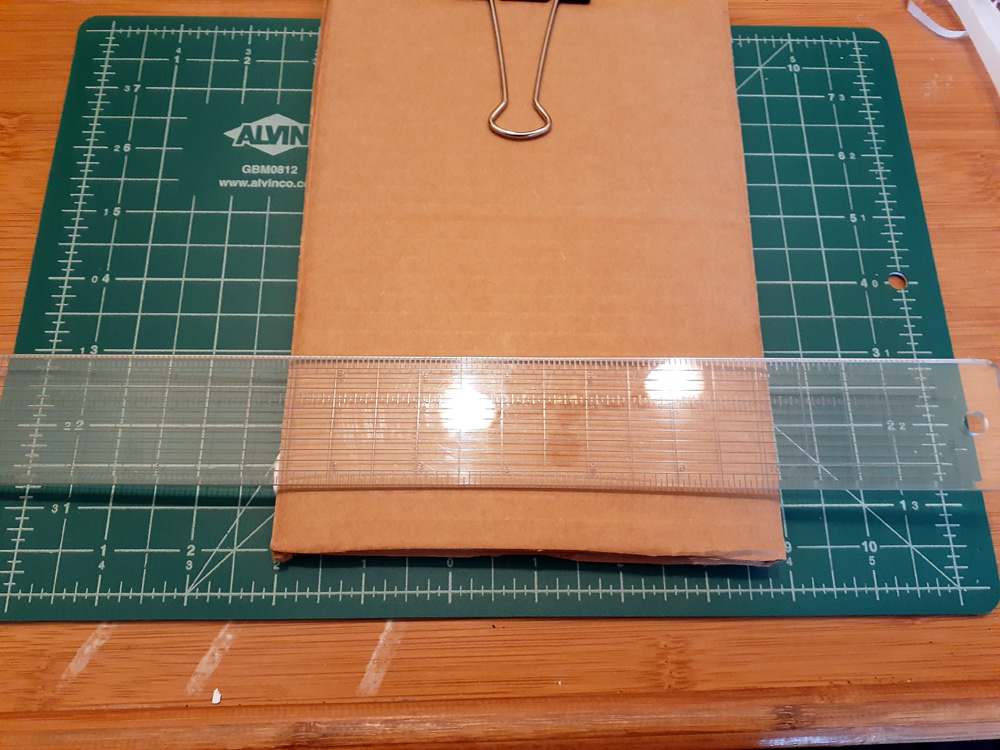
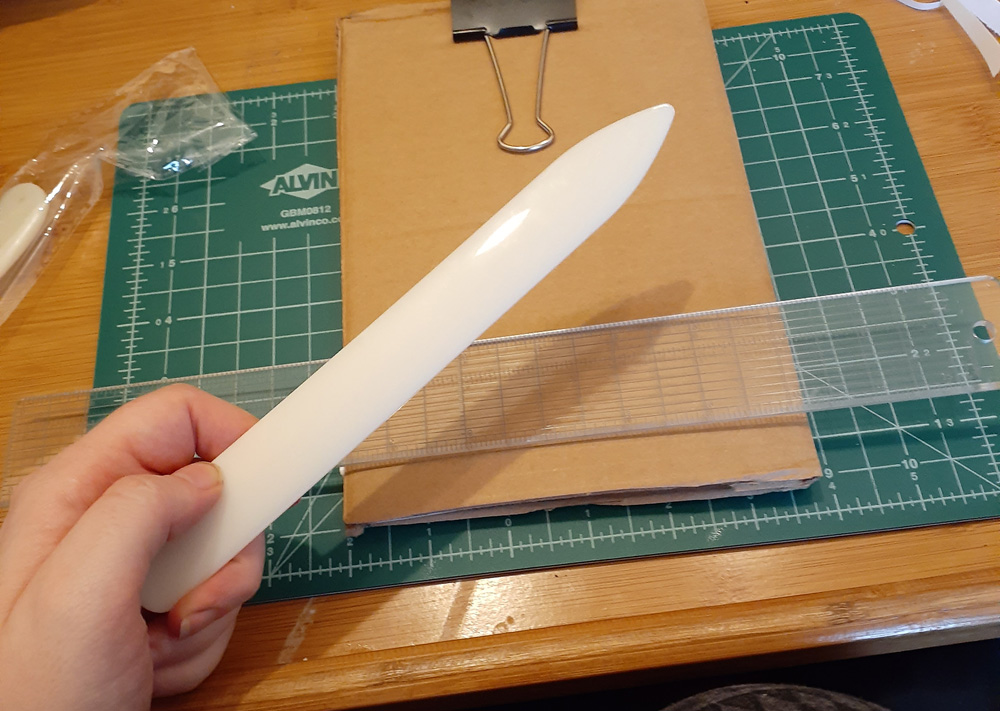
Using a ruler, measure about 1/4th inch from the edge. Then using your bone fold (or a paperclip, something thick and rounded should work in a pinch), go along the ruler until you have a significant crease. This will allow the cover to open more easily.
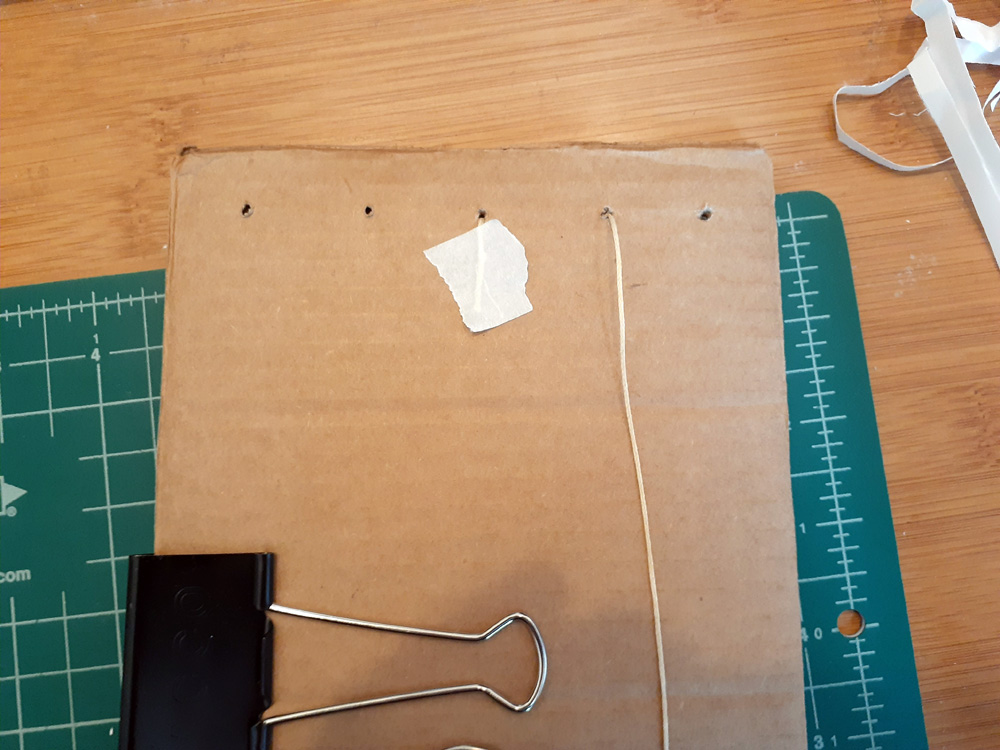
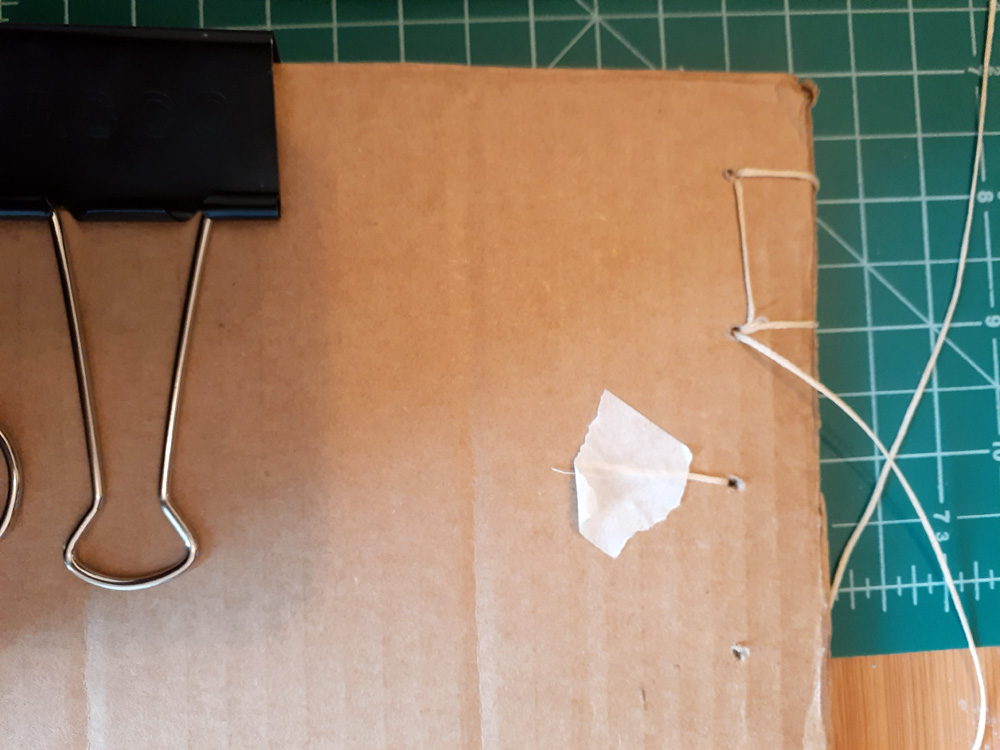
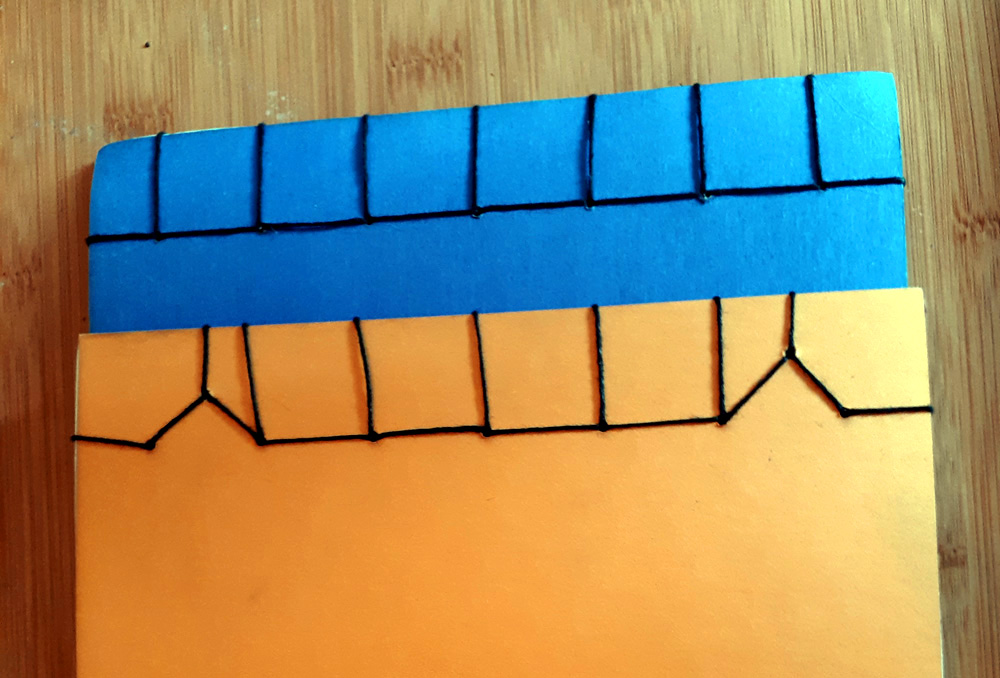
Using your awl, put in holes roughly 1/4 inch apart from one another. This particular stitch works well with 4 holes, but I went up to 5 to keep things even. You made need more depending on how big your book is, but the minimum is 4 holes. (If you do more than five, you might wind up experimenting more with the next part.

The next part is REALLY important. I have labeled the holes accordingly from bottom to top. In the following instruction when I say “Hole [number]”, this is what I mean. Feel free to keep the image above open as a reference. And for clarity the front, is the side with the crease (ie your cover), and back is the side without.
Thread your needle, about an arm’s length. Just as I said above, don’t worry if you have to untangle or cut the thread and start over, make sure to keep things taut and on different sides of the hole, and if you find yourself having a hard time stitching, widen the hole with the awl.
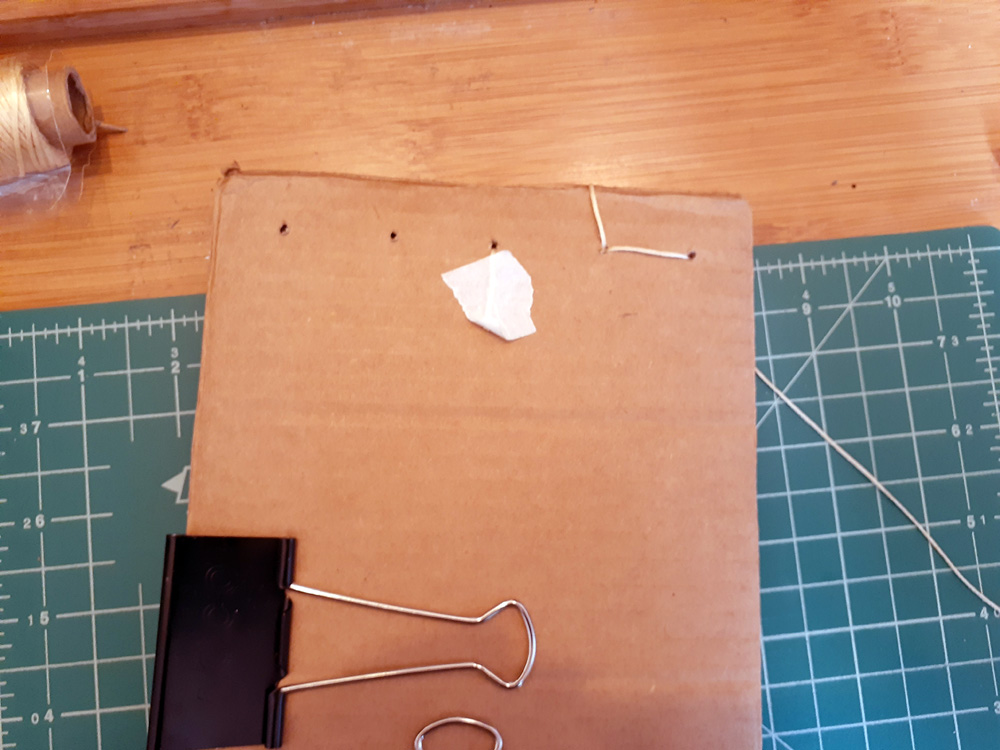
Flip it to the back side and thread your thread through hole 3. leave about an inch left and tape it down to keep it from going through. Next, you’re going across the front to hole 2 and through to the back side again.
Back Side 
Front Side
Loop around the top of hole 2 and back through to the back side, and then across to hole 1.
Back Side 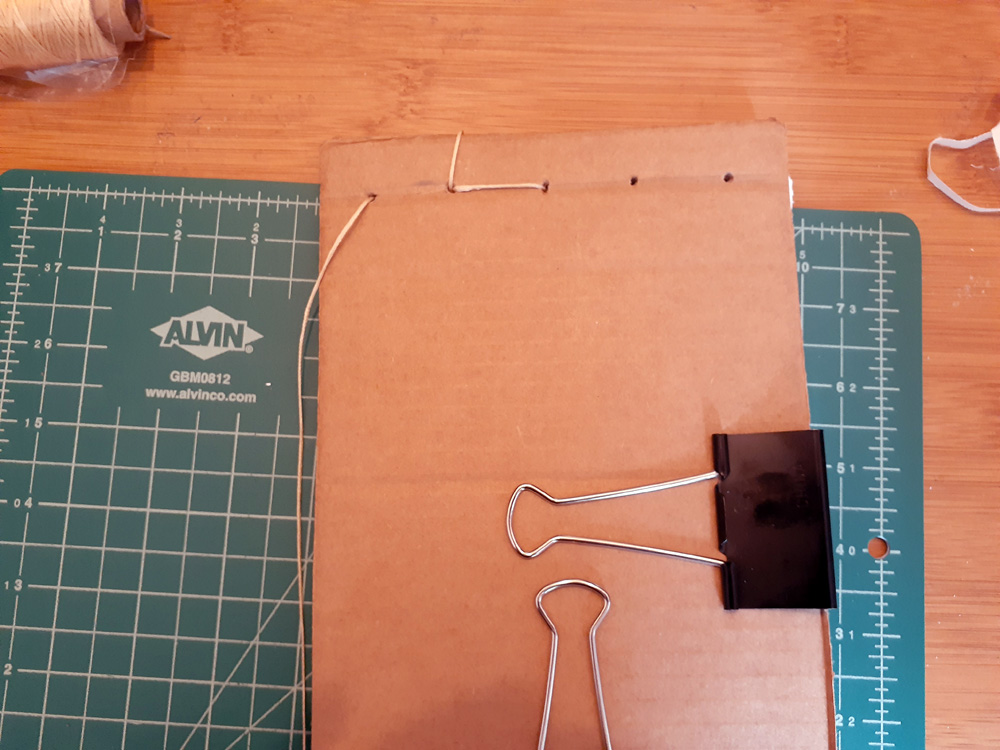
Front Side
Loop over the top through hole 1 and back to the front side. And then across the front side to hole 2 and through the back side.
Back Side 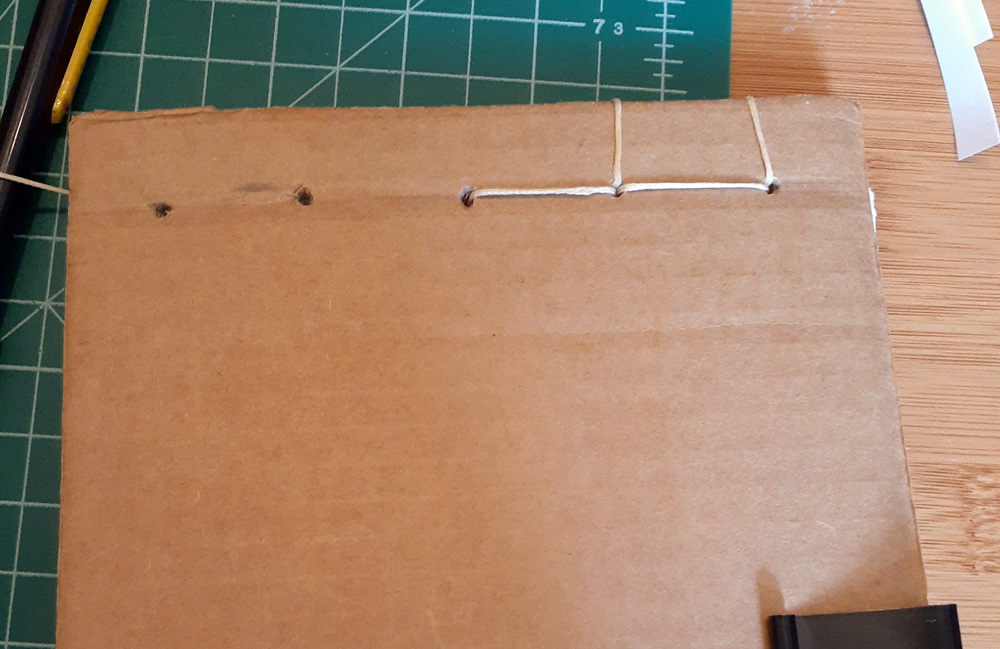
Front Side
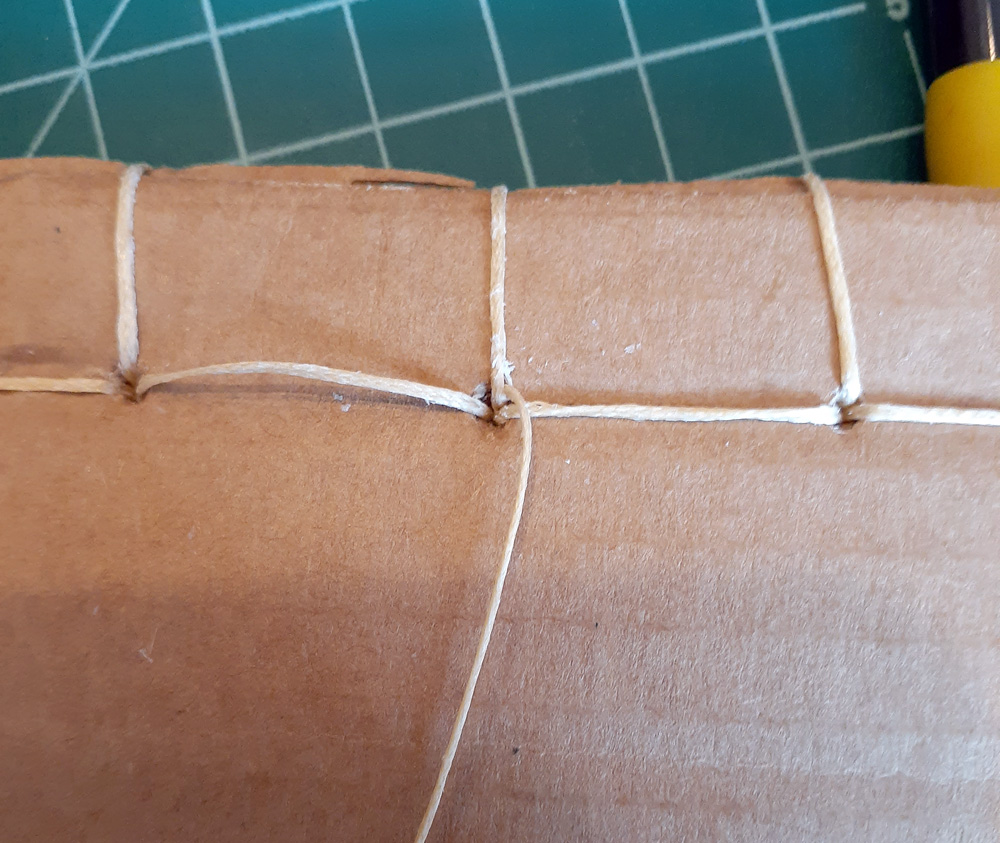
Next, go across the back side to hole 3 and back through the front. Loop over the top of hole 3 and draw the thread back to the front side.
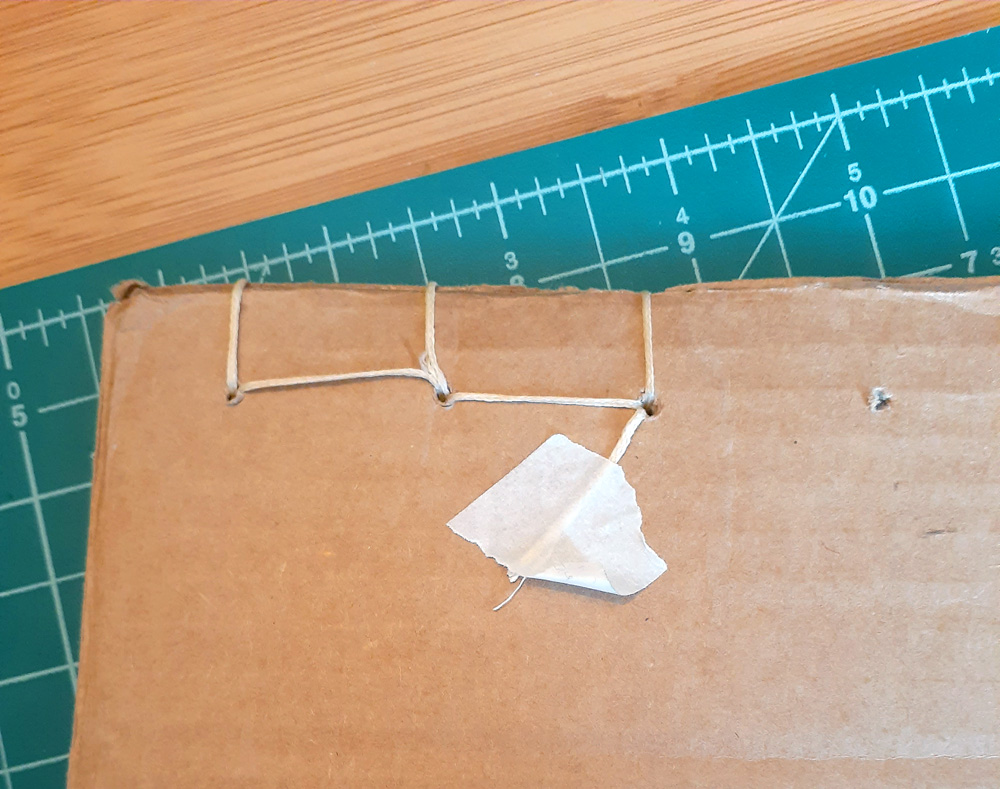
Back Side 
Front Side
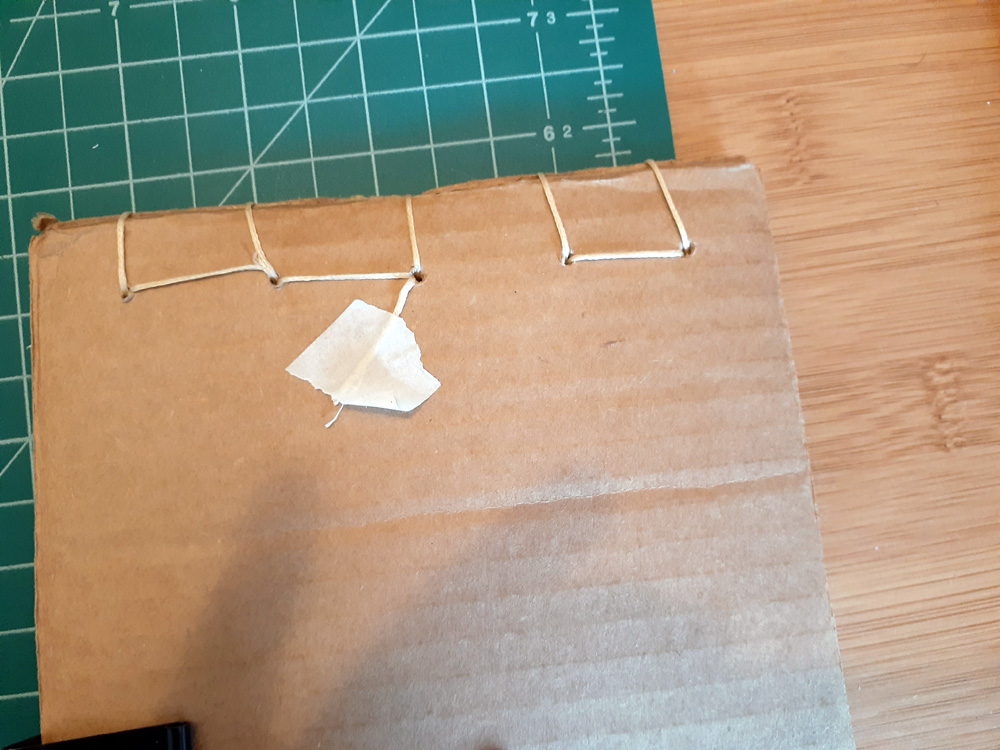
Go across the front side to hole 4. Loop over the top of hole 4 and draw the thread back to the back side.

Front Side 
Back Side
On the back side, go across to hole 5 and bring the thread out to the front. Loop over the top through hole 5 and go back to the front. Go across the front to hole 4 and across the back to hole 3, drawing it back into the front.
Back Side 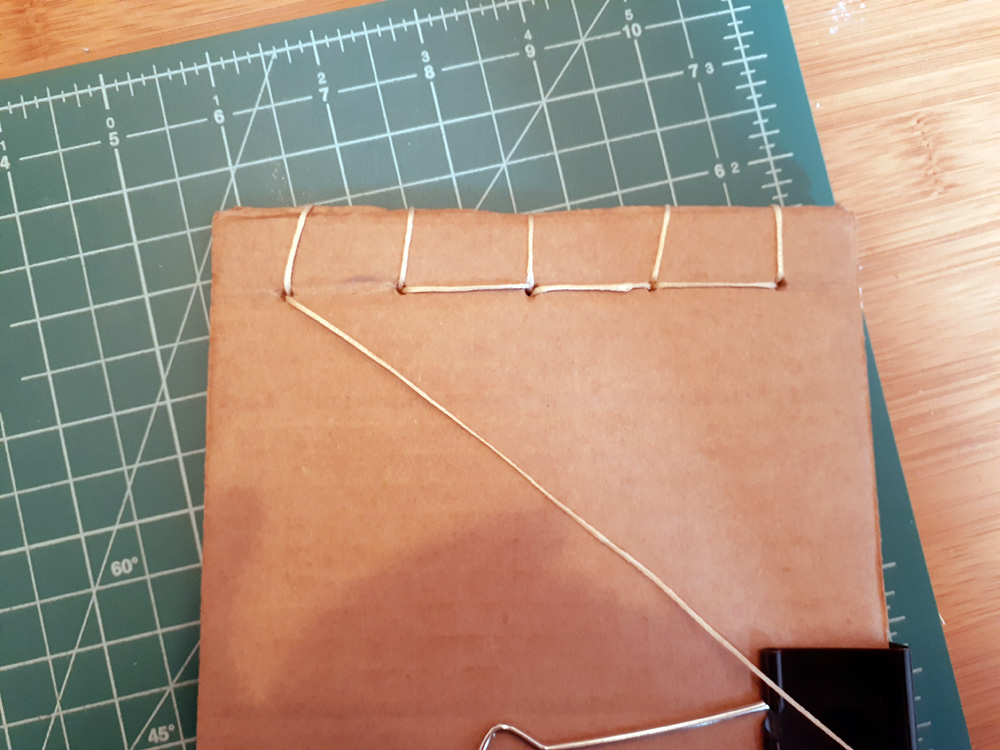
Front Side

Back Side 
Front Side
Slip the needle through the top loop of hole 3 and draw it to the back. Remove the tape and use that part of the thread to tie into a knot. Trim with scissors.
Front Side 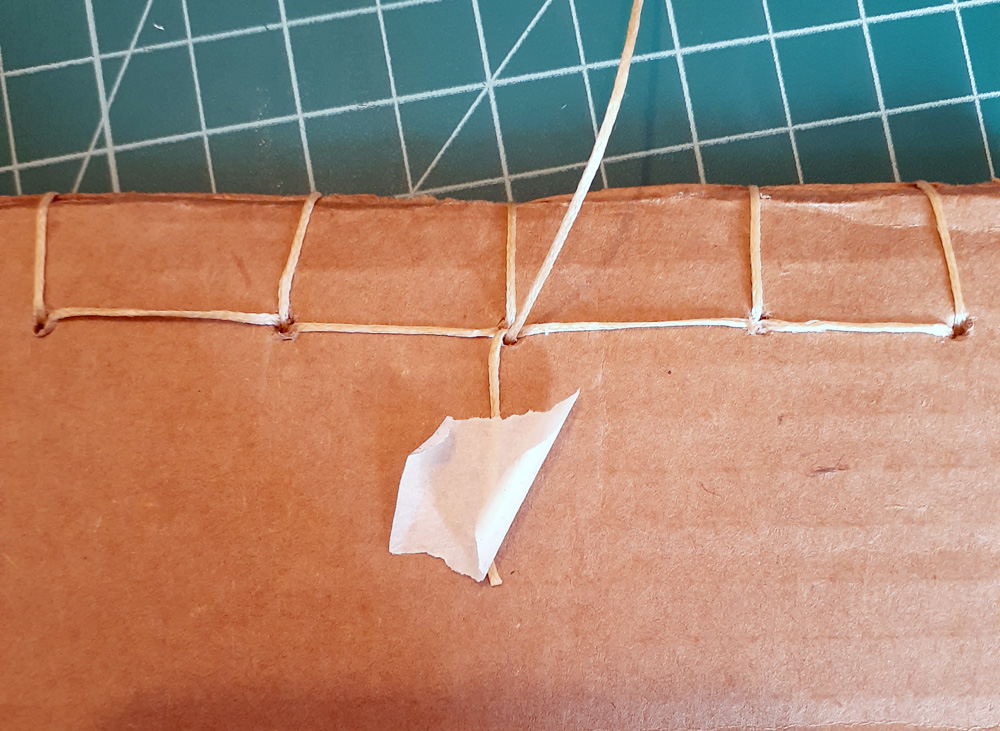
Back Side
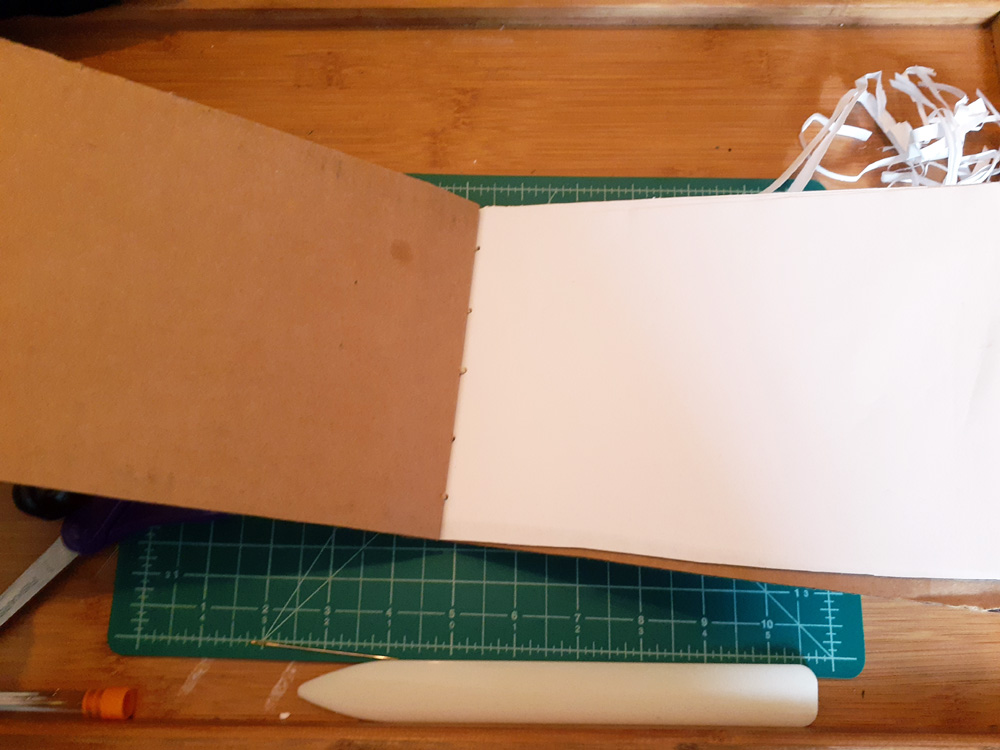
And there is your hard cover book!
Feel free to explore different patterns for your binding. Here are some I made previously:
Show us what you made! Send it to bmcc.makerspace@gmail.com or reach us at bmcc.makerspace on Instagram (or use the the #bmccmakerspace tag) to be highlighted on our page!
Other Links:
- Wikipedia Page on Bookbinding. (Has an excellent list of historical binding techniques).
- Design Sponge: 4 Hole Stab
- Design Sponge: Pamphlet Stitch
- Treasure Books on Youtube: Cereal Box Journal Treasure books also has tutorials on making journals from other things such as envelopes, and wallpaper!)
- Cloth, Paper, Scissors: Making a Journal with Ribbon Binding
- Sea Lemon on YouTube: Kettle Stitch Tutorial (for advanced bookbinding):
- Sea Lemon on YouTube: How to Make a Hardcover Book (for advanced bookbinding)
- Making Books: Free Bookmaking Projects
- Philobiblon: Tools and Resources on Bookbinding