To begin: first you have to design something in a vector based program. The vinyl cutter takes vector based images to cut. So, it’s good practice to get yourself acquainted with a vector editing program. We have some listed in our Software resource page that are free, but in the Makerspace we have the Adobe suite and tend to be Illustrator focused.
If you need a project to start with, why not check out our Rubber Stamp, Stencil, or the first part of the Robotics workshops!
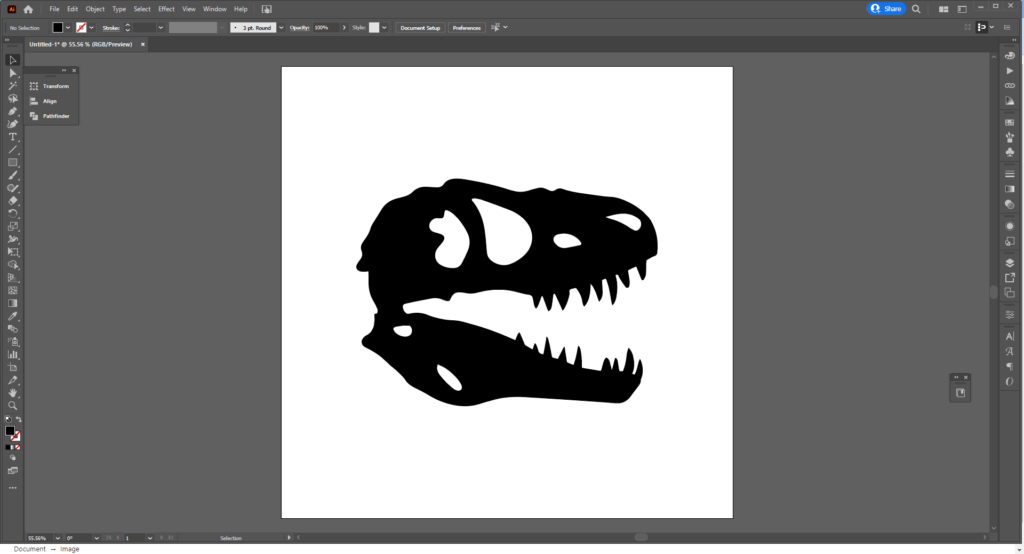
Now assuming you’ve done all this: congratulations, you now have a vector image to vinyl cut. Hooray! Now we need to make sure the file is prepped and ready to go for the lab manager!
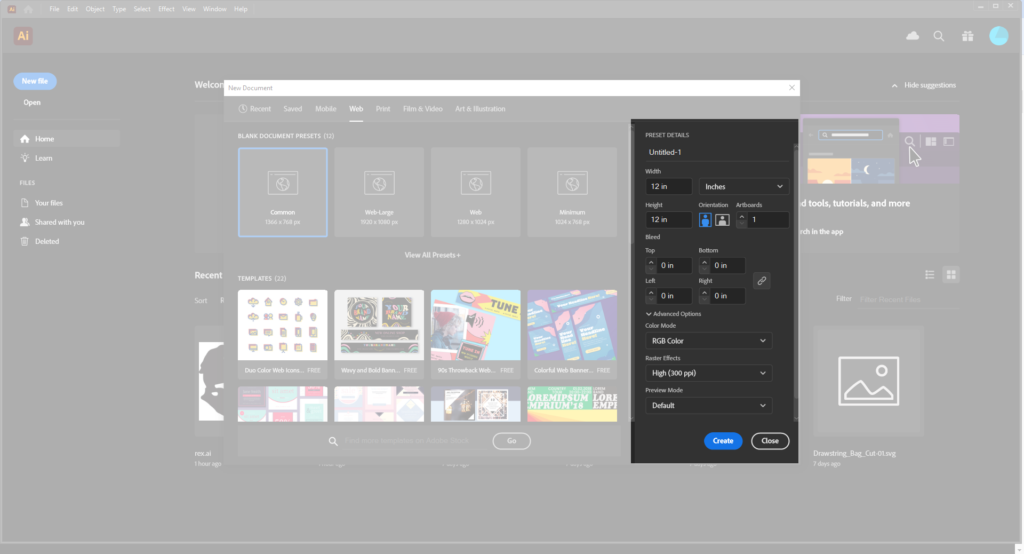
Make a new file, and set it to be RGB Color mode at 12×12 inches.
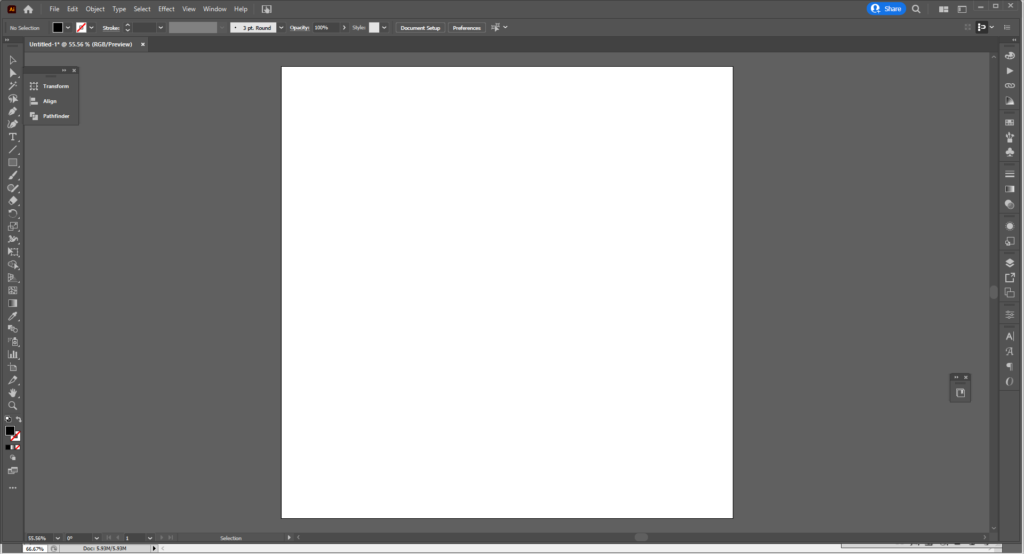
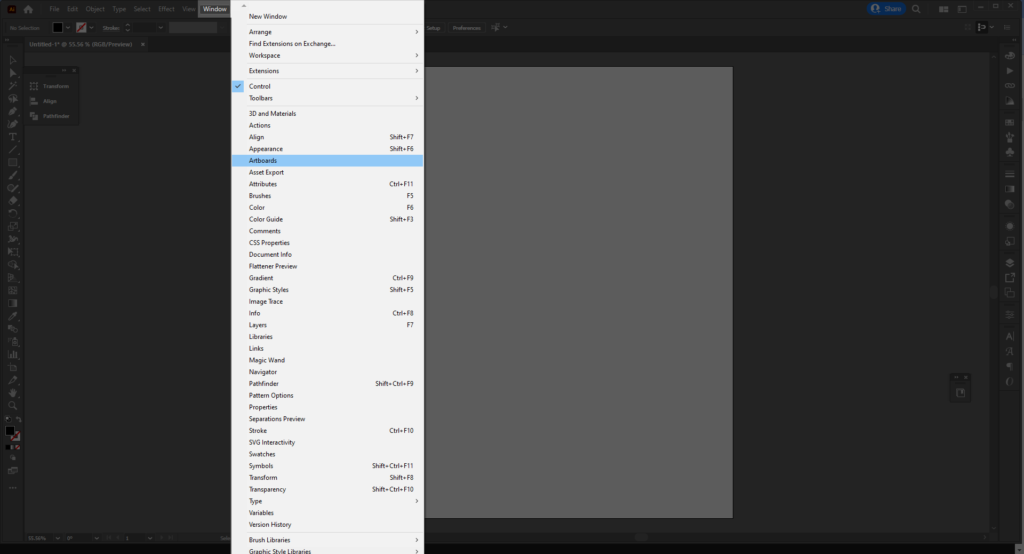
If you need to fix the size, just open up the Artboard Tool shown below.
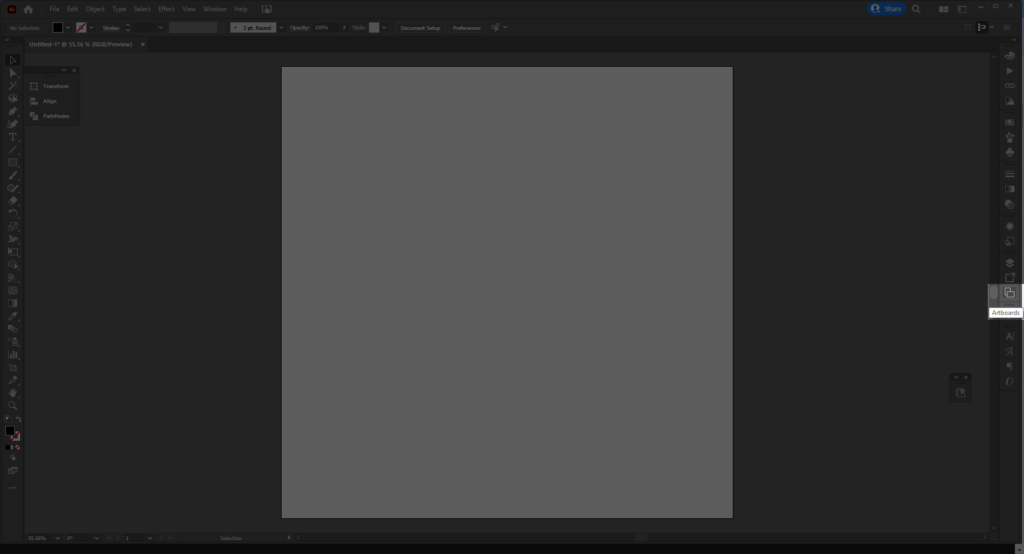
If you don’t see it, you can go to Window > Properties to access it as well!
In the older versions, the vinyl cutter doesn’t particularly care if it’s one solid compound path or a bunch of strokes. It still doesn’t care about color but it does need to be a solid shape with a fill.
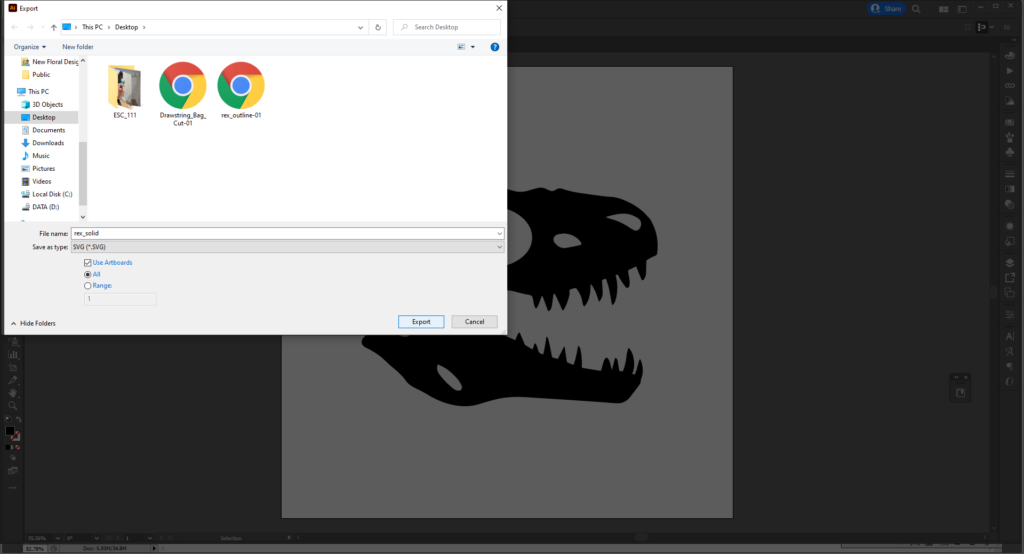
When you’ve got it ready, go to File > Export and save as a SVG file. (You can also make a copy as a DXF but with newer versions of Illustrator the DXF will need to be resized in Cricut Design Studio– which if you don’t remember your dimensions can be frustrating).
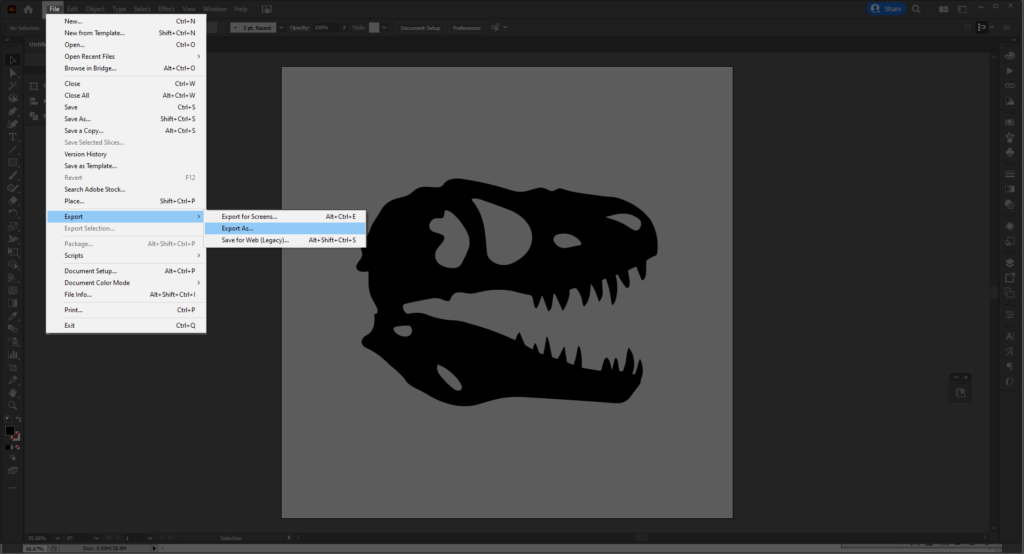
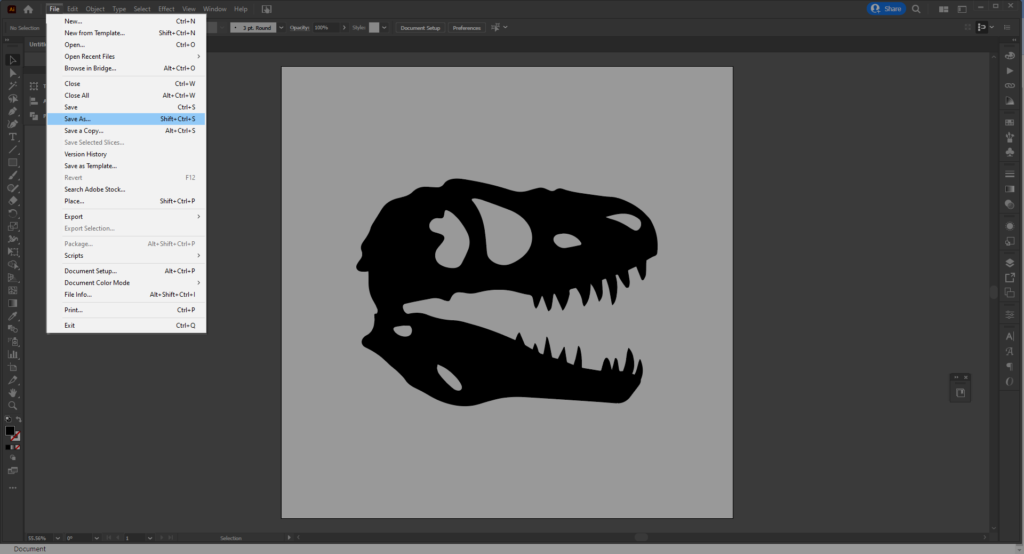
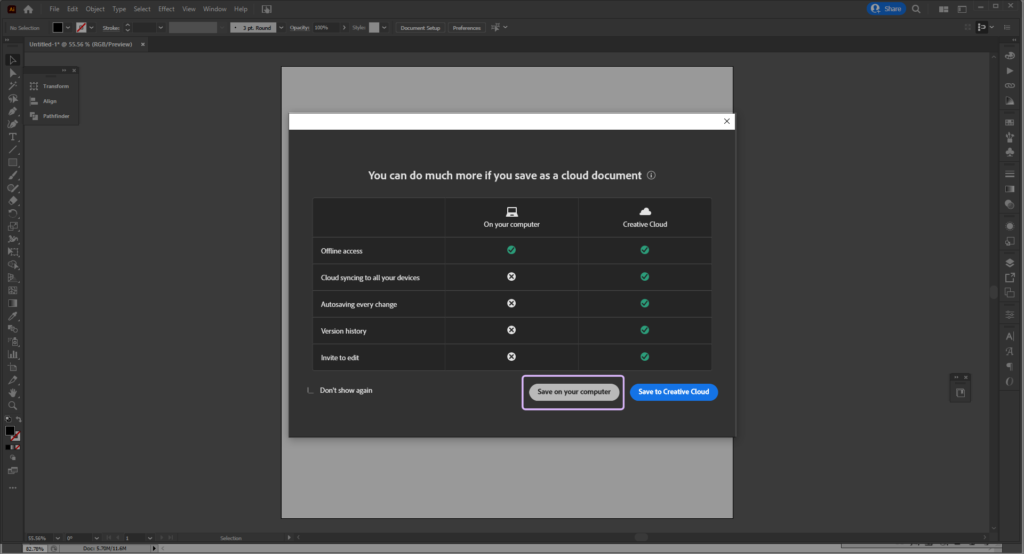
While your at it, save a copy as an AI file. Go to File > Save As and save as an AI. If you are not using Illustrator, then an EPS file is fine!
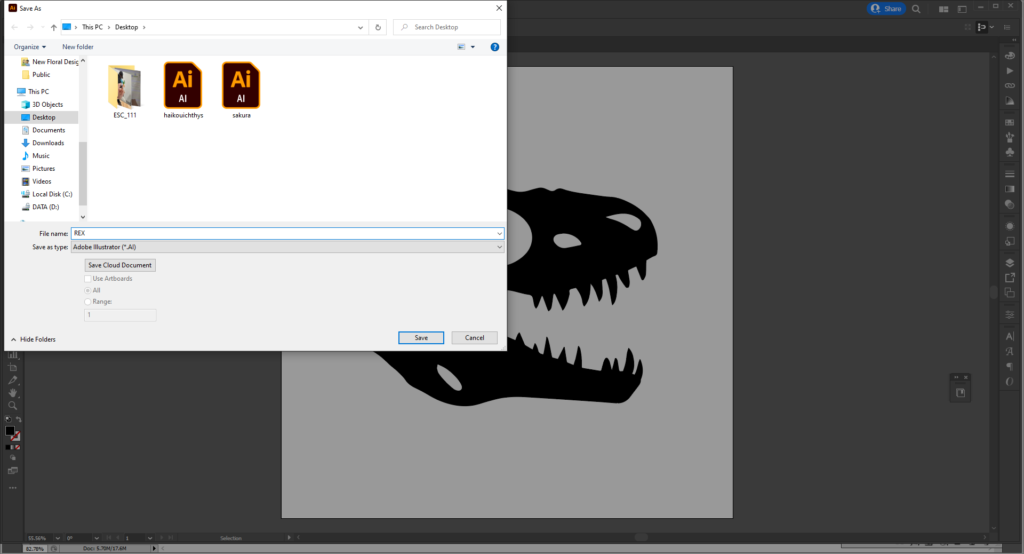
Make sure to save a copy of both the AI and SVG on a portable storage before emailing it to Lab Manager. Just in case any issues occur.
Exporting & Cutting In Cricut Design Studio:
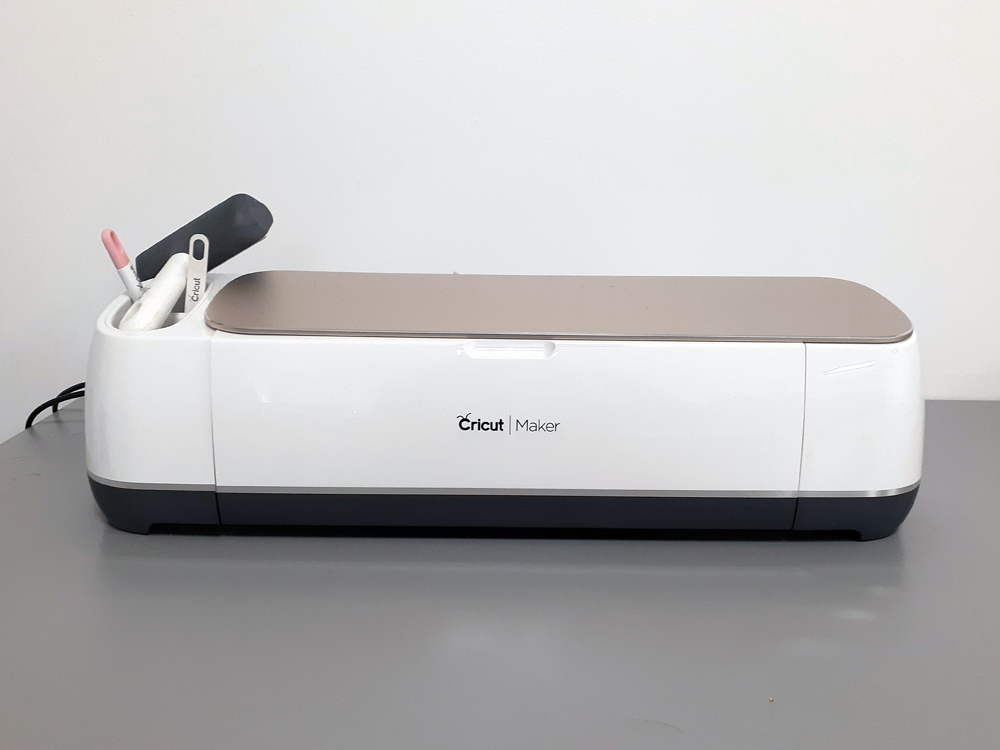
The Cricut Design Studio works for the Cricut Maker machine. It looks like this:
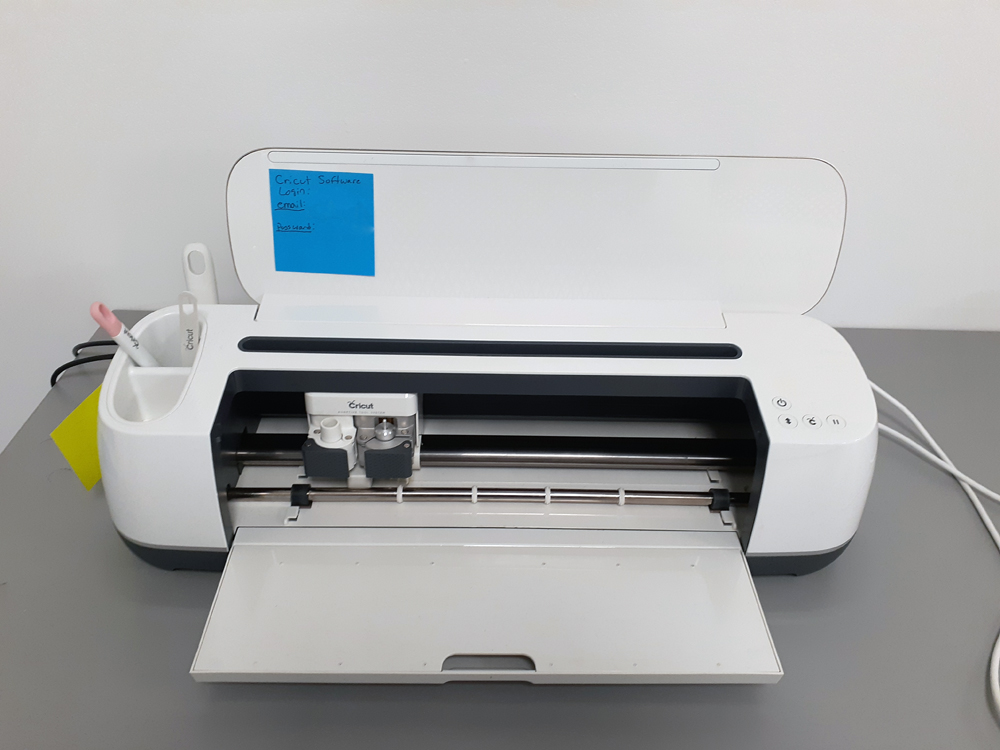
Open up the machine.
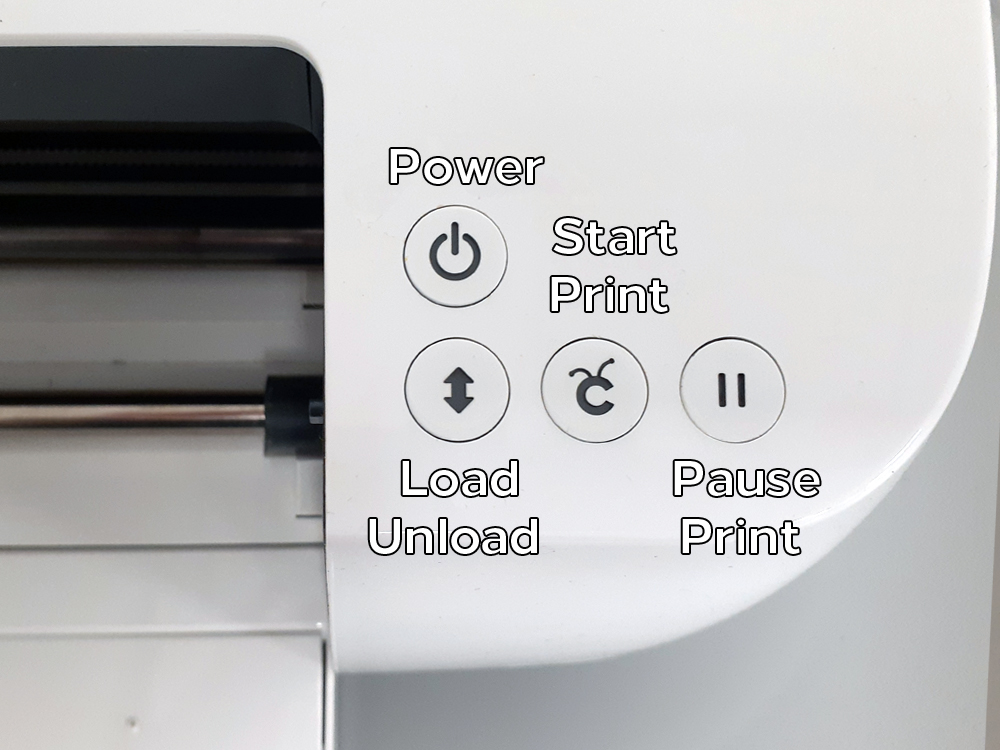
Turn on the Cricut Maker using the power button.
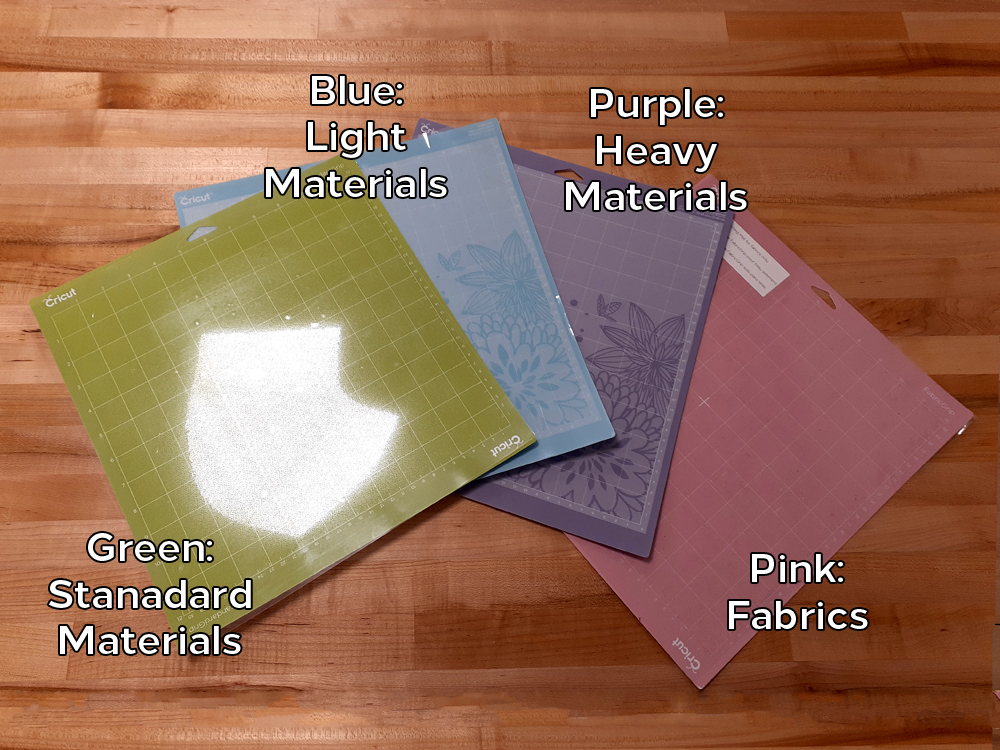
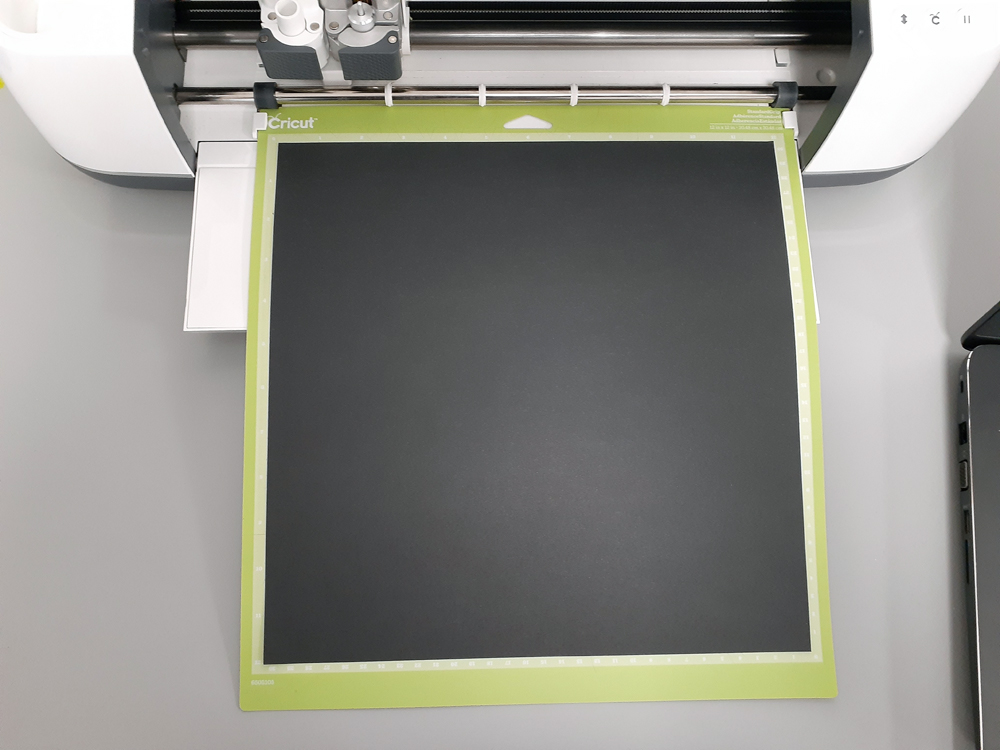
Next, pick your material. Your material will determine which of the Cricut mats to use with the machine.
- Green: Vinyl, medium paper, Cardstock
- Purple: Heavy cardstock and chipboard
- Pink: Fabric
- Blue: Printer paper or other papers, vinyl, thin cardstock
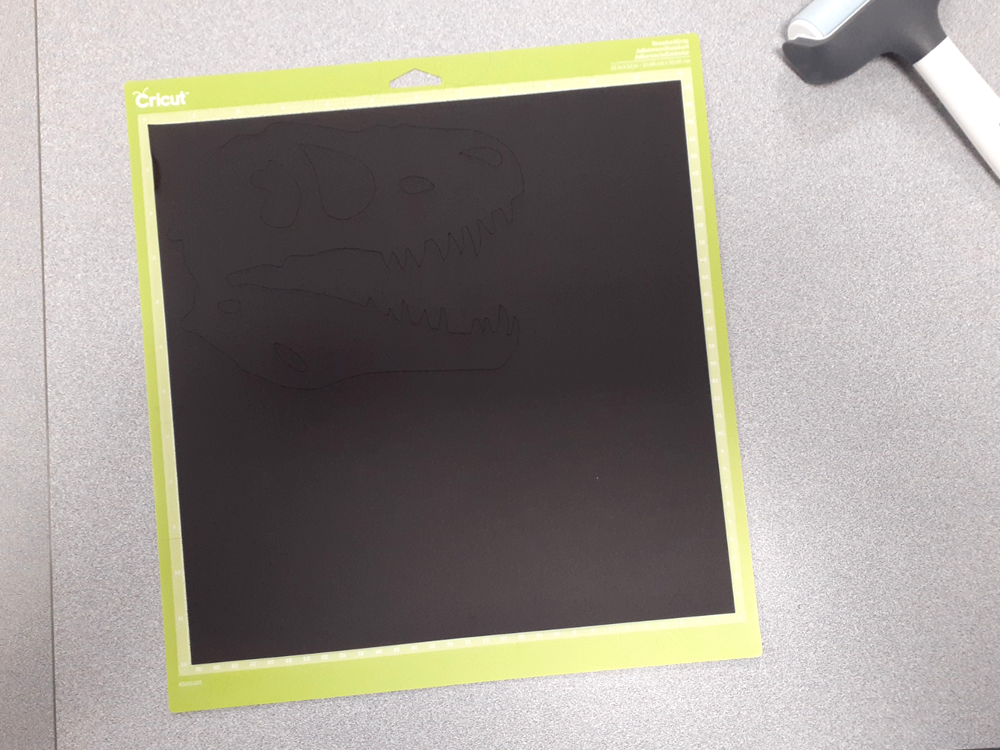
Remove the protective plastic and apply your material to the adhesive side of the mat, trying to keep it within the white grid. Use the roller to get rid of bubbles or to make sure you material sticks to the mat.
Once you’ve put it on the mat, slide the mat between the white “hooks” like below:
Plug your computer to the Cricut Maker, using the USB wire attached to the back of the machine. Double check to make sure it is the correct wire as the Silhouette Cameo also connects through a white USB wire.
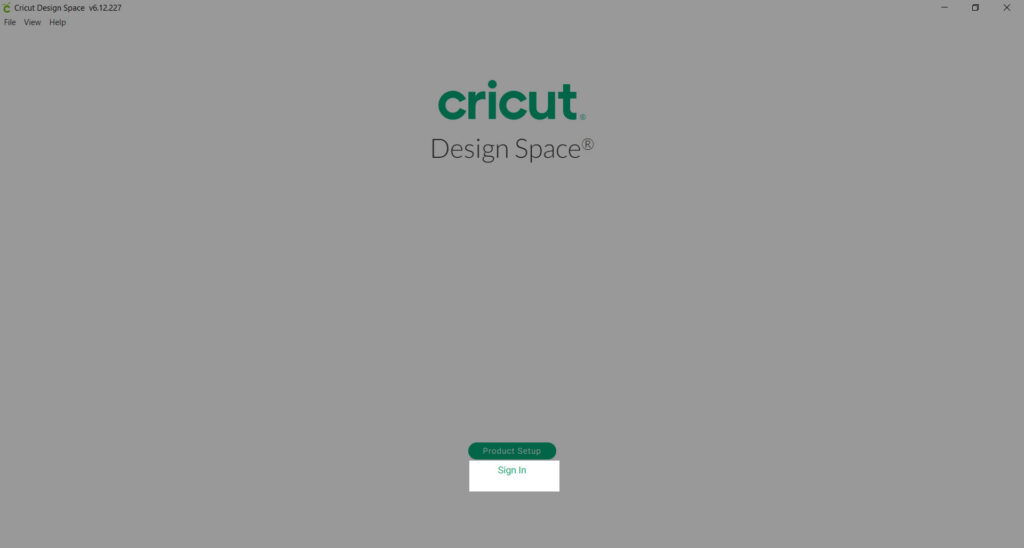
Open up Cricut Design Studio, the icon should look like this (or something similar):
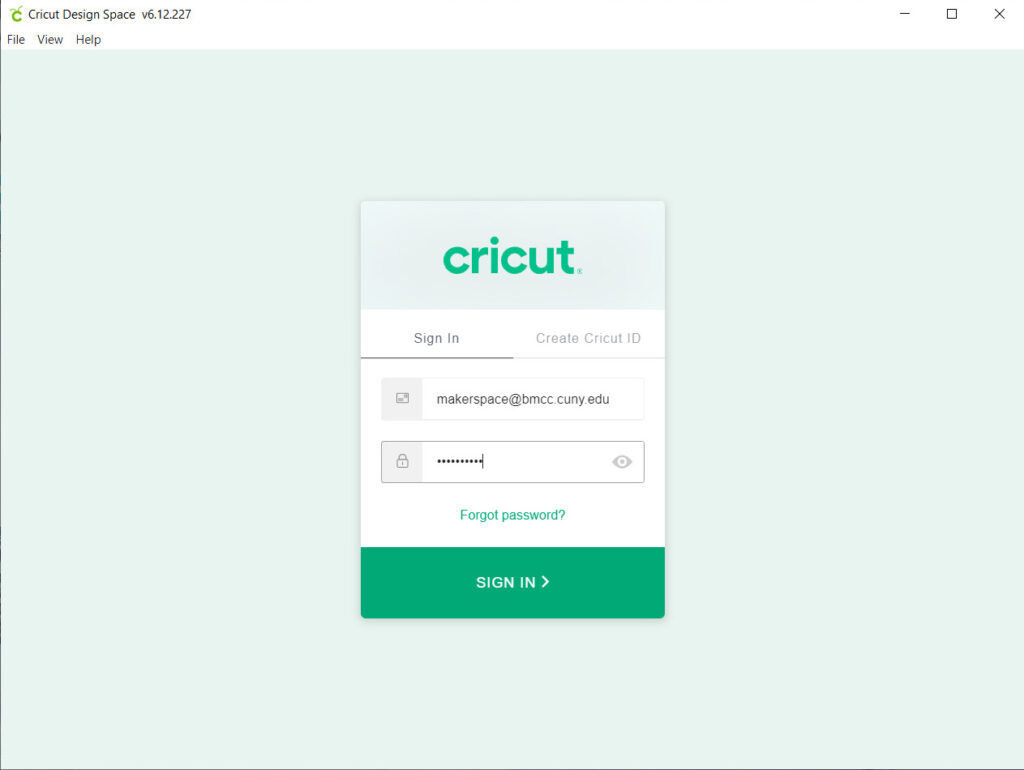
Once open it will prompt you to sign in. Use the blue post-it in the inside of the Cricut Maker (lifting the yellow top will reveal it) to input the email and password to access our Cricut Account.
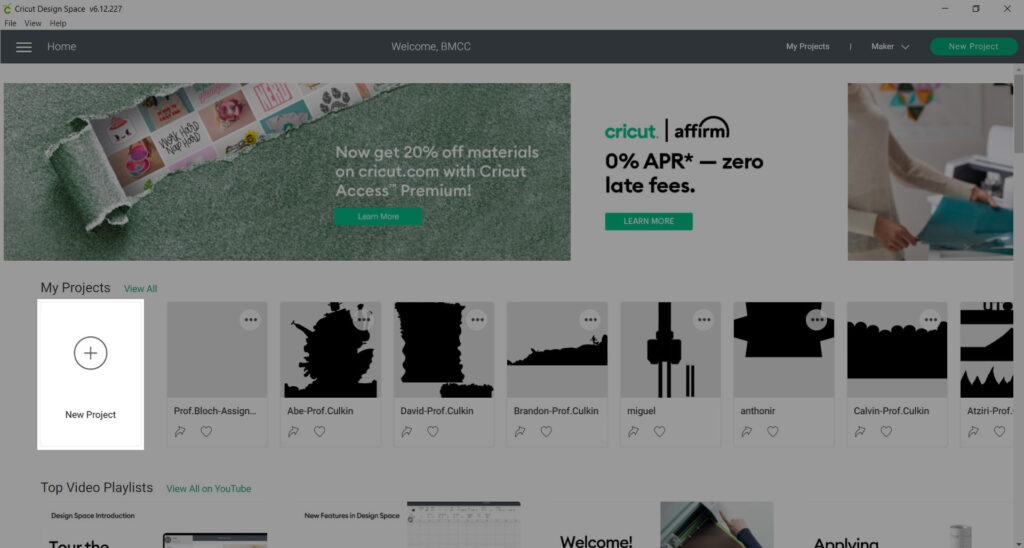
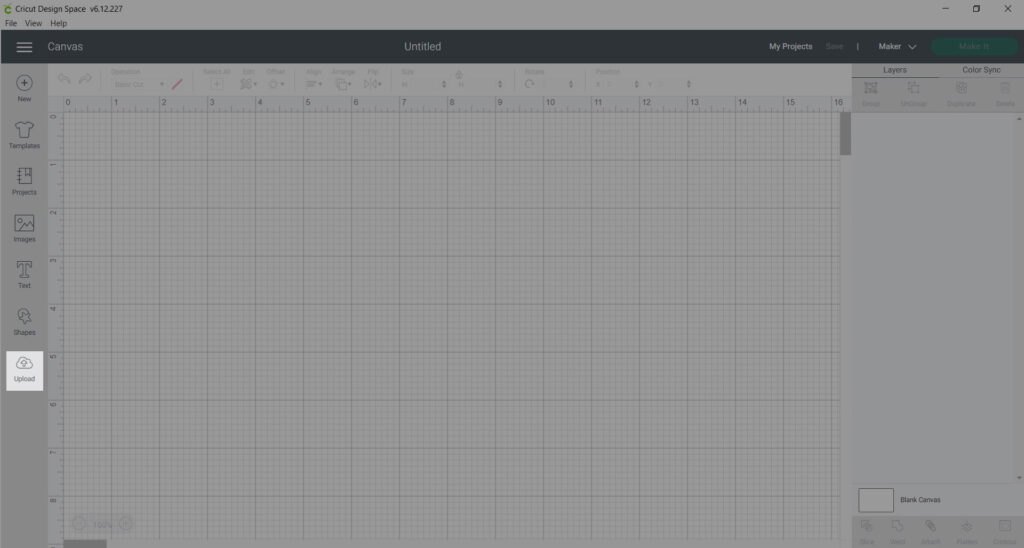
Logging in will take you a projects splash page. Select New Project and it will take you the the design interface.
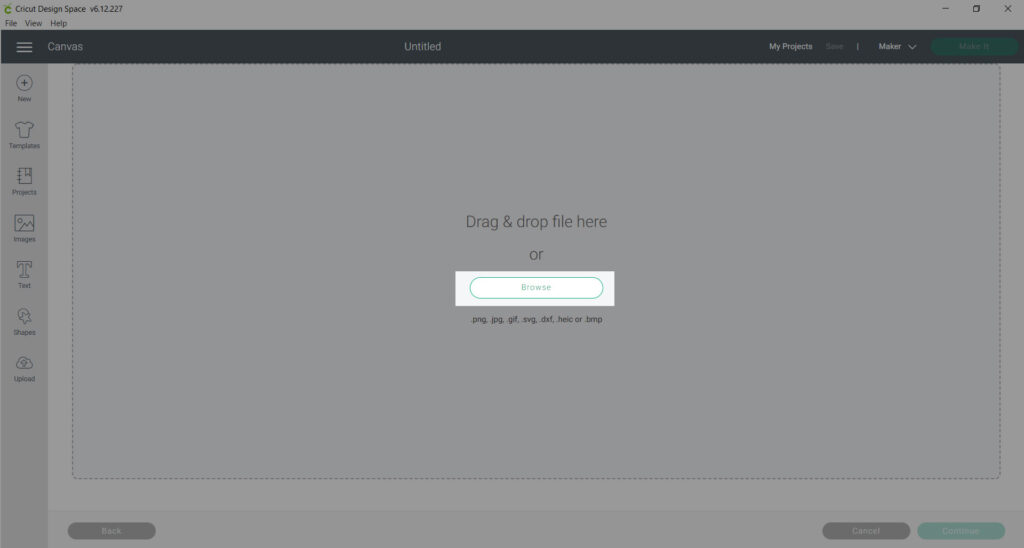
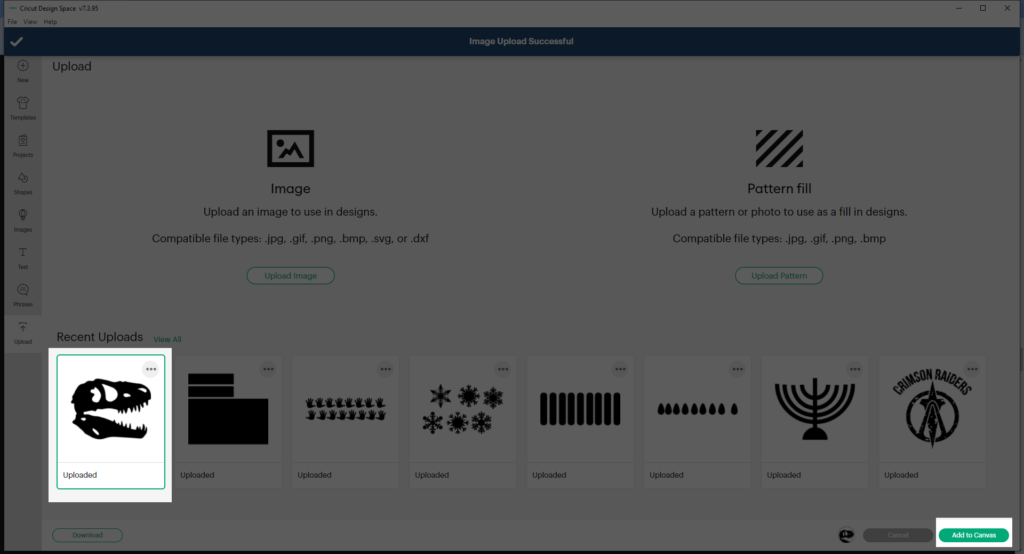
In the design interface, select Upload to upload your DXF file into the program.
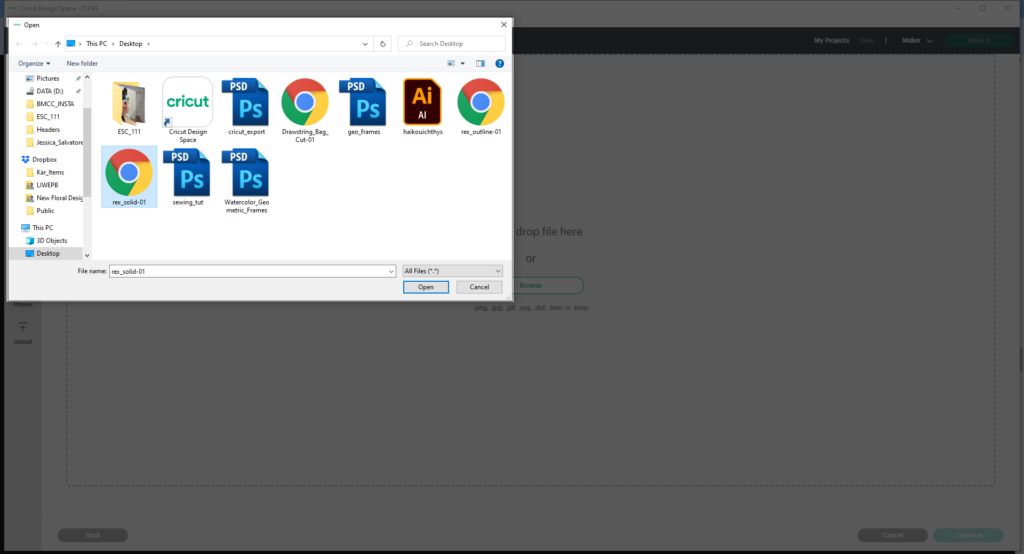
Select Browse to find where your file is and select it.
Once you have found your file, click Okay.
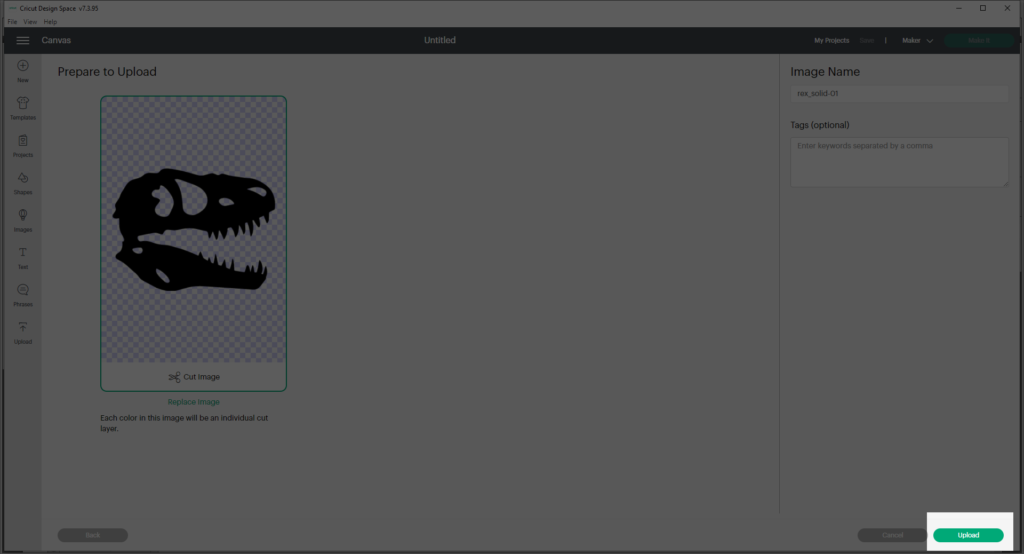
You will be taken back to the upload preparation page. Select Upload on the bottom right corner to finish the upload.
You will return to the projects splash page. Select your file and click on the button that says Insert Images.
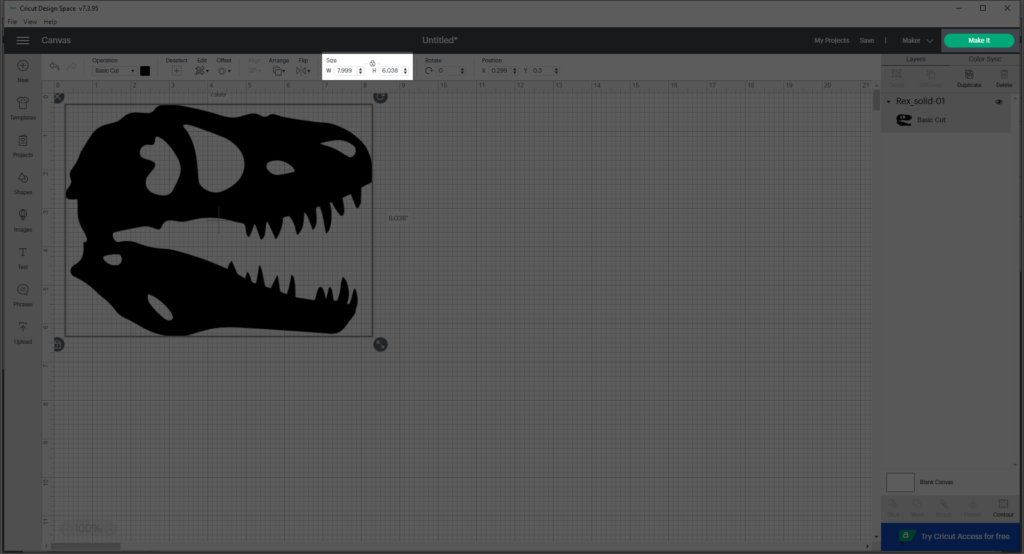
This will insert your file into the workspace. You may need to resize your image on the the bar on top. Be mindful to limits– the maximum safe space is 11.75 x 11.75 inches.
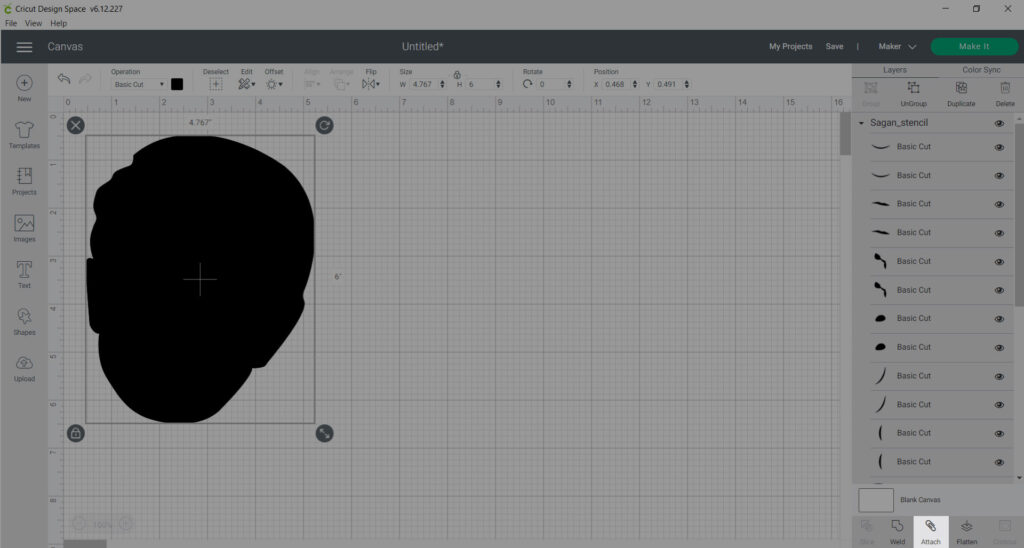
If it’s one solid shape, you can just skip this part, but if you have multiple pieces, you will need to select everything and select Attach, which has the paper clip symbol. This will allow the machine to read your file as one item. (See another older reference where you needed to use the Attach Function.)
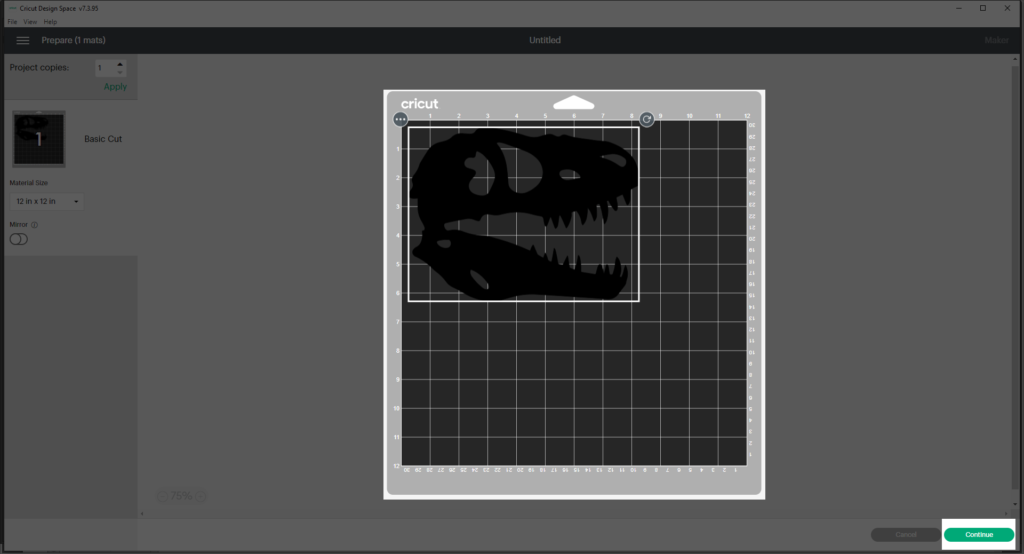
Once you’re ready, select Make It in the upper right.
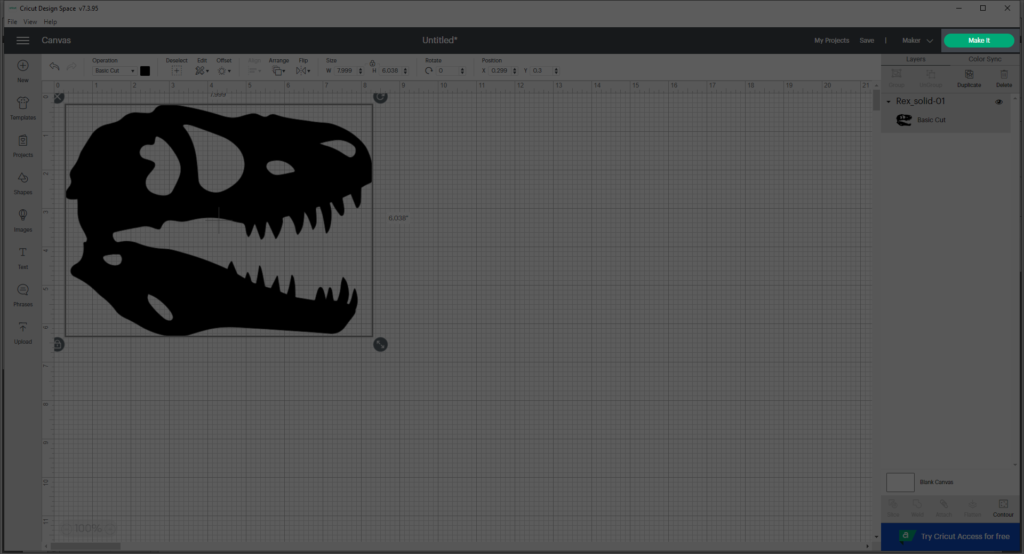
This takes you to new screen, showing a preview of what the cut will look like. If you haven’t attached your file properly cuts will be sorted improperly over the mat. If there are no issues or errors, select Continue.
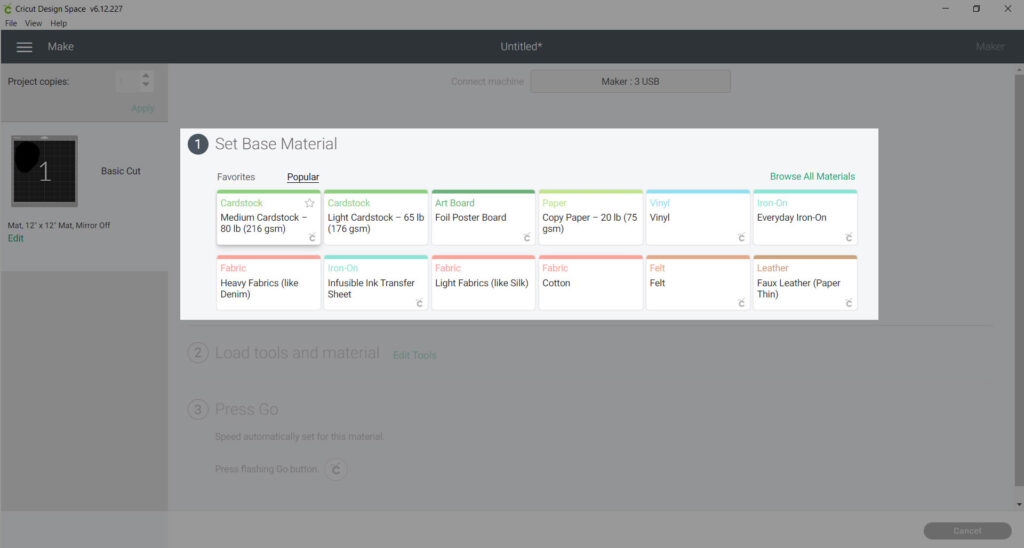
Select your material (or what you think is closest to your material).
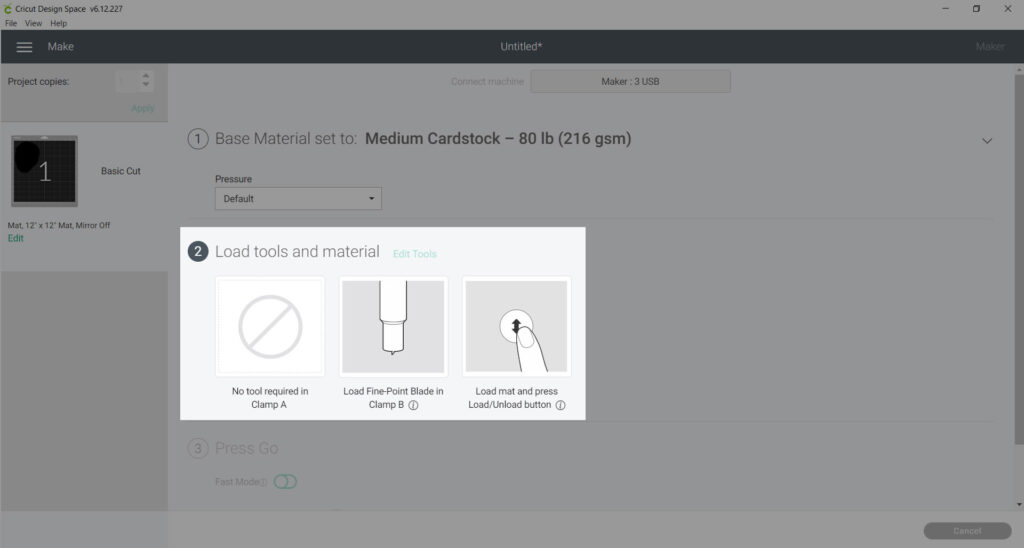
Once select, it will take you to the tool. You don’t have to do anything as we have the blade already in the proper slot.
Finally, it will tell you to press the Go button– which is the flashing Cricut button.
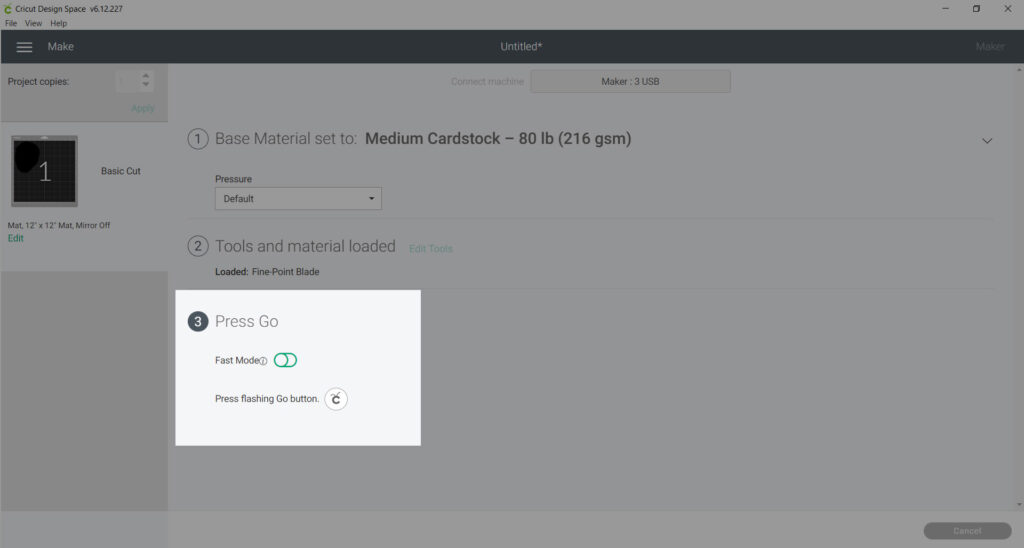
Before you press the flashing button, load the mat in with the Load button (the double arrow symbol. If it loads unevenly press the button again to unload it. Once satisfied, press the Go button to begin your cut.
Once it is finished, it will unload.
Remove all the material from the mat and replace the plastic cover on the adhesive before putting it away.
Happy Cutting!