
Used by crafters, cosplayers, and makers alike, craft foam is a versatile material. This guide will show you how to make some simple craft foam look like leather! This could be used as cover for a book you may have have bound or accessories for dress up! This workshop works well concurrently with the Foam Metal guide, as well as our Bookbinding and Book Cover [Link TBA] workshops!
As this will use tools that can potentially burn and hurt people. If you are an adult working with children, please make sure to be one using the hot tools. If you are not an adult, please ask an adult to help you with the iron!
I will be using ⅛ inch craft foam for this, but you can use ¼ inches or more or even EVA foam for thicker projects!
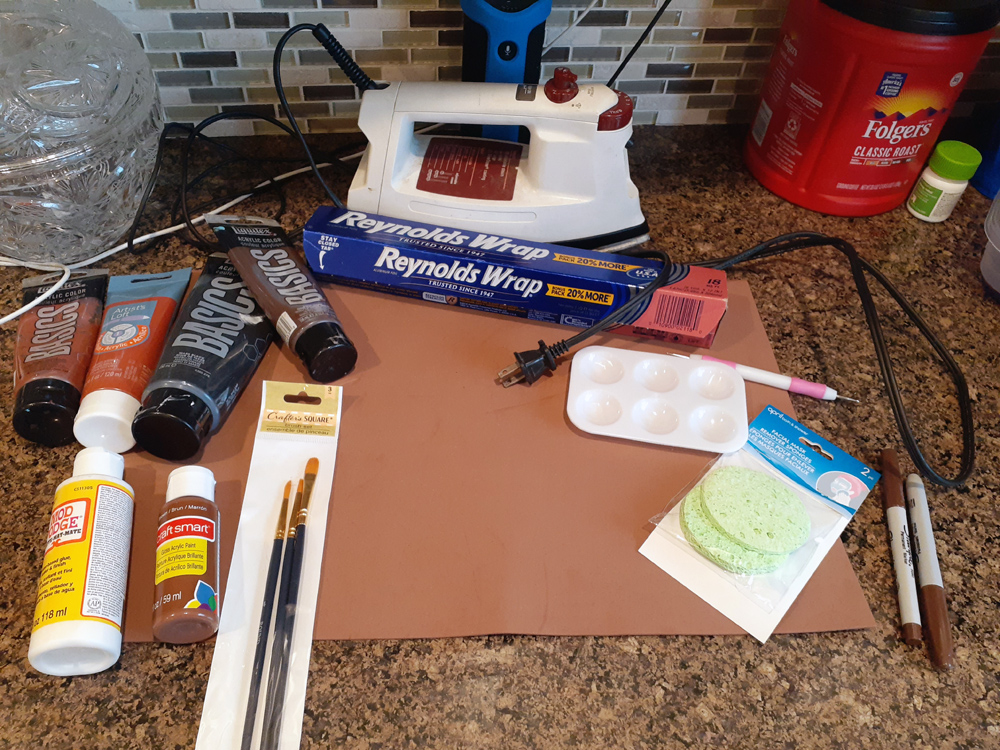
What You Will Need:
- Craft Foam
- Ruler
- Pencil
- Scissors OR Craft knife
- Aluminum Foil
- Iron
- Acrylic paint
- Mod podge, OR matte medium OR wood glue
- Sponge
- Paper Towels
- Cutting board (for craft knife)
- Newspaper or drop cloths (for paint)
Optional:
- Plastic gem cabochons
- Plastic animals (snakes, spiders, lizards, things that flat)
- Plastic flowers or leaves
- Hot glue gun and glue sticks
- Velcro dots, or snaps
- String or ribbon or cord
- Markers or Paint Pens
- Embossing tool, or craft knife
- Hair dryer or heat gun
- Masking or Painters tape
- Contact cement or foam glue
How to Make:
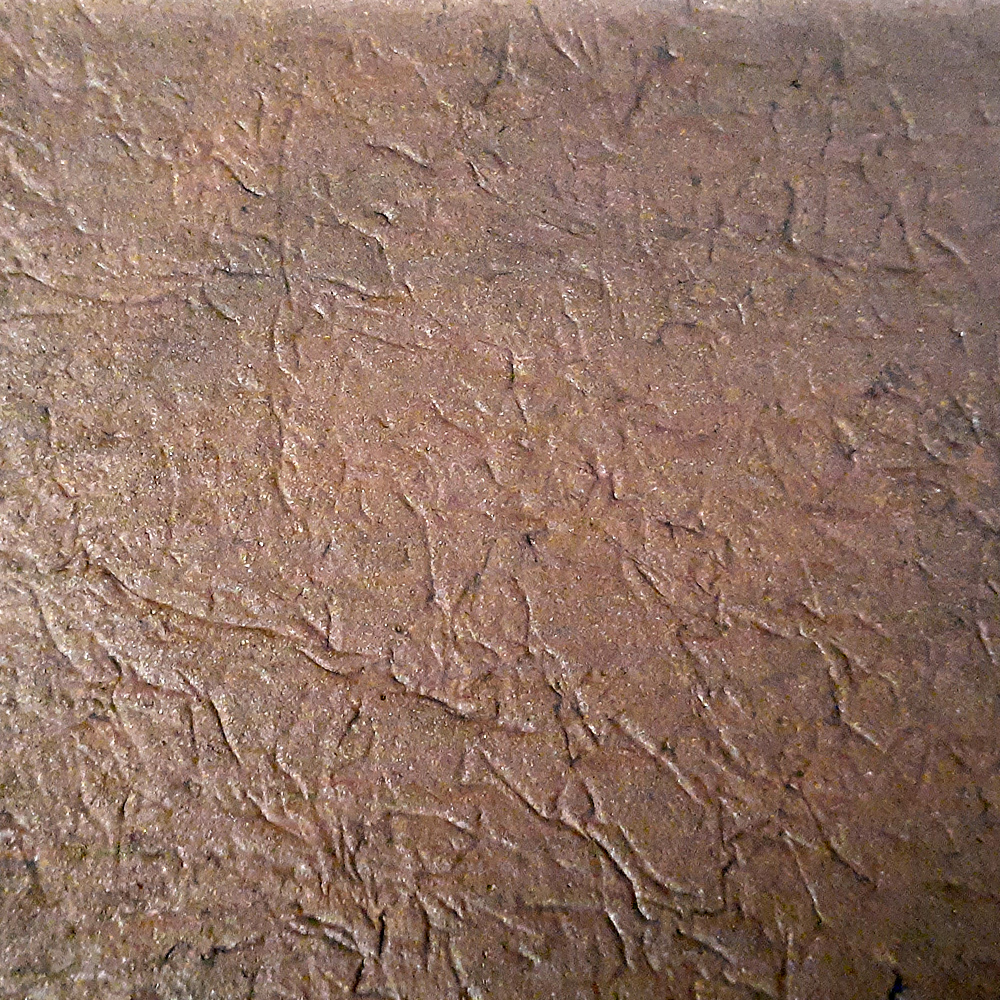
The Texture:
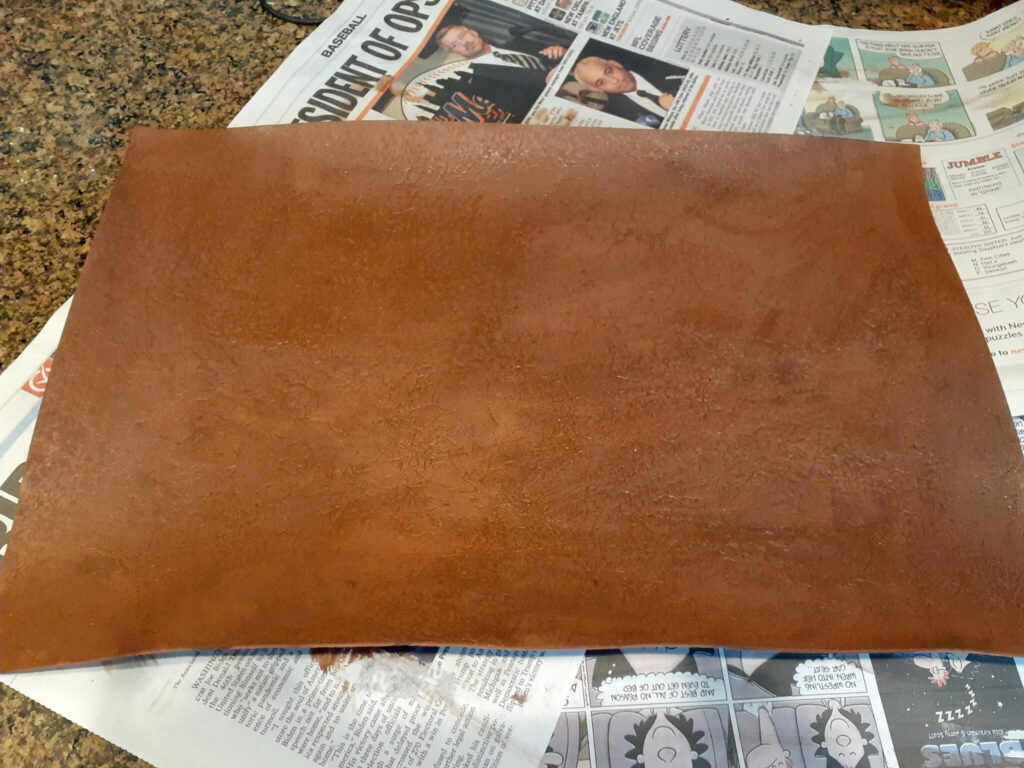
Your craft foam can be any color as you will be painting over it. But it doesn’t hurt to match your ideal paint color. I am doing a traditional brown leather– but you can do black or any color you wish!
Make sure to have enough aluminum foil to just about cover your space– you can do it smaller too!
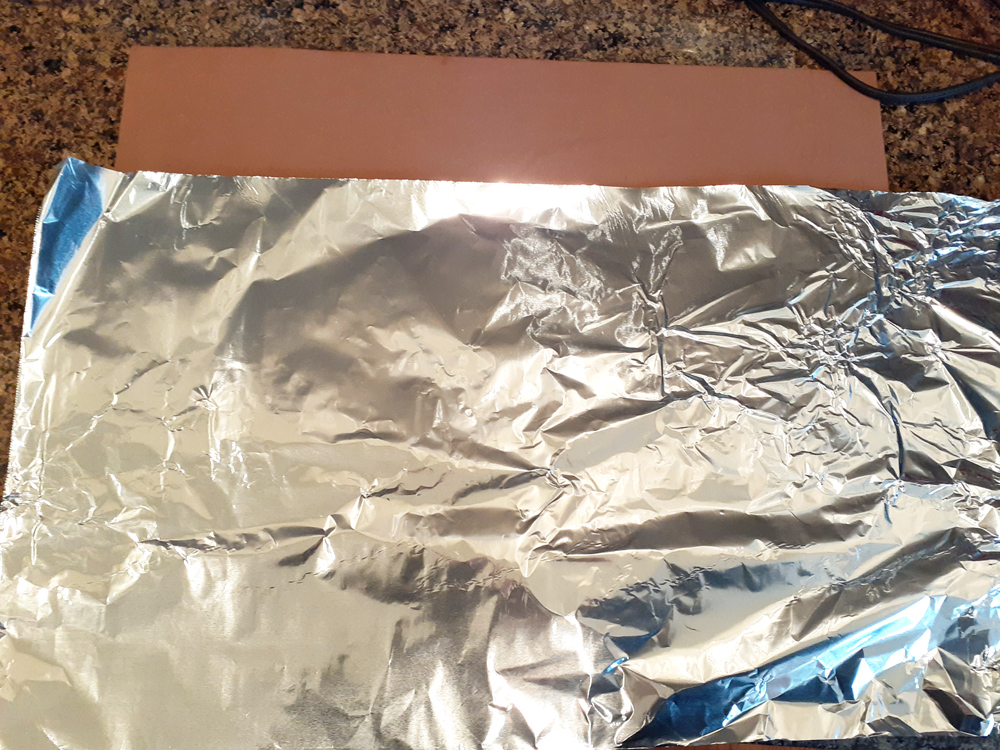
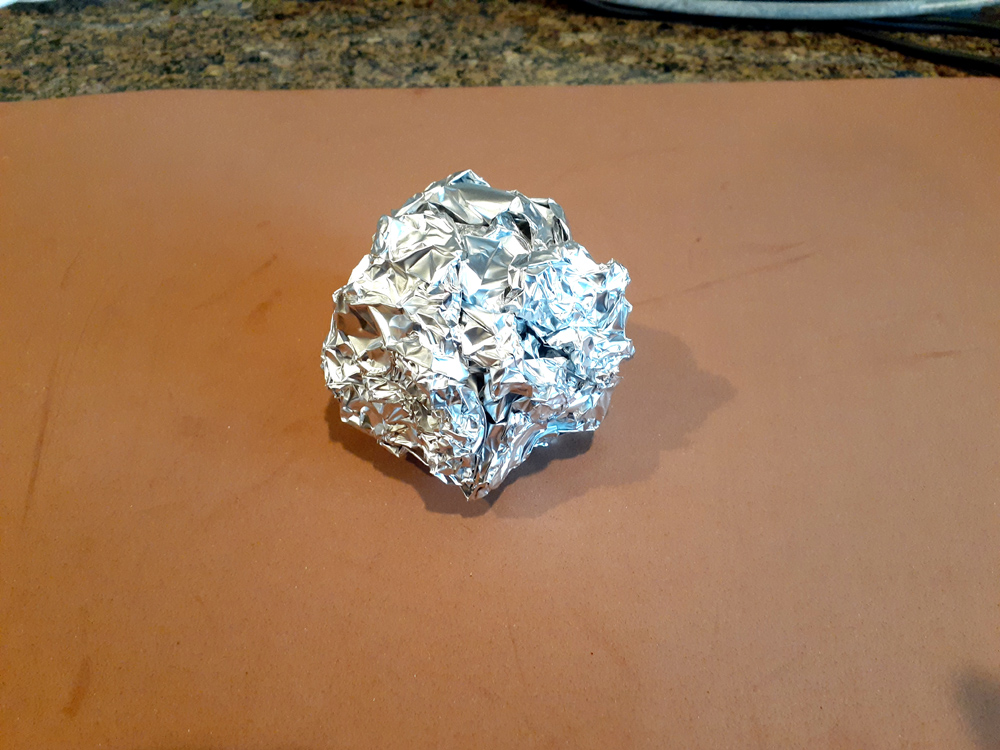
Crumple it up tight–but not so tight that you can un-crumple it.
Uncrumple the foil and lay it on top of your craft foam on a surface that is safe for use for an iron. You may need to keep it on with some masking or painter’s tape. You may want this piece to be your “test” piece to play with your settings and time.
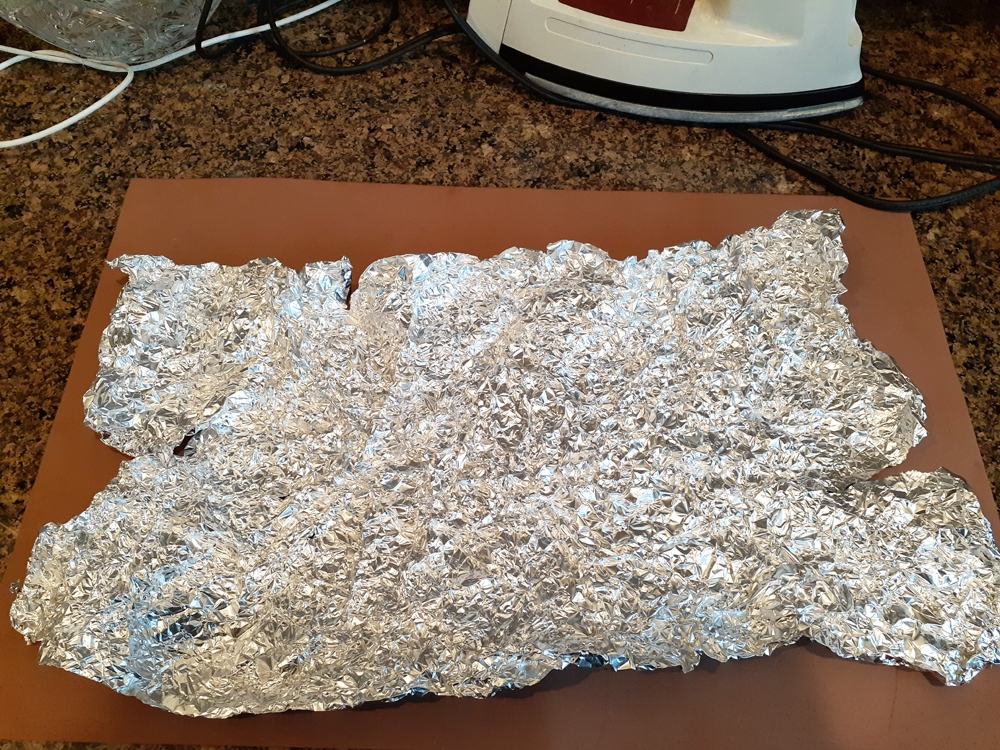
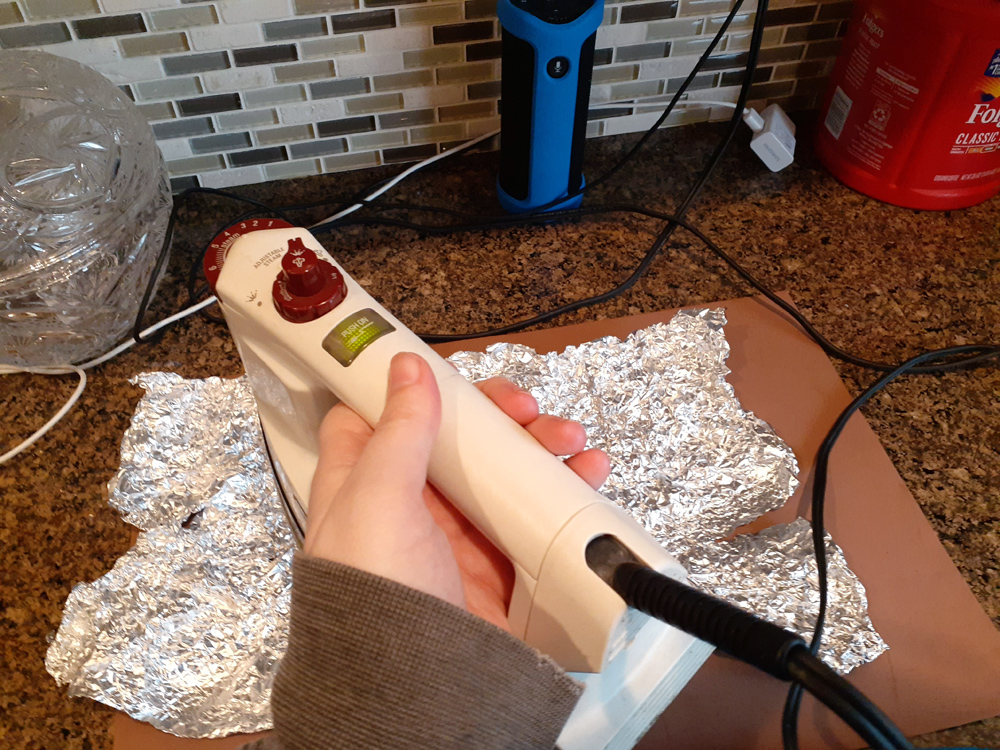
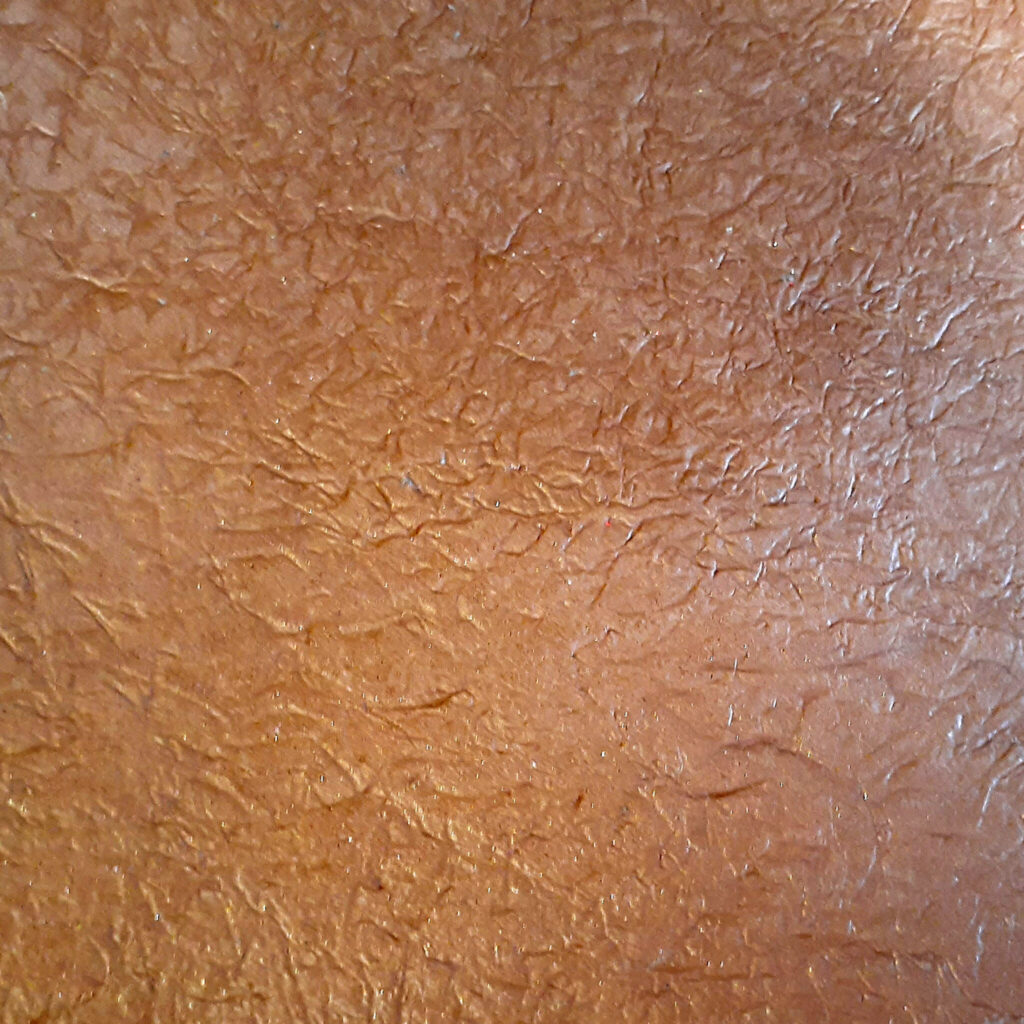
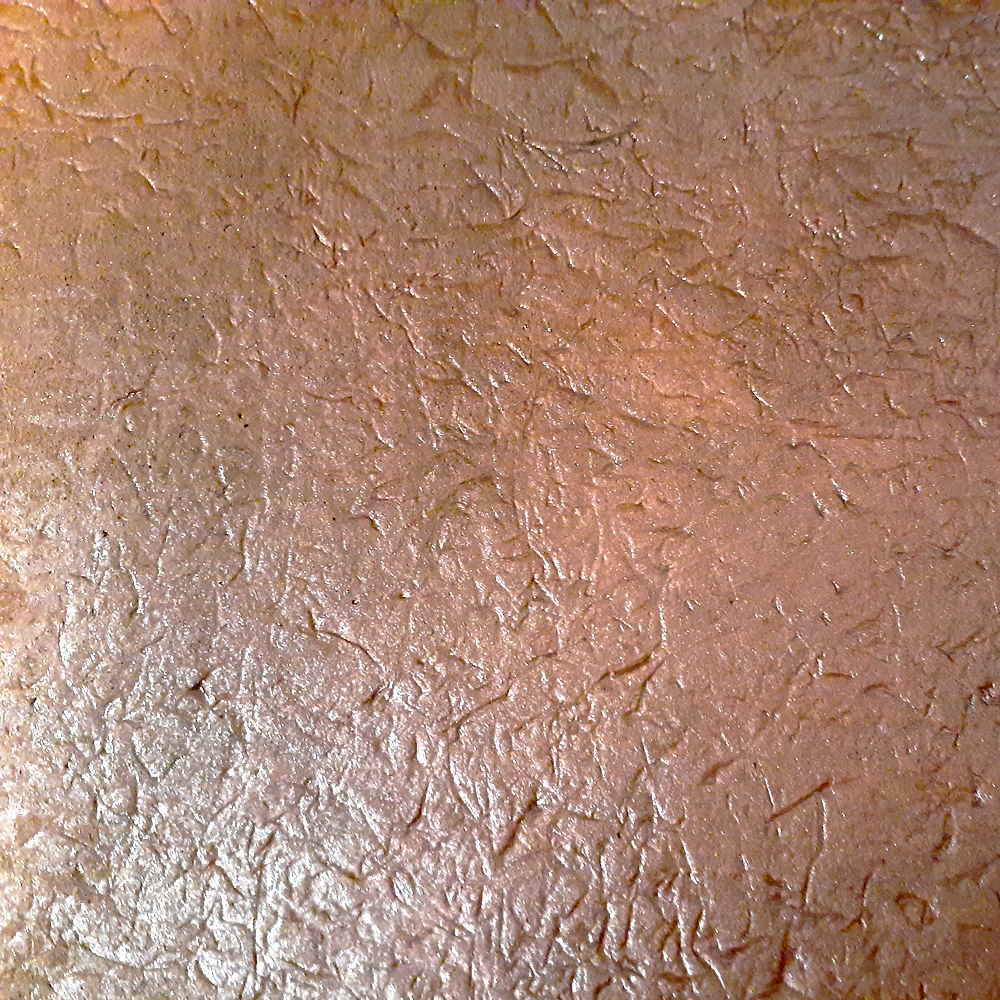
Setting your iron on medium heat, iron the foil onto the foam. Make sure to apply some pressure. This will cause the foil to leave a permanent impression on the foam. Flip and move the foil as many times as you wish if you want more grain. The foam may start to curl up when heated, don’t worry.
Something worth experimenting too: There are painting stencils that emulate fish or different kinds of reptilian scales. The thing is, they are meant for paint and will melt under the iron. You could try heating up the foam with the iron or heat gun, then lay on the stencil with something heavy on top to make sure the impression sets in. (I’ve yet to do this myself so it may not be successful!)
Embossing:
You may want to add some embossing to your leather. Using an embossing tool or craft knife, draw out your design. With the craft knife, be light– you want to score, not cut, so be especially light on thinner leather sheets. Feel free to make or use a stencil too!
Next, go over your piece with a hair dryer or heat gun for the design to set into the foam.
You can also go over with a sharpie or paint pen– the ink will eat into the foam a little, but not deep. You can mix up the tools for different effects.

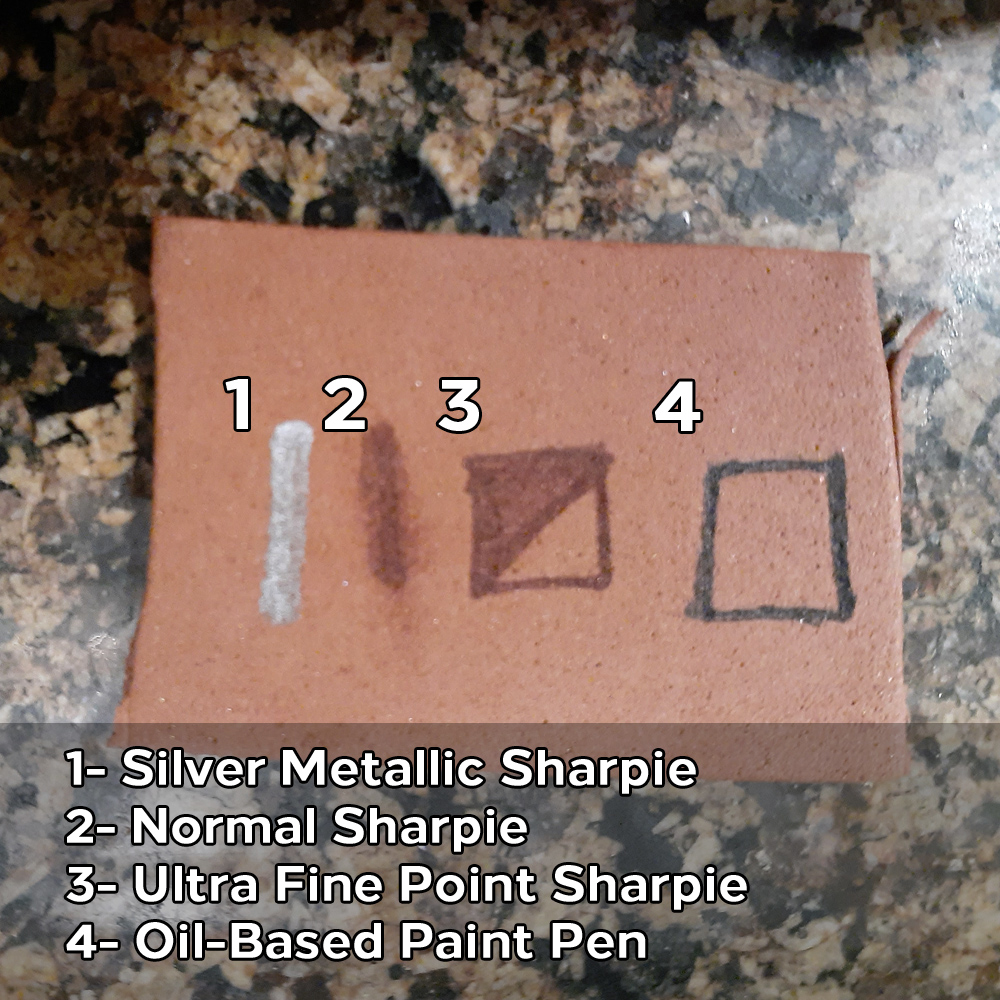

Image 1: shows craft knife and embossing too, put under a hair dryer for about 2 minutes on low heat. You might need more time for it to affect it more.
Image 2: Different types of markers on the plain foam. Left to right we have silver sharpie, normal sharpie in brown, ultra fine sharpie in brown and an ultra fine oil-based paint pen in black. The last two have caused a small divot in the foam as they are used to draw as well as the composition of in does eat into foam a little.
Image 3: A mix of embossing tool drawing and filling it in with an ultra fine sharpie.
Cutting and Shaping:
If you intend to make it a specific shape (like the chest part of a cuirass), you want to shape now before painting. You can also shape after painting, but it may not be as malleable after. Draw your shape either free hand or with a stencil in pencil.
Cut out with your scissor or craft knife. Put your foam over your “mold”– that is the heat friendly item you use to shape it and form it with a hair dryer or heat gun.
Make sure to do any embossing designs on your foam before shaping!
The Color:
Set up a space where you can safely paint and can easily clean up, as well as a space for it to dry. This will need to dry several times in the process.
If you want to copy my colors, they are the following: Craft Smart Brown, Liquitex Black, and Liquitex Burnt Sienna. There isn’t that much difference in color between brands but if you’re buying, Craft Smart is rather affordable being about $1 a bottle as opposed to a $6 Liquitex tube. (I had them on hand from other painting projects.)
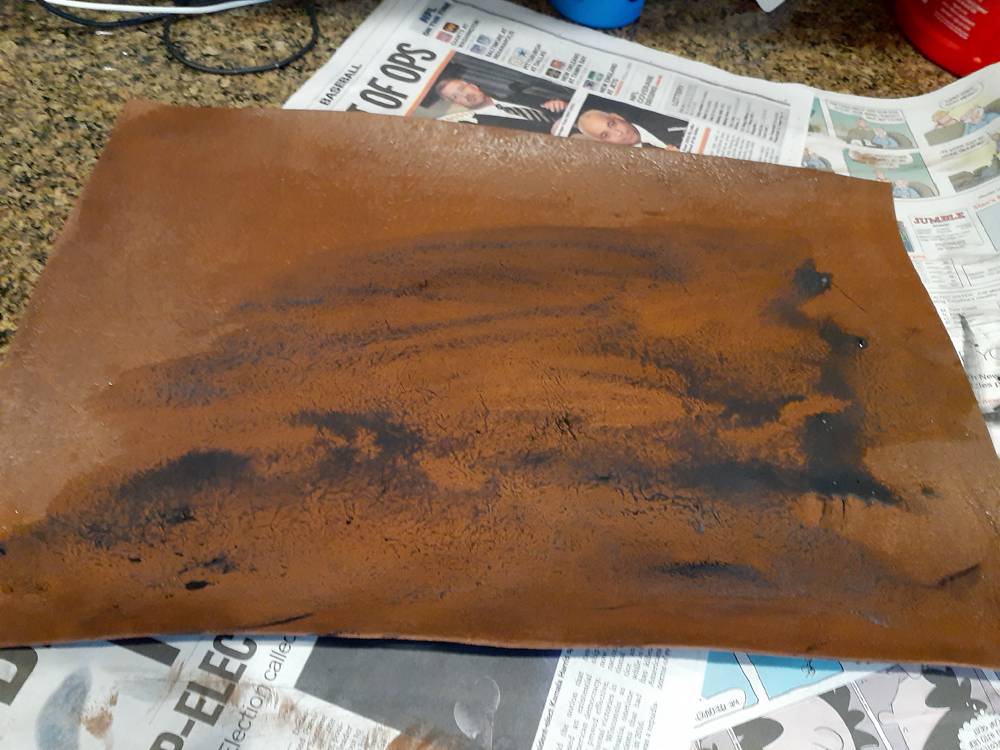
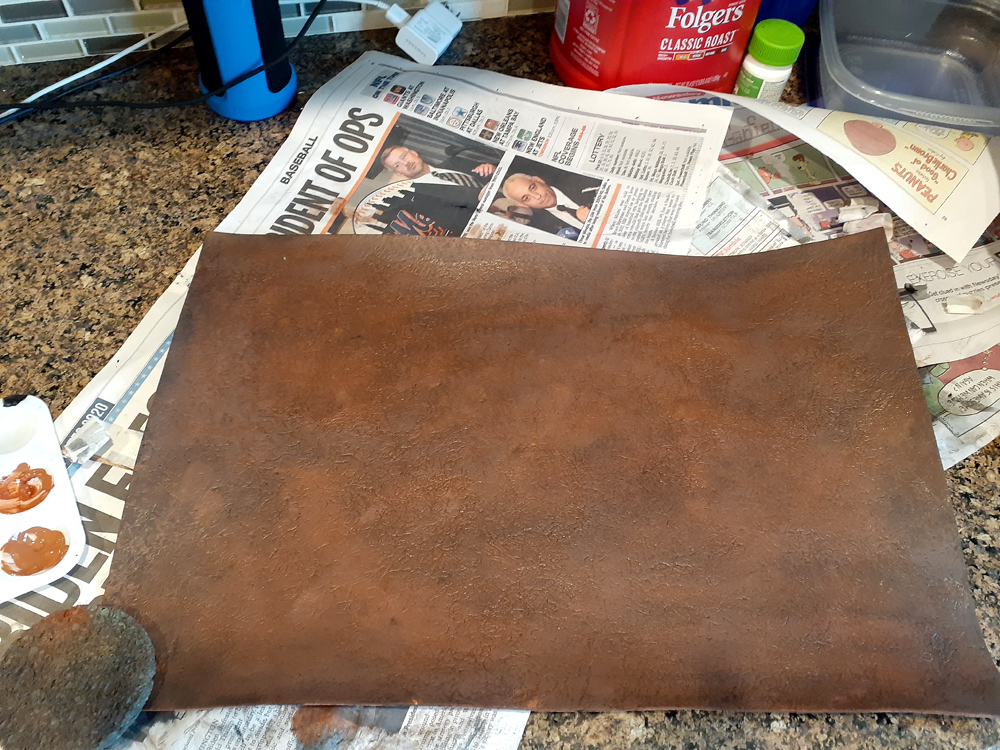
Start out with a base coat of your darkest color. For mine, I mixed my brown with some black to make it darker as my burnt umber paint had dried out over time.
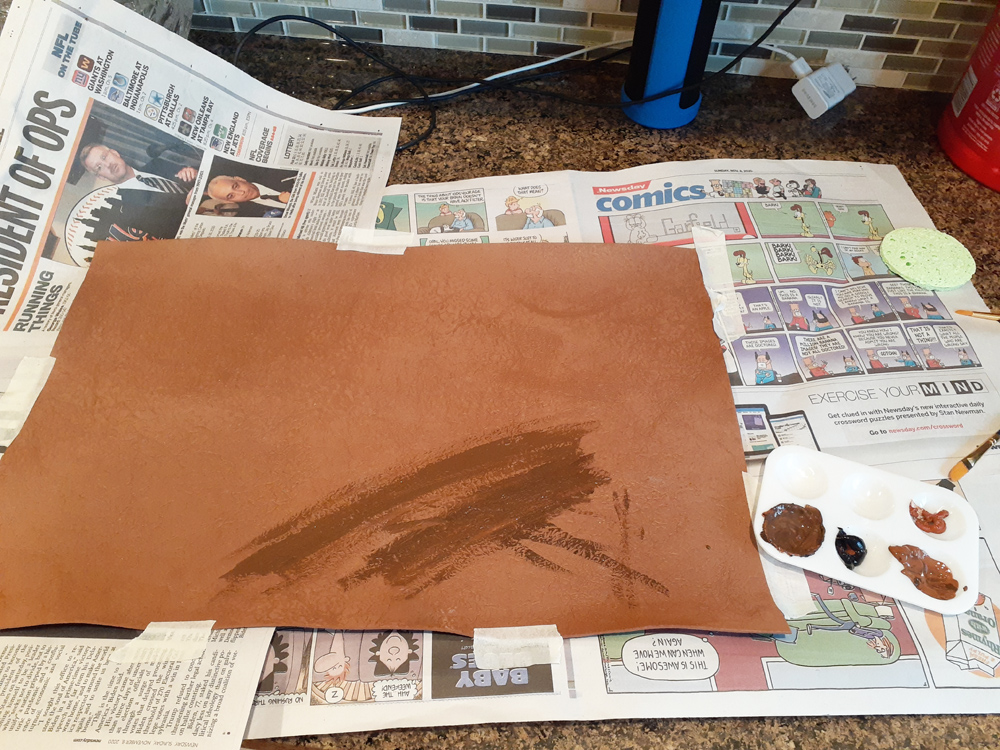
Next, water down your black paint and go over the base coat with a wash of black. Gently wipe with a paper towel (or sponge). The black should hopefully fill into the cracks of the grain. You may need to repeat the process several times– I had to with a blend of less water and more pigments and removed it with a sponge to finally get the look I liked.
If you are trying to go for a more colored leather (ie red or yellow or green), you might want to get a very dark version of your color for this, then treat your middle color for your base coat and the lighter for highlight.
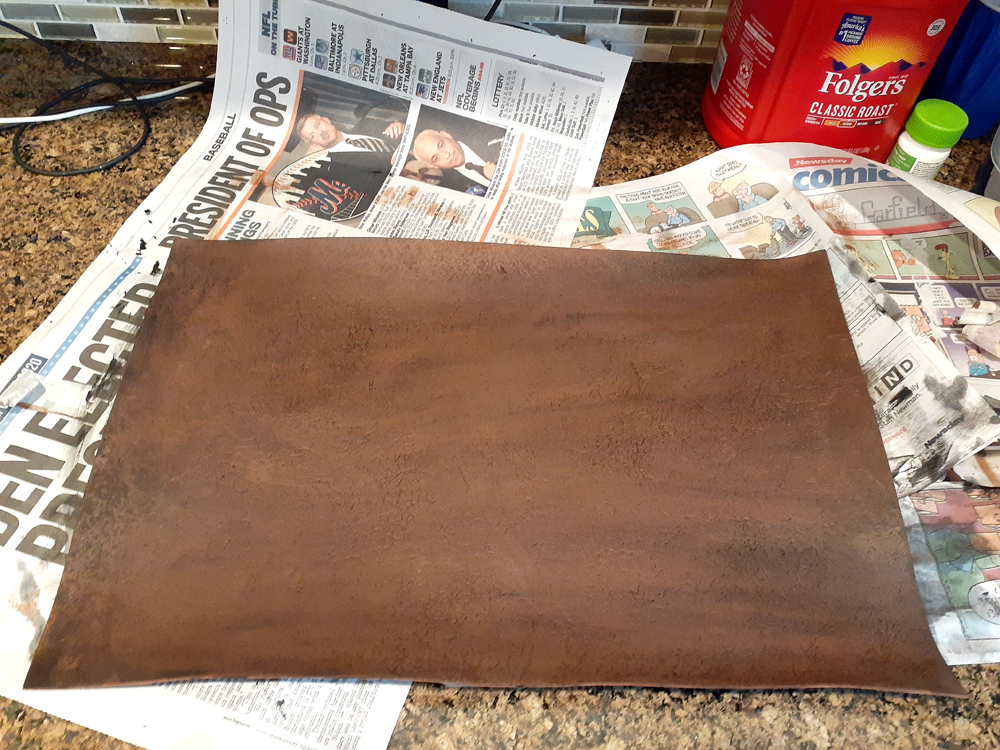
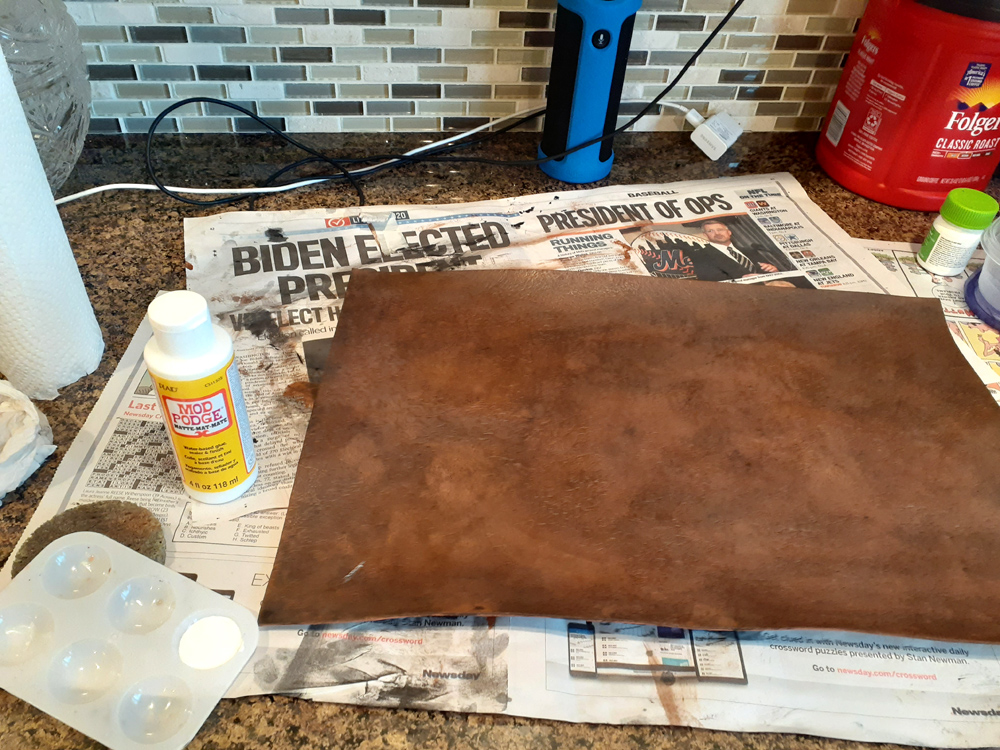
When that is dry, use the sponge and brushes with your lighter and darker colors to paint over to give it depth and character. Feel free to smudge and smear with a clean sponge or paper towel. Once you’re happy with it, let it dry. If you want, you can repeat this for a few coats, as the acrylic goes on pretty thin and you don’t have to worry too much on build up.
Foer your experimentation: there are metallic and iridescent acrylic paints out there. Either with a paint pen or metallic acrylic paint, you can fill in your embossed spaces in for a filigree look. Or pair it with the above mentioned scale stencils, you can make it look like mermaid or dragon scales!
When it is dry, wash over with something to seal in your paint. This can be matte or glossy mod podge, matte or glossy acrylic medium, or even watered down wood glue. I am using a matte finish mod podge, but glossy is fine if you want something a little shinier!
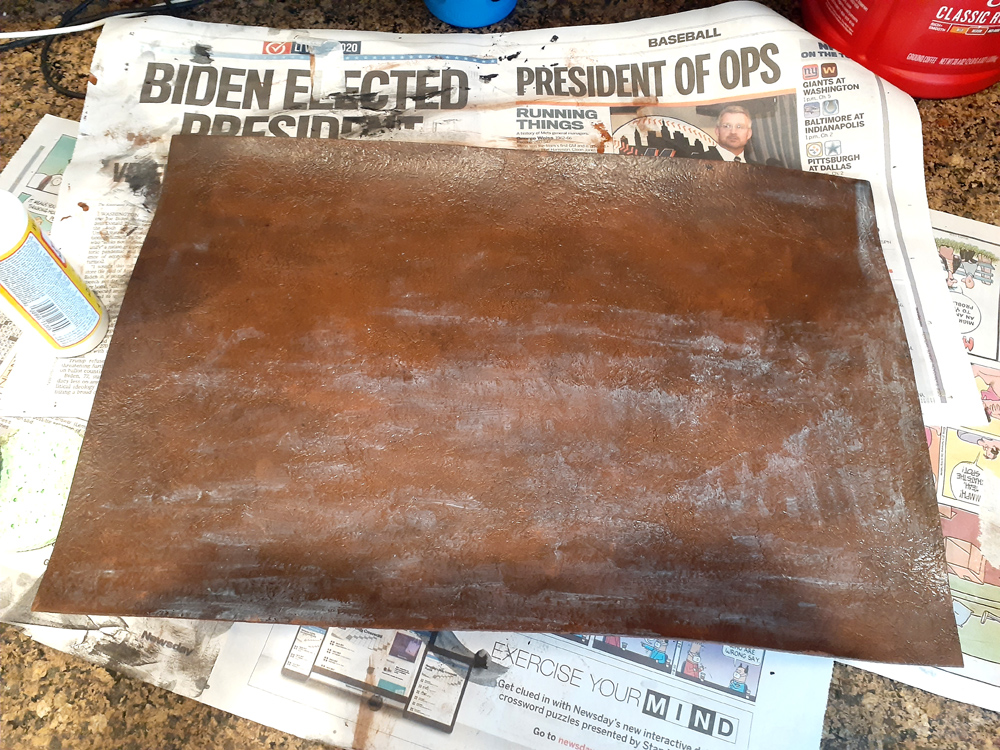
If you’re just doing the full sheet like me, your foam will curl a bit while painting, but once it’s dry you can place it under some heavy books for a day or two to flatten it if you’d like.
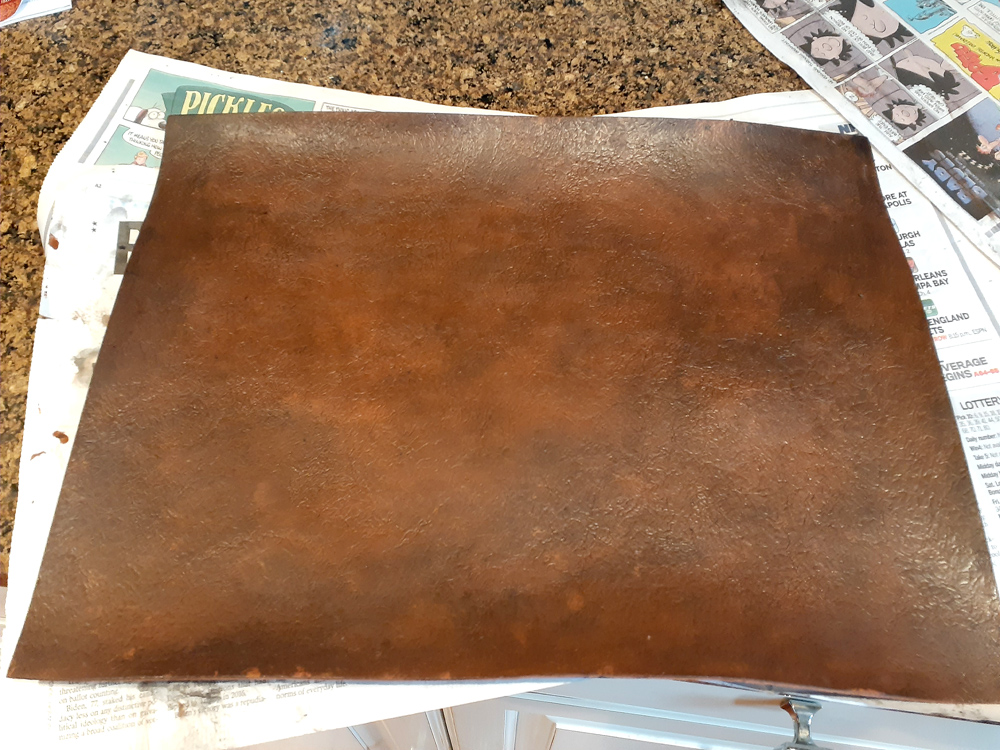
And there’s your leather! You can now stencil and cut out shapes for your projects!
Optional: Decoration!
Above, I mentioned a list of optional materials. These are all depending on what you make. Velcro, snaps, or string can be used for headbands pouches. You may want to add decorative elements like embossing, flowers, or gems. Or even paint another scrap of foam with metallic paint to make rivets or studs. The possibility is endless!
Using the hot glue, you can glue on your physical accessories. For gems, you will also leave a little ring around the edge to look like it is embedded.
You will paint that to match your leather once it’s dry! If you are going for a spooky grimoire book cover, you can add plastic toy snakes and insects and the like with hot glue, and paint them to match the leather (or not!) to your liking.
Constructing:
If you did not cut out your shapes, cut them out now. You can use a hot glue gun if you don’t mind a mess, or foam glue or contact cement if you intend to have clean seams. If you’re not sure what to use, you can always check out This to That! It is basically a guide to all things glue, and is great to bookmark as a maker.