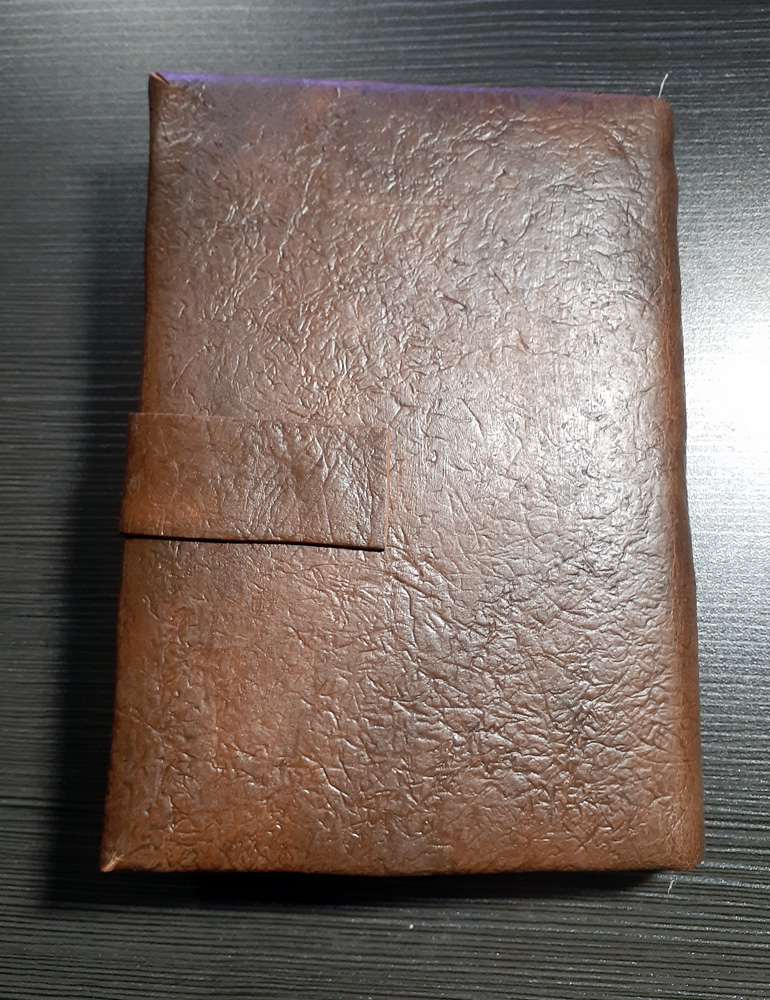
This was made concurrently with the Craft Foam Leather and Craft Foam Metal guides, the inside parts follow the Soft Cover part of the Book Binding Workshop.
As such, my guide will be using foam, but you can use paper, or cloth, or even pleather and more!
What You Will Need:
- Thin craft foam OR Fabric OR Decorative paper
- Cardboard OR Chipboard OR Binding Board
- Ruler
- Pencil
- Scissors
- Craft knife
- Glue (This will vary on your material)
- Bone Fold
- Cutting board (for craft knife)
Optional:
- Plastic gem cabochons
- Plastic flowers or leaves
- Plastic animals (snakes, spiders, lizards, things that flat)
- Velcro dots, or snaps
- Paint
- Scrapbook Clippings
The Inside:
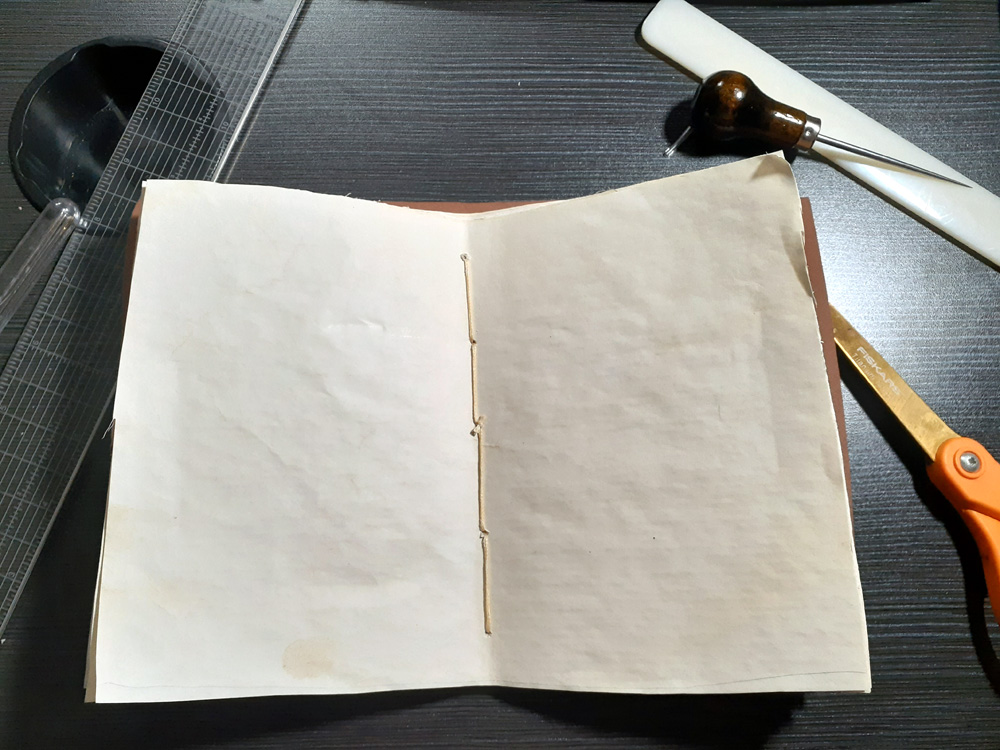
I won’t go into detail here, as I have said enough in the bookbinding workshop. You want to follow the “Pamphlet Stitch” guide there. For a hardcover book like so you want to make several of these “pamphlets” and then holding them with a binding clip. Using your awl, make a few holes close but not right on the edge. Bind your pamphlets together with your binding thread.
The Hardcover:
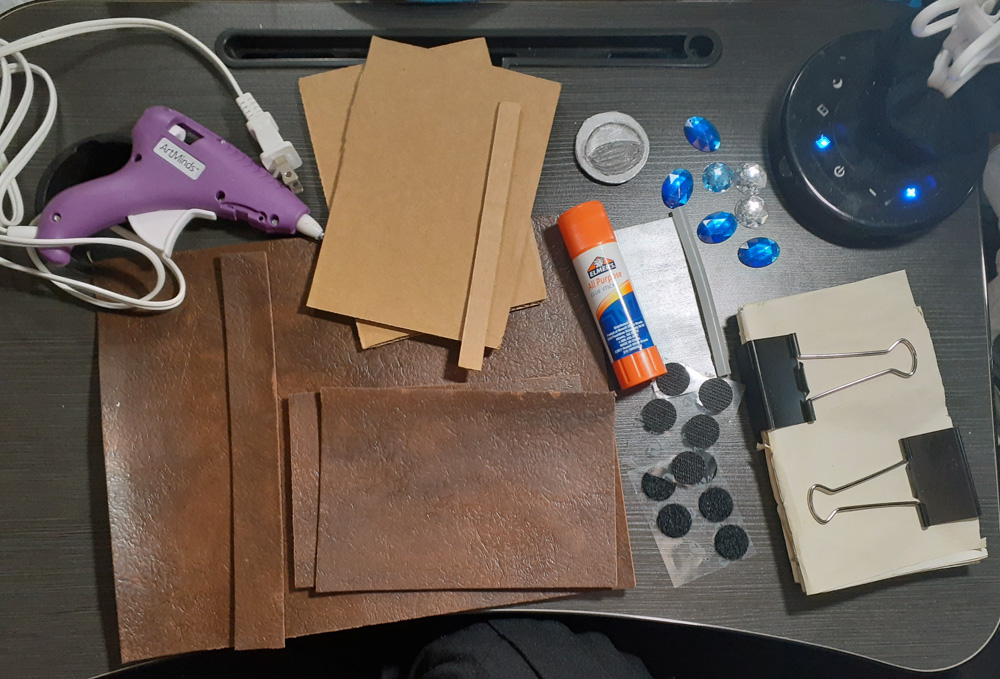
Measure and cut out your hardcover with the material you are using. I am using a thicker cardboard than what might be used, but the binding board is a type of pulp-based board that is meant for bookmaking.
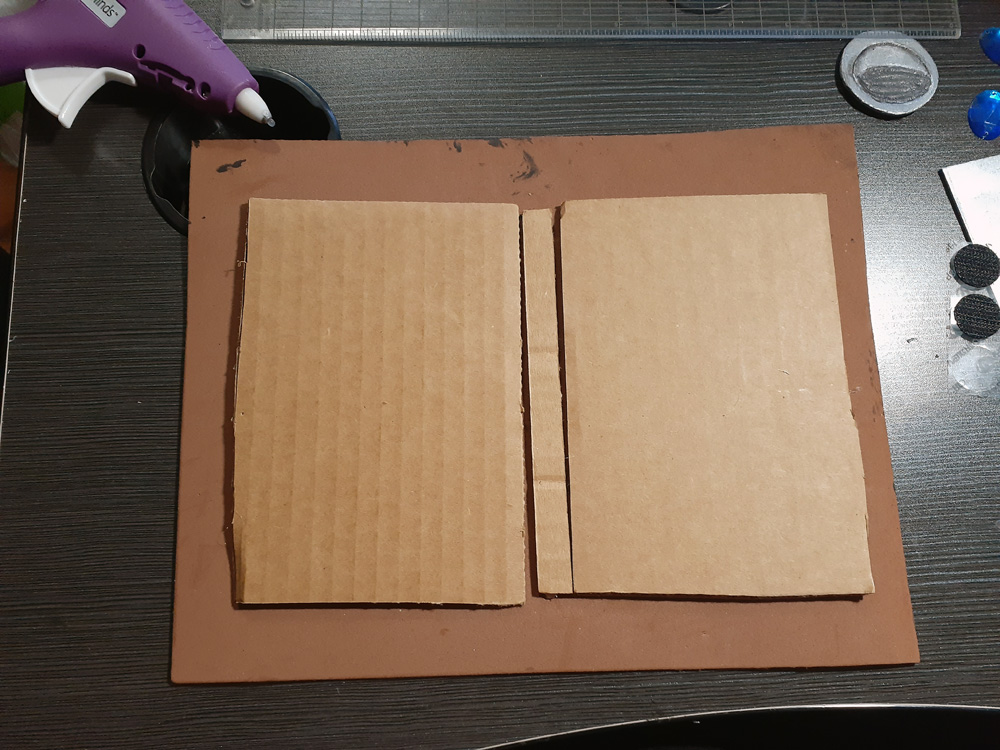
Mine dimensions are a little odd, my covers are 4.5 inches by 6.375 inches, and my spine is 0.25 inches by 6.375 inches. Your spine should be the same thickness as your bound paper.
For your binding you want to make sure there is at least between .25 to .50 inches out on all sides of the edge, and about .125 in on each side between the spine and the cover so that the cover an open and close more easily. Feel free to mark in pencil– it won’t be seen once bound. I trimmed mine a bit after this photo and added darts (little slashes in the corners to help with folding.)
Mine extra space is a little over that– I am using an 8.5 by 11 inch sheet. I will also need two more 4.5 by 6.375 inch panels for the inside cover.
Using your glue. Glue your boards to the inside part of the cover. Then using a craft knife, you may need to trim down or make darts to help fold your over onto the spine and cover board.

Next, using the glue, glue your paper to your spine.

Once dried, you can glue your inner covers onto the board to hide your folds. If you have your book, glue it to the spine and let dry. You may want to put some books on top off it to put some weight and help flatten everything.
Softcover:

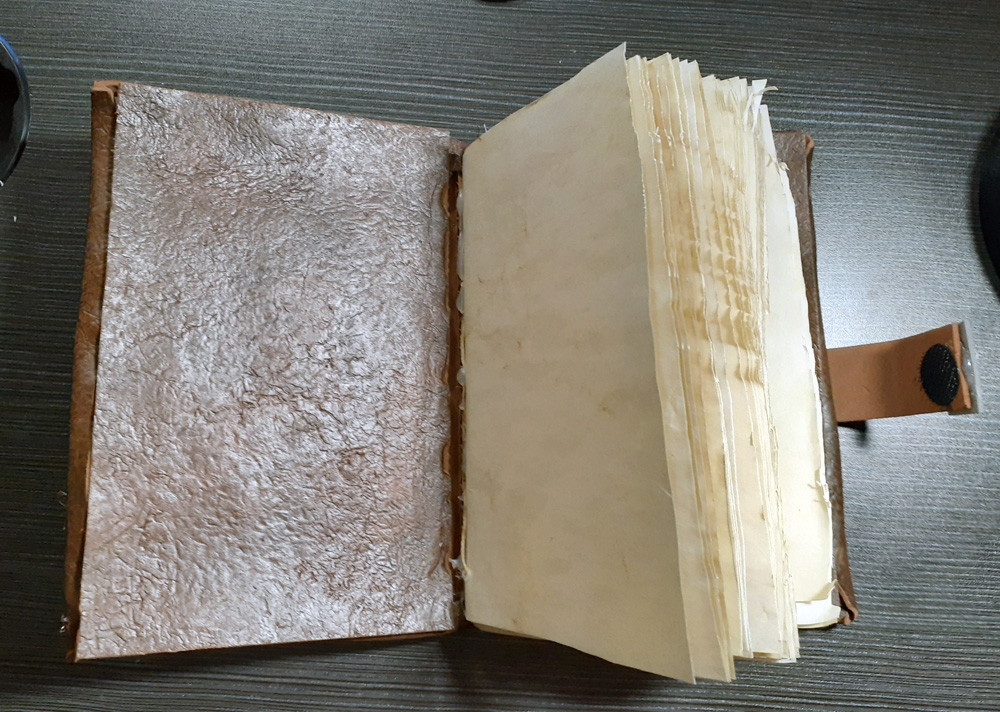
Softcovers are definitely a lot faster and easier to do! You just need to sew the cover in with you pages! Make sure your paper is about the same time as your full cover. Trim away all the excess paper.

Fold all your cover. You may need to use the bone fold to help with the folding and the binder clips to hold it all together.

Using your awl, you will make the five holes in the spine and using your thread stitch a pamphlet stitch with the cover included.

Decoration:
Decorate your outside cover as you please. You may want to go with a collage with images and mod podge, or glue on gems or plastic flowers or other decorations. Mine is decorated with my craft foam elements– a false leather snap with velcro and craft foam metal details and plastic gems.
You might have noticed my paper was yellowed– I took a lasagna tray and steeped 5 bags of black tea in it and soaked the pages in the tea to yellow them.
For Further Exploration:
- Instructibles: How to Bind a Hardcover Book
- DamaskLove: How To Make a Hardcover Book
- DIYBookbinding.com
- DIY Network: How to Bind Your Own Book
- Reedsy: How to Make A Book
- Sea Lemon on Youtube: DIY Hardcover book


