
For this project you will create a self portrait made of simple geometric shapes and break it down into individual elements.
Step 1 (see below) only requires the use of paper and color pencils (or markers)
Step 2 (optional/extra-credit) (see below) consists of digitizing your shapes and preparing them to be cut on the BMCC Makerspace‘s vinyl cutters on thick color cardstock. The more cardstock self-portraits we have from the class, the more fun we can have creating a kit of modular shapes to create a wide variety of portraits.
Besides being fun, this activity addresses key concepts of the “CS4All” DOE initiative:
- Patterns and pattern recognition: Identifying patterns/repetitions that go into depicting a recognizable face
- Abstraction and generalization: Using simple shapes to create a face
- Problem decomposition: Breaking down the self-portrait into individual shapes
- Creating computational artefacts: Digitizing the shapes
- Iterative Refinement: Going from paper to digital… and back to cardstock
- Collaboration and creativity: Collecting all the self-portraits from the class to create the final modular kit.
Step 1: Design!
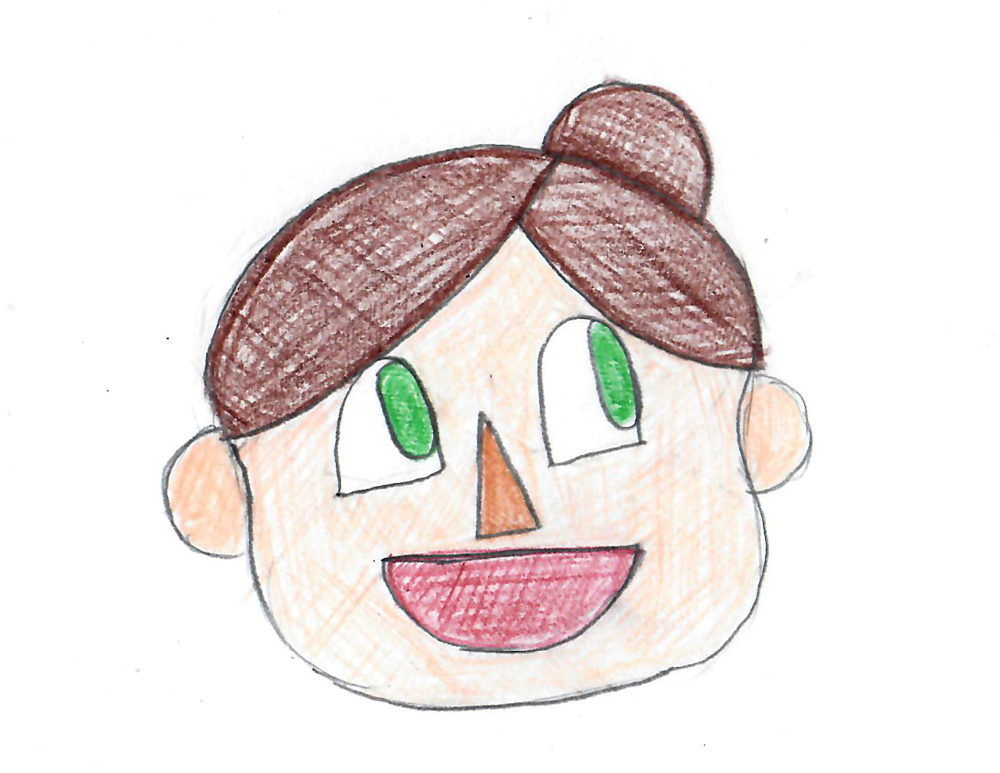
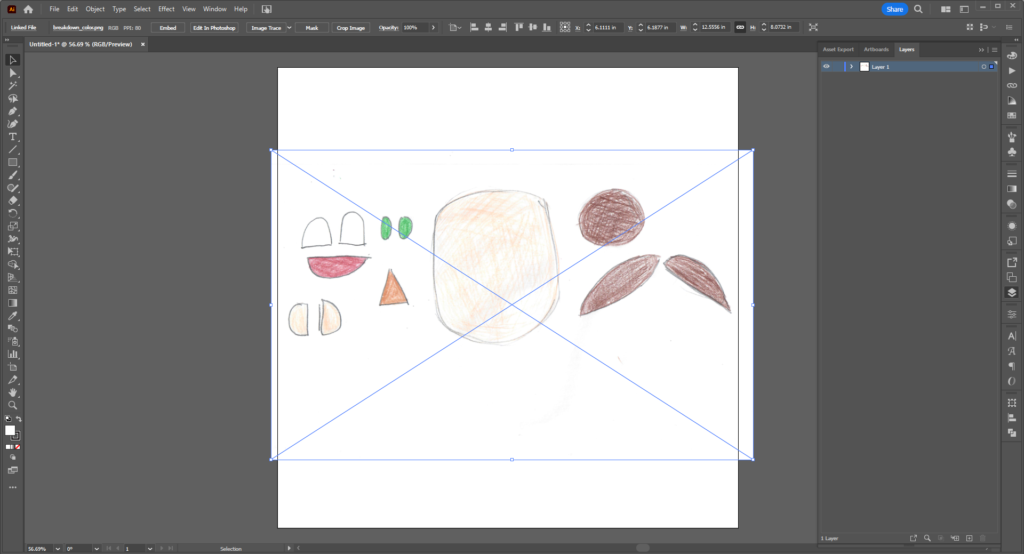
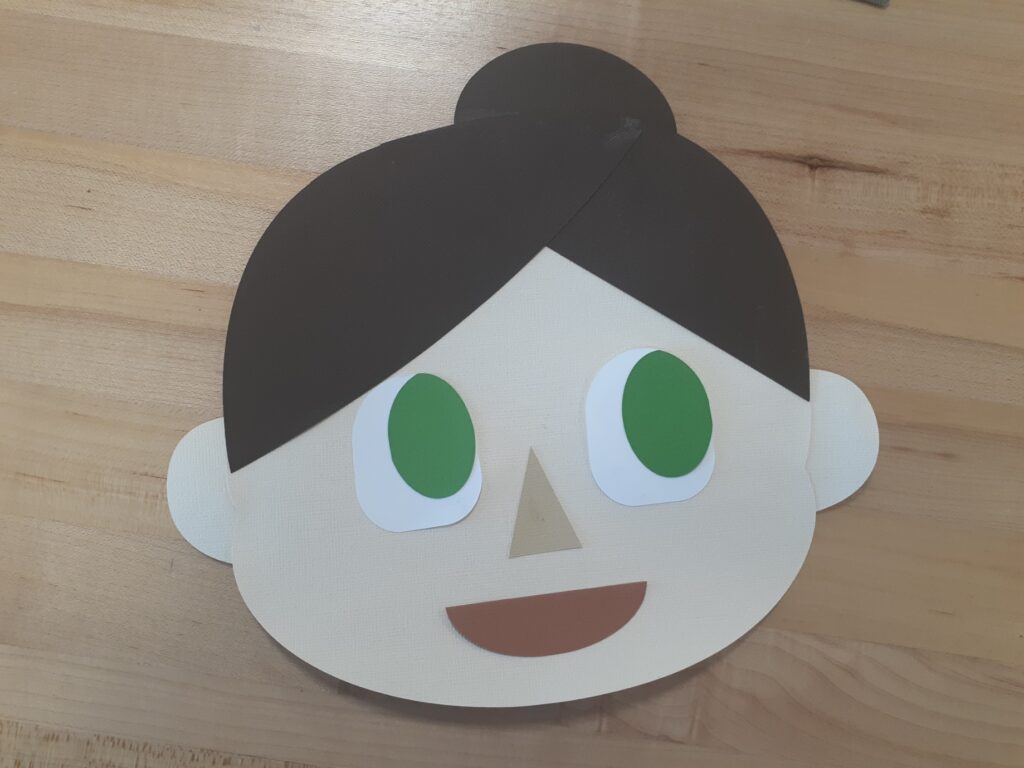
Take a piece of paper and draw a self-portrait using only simple shapes. Avoid small details. Use color.
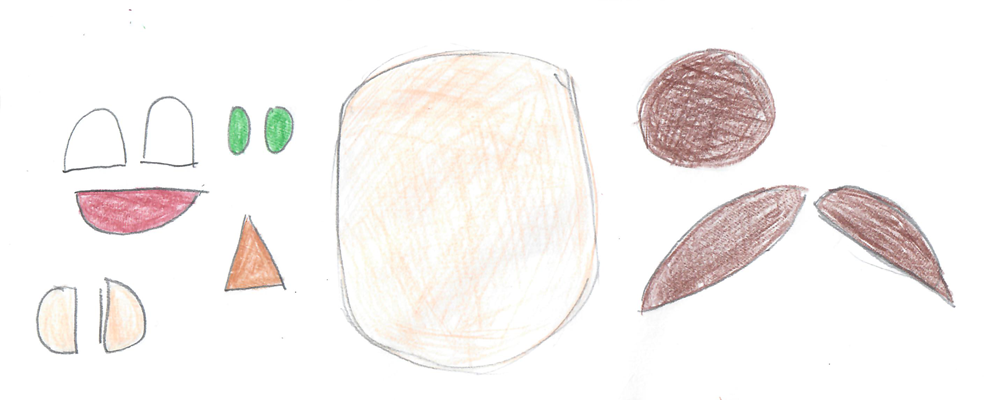
Once you are happy with your design, take another piece of paper and separate out the shapes that make up your portrait. Try to keep the scale of each one proportional to the portrait’s final size. You could use tracing paper to make the process easier.
Step 2: Digitize!
The goal of this next step is to take your analog/paper drawing and turn it into a digital file that can be cut by a machine – in this case, the BMCC Makerspace‘s vinyl cutters. This digital fabrication tool allows us to cut designs very precisely, quickly, and as many times as we want much more efficiently than by hand.
Vector Software
The first thing we need is a Vector Imaging Software. The most popular is Adobe Illustrator. While it is pricey, you can use a free 7 Day trial, or use it in one of BMCC’s computer labs (We recommend Room 510-C). Alternatively you can use Inkscape. While we will be using Illustrator in this tutorial the set of tools and steps all work very similarly in this free & open source alternative.
Why vectors? Vector artwork is created by using what is known as Anchor Points and creating the shapes through mathematical equations, as opposed to Raster artwork, which is defined by little squares of color (Pixels). Your scanned drawings are pixel-based raster images that you will be converting into vector shapes by tracing over and creating anchor points over them. Most digital fabrication tools – like the vinyl cutter we will be using for this project – cannot understand rasterized artwork; they need vector files. So we’re translating what we have on paper/photo (analog/raster) to a format the vinyl cutter can read properly (vector).
The other advantage of vector artwork is that it can be scaled up or down without losing quality. Once you’ve turned your self-portrait into vector shapes, you could cut a 10 feet version of it with the same file (given you had access to a very large vinyl cutter).
Tools
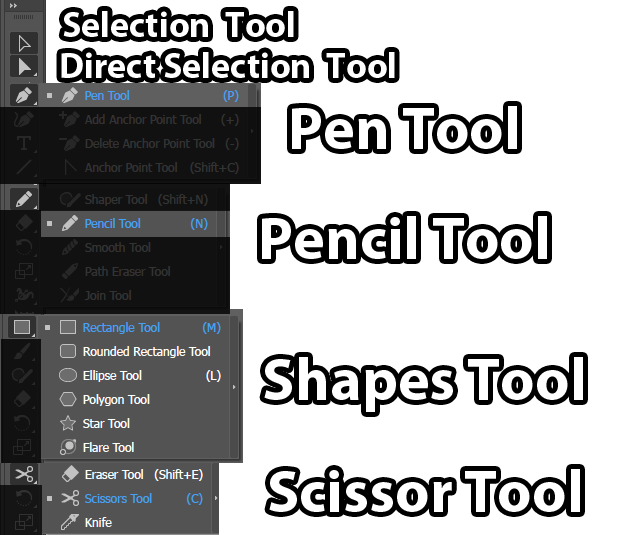
We will be using 6 main tools to recreate our self-portrait shapes:
- Selection tool (Black Arrow): Allows you to select objects and move things on your Artboard.
- Direct Selection tool (White Arrow): Allows you to adjust anchor points on your shapes.
- Shape tool: creates premade shapes (i.e: oval, rectangle etc.)
- Pencil tool: allows more organic, free form shapes
- Pen tool: allows you to make custom shapes made of precise curves and straight lines.
- Scissor tool: Cuts out selected parts of shapes.
(You can find helpful video tutorials at the bottom of this page for extra help to supplement the instructions below)
Creating Your File
In Illustrator you will need to make a file that is 12 INCHES BY 12 INCHES with a Color Mode of RGB.

Using your paper sketch as a Reference
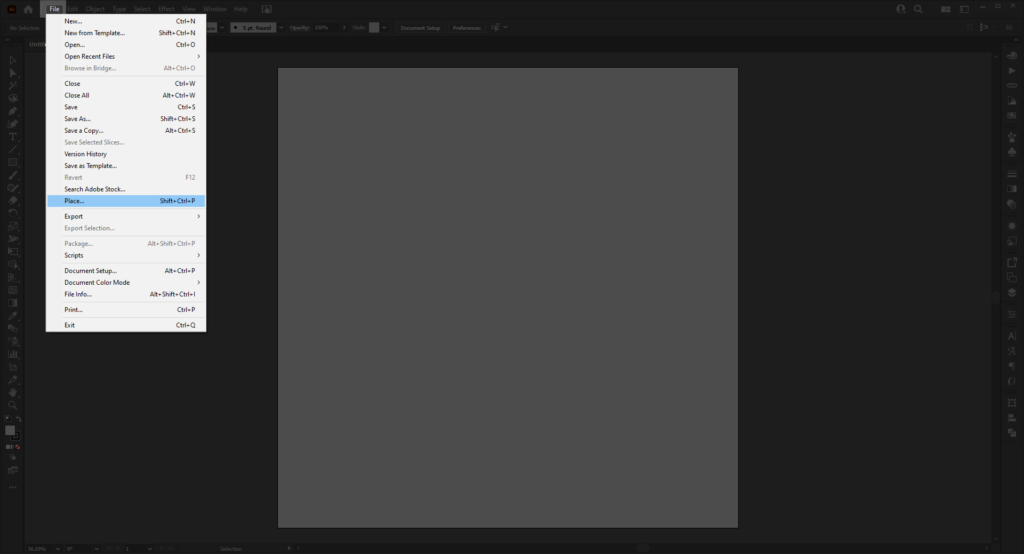
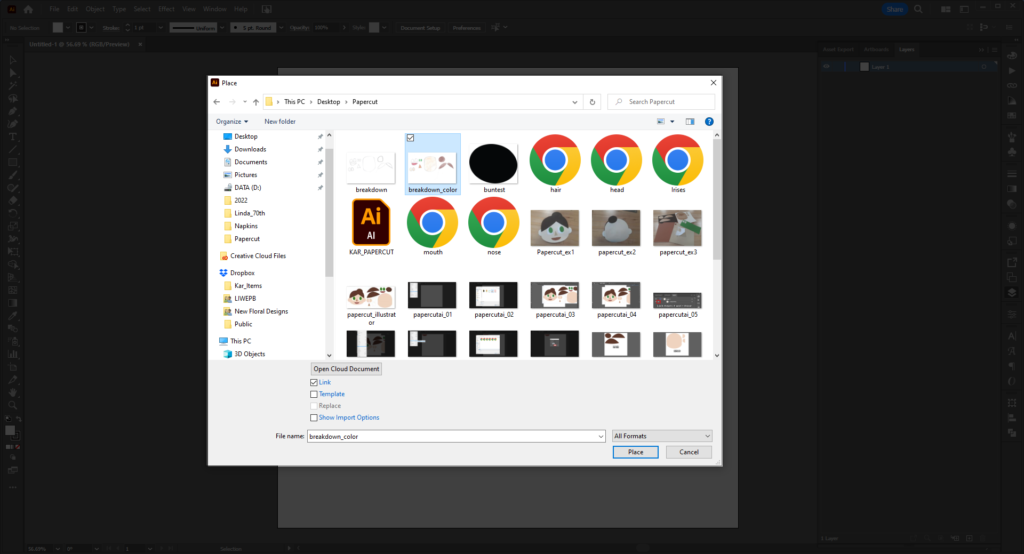
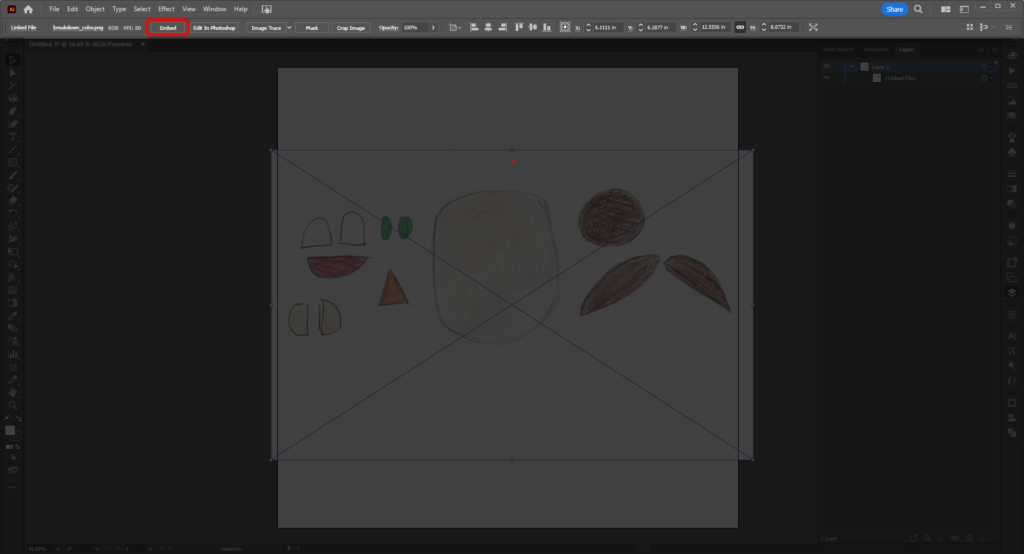
To use your paper sketch as a reference, take a photo of it (or scan it) and send it to the computer you are working on (via email or USB). In Illustrator, go to File > Place
Make sure the largest shape in your design fills the Artboard comfortably (not too close to the edges).
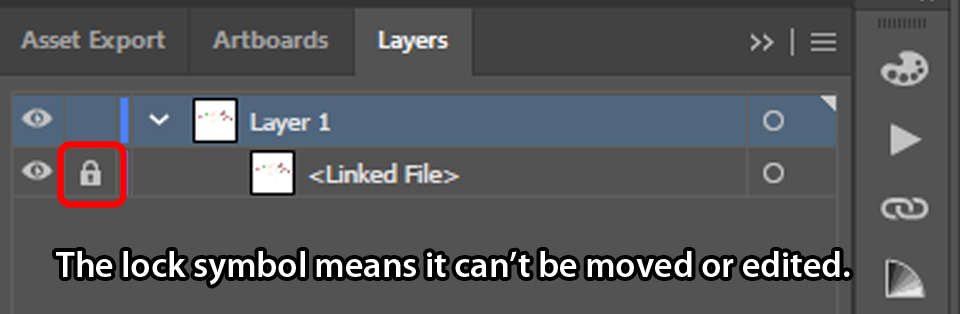
Next you want to Embed your file. Normally a file is “Linked”, meaning it is not part of the Illustrator (.ai) file and if removed or moved will “Unlink”/disappear. Embedding means the image will save itself onto the AI file (meaning that if you misplace the original file you do not need to re-link it).
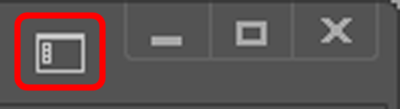
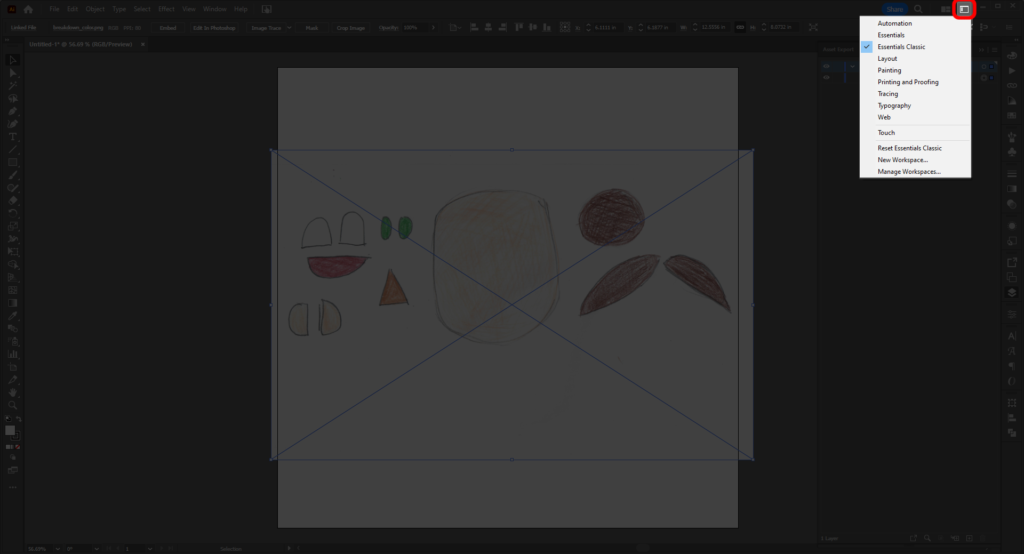
If you do not have that option on top, you may need to adjust your Workspace. On the far right, next to the Minimize/Close Button you’ll see a button that looks like a window with three little dots on its side. Click on it and select Essentials Classic in the dropdown menu. There will be a blue checkmark next to your chosen selection.
Using the Layers Panel
Go to your Layers panel and click on the blank square next to the eye. The eye will reveal/hide your work, and the lock will keep it from being moved around while you work.
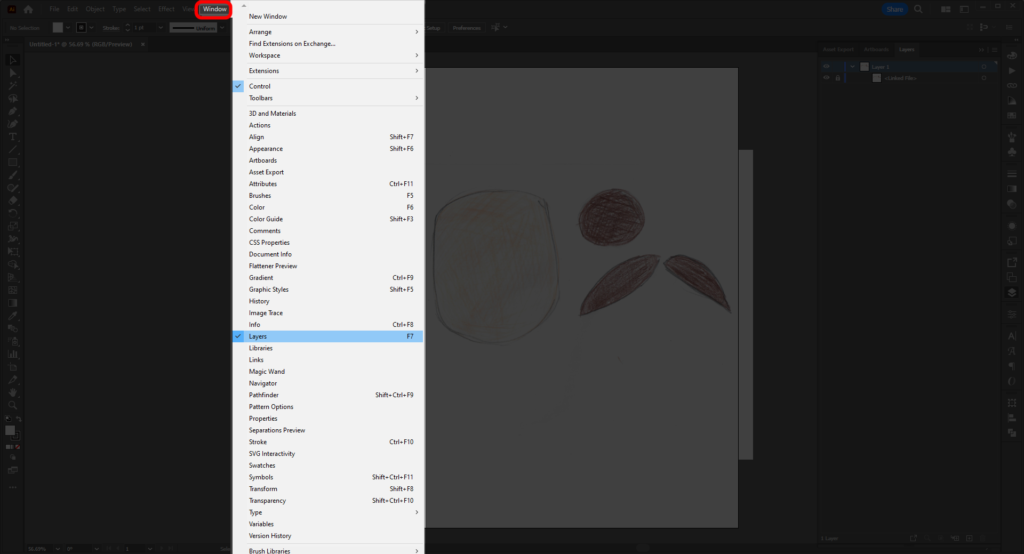
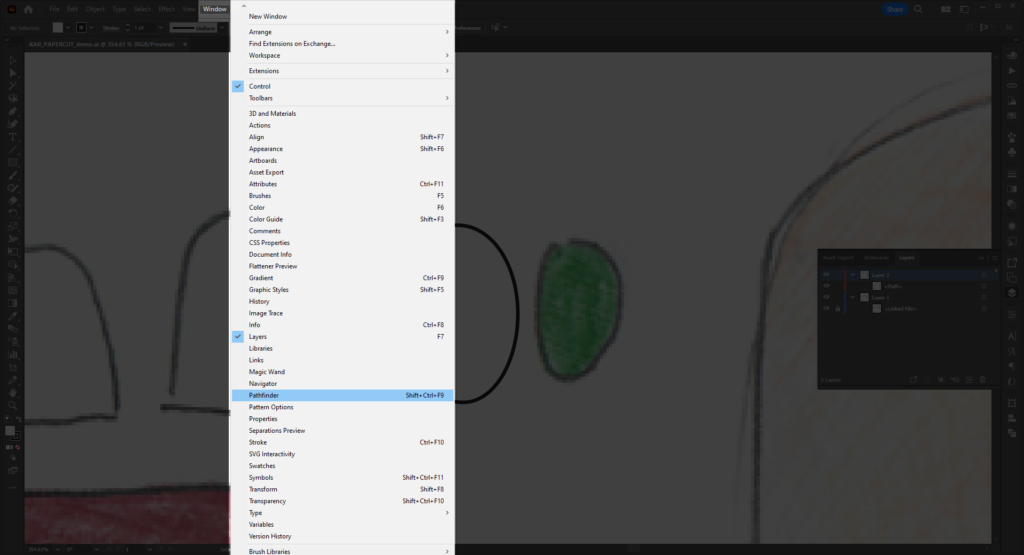
If you do not see your Layers panel then go to WINDOW > LAYERS to bring it up.
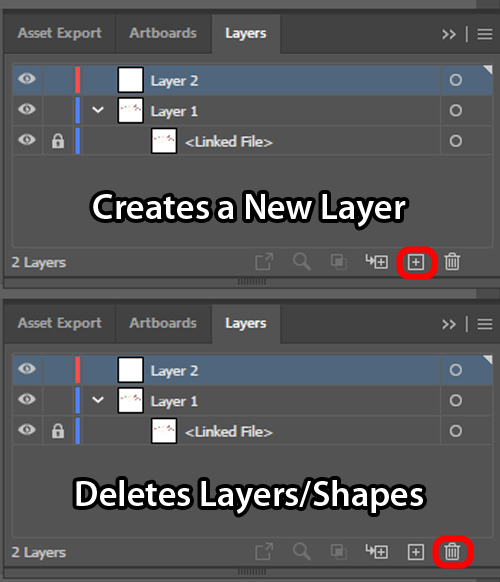
Create a new layer to start drawing you vector shapes by clicking on the little + sign at the bottom of the Layers panel. Like in most Adobe software, the newest layers are created on top of the older ones. The Garbage Bin icon will delete selected layers, shapes, and other objects. (Hitting Delete or Backspace on your keyboard will only selected delete shapes and lines– you must use the Garbage Bin to remove layers completely.)
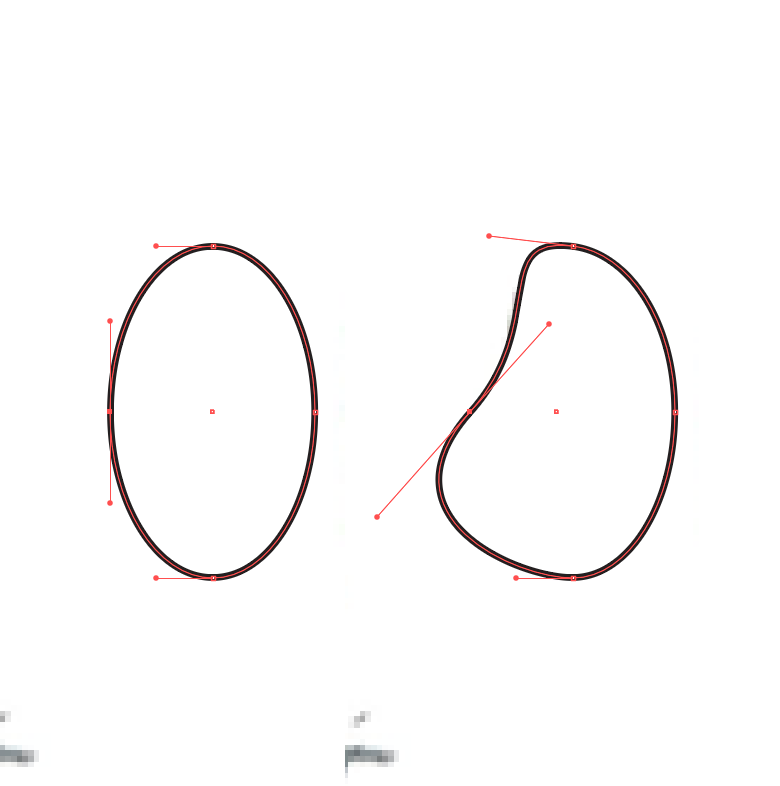
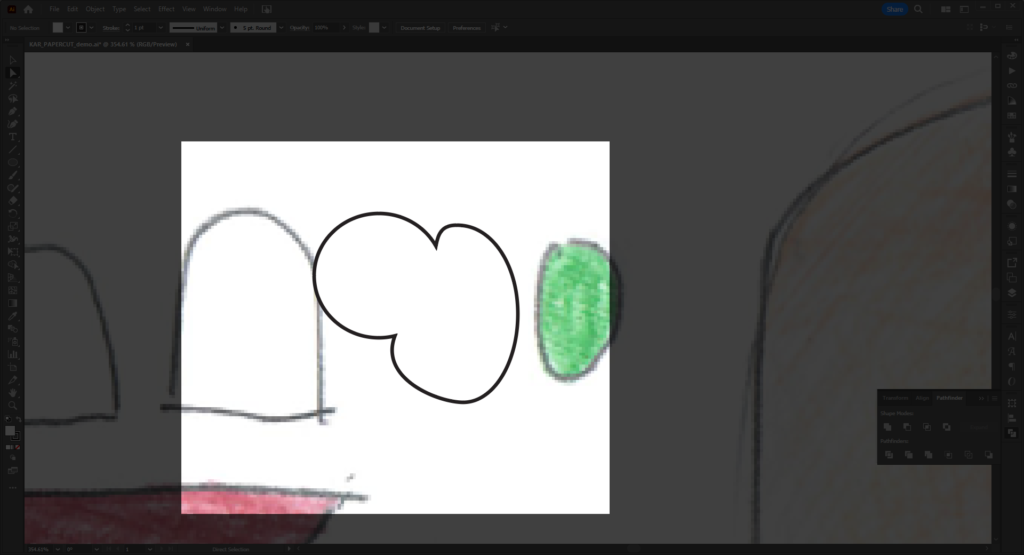
Using the Shape, Pen, or Pencil tool, trace your design! You may need to hold down on the icons with the left mouse button to pull out the options. Use the Selection tool to move things, and the Direct Selection tool to alter your anchor points to adjust your shapes.
There are two types of colors in Illustrator: Stroke and Fill. For this you will only need to concern yourself with Fill, however my examples will show a stroke due to the default settings in Illustrator (A black stroke with white fill).
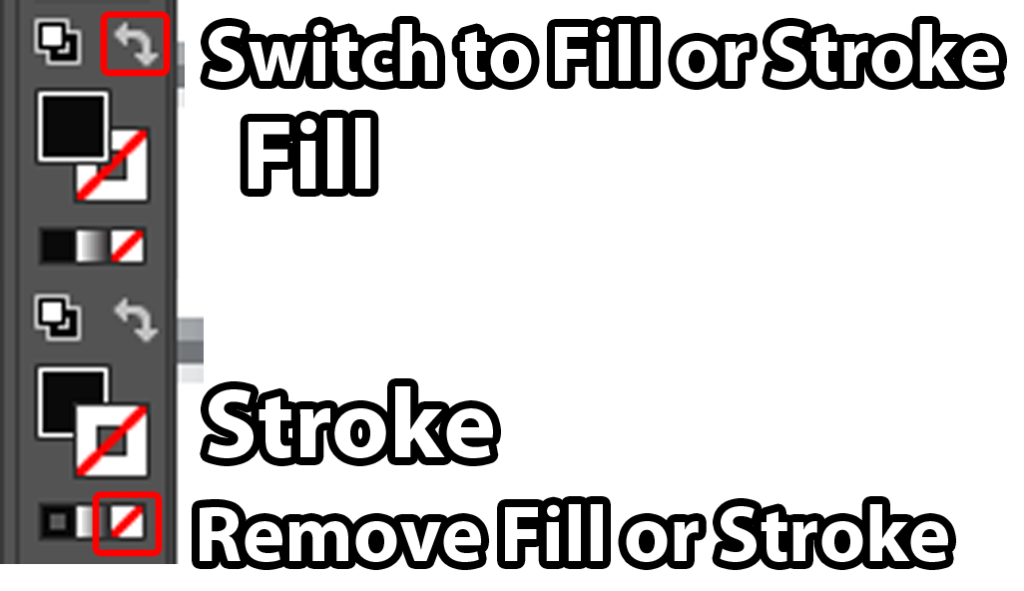
You can switch between the two by hitting X or the little curved double arrow on your toolbar. The topmost square will be the active one, so you want the Fill Square on top. To remove the stroke, bring it to the top for a moment, then select the little red strikeout button at the bottom that you can select to remove the stroke. Bring your fill back to the front and you should only have fill on what you create.
For the vinyl cutters, what color your shapes are doesn’t matter– you try to match your original colors the best you can if you want, or just use separate colors for each part so it is easier to sort later.
When working with the Pen, Pencil, Direct Selection, or Scissor tools, you may notice little lever-like Handles on your selected anchor point. These will further adjust the curve of your shape.
Another trick if you’re using multiples of the same shape is duplication. Copying and Pasting in Place (For PC: Ctrl +C and Shift + Ctrl + V; and for Mac: Cmd + C and Shift + Cmd +V). You can also access this in the Edit Menu.
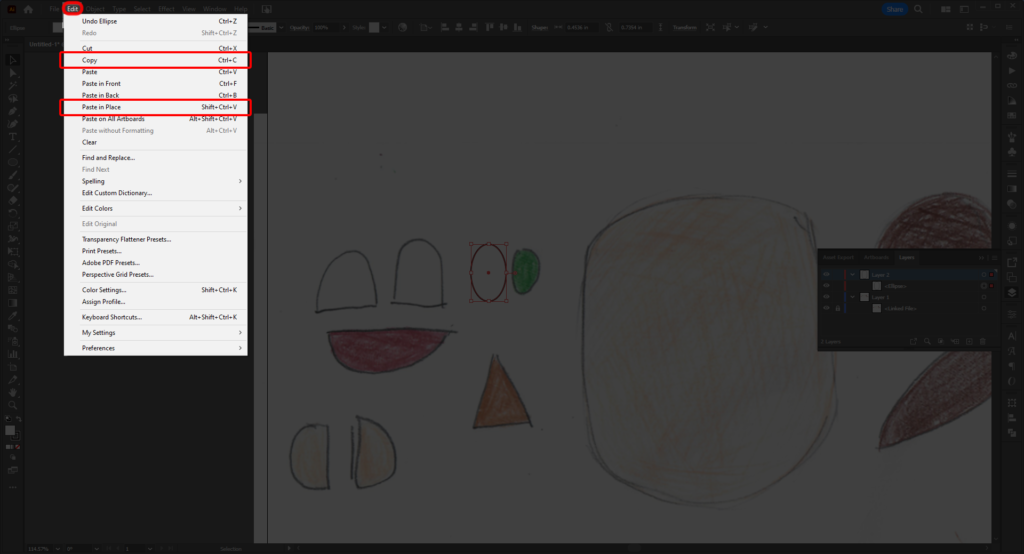
This will paste it where the first original shape is and you can use the arrow key to move it.
Likewise, holding down the Alt (PC) or Option (Mac) key while dragging with your mouse will also make a copy.
If you wanted to cut out part of a shape, say for example you want to make a semicircle shape for ears or a mouth– then you would use the Scissors tool. Once selected, select the shape and click where you want to cut off– either on direct anchor points (in the case of making a semicircle out of an ellipse), or on the lines themselves.
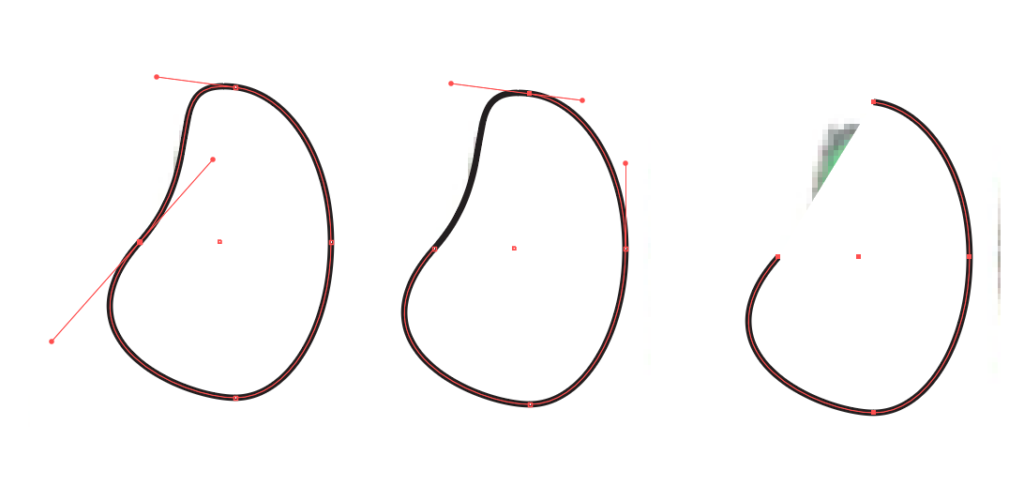
When you’ve made your cut, select what you want to remove, and hit Delete/Backspace to remove it. It should look like the shape on the right side of the image above.
To join and make it whole again, you can go to OBJECT > PATH > JOIN or use the shortcut Ctrl/Cmd +J.
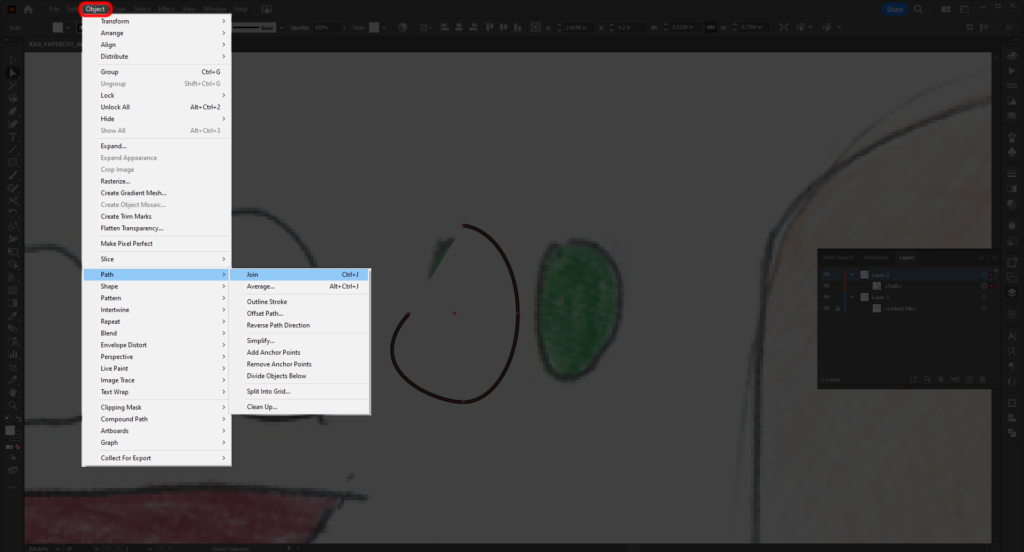
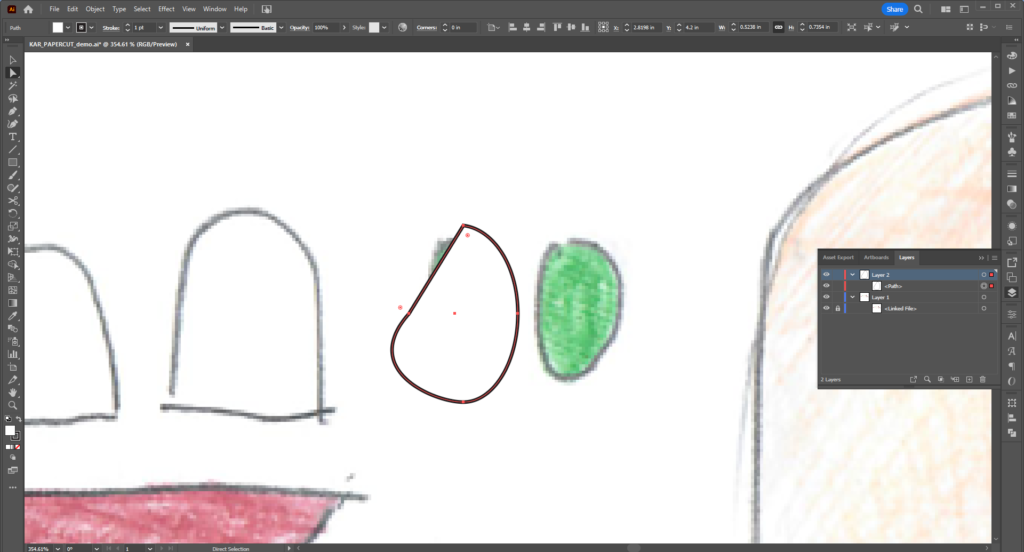
It will not be organic– it will try to close it with as straight a line as possible– great for semicircles. You can use the Pen tool if you you want to replace gap naturally.

Another useful thing is the Transform function. This will allow you to rotate and flip your shapes if need be with more control than using the Selection tool and using the points to rotate your object. To access this go to OBJECT > TRANSFORM:
Reflect will allow you to flip your shape vertically, horizontally or on an angle.
Rotate as the name suggests, will rotate your shape at a precise angle indicated.
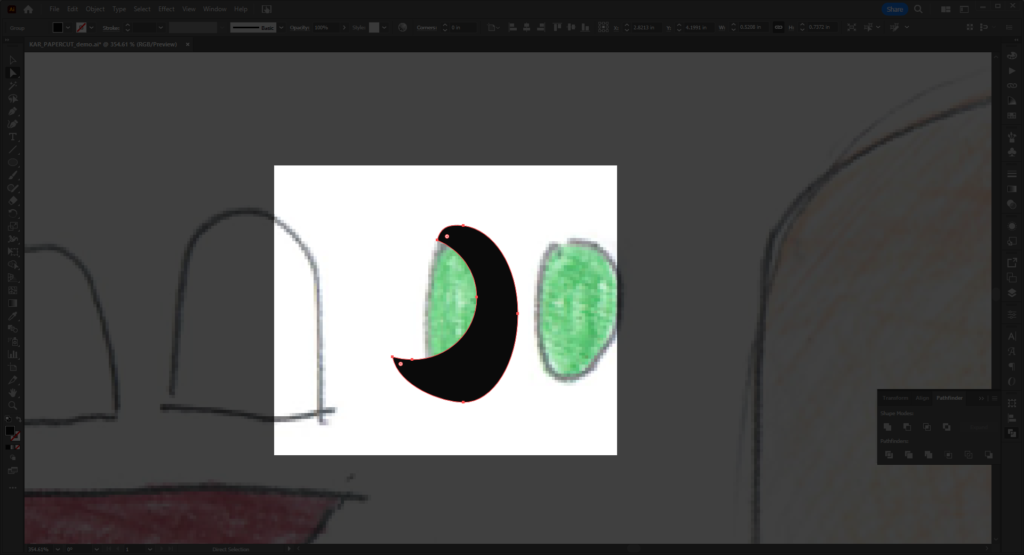
Finally, you can use the Pathfinder Menu to merge two or more shapes together to make a new one. You can find that under WINDOW > PATHFINDER.
There a many types of methods in the panel, but the two important ones for this are Unite and Merge. Unite will merge all shapes together regardless of their color.
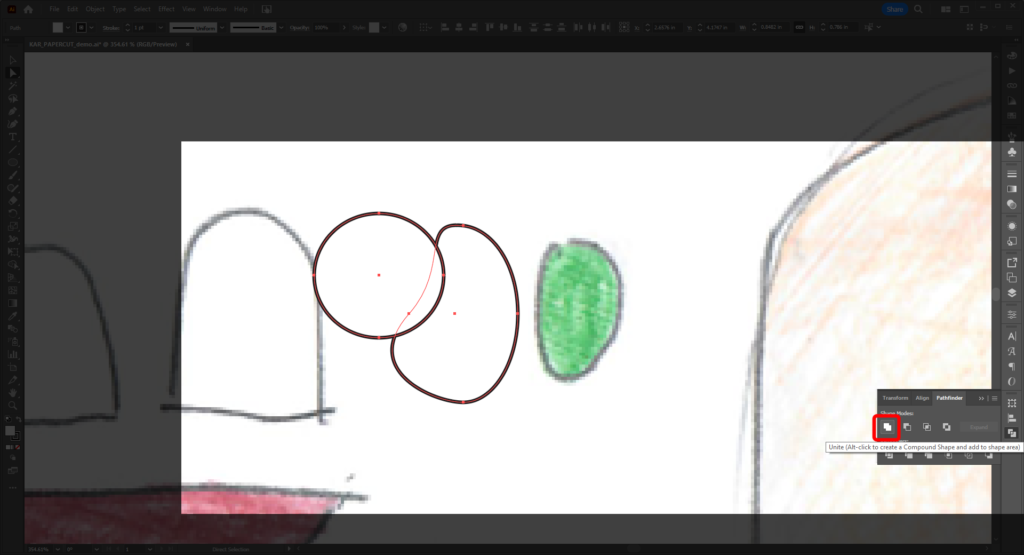
Merge will take one color and use the the other to cut out parts of the other. Please be aware the shape higher on the layer will cut into the shape lower on the layer.
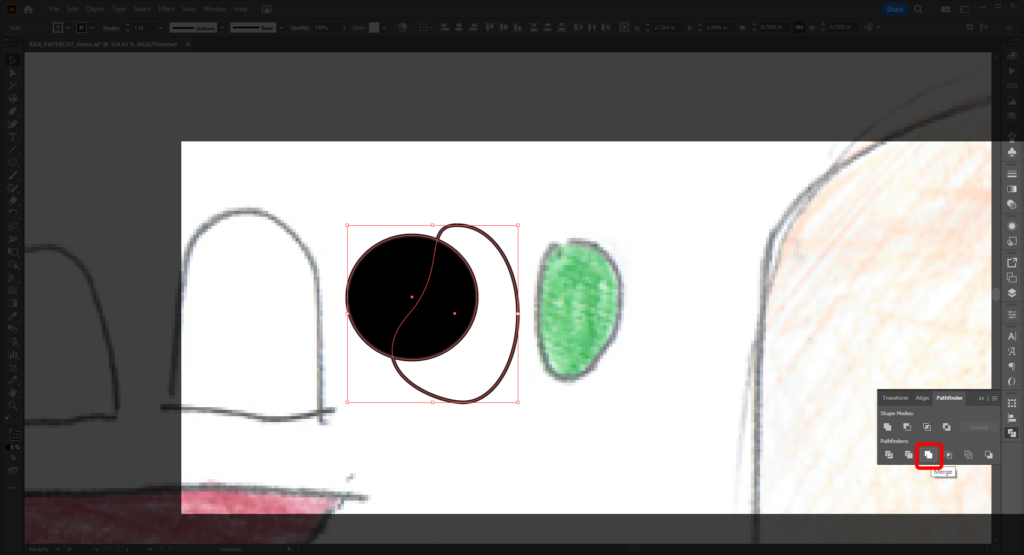
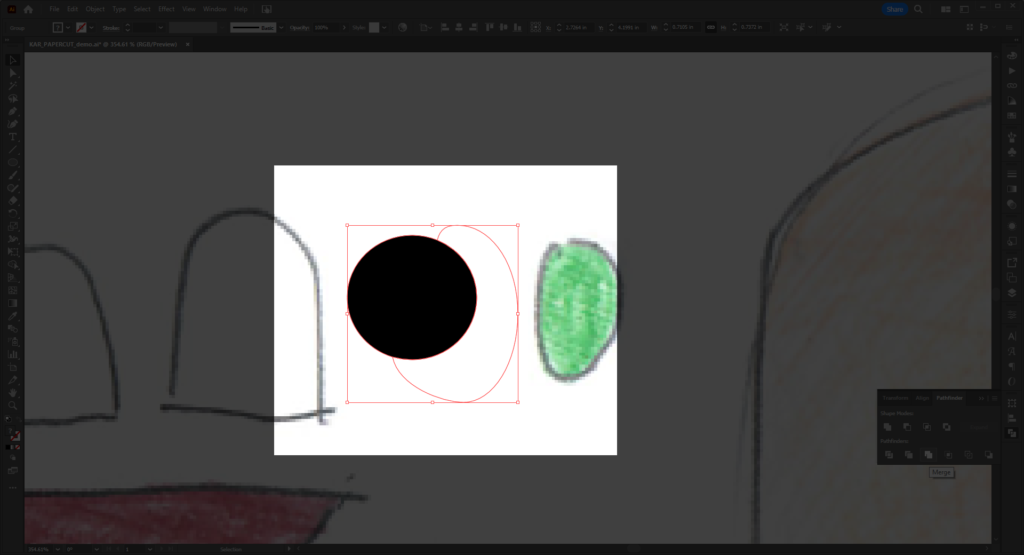
Then you remove the topmost shape to keep your newly created shape.
Export!
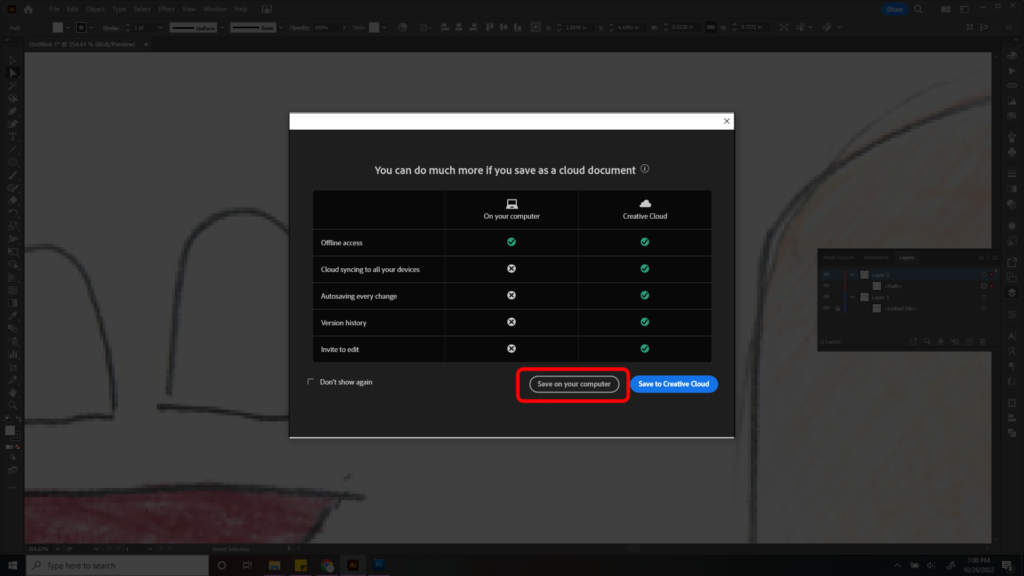
When you’re done, it is best to save your original file before breaking it down. To do that go to FILE > SAVE AS
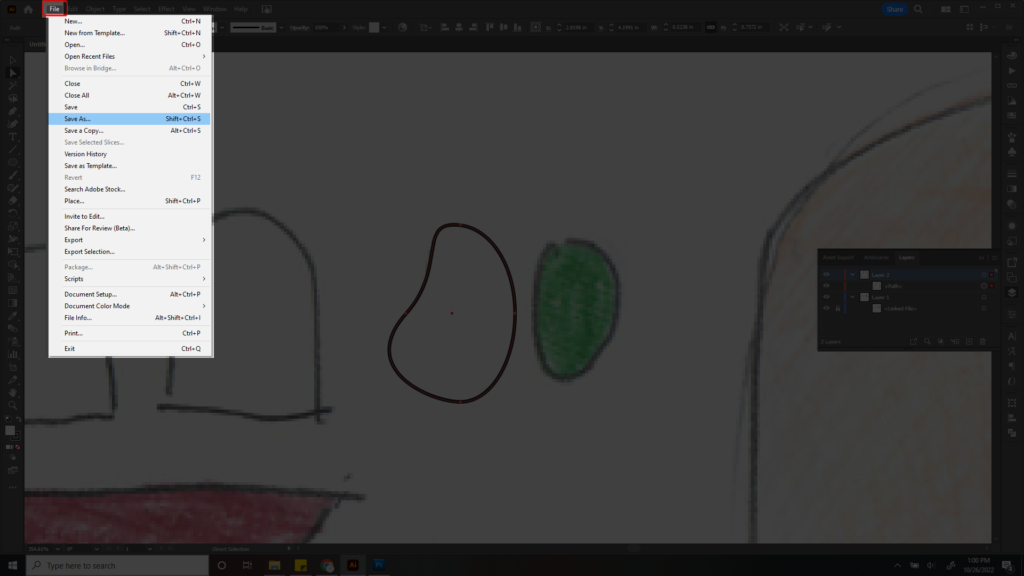
If you are using a Creative Cloud version of Illustrator, you will see you have the option of saving it to the Cloud as well as on your local machine. Select Save on your Computer.
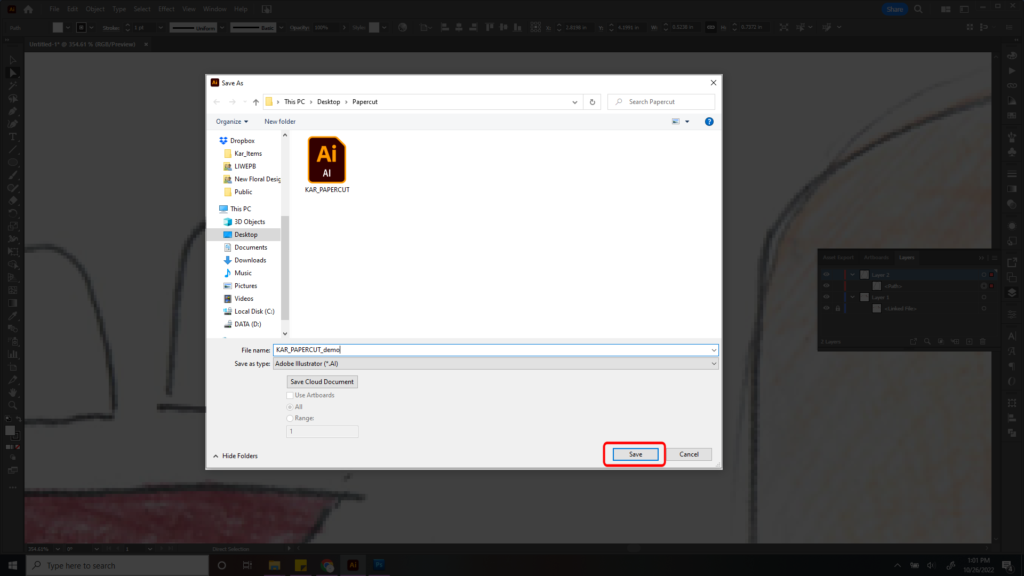
Next, choose your location and name your file. Make sure the file format is set to Adobe Illustrator (.AI) file. Just in case anything happens, you have this file to fall back on. Once you’re ready, hit Save. Note: if you are using Inkscape– it will need to be an EPS (Encapsulated PostScript) file as AI is Adobe’s proprietary file type. EPS is the universal vector format (meaning it will open with any software).
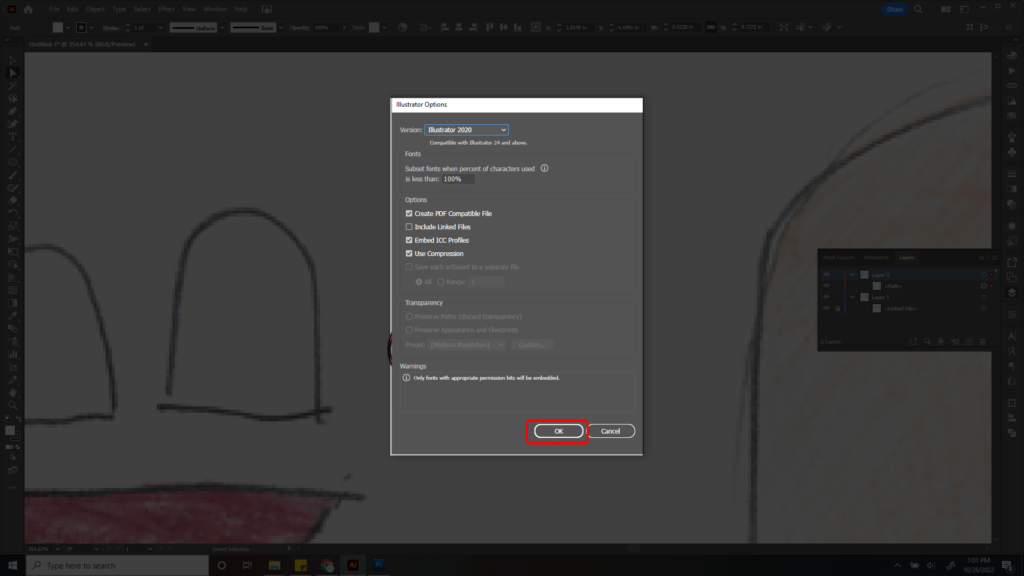
A final menu will pop up (no need to worry about that) just hit OK.
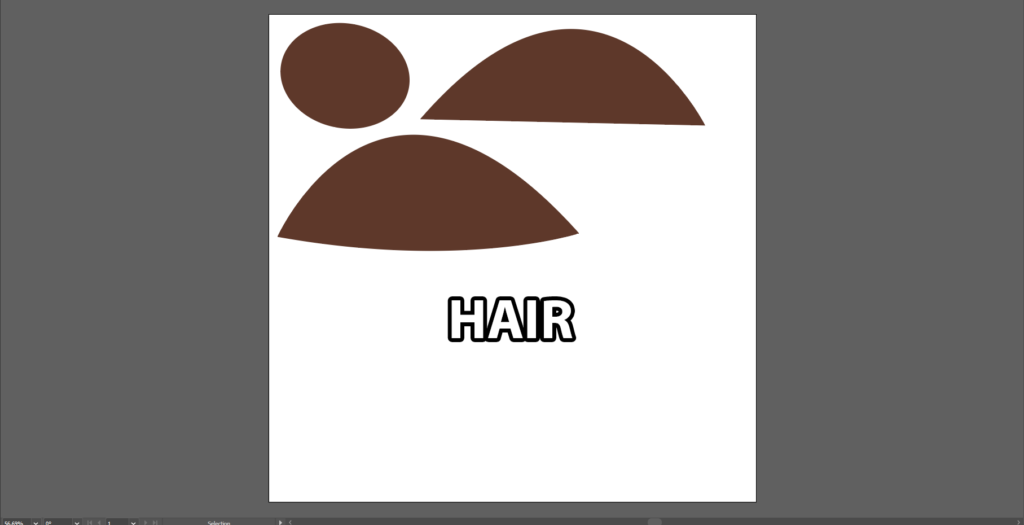
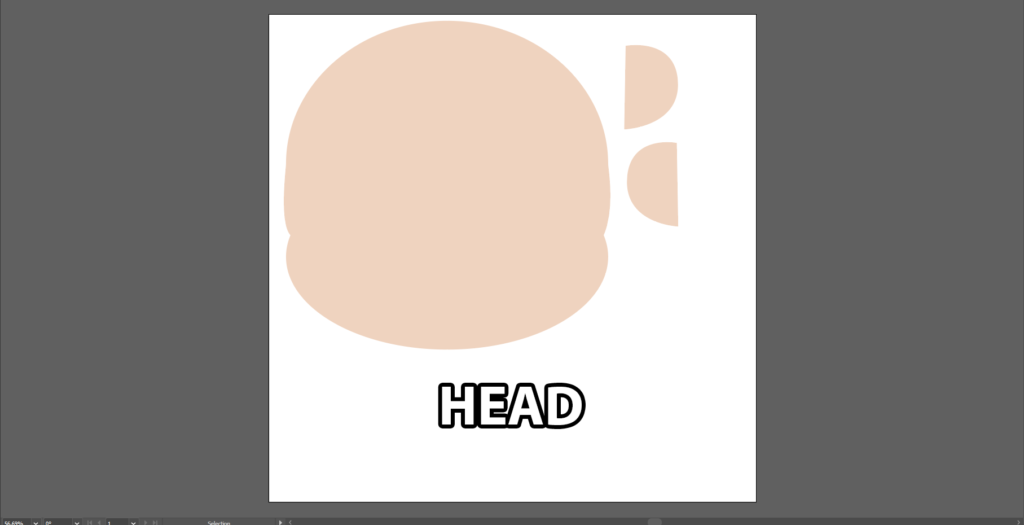
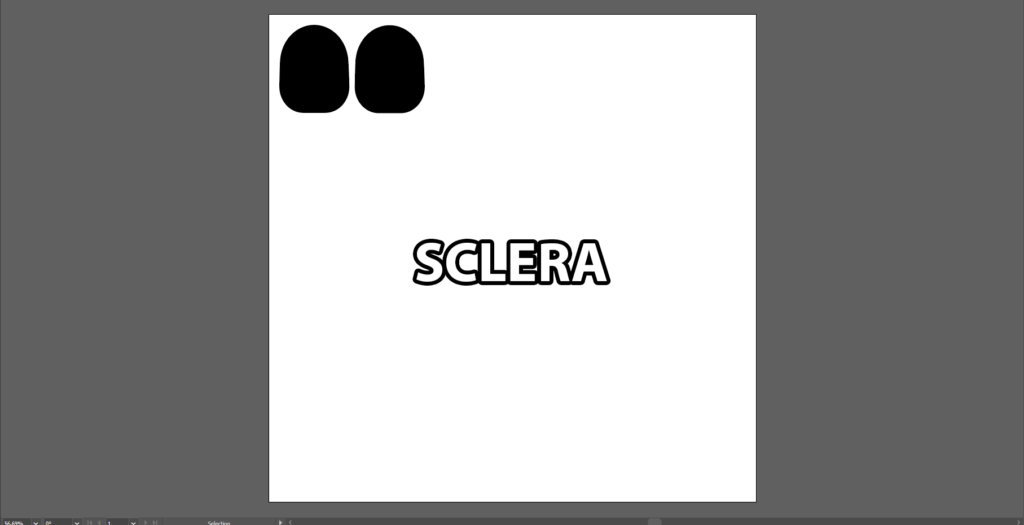
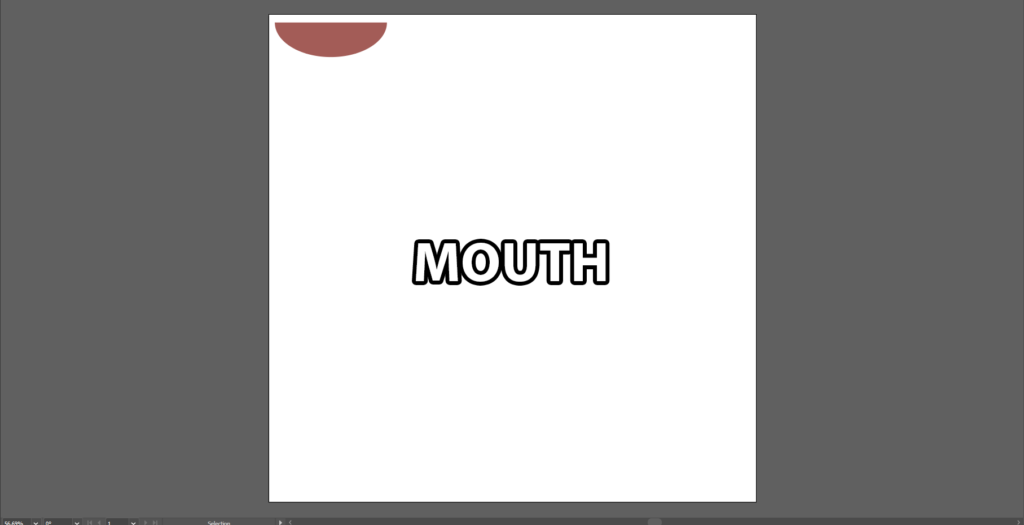
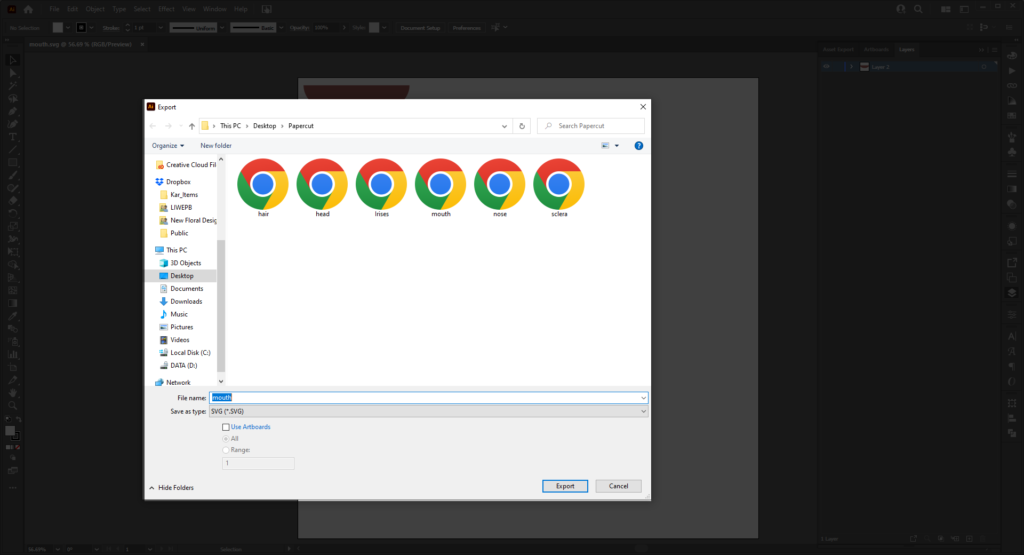
Once you have saved your original file, you will need to break it down in multiple 12 inch x 12 inch files– one for each color. So in this example, I have 6 files: Hair, Head, Sclera, Irises, Nose, and Mouth.


When it’s time to Export you want to go to FILE > EXPORT and save as an SVG file.
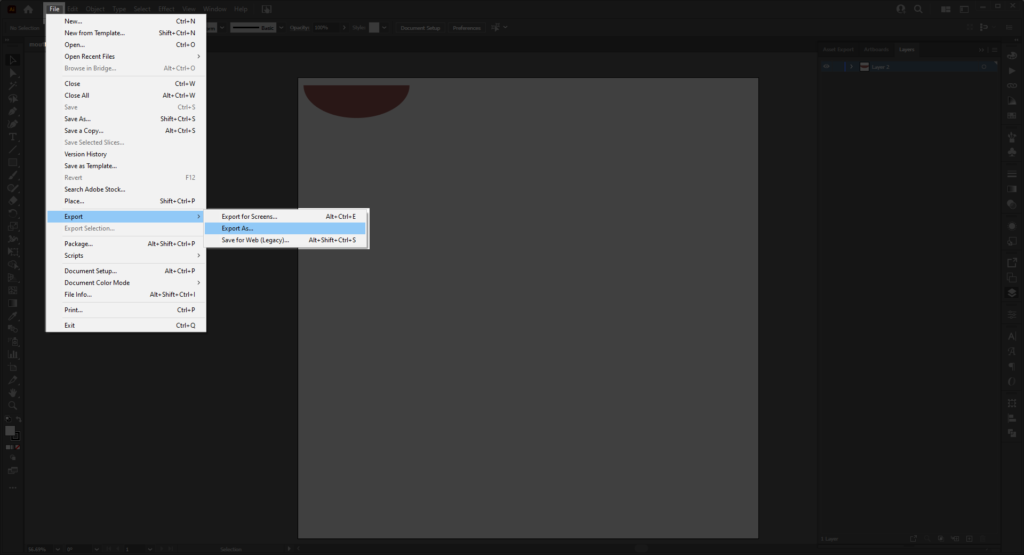
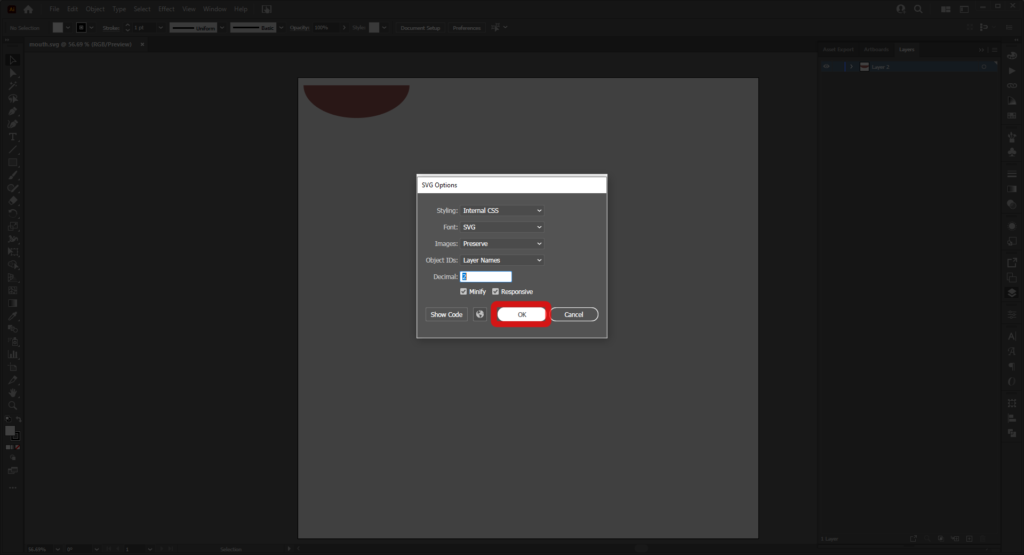
Saving as an SVG preserves its actual size– so I highly recommend that for this project so you do not need to remember dimensions or worry about resizing up/down in the vinyl cutter software. Cricut (one of the vinyl cutter machines in the Makerspace) also has been finicky with things exported in our usual go-to file– DXF— but tends to be fine with SVG. At the final menu hit OK.
Cut!
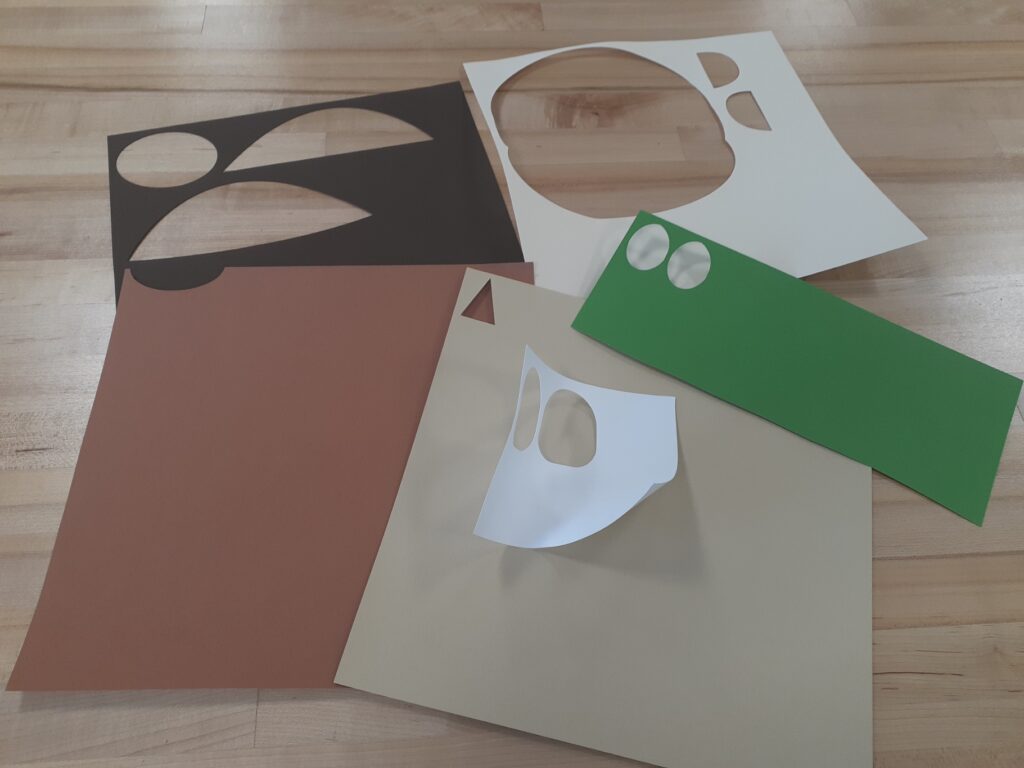
Send your file to Kar Rosen (krosen@bmcc.cuny.edu) – the Makerspace Lab Manager – for it to be cut. If you are curious about the process, you can see our “how to’s” for output for the Cricut Maker and Silhouette Cameo and/or schedule a time with Kar to visit the space and see the machines in action.
Here are a few photos of the cut cardstock and final cardstock shapes:
For Further Exploration:
Matt Borchert: Getting Started in Illustrator
Graphic Design How-to: Eraser/Scissors/Knife tool
Cary Hawkins: Selection Tools
Cary Hawkins: Shape Tools
Cary Hawkins: 3 Ways to Rotate and Object in Adobe Illustrator
Jeremy Mura: Basic SHAPES Illustrator Tutorial
Made by Mighty: Pen Tool Beginner’s Guide
Graphic Designer PRO: How the Pencil Tool Works
Andy Explains Things: Every Illustrator Tool EXPLAINED
Adobe: Illustrator Keyboard Shortcuts
For Inkscape Users:
Inkscape.org: Inkscape Tutorials
Skills Factory: Inkscape Tutorial For Beginners
Sweater Cat Designs: Inkscape 1.2 Quickstart Guide
TJ Free: Inkscape Tutorial Playlist