
This unintentionally tied into the Illustrator Monogram workshop, so I’ll be using one of the ones I designed from that guide in here. This is also a more advanced guide and assuming you have previous understanding of Tinkercad. I would also suggest following our 3D Modeling workshop on our site, or make a free account and go through their own tutorials.
Importing SVGS to Tinkercad:
This unintentionally tied into the Illustrator Monogram workshop, so I’ll be using one of the ones I designed from that guide in here. This is also a more advanced guide and assuming you have previous understanding of Tinkercad. I would also suggest following our 3D Modeling workshop on our site, or make a free account and go through their own tutorials.
If you followed along the linked guide and made your own monogram, great! Otherwise, set up a simple black-only design in Illustrator. Make sure that it’s the only thing in the file. (When you export the SVG it will save EVERYTHING in the file.)
Make Sure everything is expanded by going to Object > Expand or Object > Expand Appearance and continue until you see the Expand option available. (We cover that in depth in the Monogram guide.)

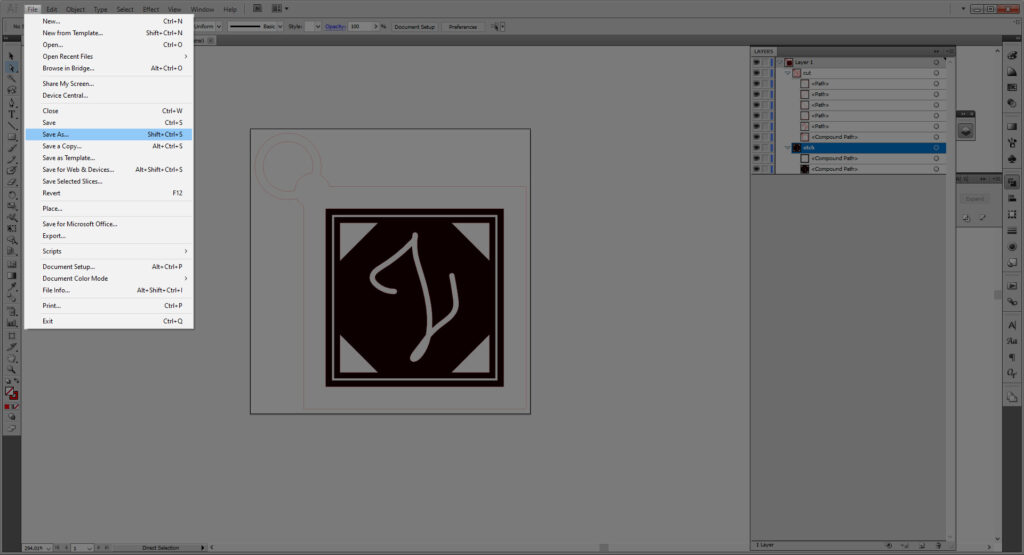
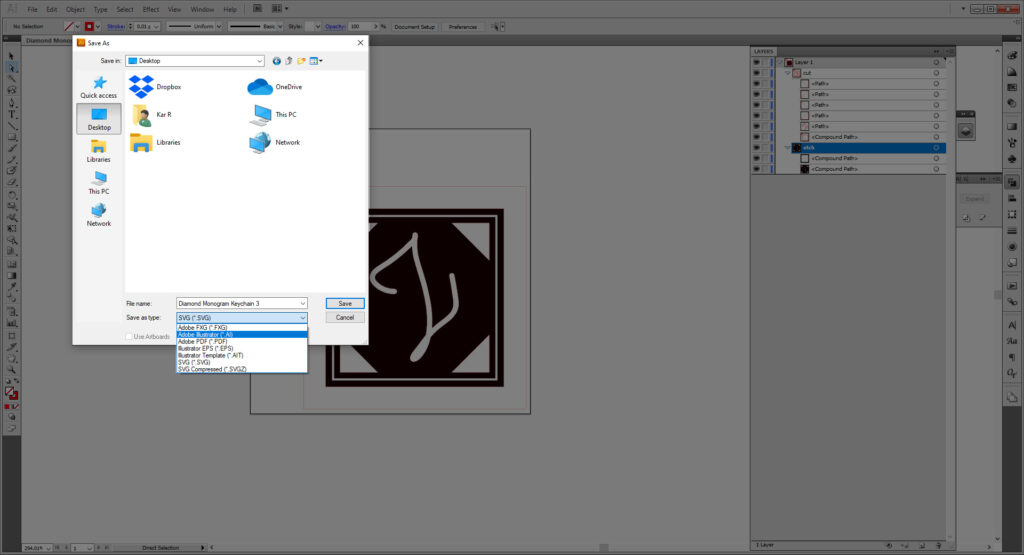
Once you’re good, go to File > Save As. Go to the dropdown menu and select SVG.

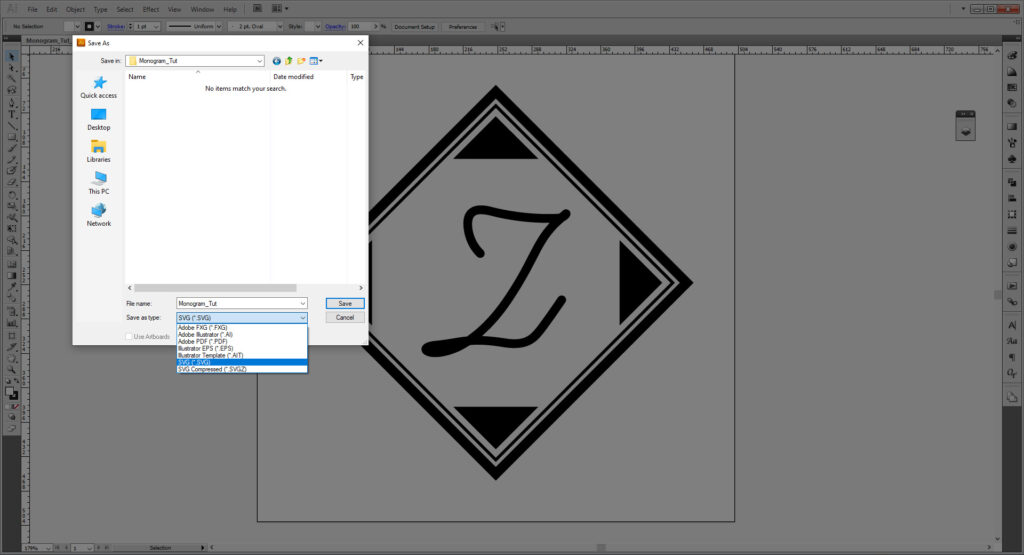
Hit OK on the following menu. No need to tweak with anything.

And now we have our SVG file!
Setting up Tinkercad:
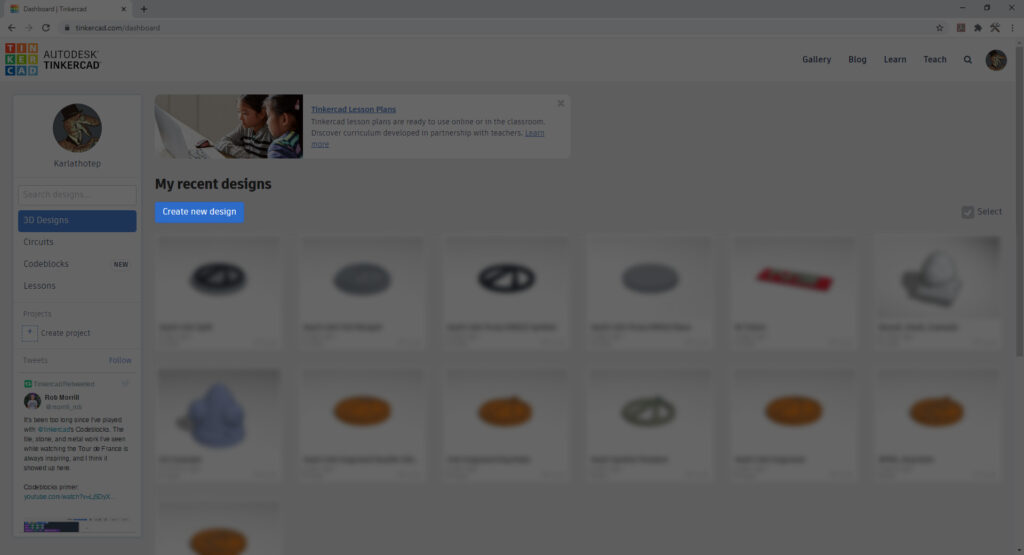
Select Create a New Design.
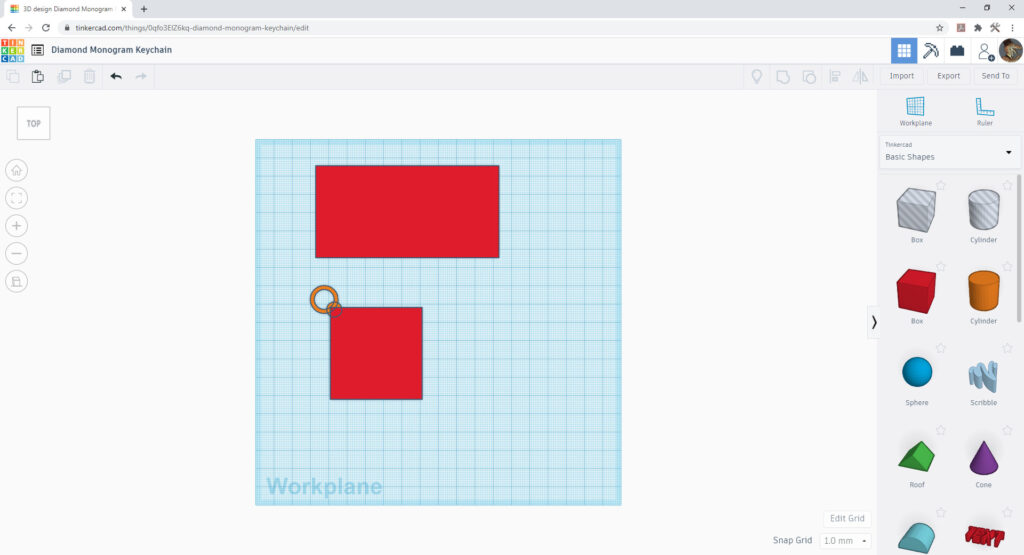
Using the Box, Cylinder, and Ring shapes in Tinkercad to create a flat, 3D design. Think like a pendant, keychain, or plaque. Or simply make a shape that fits your design.
When you’re satisfied with your base, go to Import on the right of the UI.
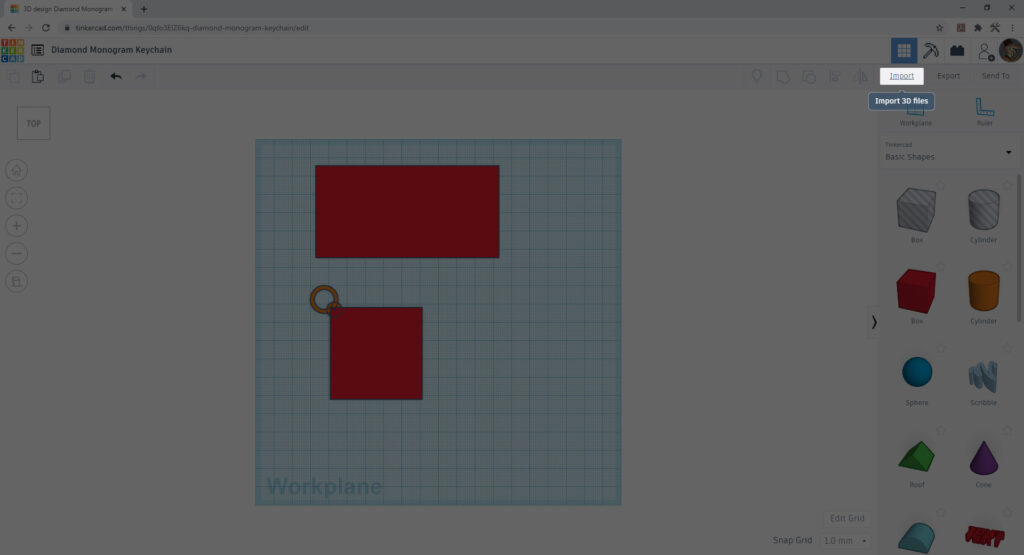
Select Choose a File and find your file where you saved it.
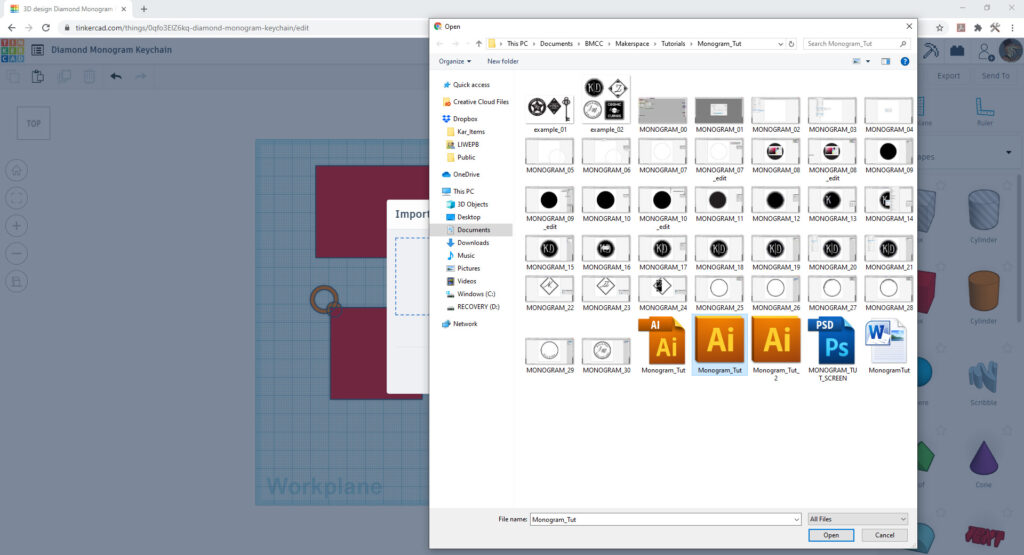

We’re not worried about the size, so you can select either Art or Artboard. Just go to Import.
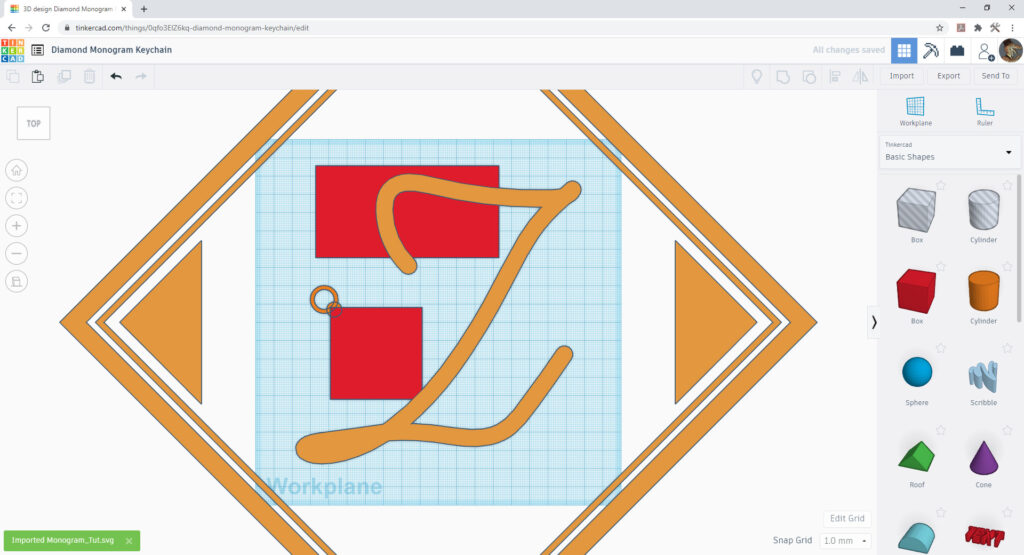
Obviously this is WAY too big! You’re going need to scale the imported SVG down. And because this is a diamond, I will have to turn it on its side.
If there’s any import errors, you might need to go back to the SVG and switch things up, it’s worth exploring at some point.
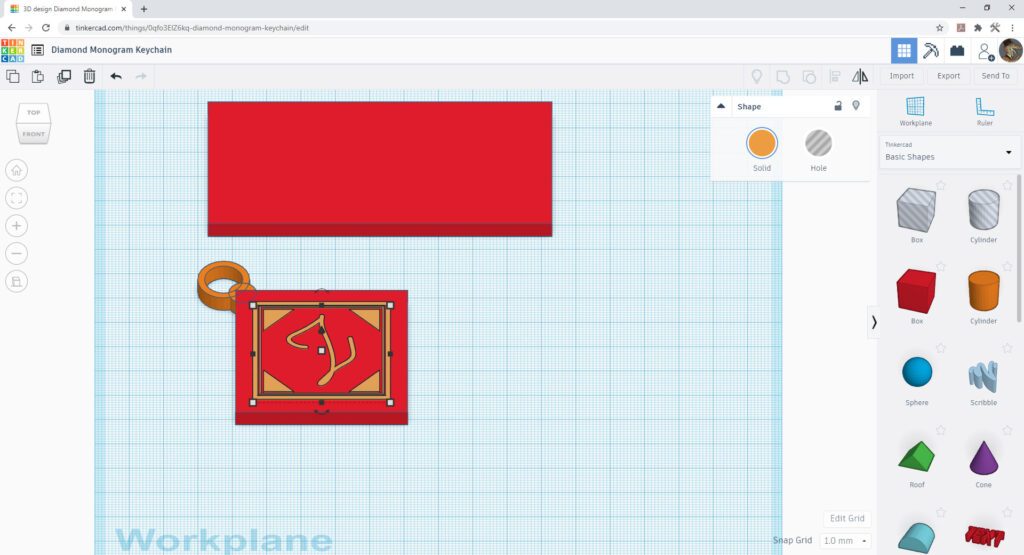
Now there are three ways to go about it, as it’s already a shape, you can keep it as is and have almost a raised and embossed look, or make it a hole on the shape to make the model look engraved instead. This design isn’t the best for it, but the third option is you can set the SVG as the same thickness as your shape and make holes!

To make a hole or engraved look, change the shape into a hole.

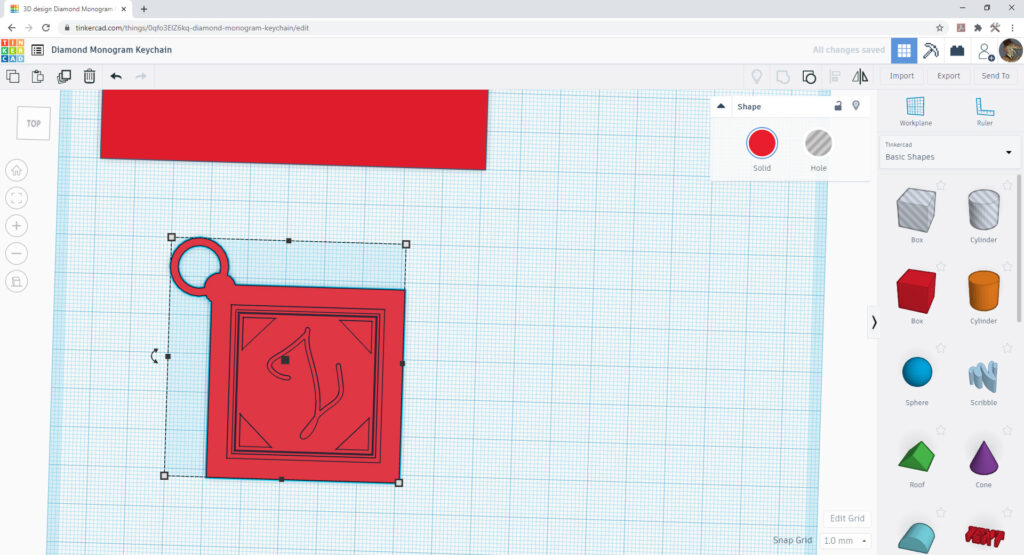
Select all your parts and group them with the Group button. Engraved holes don’t go fully through the main shape, holes do go through the main shape.

When you’re done, you can export as an STL for printing. For printing in the Makerspace, we have guides for the Ulitmaker and Prusa printers!

Exporting from Tinkercad for Laser/Vinyl Cutting:
While not the best option for making laser or vinyl cut files, but depending on your model, it might be an option. Tinkercad only reads top down, so it won’t entirely be a full breakdown of the model, more like a “squishing to make 2D”, with some tweaking the model could be cut or etched. For this guide you’ll need a Tinkercad account and some sort of Vector Editing software, like Inkscape or Illustrator. I have Illustrator, so the guide will be Illustrator focused.
First, make your model or open a previously made model in Tinkercad. I will be using the model I made for a previous guide showing how to use SVGs in 3D models. (I know it is rather full circle—starting in Illustrator to Tinkercad and returning back to Illustrator.)

It is important that it only takes models with refined holes, like the above. I have tried it with different versions I made for this model and was only successful with this model in particular.
Next, go to Export, on the upper right hand of the user interface. Select the .SVG option and the file will automatically download to your default download location.


Editing in Illustrator: Laser Cutter
Open the model in the vector editing software.

As you can see it opens as red lines—which is the standard color for laser cutting. Tinkercad only reads as if the model is being entirely cut. The file itself is one large compound path, so we’ll need to break it part.

To do that, you need to swap your stroke for a fill, make a shape of a different color to put under the shape.


Select both shapes and go the Pathfinder tool (if it’s not there, go Window > Pathfinder to reveal it.)

From there, select Merge. This will fuse them together.

Now you must remove unwanted parts and organize the shapes however you desire them to be. They should be mostly broken back down into separate shapes from the compound path. So if you intended to make some etches, now is where you’d go in and fix it. Check out our post here for a more in-depth guide for setting up laser cutting and etching files in the Makerspace.

(I’m leaving my etch lines red despite our cutter needing them black as a visual. You may not see them, but there are lines to cut out the triangles and the Z.)
When you’re ready to bring it to the laser cutter, go to File > Save As and save it as an .AI file. If you do not have Illustrator, save as an .EPS file.
You may want to make the artboard 12×24” for the lab manager before saving, but it is not a necessary. When you are done, give the AI/EPS file to the lab manager with your material of choice to laser cut and/or etch!
Editing in Illustrator: Vinyl Cutter
Open the model in the vector editing software.
As you can see it opens as red lines—which is the standard color for laser cutting. Tinkercad only reads as if the model is being entirely cut. The file itself is one large compound path, which is okay for vinyl cutting.
To do that, you need to swap your stroke for a fill in the lower left hand corner. Vinyl cutters don’t care about color for the fill or stroke, so you may keep it red if you wish. I made mine black out force of habit.
You will, however, need to resize your artboard to 12×12 inches. Click on the Artboard Tool (Shift + O ) to access the artboard dimensions.


Set the W: and H: boxes both with 12 in.

Now go to File > Export and select AutoCAD Interchange File (.DXF). Hit OK in the following dialogue box.


And there you have it! You can process to the vinyl cutter of your choice to set it up in their proprietary software.