
Creating the Stamp in Inkscape
We will use Inkscape (a vector graphics software) to create our rubber stamp design.
First, download this SVG file for Inkscape.
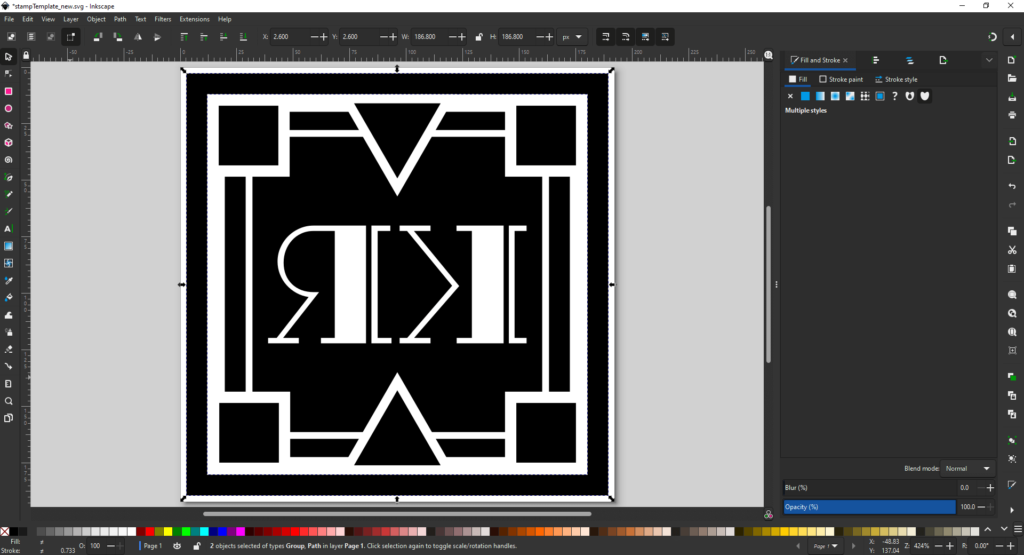
Open the template for the project (“stampTemplate.svg”). The Artboard (the white area of the screen you will design your stamp on) already includes a two letter word (which you will change in the next step) and a white square with a very thin border representing the edge of your design.


The goal is to change the current letters to your desired text/design. You may change the letters to match your initials, use punctuation and symbols, pick a different word (keep it short) etc.

These will be the tools you will use for this. Select and Transform
With the Selection tool (The white colored arrow; Shortcut: S) select your text. Make sure you the Character window available. The Select the Text tool (T) to edit the text. You will see on the top of the user interface there are several dropdown menus. This will allow you to change your font style. Be advised, the bolder the font, the better looking the stamp will come out.

You can also add shapes to your design using the shape tools. The Rectangle, Ellipse, and Polygon tools are all useful for this. They should be on the left side of screen on the Toolbar. Editing them is through the top menu. Holding down CTRL/Option should make it a perfect square/circle. (Inkscape has a bonus shape– the Spiral tool as well. Feel free to play with it!)
Adjusting the Fill and Stroke can be done with Fill and Stroke Panel on the right under Fill and Stroke Paint respectively. (You can also use the bottom of the user interface for fill but NOT strokes!) You can make dotted lines, change the thickness, and position of the stroke under Stroke Style.

As for size, You don’t want to go larger than 0.85 x 0.85 inches for circles and 1.75 inches for squares/anything else.
Here’s some examples on what it’s like to use strokes and shapes:

Resizing and Alignment
The one on the left would be a difficult etch at this scale because of the thin inner lines, choice of font, and dots. The one on the right is much more ideal. When it etches, the star will be raised in relief and be an nice, bold design.
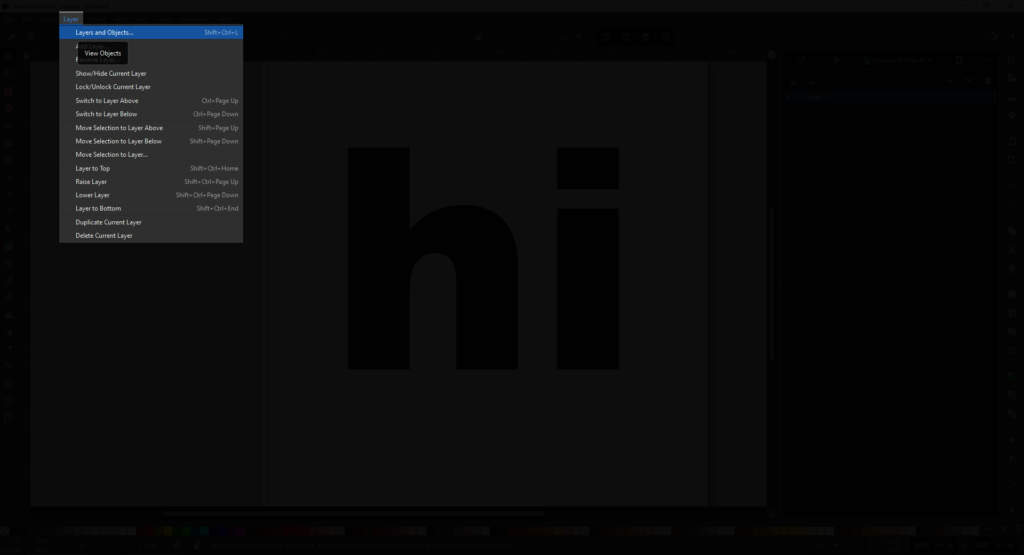
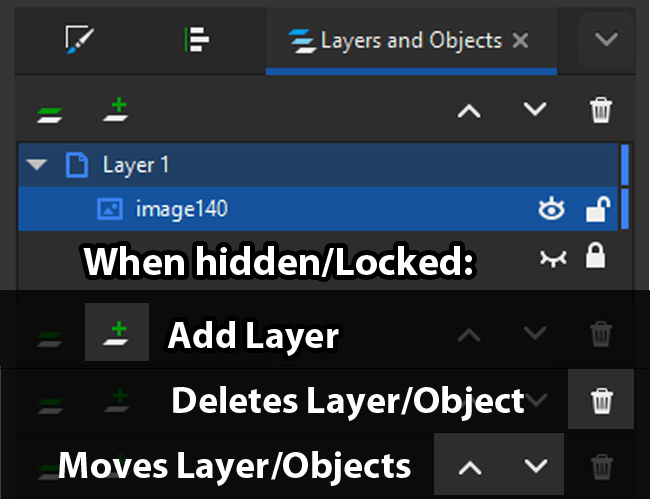
Just in case, it’s good practice to make sure your Layers panel is active. If not, go to Layer > Layers and Objects to activate it.
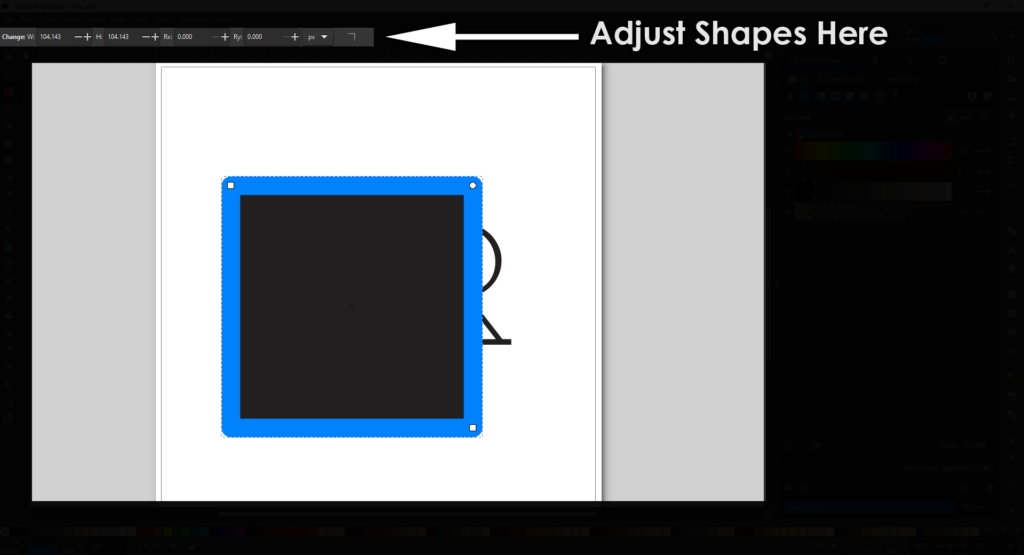
Say you’re a stickler to exact measurements– and for some of this design you need to be– just use the top panel in the user interface to Transform.

You can now adjust the width/height of your object, rotate or even position it on a particular X/Y location on your artboard. (You can also use Object window to transform and rotate as well).
You want your design perfectly centered– there is a way to do that too! Go to Object > Align and Distribute to open the panel and access it on the right.

The two options you want are Center on Vertical axis and Center on Horizonal axis. Using both will have your design perfectly centered to the artboard.
If it is not, make sure your option Relative To: is set to Page.

Now you’re ready to convert to outlines!
Converting to Outlines
Select everything with the arrow tool or (Ctrl/Command + A) then Path > Object to Path and Path > Stroke to Path.


Repeat if needed until all strokes are expanded.
Outputting the Stamp for Laser Cutting
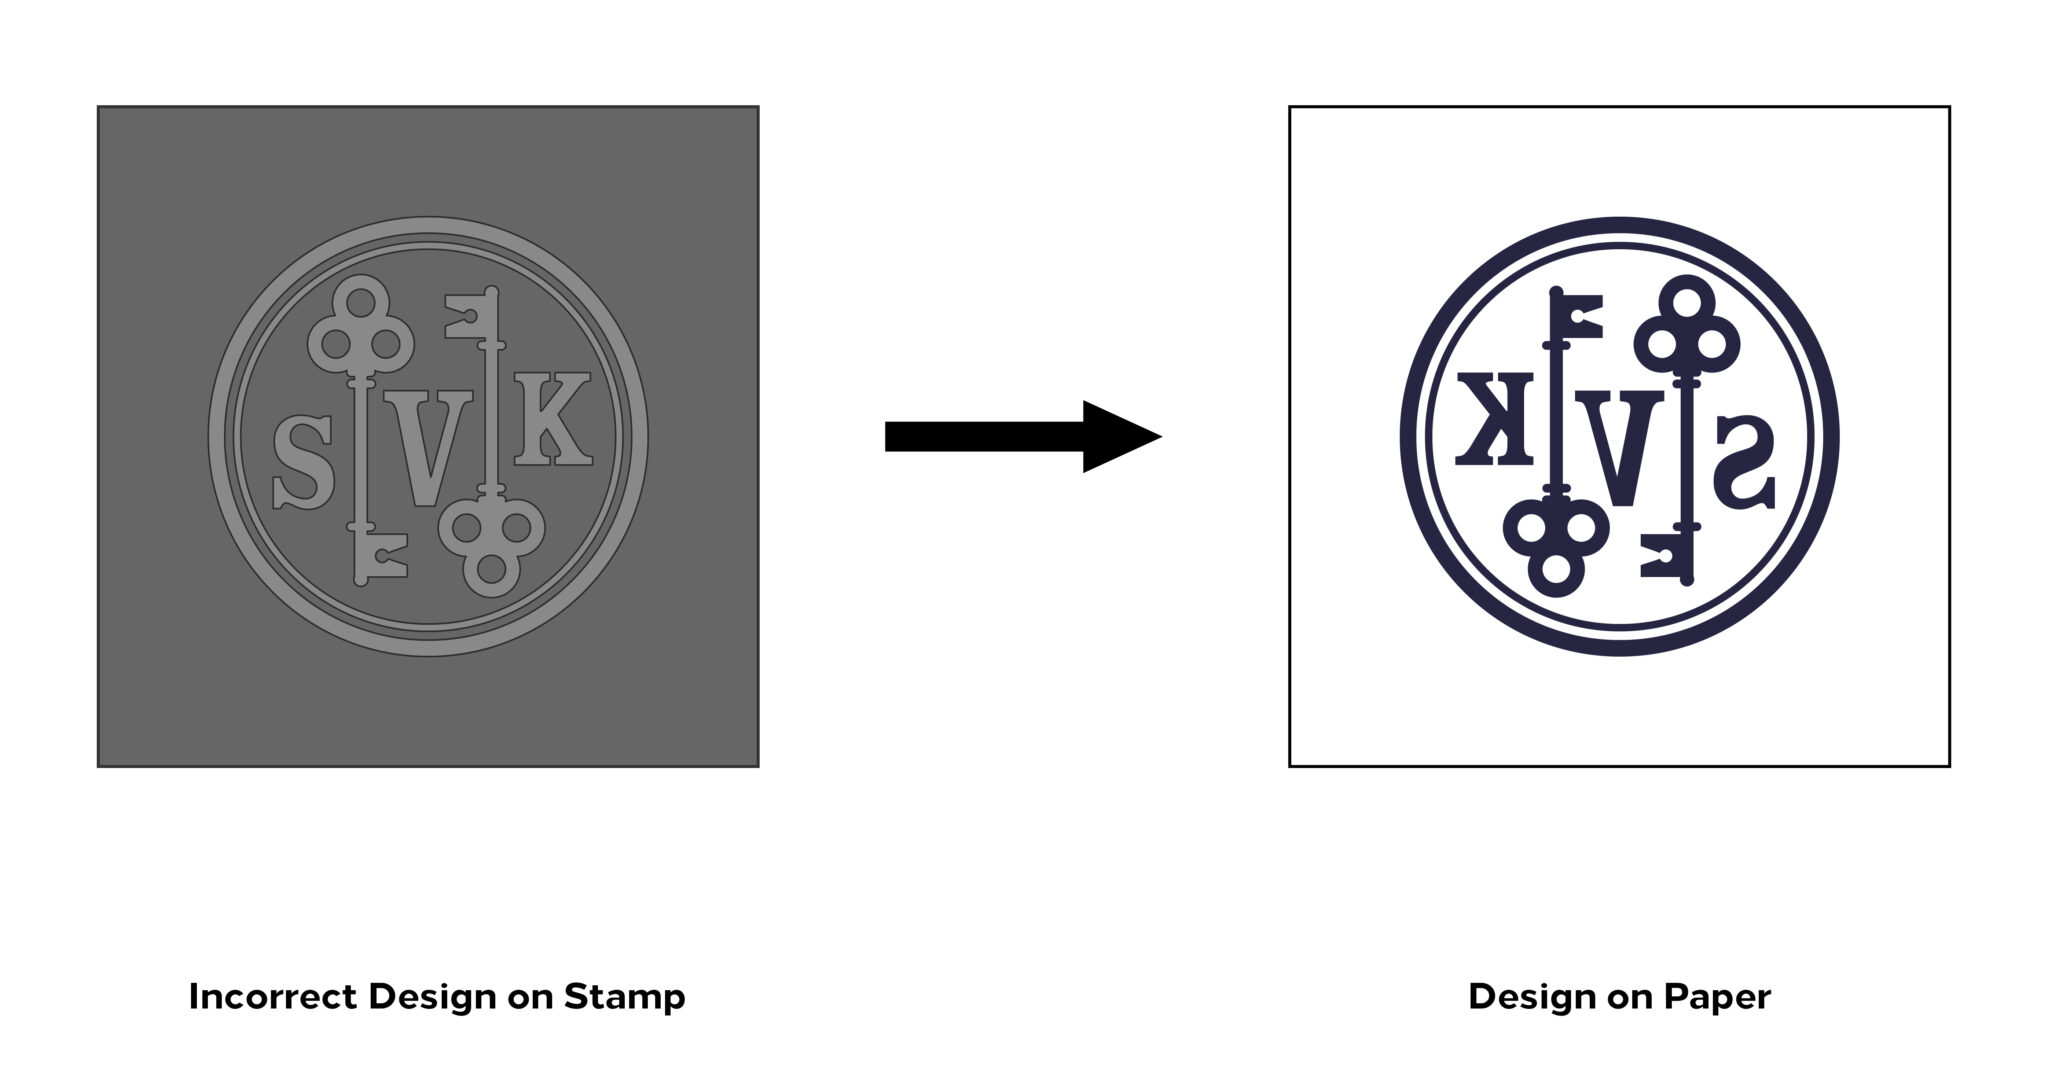
We must invert the colors and mirror your design for it to work properly once you ink it and place it on a piece of paper:
Let’s first invert the colors: Go to Extensions > Color > Negative. This step is necessary because the laser cutter will be cutting and etching anything that is black. You might need to fix your text color to white manually as well!


Object > Flip Horizontal will flip the image.
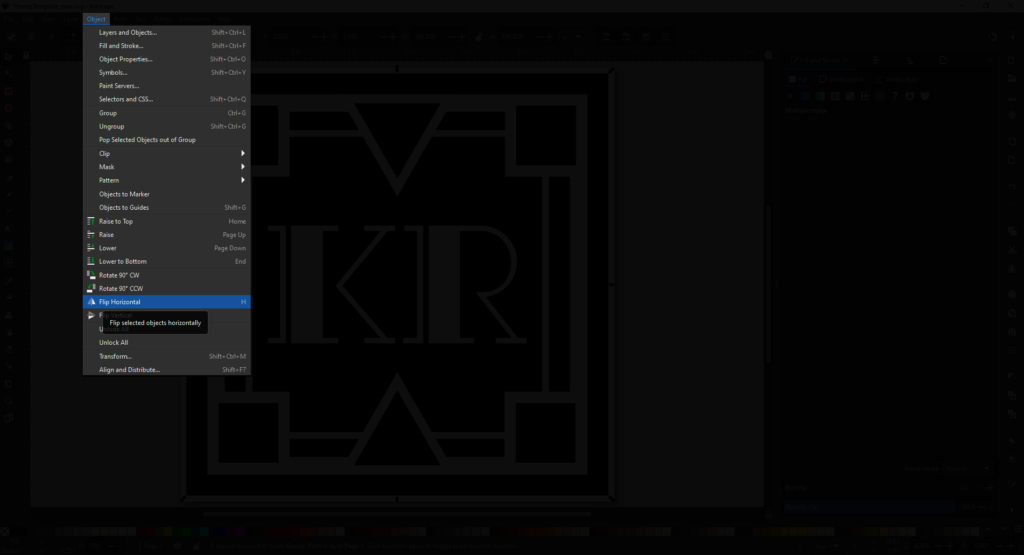
Why do we need to reflect the stamp? The finished stamp will always the stamp the mirror image of what is created on our artboard. If we didn’t reflect it, it would stamp backwards.
Here’s a visual with some of the logos I’ve made:

Keep in mind when making your future designs.
Time to save! Go to File > Save or Shift + Ctrl/Cmd + S to save your file. Rename the template with your name so that we know which stamp is yours.


You may want to also look further into this more detailed guide into preparing a file for laser etching or cutting.
Either you will be asked to move the file into a USB drive or emailed to the lab manager (krosen@bmcc.cuny.edu). They will send your file to the laser cutter and will let you know when it’s been cut.