
JUMP TO:
- OVERVIEW
- TEMPLATES
- A NOTE ON COLOR
- SETUP: ILLUSTRATOR
- SETUP: PHOTOSHOP
- SETUP: INKSCAPE
- SETUP: PROCREATE
- IMPORTING TO CRICUT
- PROFESSIONAL PRINTING
- RESOURCES
OVERVIEW
This guide will show you best practices and how to set up your artwork to create a die cut sticker with the Cricut in the Makerspace and where to look if you plan on mass production. As such, this guide assumes you are already knowledgeable in how to illustrate in general, and understand and comfortable with the user interface of the software of your choosing.
Die Cut refers to the method of creating things through a shaped die cutting through the material. Usually called a “punch die”. You may have experienced them in Elementary school with those bright color punches that created shapes– or more simply a hole punch. Cookie cutters can also be considered a kind of die cut item as well.
In this case, the “die” is the Cricut’s blade cutting around instead of a traditional punch, but works all the same. With the Cricut, whatever the PNG file edge is is where it will cut– which is why this guide will show how to create a space around the image. If you prefer to have your work cut at the edge, just skim to the export sections.
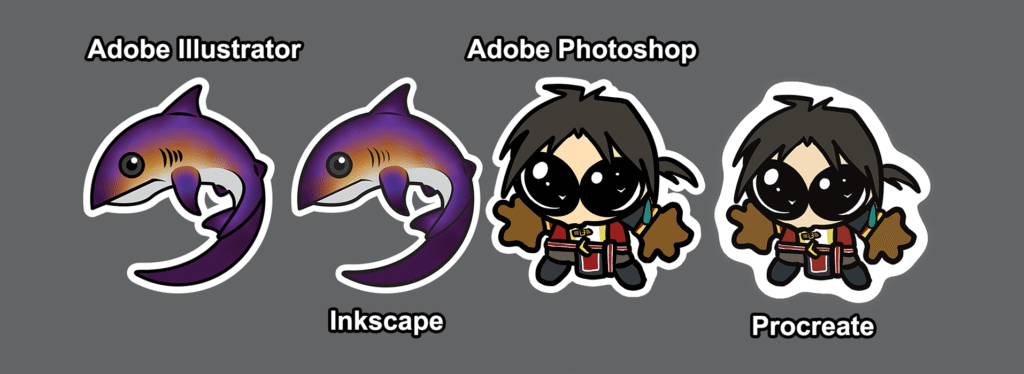
While I am giving you a guide in four different kinds of software, the ideal format for stickers is a vector-based design (Illustrator and Inkscape) over a raster-based (Photoshop & Procreate) because of vector graphic’s native scalability that allows them to remain unchanged regardless of how big or small you make the artwork. As such, keep in mind if using any of the raster-based software to make sure you keep your art boards as large as possible. The templates provided are set to 5000 x 5000 pixels, but you are free to go larger!
Software Covered in this Guide:
- Adobe Illustrator: Best option.
- Adobe Photoshop: Acceptable.
- Inkscape: Acceptable. Vector based software but does not support CMYK color. You will need to add a CMYK color profile (or download the template below) before designing.
- Procreate: Acceptable.
Not Covered but Acceptable Alternatives:
- Corel Draw: Vector based software, and supports CMYK color
- Affinity Designer: Vector and Raster based software and supports CMYK color (It is free!)
TEMPLATES:
- Illustrator AI
- Photoshop PSD
- Inkscape SVG (With SWOP V2 and Generic CMYK Profile linked.)
- Procreate File (With Generic CYMK Profile)
A NOTE ON COLOR:
During my experiments I found even setting up in the four software this guide covers there was color variation in the final export clearly on screen.
Illustrator keeps the rich black, while Inkscape, despite not having a native CMYK profile seems to act more how you’d expect a CMYK-based artwork to be. There’s a subtle color variation even between at the artwork imported into Photoshop versus the one fully exported from Procreate.
Furthermore you might find the printer you print on (in our case, the Epson EcoTank 8550) may further alter color.
If you plan on printing at home and using your own Cricut, I recommend looking into your printer’s ICC Profile and print settings to find the optimal setting, experimenting on printing through the Print Dialog proper vs through Cricut Design Space, etc. Feel free to research further as I will not cover that here. (And as it is your own machine you will have more control/have your settings left untouched. I cannot guarantee that in the Makerspace.)
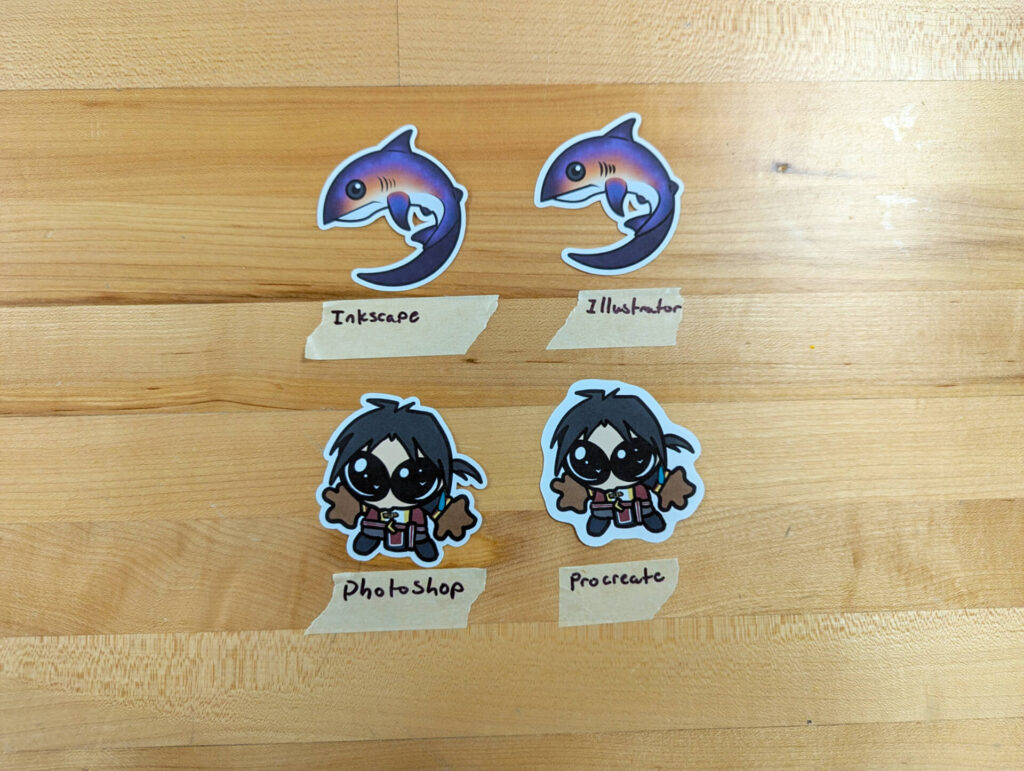
In our experiment, both vector and raster designs have little to no variance in color in print, but keep the above in mind.
SETUP: ADOBE ILLUSTRATOR
If not using the template, Create a 5000 x 5000 pixel CMYK document at 300 DPI. If you’re using the template, skip this.

Create your artwork, duplicate your art and text if you have it. Convert the text to outlines with Type > Convert to Outlines. Duplicate your expanded text so you have 2 versions– as one will have the join your new shape for the outlines.


Add a stroke, and use the Stroke panel to adjust the thickness and whether or not you want to have the stroke centered or align outside (I recommend align outside). You may need to add additional shapes if there’s pieces or text hovering around. Move it under you original artwork.


To save go to File > Export As and make sure to keep Use Artboards unchecked, to keep the background Transparent, and keep the export DPI to 300.


Continue to IMPORT INTO CRICUT for the next steps.
SETUP: ADOBE PHOTOSHOP
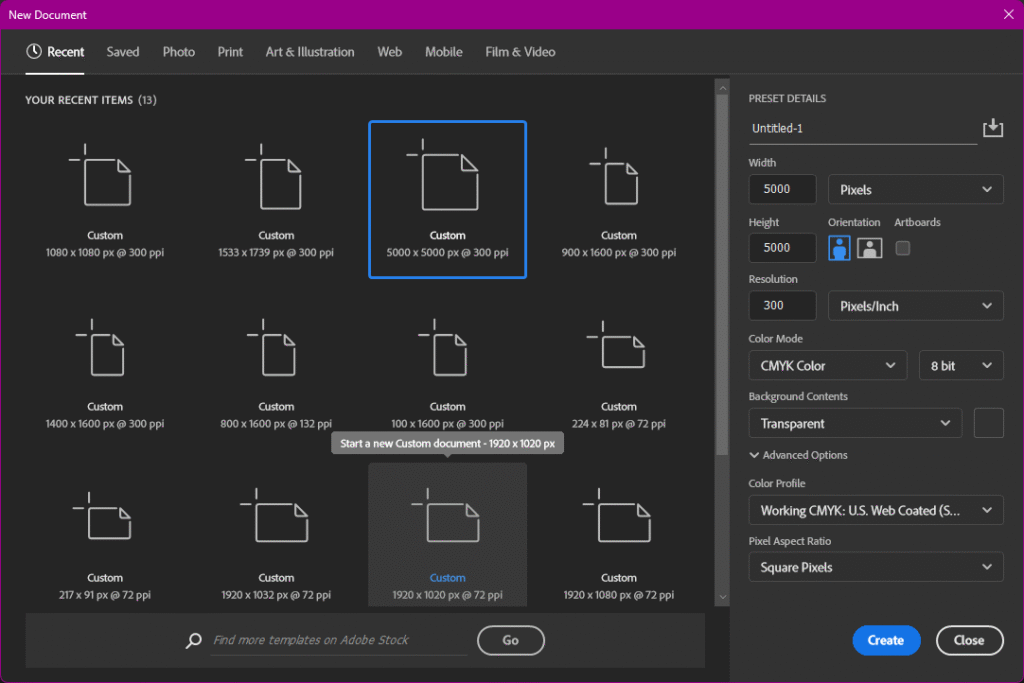
If not using the template, Create a 5000 x 5000 pixel CMYK document at 300 DPI. If you’re using the template, skip this.
Once you have your design, merge it into one file, including any text. Add a stroke using the Layer Style on the bottom of the layers menu. Adjust the size, and I recommend making sure the strokes are aligned to the outside. You might want to paint under with the white to close any gaps if working with multiple shapes and text.


When ready, go to File > Export As. Check to see if your dimensions have changes, otherwise continue to save your files.


Continue to IMPORT INTO CRICUT for the next steps.
SETUP: INKSCAPE
Inkscape is tricky. As explained above, Inkscape has no native CMYK color profiles, and has been on the queue of feature to add for years. Below I will share a workaround, but I highly recommend you just use our template shared above as I’ve done the work for you.
If not using the template:
- Download a CMYK Color Profile from the ICC and install it (installation methods will vary between PC/Mac).
- OR Download Scribus (an open source alternative to InDesign) or Affinity Designer to bring the finished file in to export in a CMYK color profile. (Affinity Designer also has vector art capabilities so you could also work in both!)
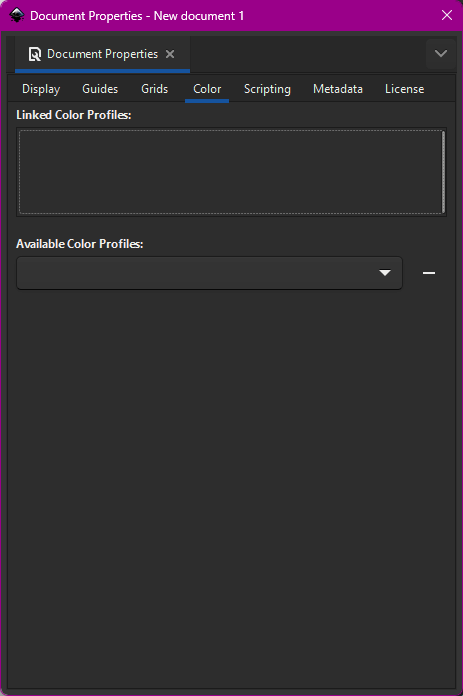
Create your new file and got to File > Document Properties. You will resize and adjust your color profile you’ve installed there.

Make sure your measurements are set to Pixels (px). Make your canvas 5000 by 5000 pixels– and don’t worry– you’ll worry about DPI when you save as Inkscape determines that during export instead of file creation.
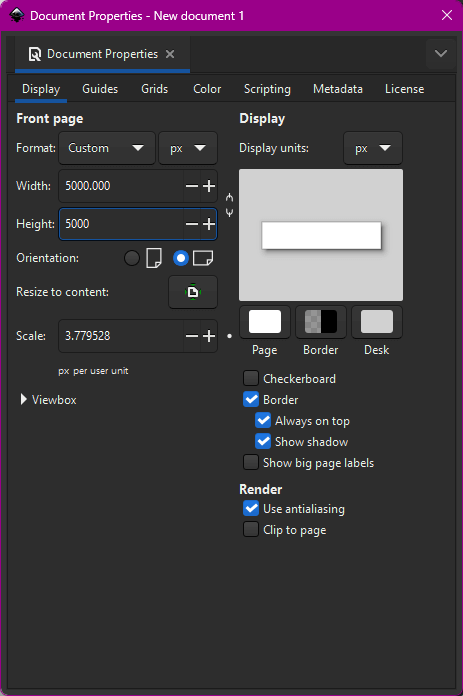
You may also check your color profiles under Color. It will look empty on default, and your color profile you installed won’t shop up until you find it from the dropdown menu. (Mac users may find a “Generic CMYK” option in the dropdown– you can use that instead of installing an ICC profile.
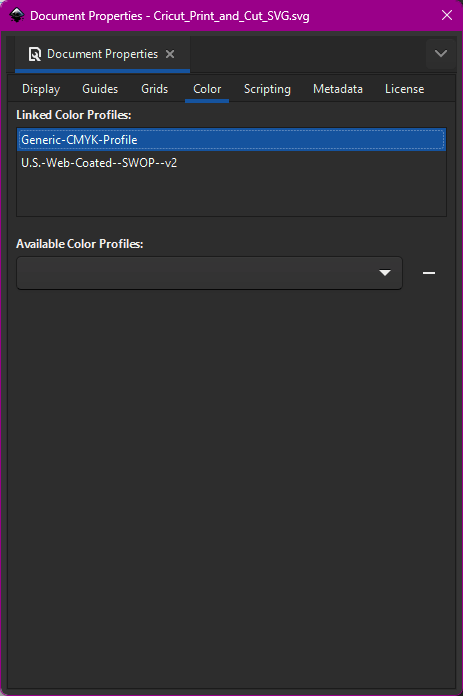
Here is what that looks like in the pre-made template; as you can see I had the SWOP profile from when creating this file on a PC and added the Generic CMYK when opening and editing it on a Mac.
If you are using the template:
Open the template in Inkscape, it should look like this.

Once your file is set up, create your sticker design. I recommend having one element of the layer just be a rectangle filled with some other color to help you later.
When you’re ready to create the outline, right click and duplicate the artwork and clear our the details, you just need the outline of the final design. (For me it was shape of the shark.) If using any text in your design, make sure to create your text into shapes by using Path > Object to Path.


Go the Fill and Stroke panel to give your design a white (or other color of your choosing) fill and matching stroke. Fill fills the shape, Stoke Paint decides the color of your stroke, and Stroke Style will determine how thick you want that stroke to be.


Turn on and lock your color background if you haven’t already so you can see the white stroke.
When you’re ready, go to File > Export or the Open Export button on the far right toolbar. It will pop up into a panel where everything else is. You can adjust the file size here too if need be but more importantly: set your DPI to 300. (You will see the file dimensions get larger and that’s okay– as mentioned above the only concern is the actual file size and getting it to the Makerspace.)


Click the bottom dialogue box to locate where you wish to save, name the file and export accordingly.
Continue to IMPORTING TO CRICUT for the next steps.
SETUP: PROCREATE
If not using the template:
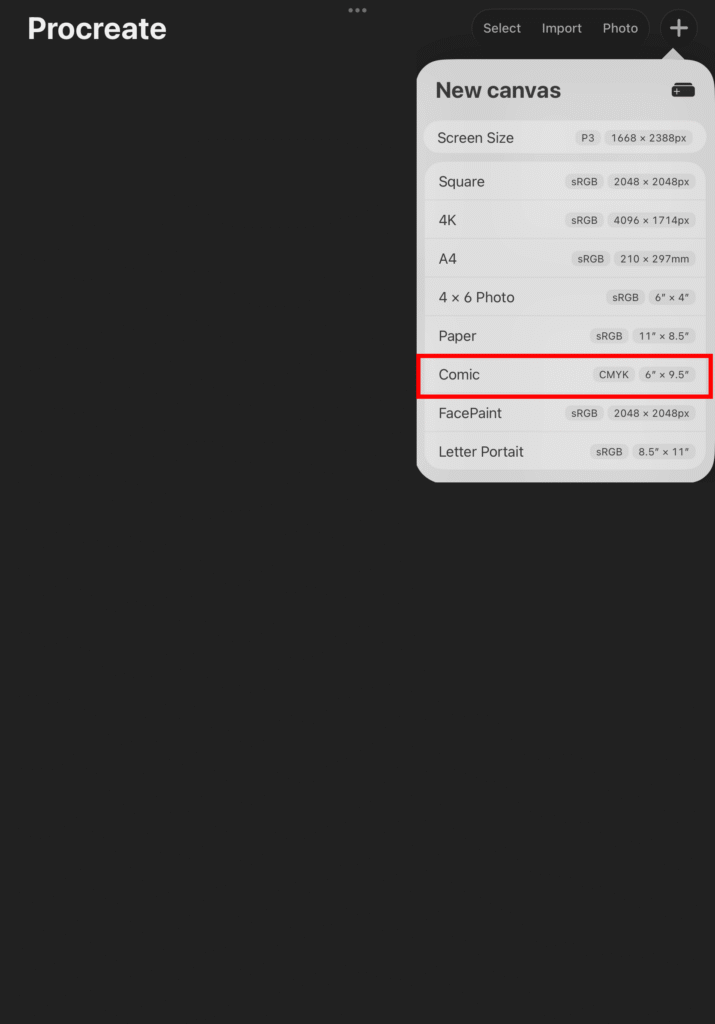
Create a new document using the Comic profile. As you can see it’s already set to CMYK, so you just need to change the art board size. Under Canvas go to Crop and Resize and select Pixels. Set you canvas (at least) to 5000 by 5000 pixels and change the DPI to 300 if you wish. Comic profile has it default to 400, which is fine as well.


If using the template:
In the main menu select Import. Find where you’ve save the file and let it load in.


You should get a blank Procreate File like so:

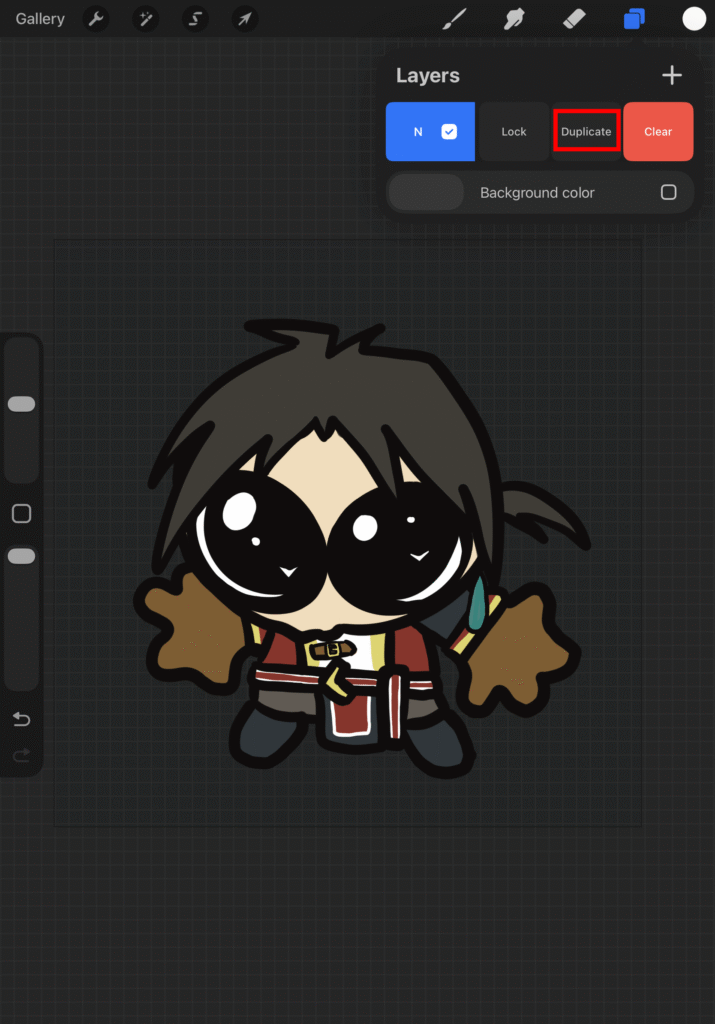
Create your design, and once done, merge the final design into one flat file. If you want to keep a version with all the layers I recommend duplicating and renaming the file in the main menu first.
If you plan on exporting the file to work in Photoshop, skip down to the export section, then jump to the Photoshop Guide.
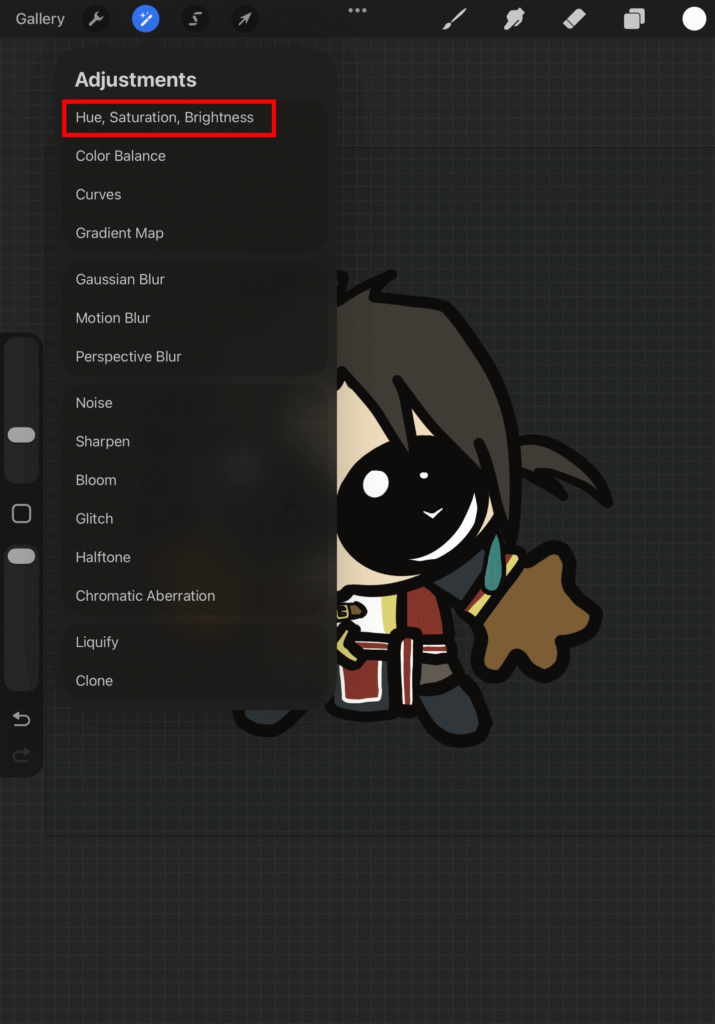
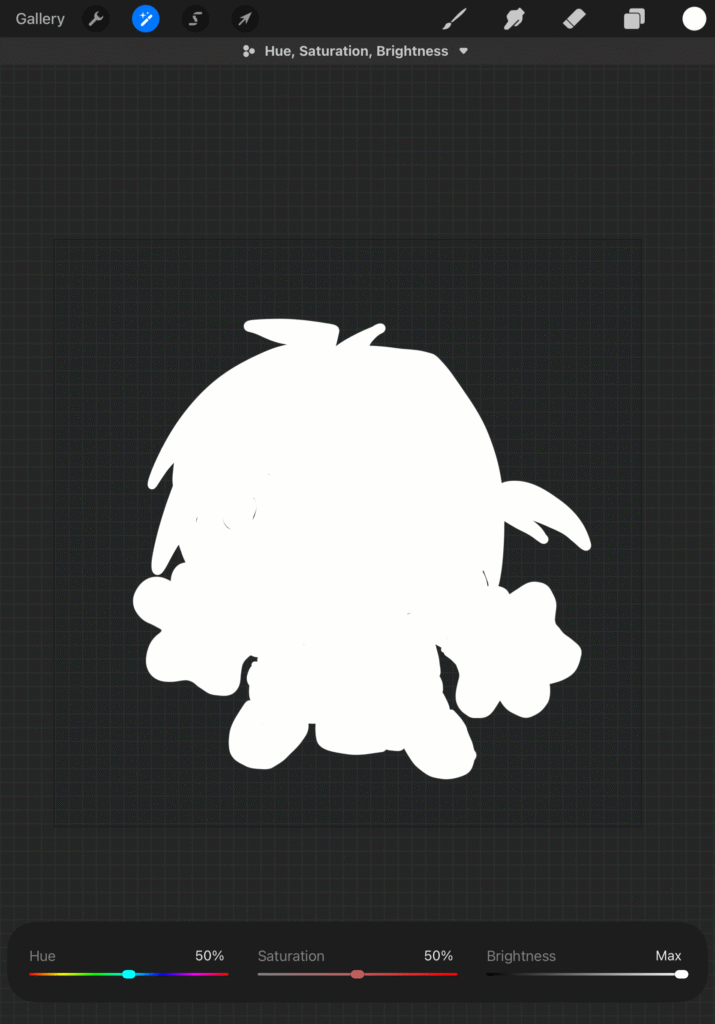
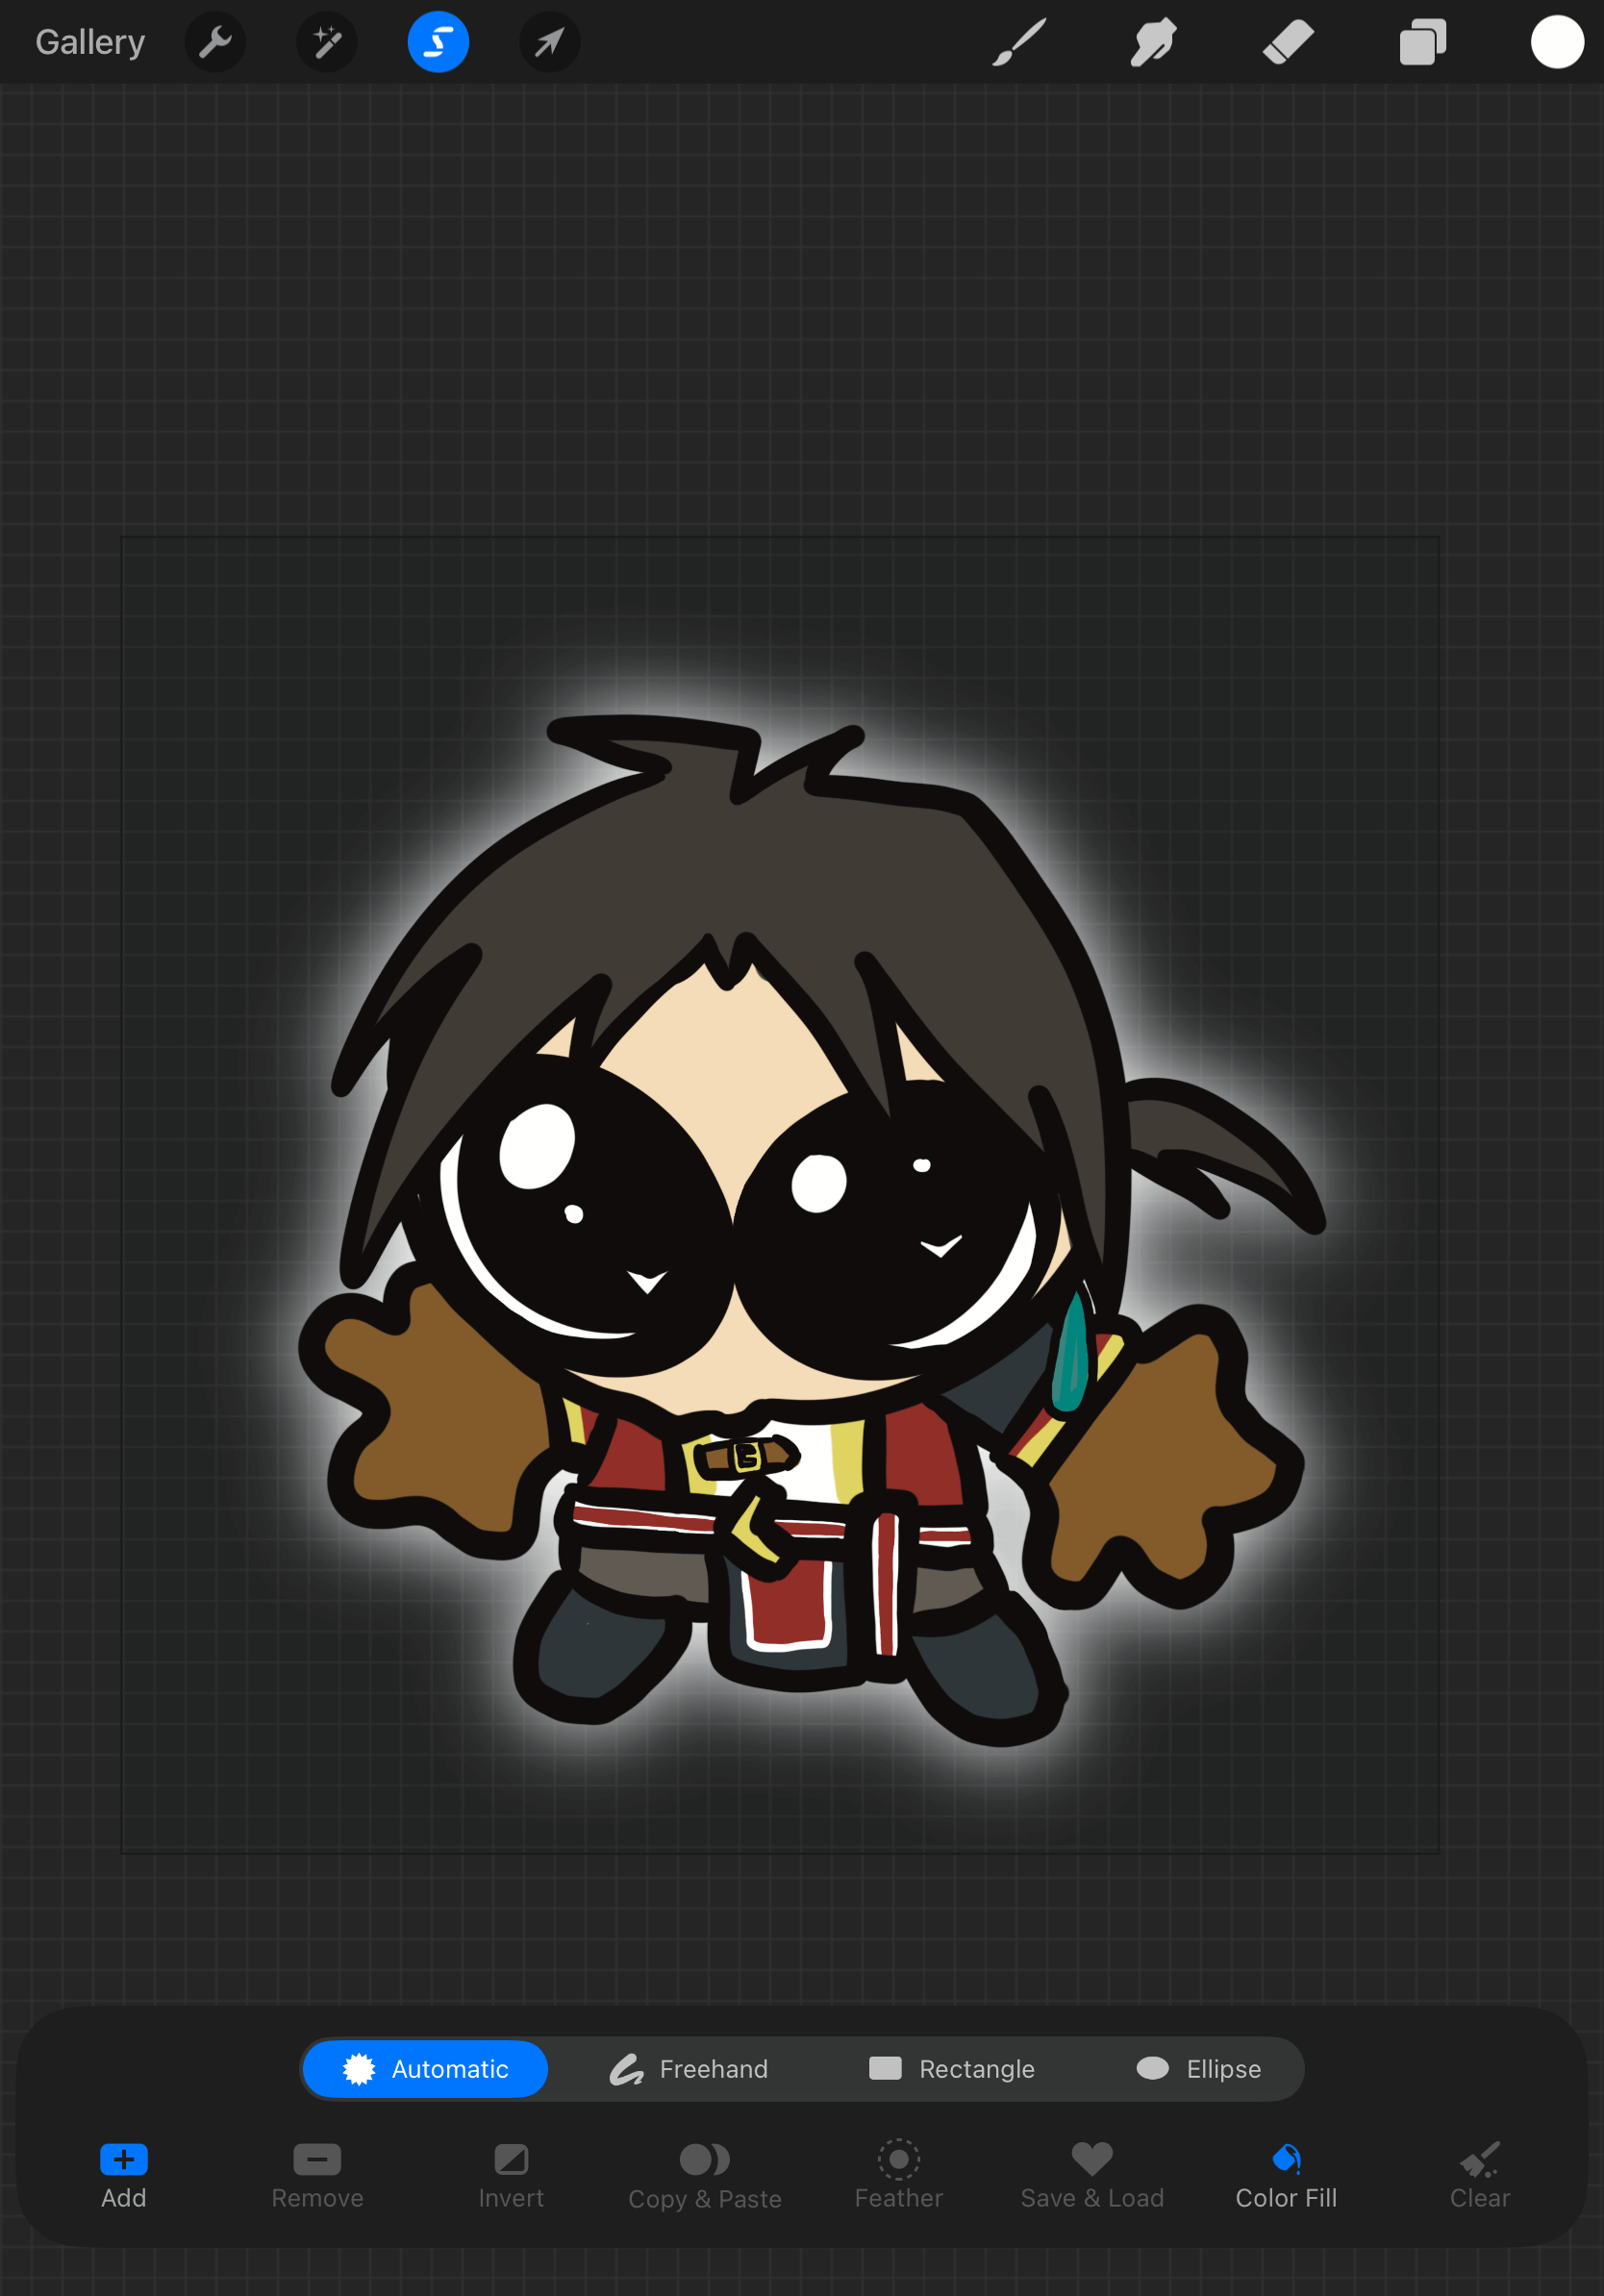
Duplicate the flattened artwork and go to Adjustments > Hue, Saturation, and Brightness and slider the brightness slider until the design goes fully white.
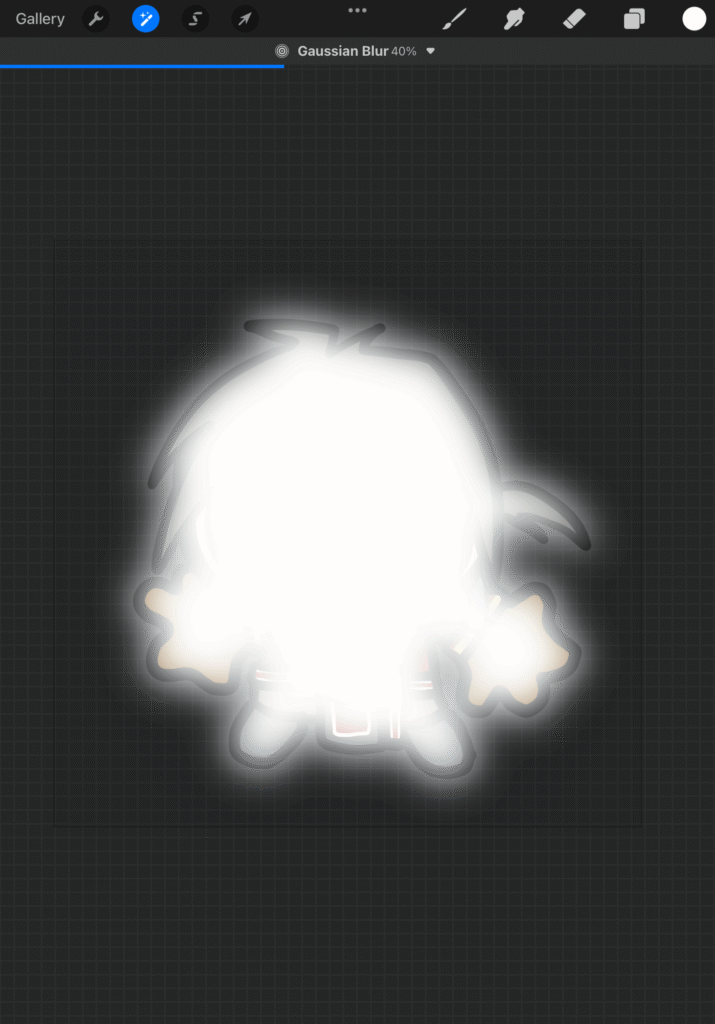
You can either pick a larger brush and draw around the edge OR go to Adjustments > Gaussian Blur and adjust however you wish.

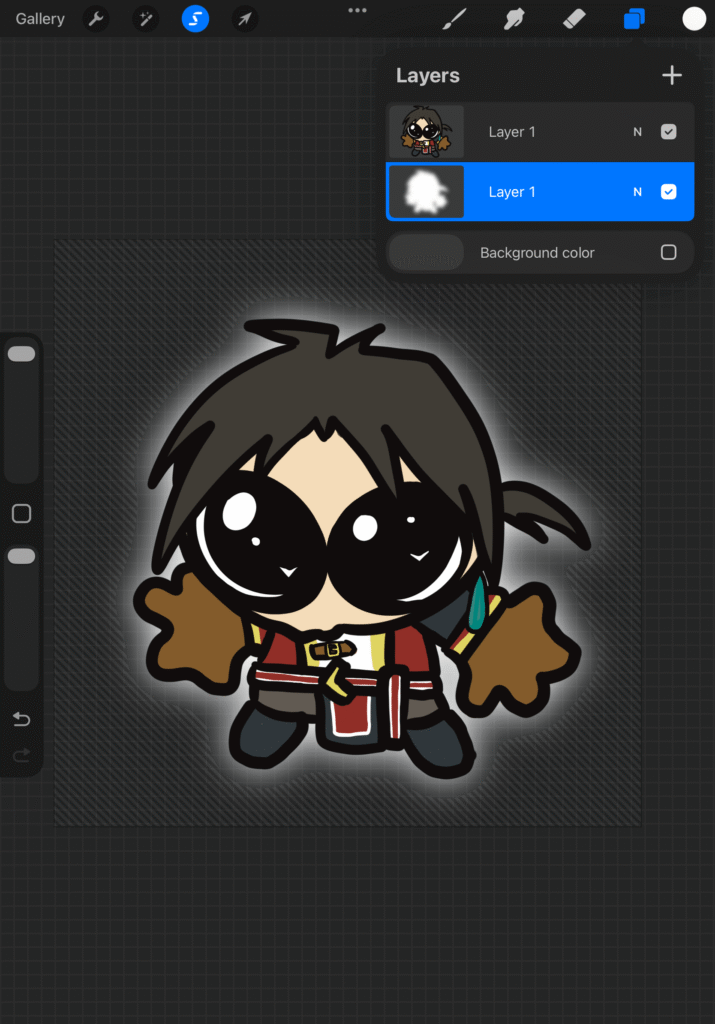
Move the white layer under your artwork, and hold down on it with two fingers for the Selection menu to pop up and make sure you have Automatic selected. Slide the threshold until you no longer see fuzzy white.

When done, exit to the main menu to export. If you plan on saving it locally, select the PNG option. If you plan on creating your outer line through Photoshop, select the PSD option. You can jump to the Photoshop Guide here.

From there, you can save locally onto your iPad or through a cloud service, or email it to the lab manager if the file size is small enough.

Follow below for bringing it into Cricut.
IMPORTING TO CRICUT
We will be importing the image in Cricut Design Studio for the computer as the workflow for the iPad version isn’t conducive in the Makerspace.
Before we begin, I noted that the Procreate and Photoshop designs retained their 5000 x 5000 pixel size, but Illustrator and Inkscape exported their images way larger. That is fine, the only issue would be it could be too large for an email, if that’s the case you can send a link to cloud storage or bring it in on some storage device. If you can resize it to as close to 5000 by 5000 pixels on your own, do so.
Login to your Cricut Design Studio account if you’re on you own, or use the Makerspace account (login located inside the Cricut Cover). Once logged in select New Project > Blank Canvas. It will take you to the canvas.

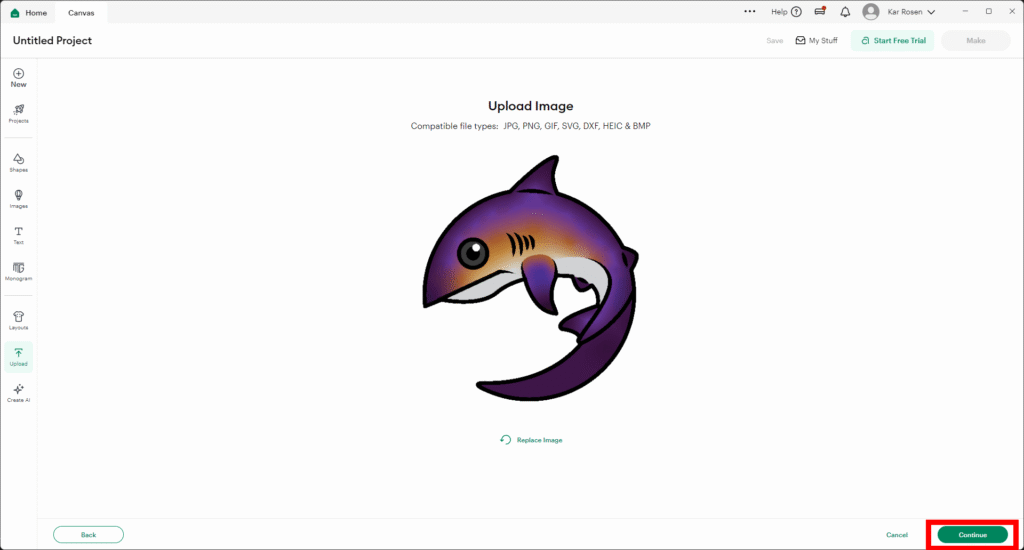
On the bottom left, select Upload to upload your image to the software. Select the green Upload Image button, and find your artwork to upload. Select Continue.


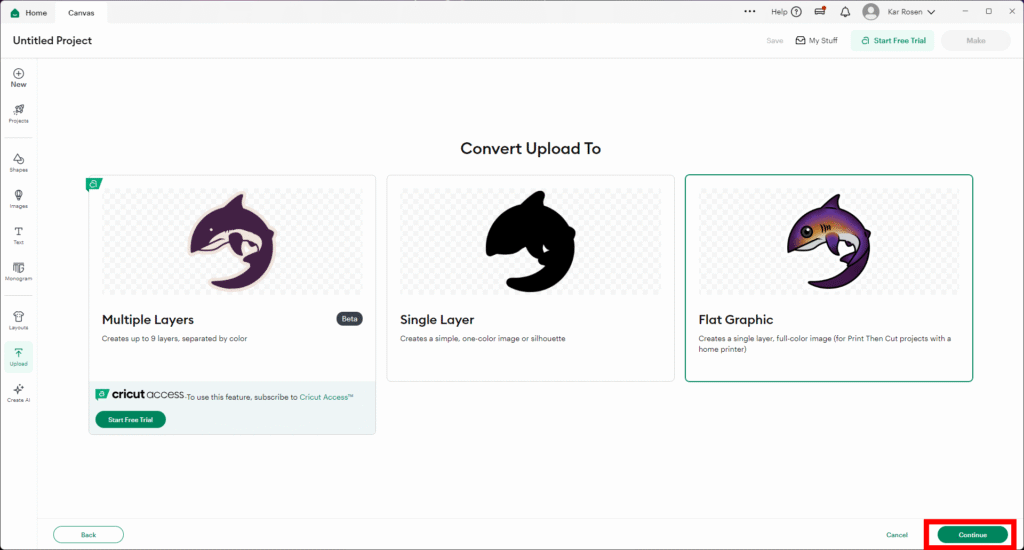
On the next screen select Apply & Continue, on the next screen Continue, on the next screen choose Flat Graphic then Continue, then finally Upload on the last screen.


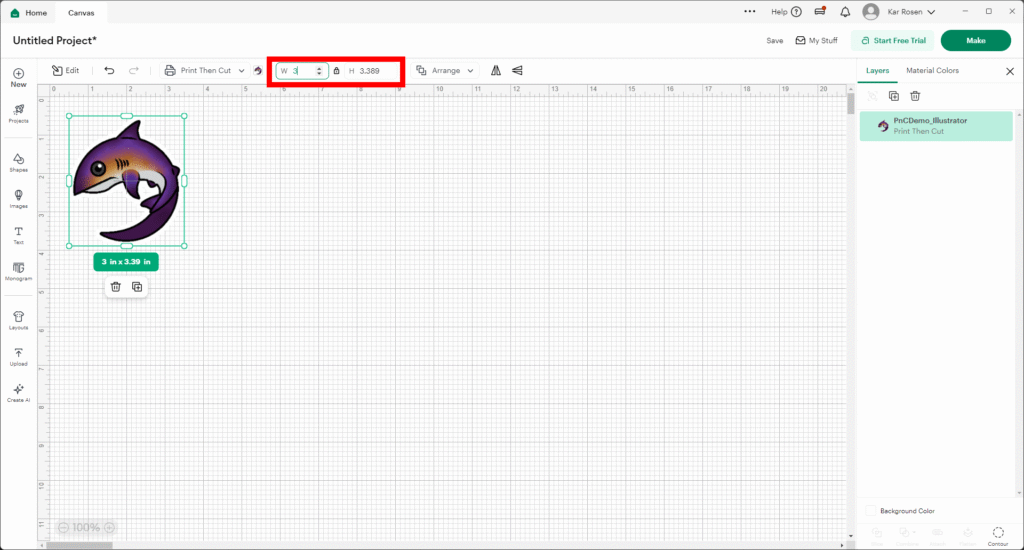
Once uploaded it will appear very large on the art board. Use the top toolbar to resize to the size of you choosing. Lay out the stickers as you wish– Cricut won’t let you past around 6.75 by 9.25 inches, give or take. (You may want to create a rectangle with those dimensions in Cricut Design Studio if it helps.)

Connect your computer to the Cricut and the printer via the USB cables and turn on both machines. (My computer is connected via Bluetooth; you can attempt to connect your machine it via Bluetooth before starting the project too– it will be the device called MAKER-E7F3.)
When ready, return to the Cricut Design Studio and select Attach at the bottom right to keep your art together then select Make.

Hit continue if the preview is it your liking, otherwise go back and fix it. Select Continue. In the next window select Send to Printer. On the next screen select Next, and on the print screen find your printer (in the Makerspace it’s the Epson ET-8550), select the Use System Dialog then wait.

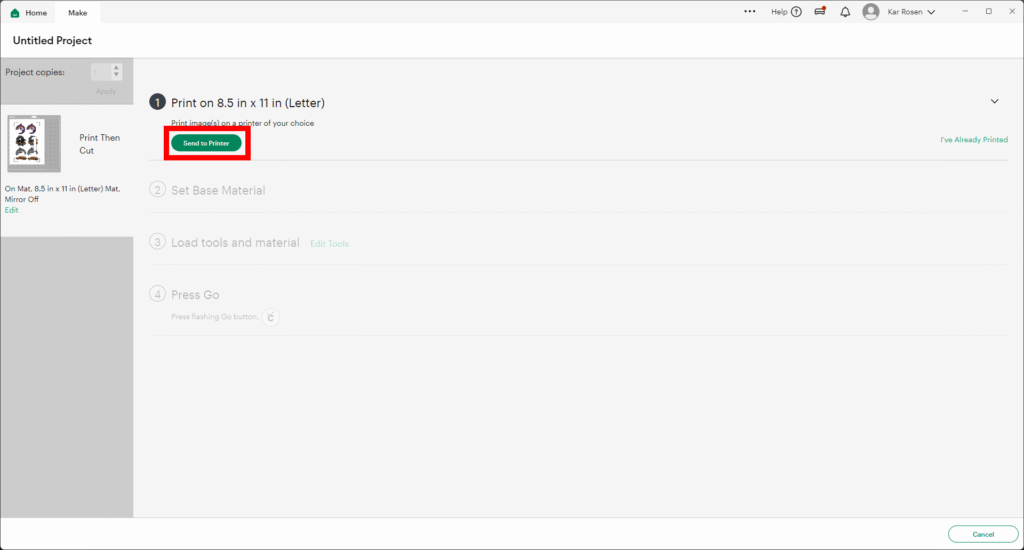


Open the front plate to reveal the paper tray, pull out and place the sticker paper facing down. Close the paper tray, then on the System Dialog screen, select Print. Once printed, place it on the green mat and load into the machine.


Hit Done to continue.

Select the option Printable Sticker Paper, White (Grey Liner Printing). If using your own account or it’s not showing up on the Makerspace’s select Browse All Materials to find it.

If you haven’t loaded the sheet into the Cricut before, do so now, if you already have, it will skip over the tool options. (As this is a cut, it needs only the Fine Point Blade that is normally in the machine. If for whatever reason it might not be, follow the instructions to swap out the tools.
When ready to print, you’ll see Press Go, that means to return to Cricut and press the blinking button. Wait patiently as the machine scans and cuts your prints.

Once removing the green mate from the Cricut, carefully remove the outer waste sticker paper, followed by removing the stickers individually. Be careful if you’re using a newer/stickier mat as it is prone to tear.
PROFESSIONAL PRINTING
As you may be aware, the Makerspace is not equipped to do high-volume mass production of designs. Once you’re satisfied experimenting in the lab, and the intention is to do mass production of the product, then your next step is to choose a vendor.
When working with a vendor, please be mindful of the specifications they require, and use any templates that they offer for you to use. This will assure the closest accuracy to your ideal color as possible. (This is where working in vector-based graphics are key– you can copy and paste more easily.)
Some vendors (like StickerApp) will allow you to purchase a sample pack to see their product and provide a CMYK color swatch for you to reference in your designs. These samples can sometimes be free or $2-$5 with free standard mail shipping. (If you don’t want to spend that money, Kar has many of these samplers already for students to look at.)
Sites like StickerApp or Vograce are popular choices (Vograce also does acrylic charm keychains and standees– things you can’t make in the Makerspace!)
Other sites worth looking into: Rockin’ Monkey, Sticker Ninja, Moo, and Smartpress to name a few.
RESOURCES:
- International Color Consortium (ICC) CMYK Profiles (For Inkscape Users)
- Adobe’s ICC Profiles (Windows) (For Inkscape Users)
- Adobe’s ICC Profiles (Mac) (For Inkscape Users)
- Affinity Designer (Alternative Software)
- Scribus ((For Inkscape Users); Can Output Inkscape Files as CMYK)
- Logos By Nick: Addressing CMYK in Inkscape
- Logos By Nick: Exporting to CMYK for Inkscape
- Logos By Nick Inkscape Tutorials
- TJ FREE Inkscape Tutorials
- Shooting Star SVG: Stickers in Inkscape
- PSDDude: How to Make a Sticker in Photoshop (Using a Photograph to Make Sticker!)
- Vizartsgirl: How to Create Outlines For Stickers (Photoshop)
- Mind Island Design: Create Die Cut Sticker for Illustrator
- Patrick Scullin: How to Make a Contour Cut Sticker With Adobe Illustrator
- Genevieve’s Design Studio: How to Create Outlines and Strokes in Procreate
- Cozy Brushery: How to Create Sticker Outlines in Procreate
- cyberreefguru: Create Die Cut Stickers in Less Than 5 Minutes (Affinity Designer)