
Creating the Stamp in Illustrator
We will use Adobe Illustrator (a vector graphics software) to create our rubber stamp design.
(Note: Two versions of Illustrator was used for this guide. The darker user interface is the newer Adobe CC the screens with the lighter grey user interface is the older CS5. But every action stated in this tutorial woks on both.)
First, download this AI file.
Open the template for the project (“stampTemplate.ai”). The Artboard (the white area of the screen you will design your stamp on) already includes a two letter word (which you will change in the next step) and a white square with a very thin border representing the edge
of your design.
Change the current letters to your desired text/design. You may change the letters to match your initials, use punctuation and symbols, pick a different word (keep it short) etc. The Character Palette allows you to change the style and size of the letters.
With the Direct Selection tool (The white colored arrow; Shortcut: A) select your text. Make sure you the Character window available.

If it is not there then you can go to Window > Type > Character. (Shortcut Ctrl/Cmd + T )

This will allow you to change your font style. Be advised, the bolder the font, the better looking the stamp will come out.
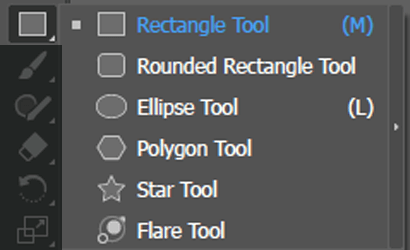
You can also add shapes to your design using the shape tools. The Rectangle, Rounded, Rectangle, Ellipse, Polygon and Star Tools are all useful for this. They should be on the left side of screen on the Toolbar. Hold down your mouse on the icon to open up the submenu to see them all.
Select any of the shapes and click on the artboard– you will see a prompt for Width and Height. You don’t want to go larger than 1.75 inches.


You can also just hold Shift and drag on the artboard for an even square/circle or without to make a rectangle/oval.
For the Star Tool, you have two radii– the first tells illustrator where you want your high points and the second tells you where you want your low points. The final option is how many points you want on your star– you can do 3 points or up! Don’t make the Radius 1 any larger than 1 Inch.


The Polygon tool only has the one radius, and the option to add sides, like the star, you can start at 3 (a triangle) and go up. I recommend no more than 0.95 Inches.


If you just drag them on the artboard, both the Star/Polygon Tool can change their faces/points by using the up or down arrow keys while dragging on the artboard.
Another thing to try is using the Stoke Panel. You can access this using Window > Stroke.
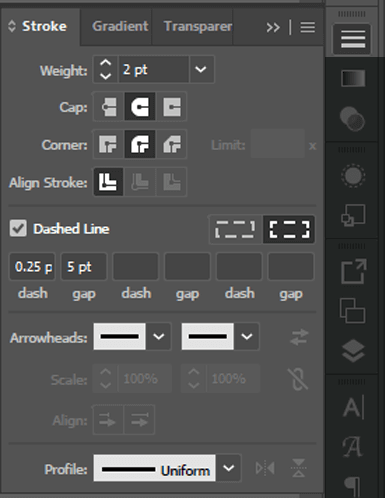
Instead of using the fill on the shapes, you flip to a stroke. You can make bold lines or dotted lines this way. You can do this by checking the the Dashed Line option and playing around with the dash and gap options. For dots, I recommend setting your dash at 0.25 pts and selecting the Round Cap option above it. The gap will be he space between each dash/dot, and you can add up to three dash or gaps for different effects.
Here’s some examples on what it’s like to use strokes and shapes:

The one on the left would be a difficult etch at this scale because of the thin inner lines, choice of font, and dots. The one on the right is much more ideal. When it etches, the star will be raised in relief and be an nice, bold design.
Resizing and Alignment
Say you’re a stickler to exact measurements– and for some of this design you need to be– there’s a way to change things exactly how you want them. This is called the Transform panel. In some workspace layouts (Like Essentials Classic), it will be at the top of your user interface. If not, just go to Window > Transform to access the panel.
![]()
You can now adjust the width/height of your object, or even it’s position on the artboard. On the right you should see a little chain link– that means it will adjust everything proportionately to its original shape. Clicking that will “unlink” the chain and you can adjust both height and width without a proportionate scale. Click it again to turn back on.
![]()
You want your design perfectly centered– there a way to do that too! Like Transform, this may already be on your upper part of your user interface, but just in case using Window > Align will always bring it up.

The two options you want are Center Align Vertical and Center Align Horizonal. Using both will have your design perfectly centered to the artboard.

If it is not, make sure your option under Align To: on the bottom right is selected to the first Align to Artboard option.

Now you’re ready to convert to outlines!
Converting to Outlines
To cut the text in a laser cutter it must be converted to outlines. To do this, select the text with the selection tool and do: Type > Create Outlines. (Shortcut: Shift + Ctrl/Cmd + O). Only do this once you are happy with your text/design.


If you just just used shapes with, then move on to Outputting for the Laser Cutter. This is next part is for if you used any kind of stroke.
To convert strokes into shapes, you’ll need to use the Expand function. Select your stroke(s) and go to Object > Expand Appearance.


Once you’ve done that go again to Object > Expand.


Repeat if needed until all strokes are expanded.
Outputting the Stamp for Laser Cutting
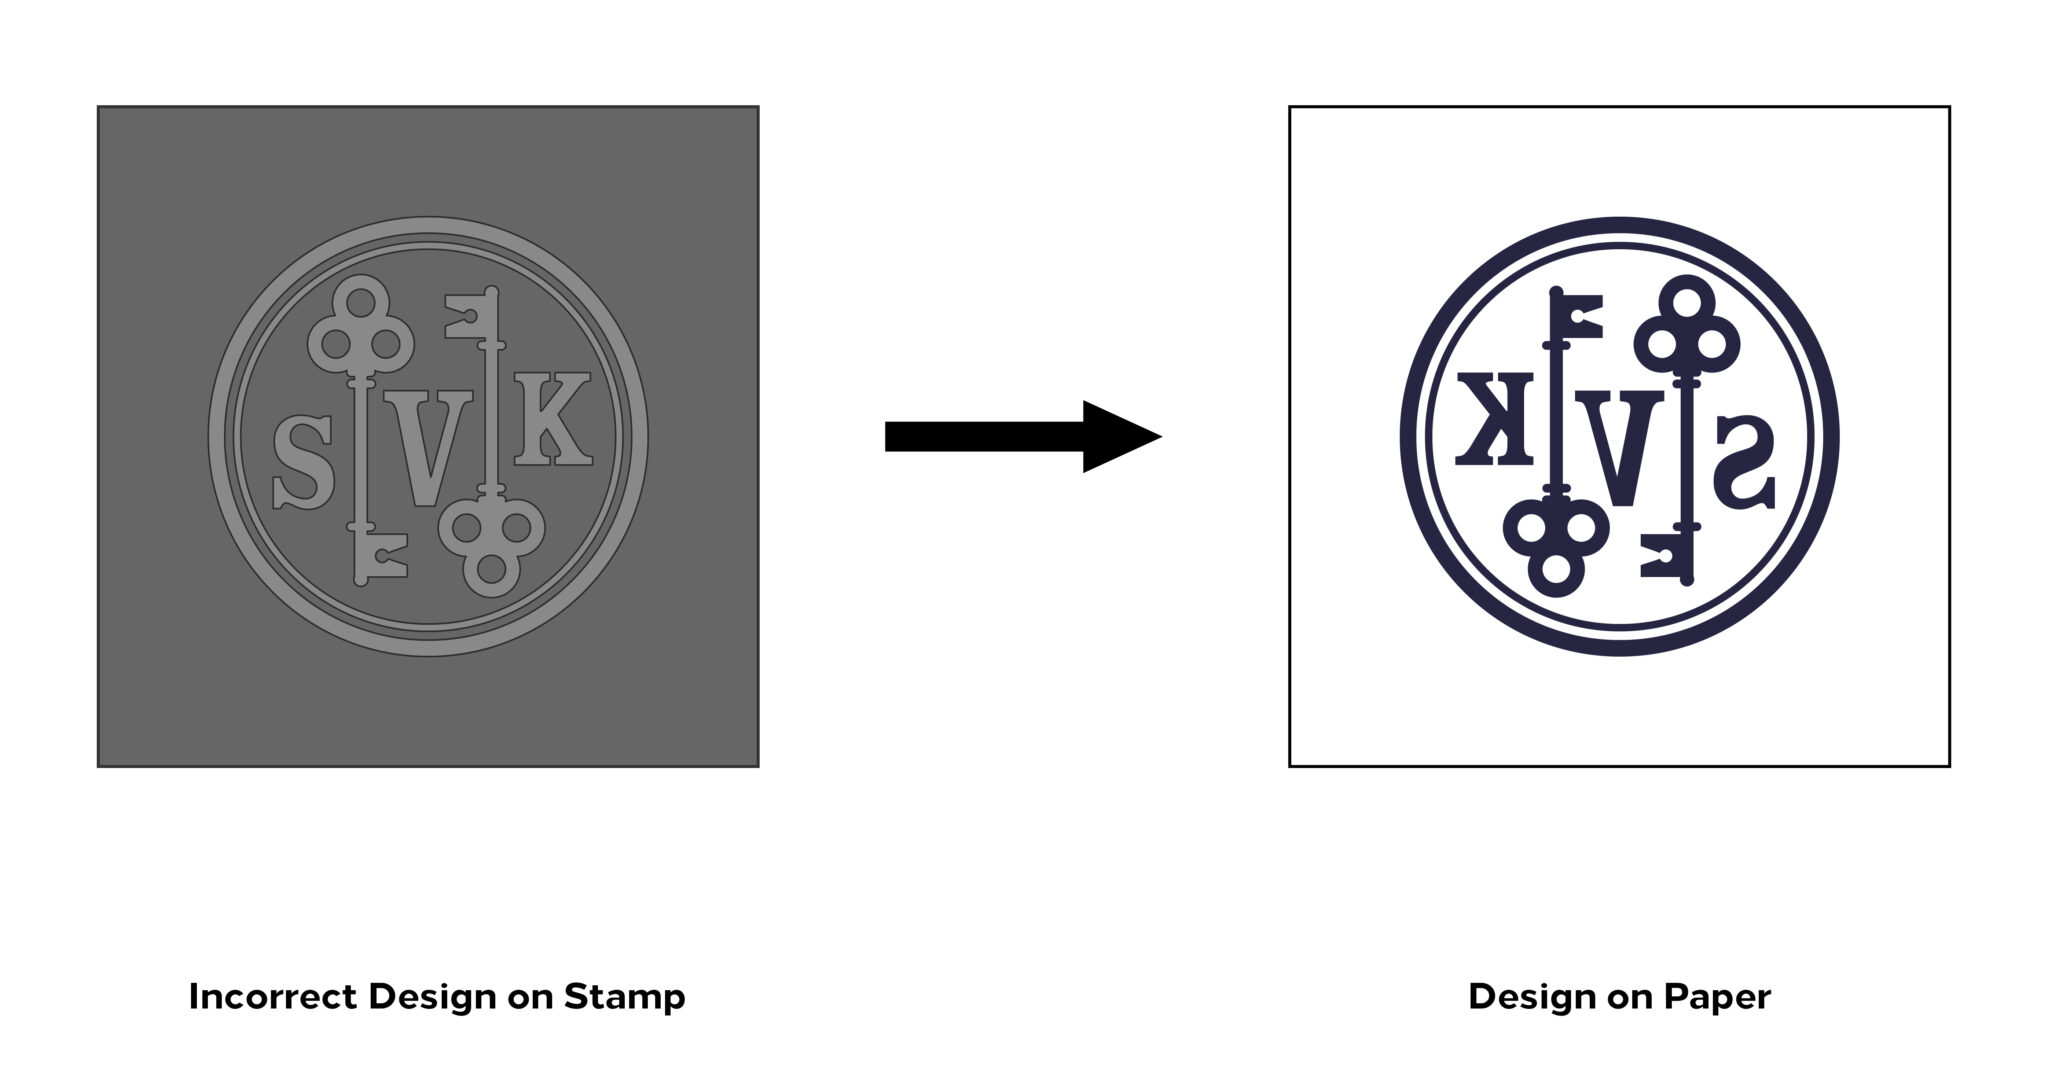
We must invert the colors and mirror your design for it to work properly once you ink it and place it on a piece of paper:
Let’s first invert the colors: Go to Select > All (Shortcut: Ctrl/Cmd + A) and then Edit > Edit Colors > Invert Colors. This step is necessary because the laser cutter will be cutting and etching anything that is black.


Now we’ll flip image of your design: with everything still selected, click and hold the Rotate tool in the toolbar to reveal more tools. Select the Reflect Tool and double click on it to open the Reflect window. Select Vertical and click OK.


For older versions you need to go to Object > Transform > Reflect. Select Vertical and then OK.


 Why do we need to reflect the stamp? The finished stamp will always the stamp the mirror image of what is created on our artboard. If we didn’t reflect it, it would stamp backwards.
Here’s a visual with some of the logos I’ve made:

Keep in mind when making your future designs.
Time to save! Go to File > Save or Shift + Ctrl/Cmd + S to save your file. Rename the template with your name so that we know which stamp is yours.


You may want to also look further into this more detailed guide into preparing a file for laser etching or cutting.
Either you will be asked to move the file into a USB drive or emailed to the lab manager (krosen@bmcc.cuny.edu). They will send your file to the laser cutter and will let you know when it’s been cut.