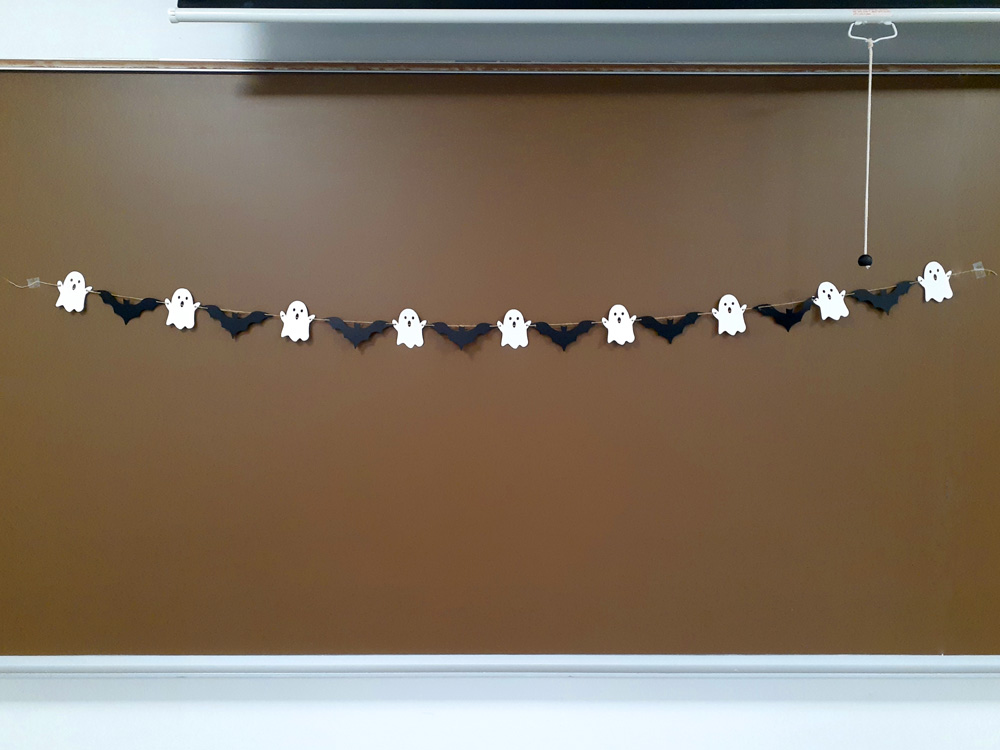
This project requires the use of the Vinyl cutter, see the information at the bottom of the page or more information and related guides from the Makerspace.
While our example is created for Halloween, this can be used for any occasion, simply change the design!
What You Will Need:
- Cardstock, kraft paper, or heavy paper
- Twine, yarn, or string
- A vinyl cutter
- Computer with a vector editing software and the vinyl cutter software installed
Colors for paper and string is up to you! For the examples, we are making ghosts and bats and will using medium cardstock in black and white with a jute twine string. Examples were also cut on the Cricut Maker (but will provide you with a guide for the Silhouette as well.)
Designing Your Garland
We will be doing our design work in Illustrator for this guide, but you can try to create it in Cricut/Silhouette’s software or Inkscape, just know if you do the process will be different.
Create a file that is a 12 by 12 inch square.

Now, place your design. If drawn by hand, you may want to scan it/take a photo and trace over in Illustrator first. (If you are unfamiliar with the pen tool in Illustrator, you may want to look at our Illustrator Workshops before jumping in.) While I generally encourage people to create their own assets, you can modify vector assets from sites like Freepik or Vecteezy.
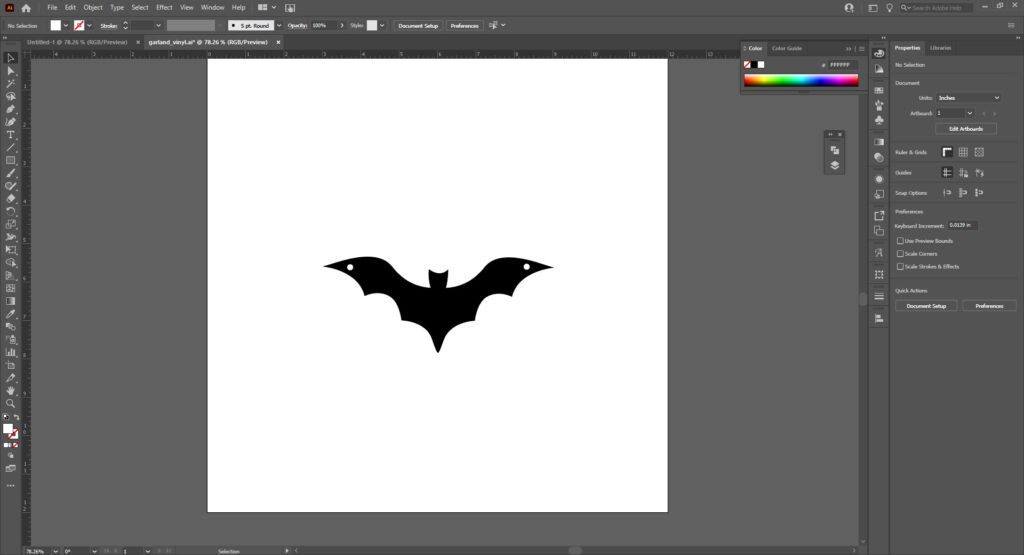
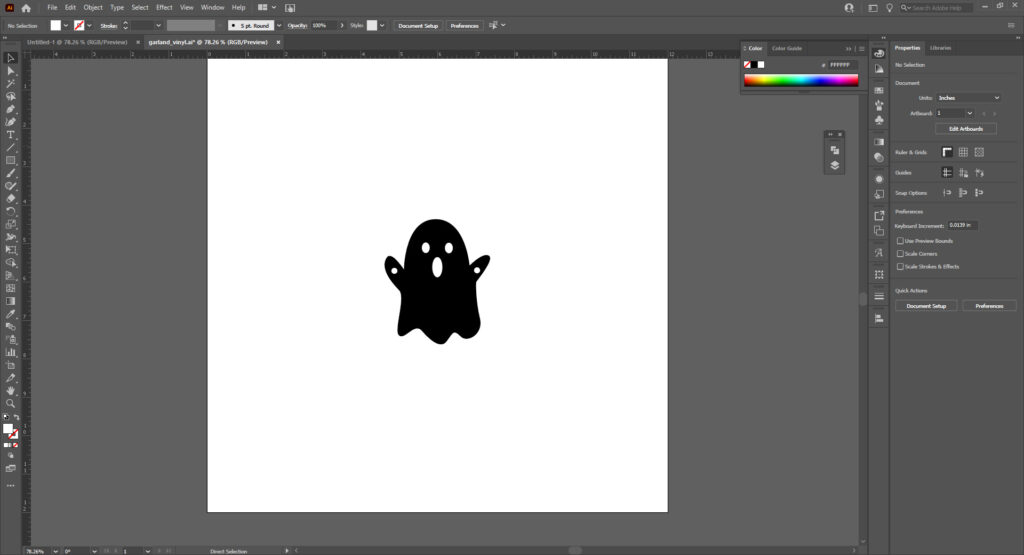
For brevity I took some vectors from Freepik and modified them a bit. If you would like to simply jump to the cutting, then here are DXF files:
Regardless of you design, you will need to make holes to thread the string through one you’re satisfied with the design. To add holes, make 0.15 inch white ellipse to each side of the string.
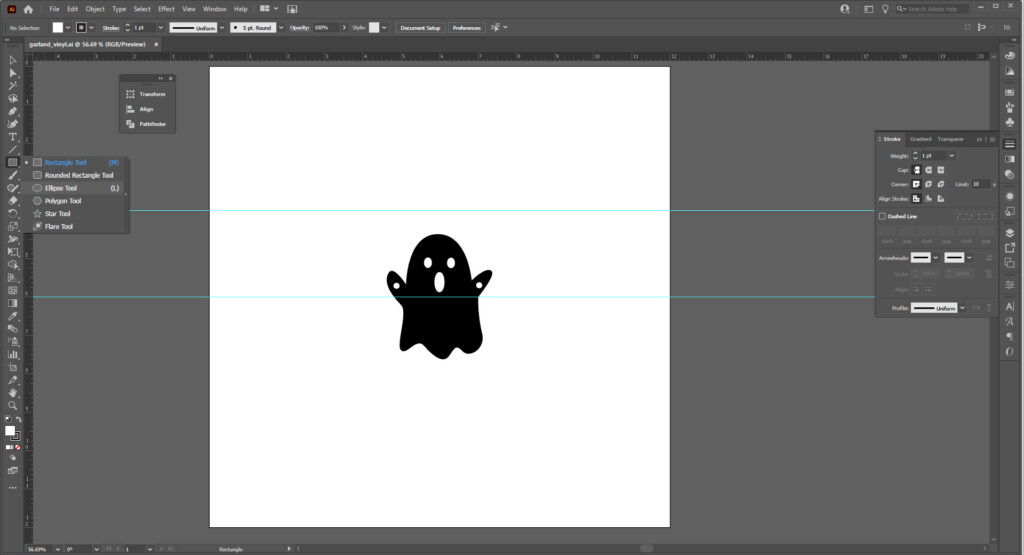
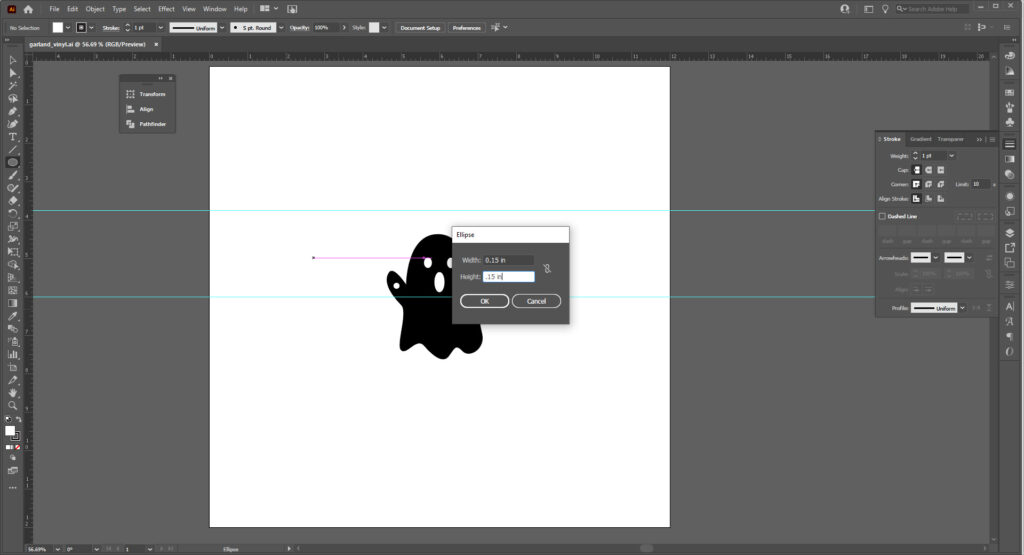
When done, make sure to group them! Select every thing and select Cntrl/Gmd + G to group shapes. You can also now make things larger or smaller. Be advised the string hole will become larger/smaller if you do!
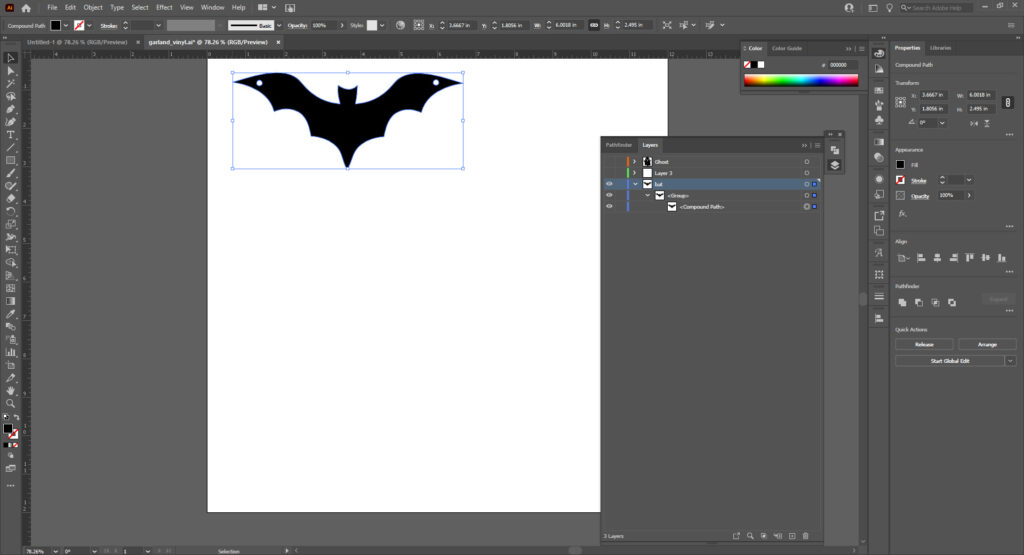
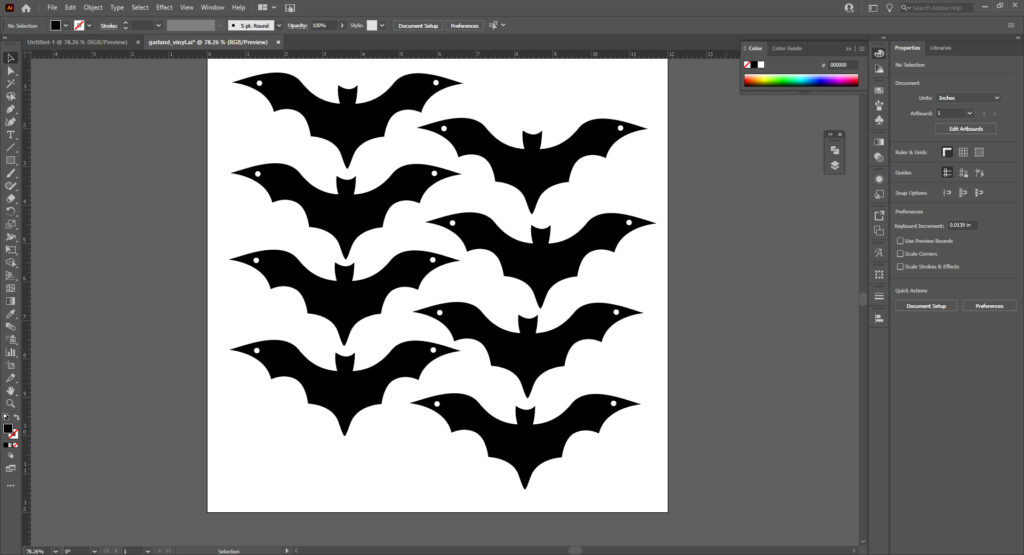
Once you have your groups, lay out your sheet! Don’t put them fully on the edge, but do what you can to fill the page. I needed 8 bats and 9 ghosts, which in the end made about a 6 foot garland.
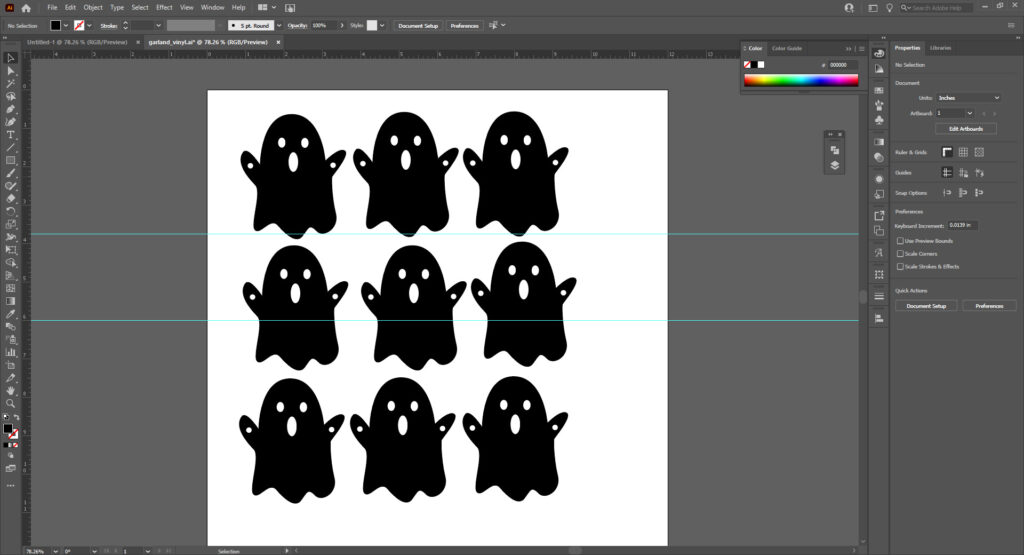
To save select Shift + Ctrl/Cmd + S and choose your save option. Name your file and save as as Autodesk RealDWG (*.DXF). Hit OK and once more in the next dialog box.
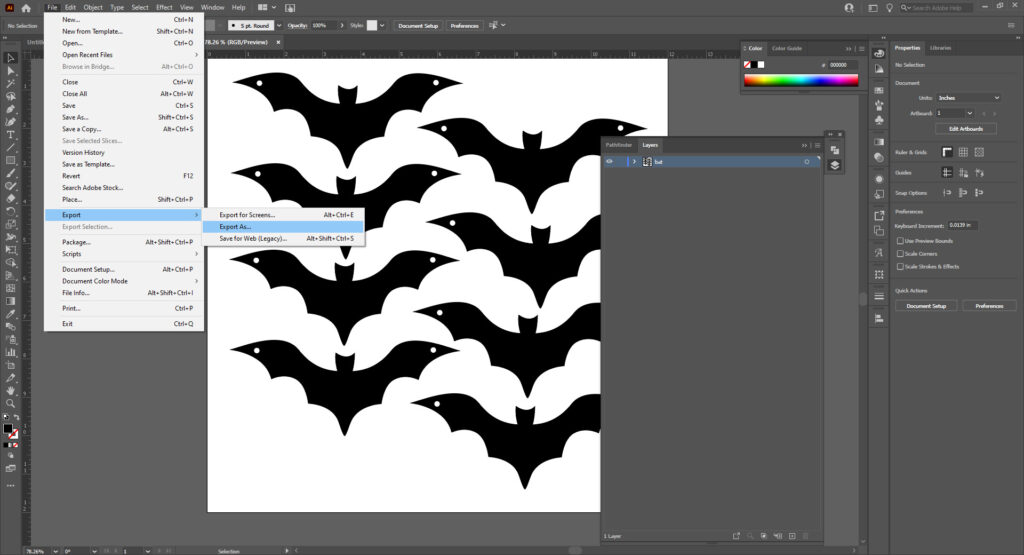
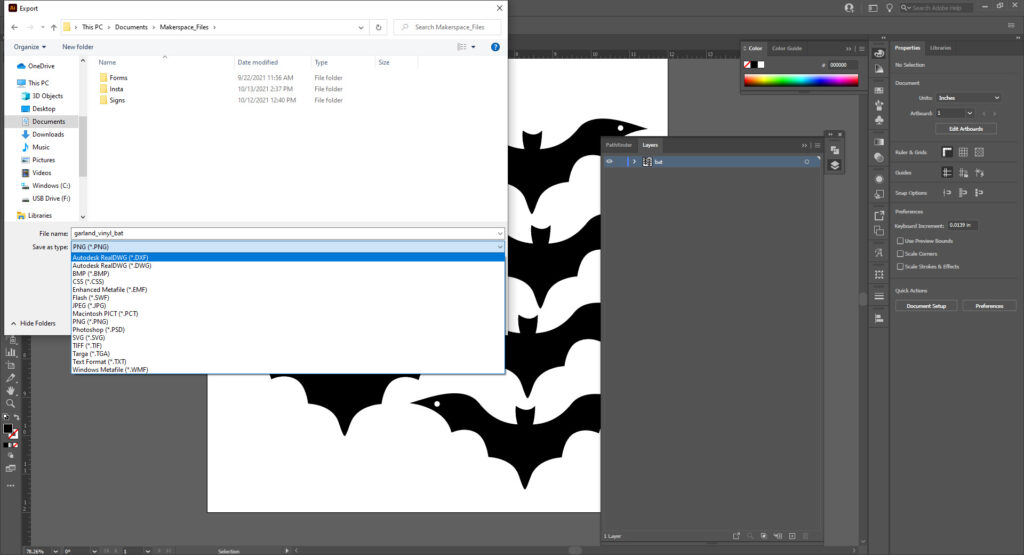
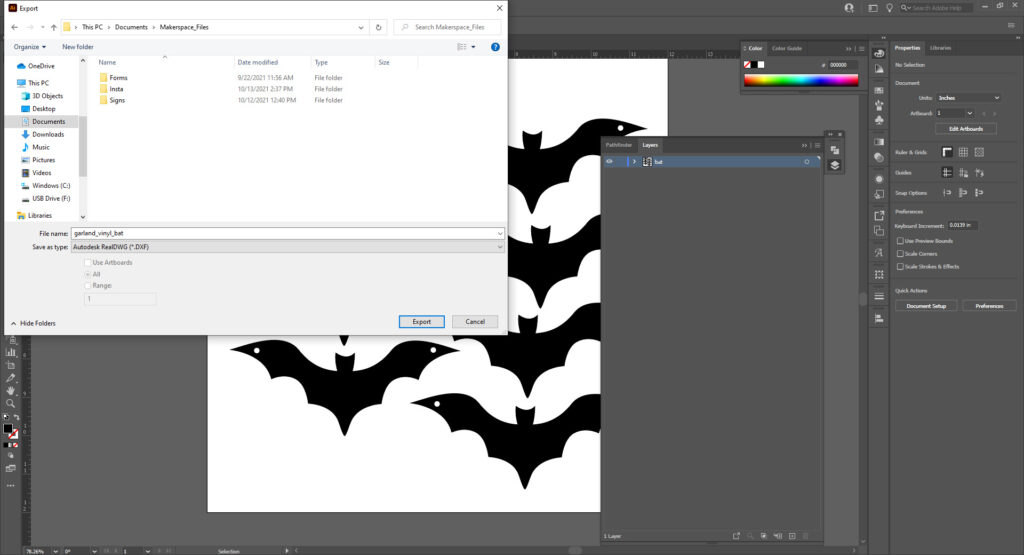
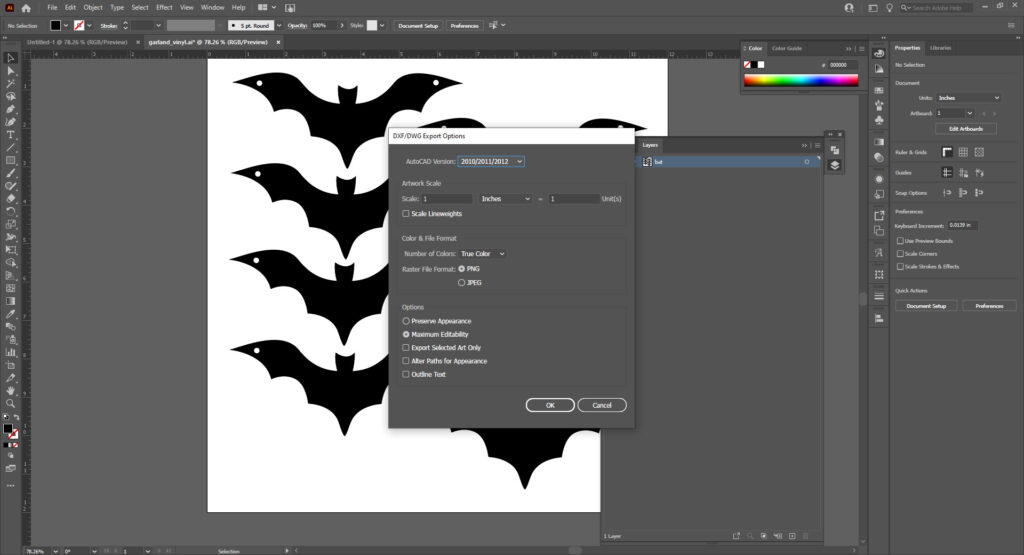
Once saved, you can follow the guides to Export depending on your machine. Be advised you may need scale your projects down in their editors.
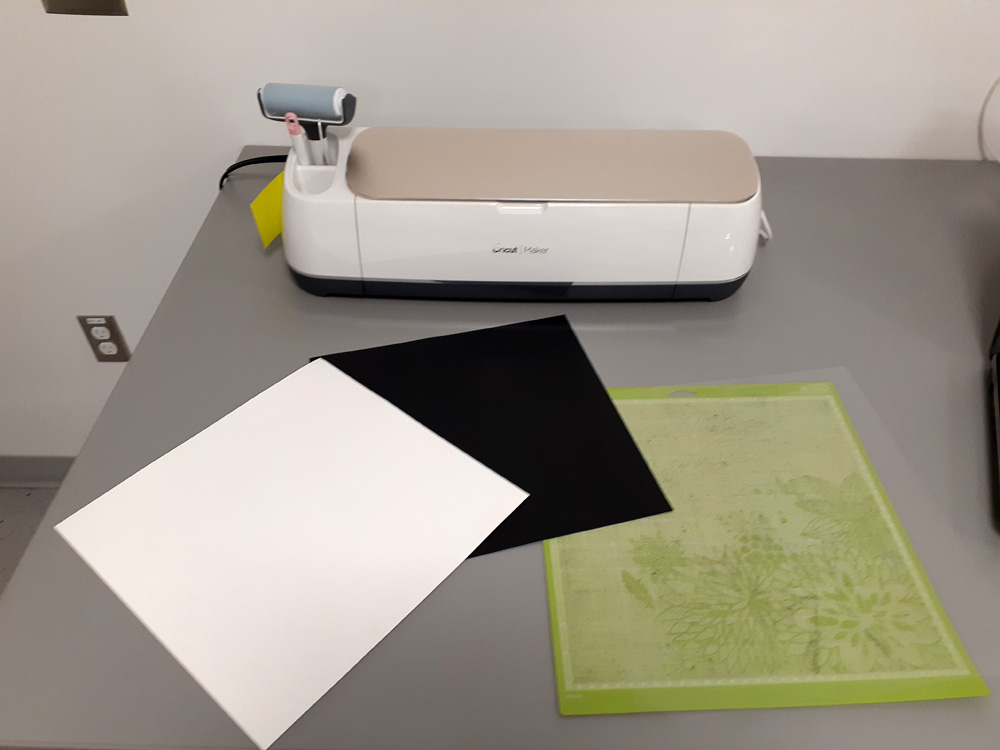
Constructing Your Garland
Once your paper pieces are cut, you can start putting it together. Measure out your string. I did about an arm length and a half, which is about 6.5-7 feet. With the end ties, my final length was about 6.5 feet.
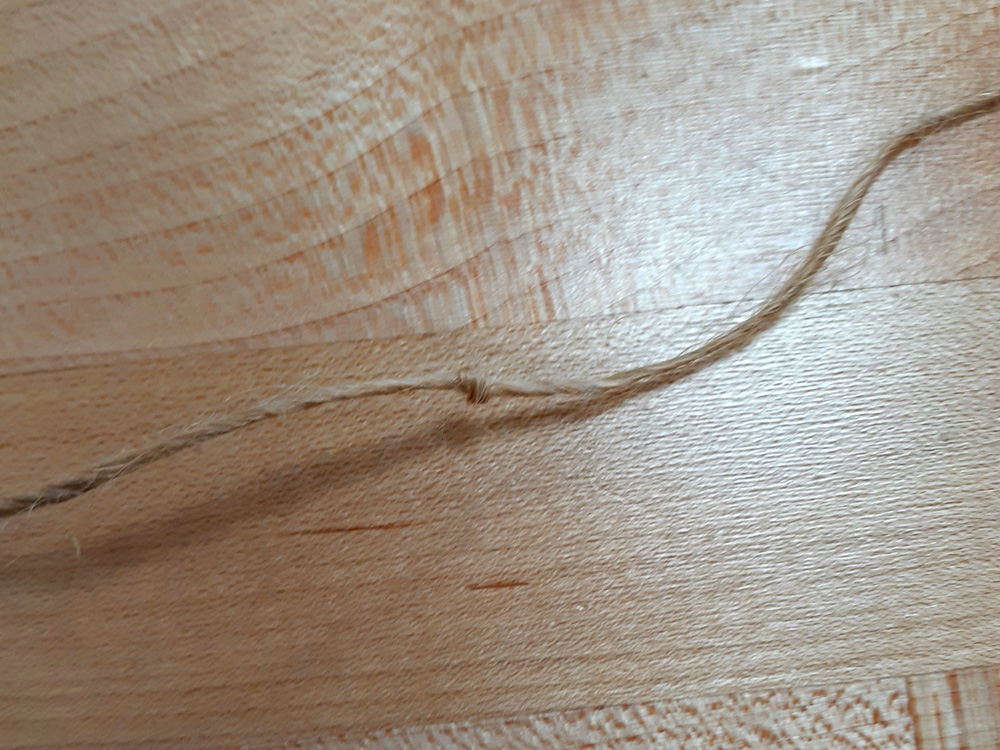
Leave a few inches free and tie a knot or two if you don’t think it’s thick enough, basically you want to make sure your paper doesn’t slip through.
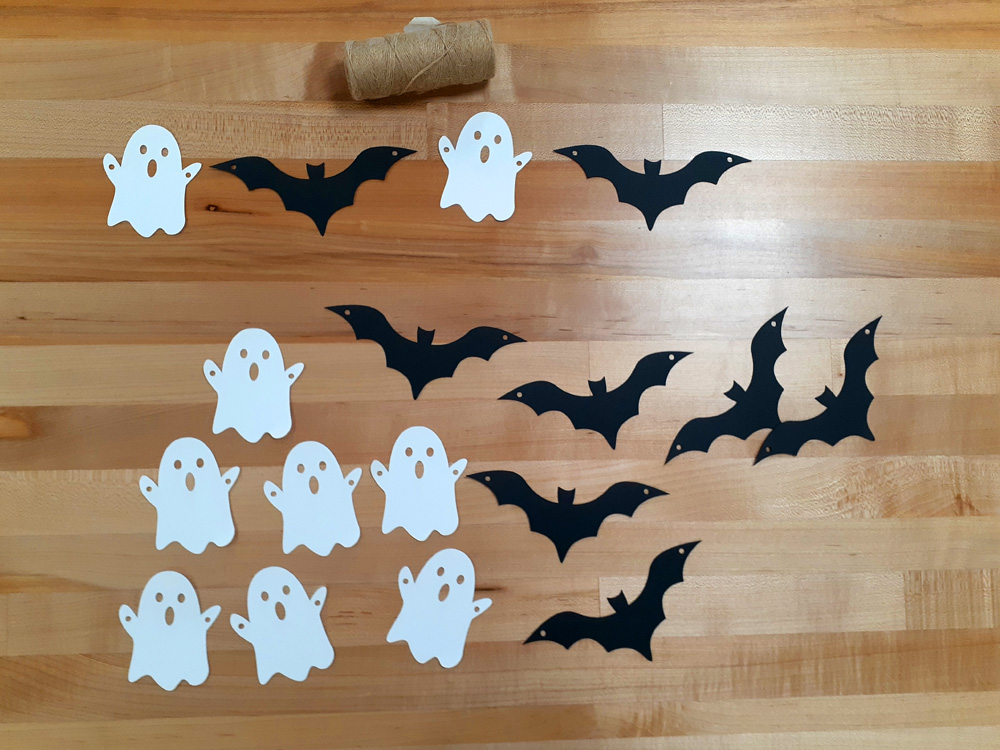
String your paper shapes to your liking. For me it’s ghost-bat-ghost. If you noticed I had an uneven amount of ghosts. That is because I wanted mine to start and end with a ghost.
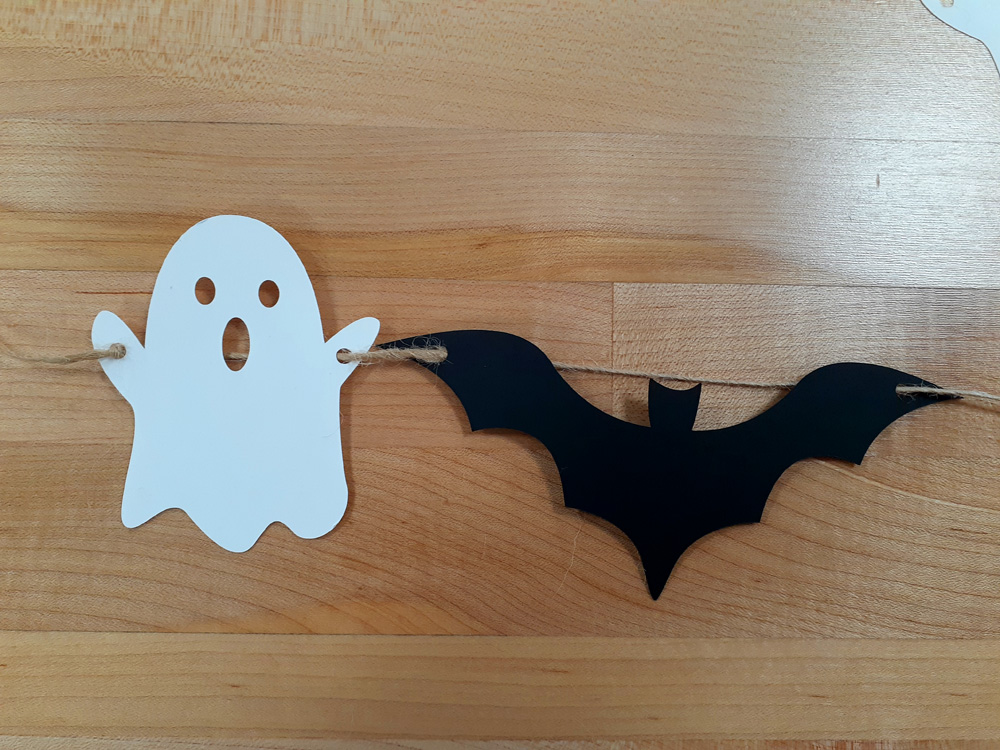
When done, add a knot to the other end and trim any extraneous twine/yarn. These extra pieces can be taped or looped over and tied in order to hang.
And there you have it!
