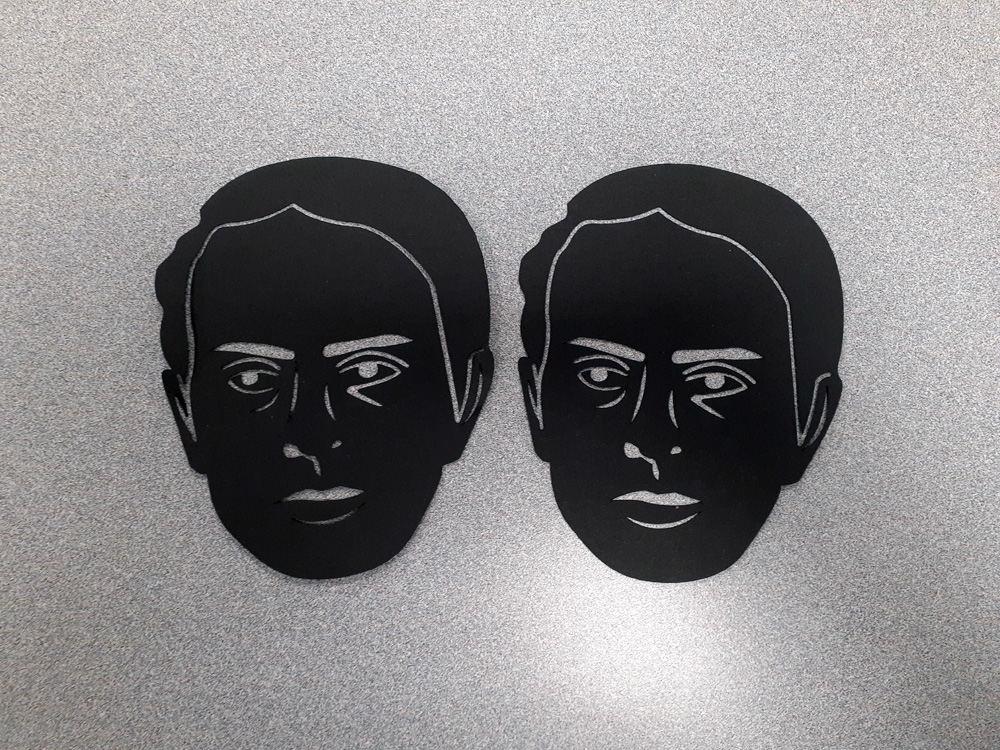
To begin: first you have to design something in a vector based program. The vinyl cutter takes vector based images to cut. So, it’s good practice to get yourself acquainted with a vector editing program. We have some listed in our Software resource page that are free, but in the Makerspace we have the Adobe suite and tend to be Illustrator focused.
If you need a project to start with, why not check out our Rubber Stamp, Stencil, or the first part of the Robotics workshops!
Now assuming you’ve done all this: congratulations, you now have a vector image to vinyl cut. Hooray! Now we need to make sure the file is prepped and ready to go for the lab manager!
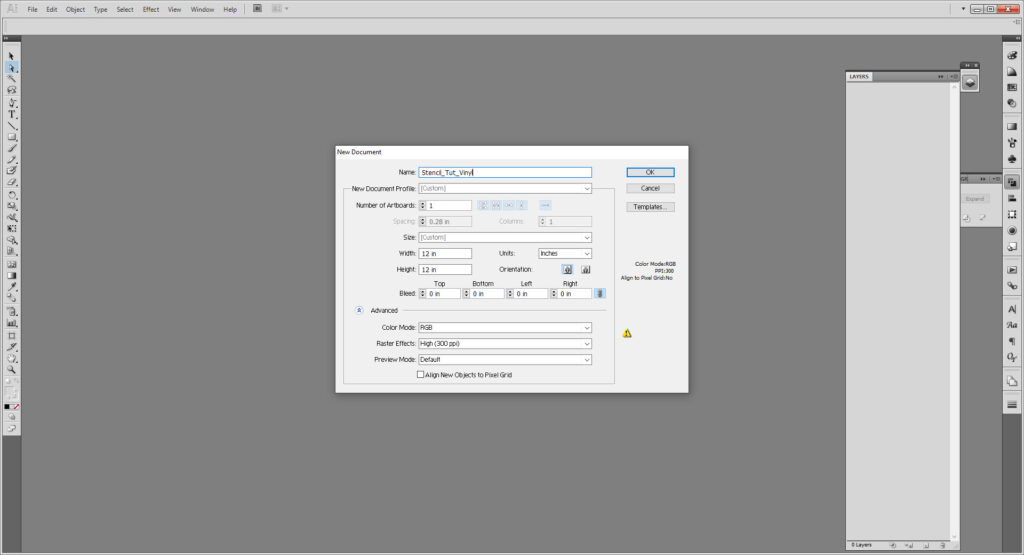
Make a new file, or use the Artboard tool to resize your artboard to 12×12 inches.
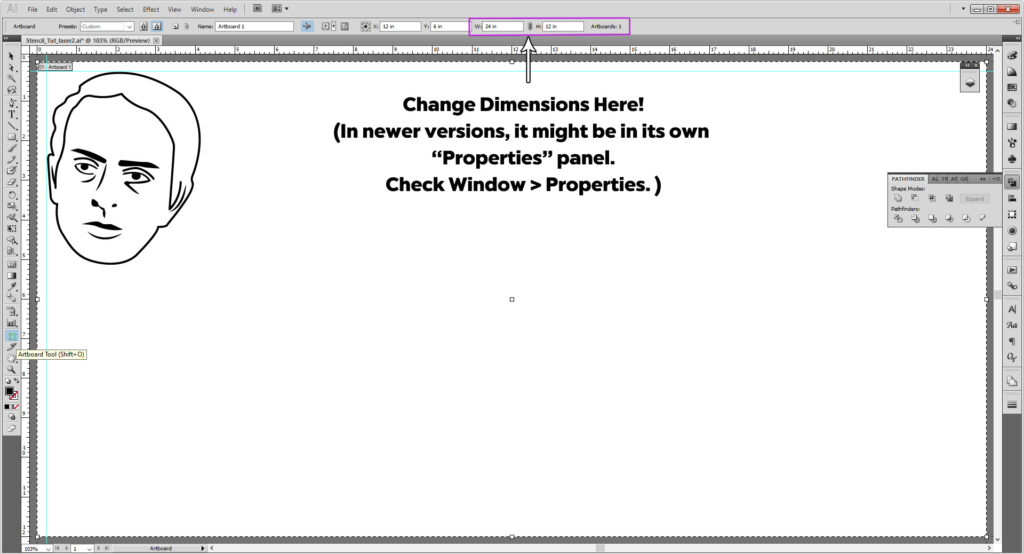
In newer versions, it might be in its own “Properties” panel. Check Window > Properties.
Unlike the laser cutter, the vinyl cutter doesn’t particularly care if it’s one solid compound path or a bunch of strokes. Or color for that matter! Mine are black because I pasted them over from another file.
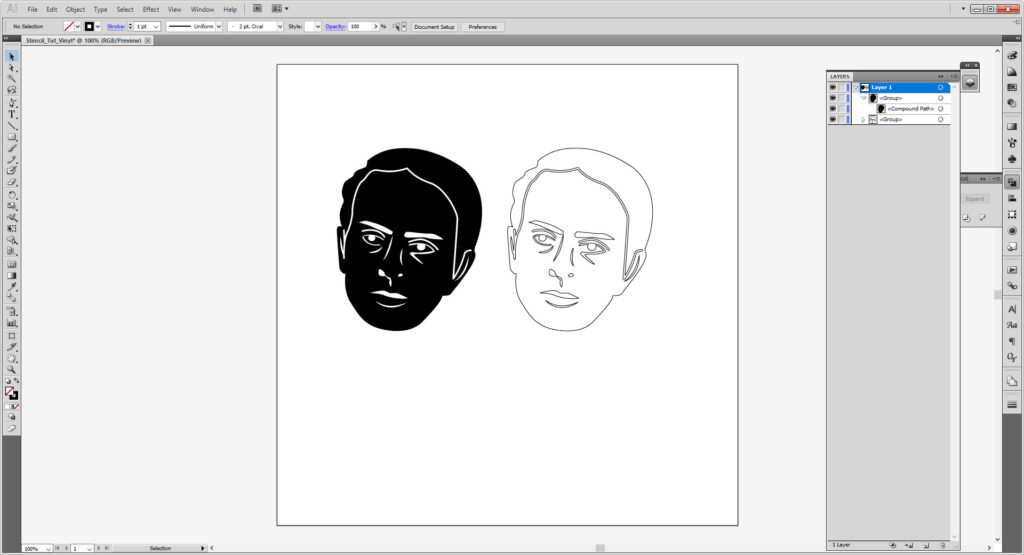
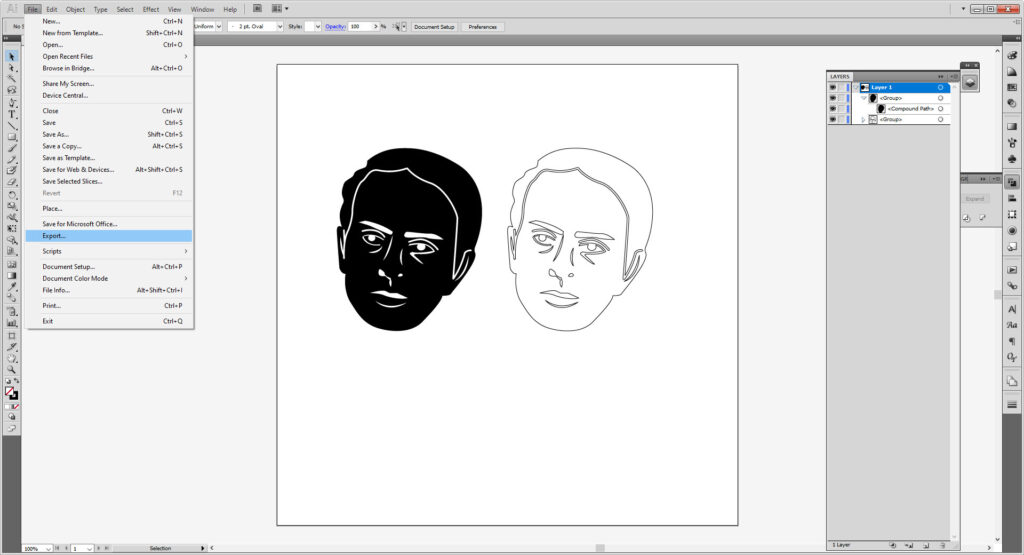
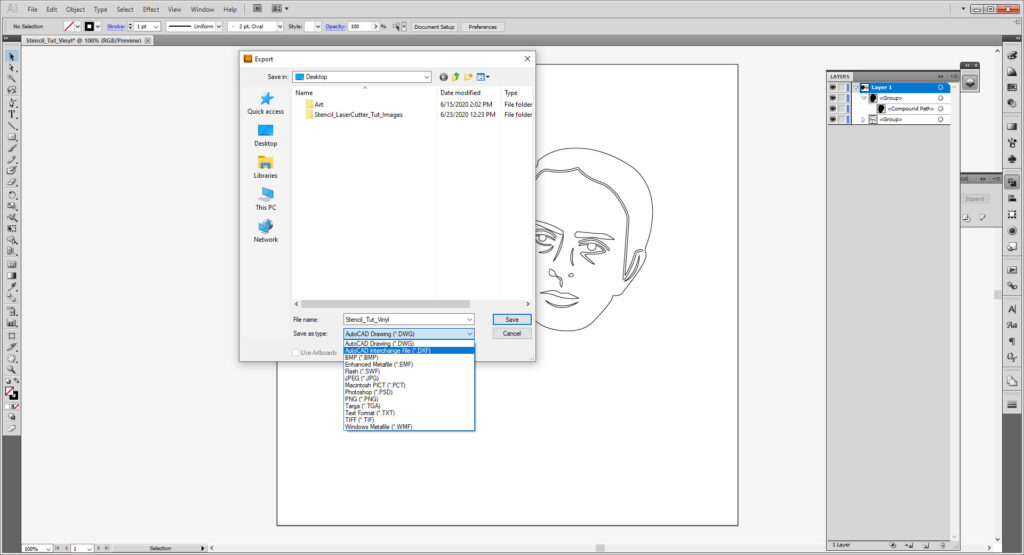
When you’ve got it ready, go to File > Export and save as a DXF file.
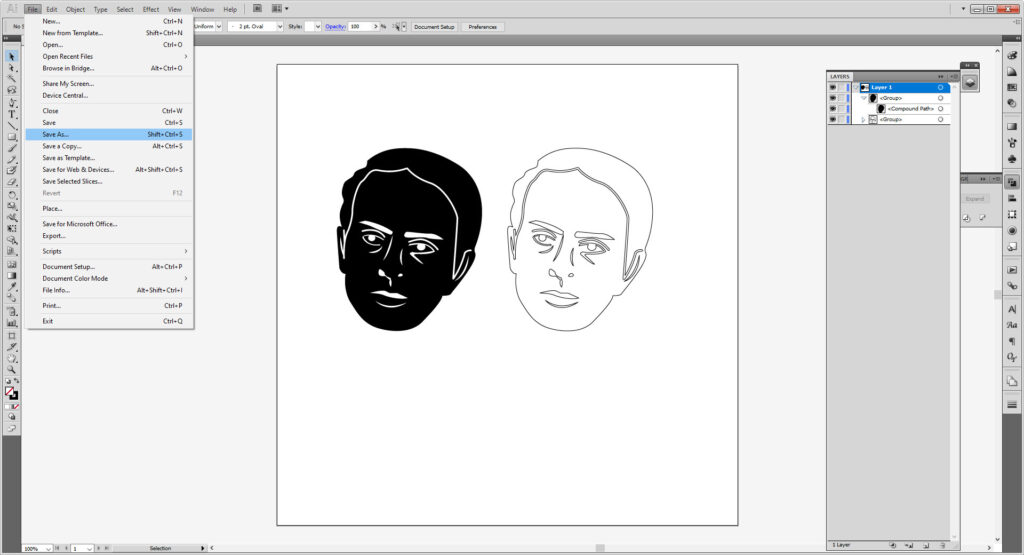
While your at it, save a copy as an AI file. Go to File > Save As and save as an AI. If you are not using Illustrator, then an EPS file is fine!
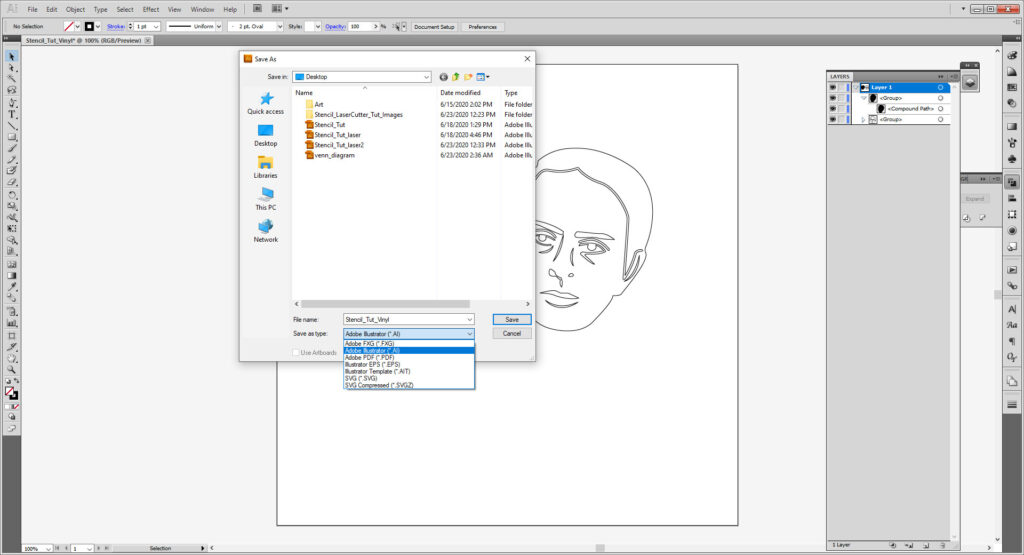
Make sure to save a copy of both the AI and DXF on a portable storage before emailing it to Lab Manager. Just in case any issues occur.
Exporting & Cutting In Silhouette Studio:
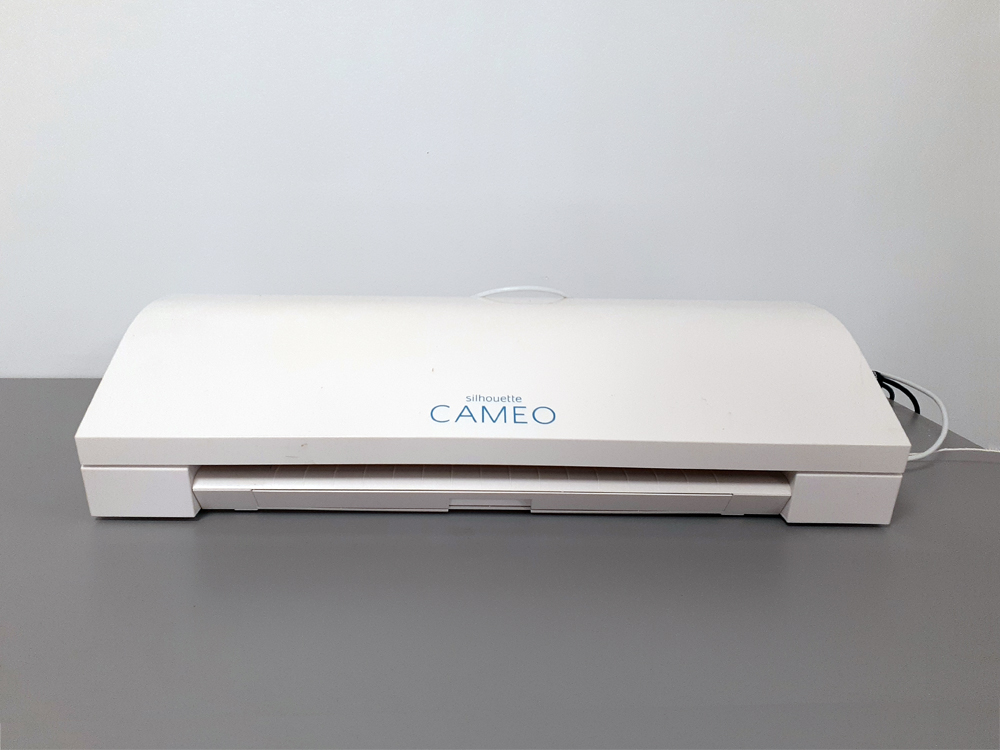
The Silhouette Studio works for the Silhouette Cameo 3 machine. It looks like this:
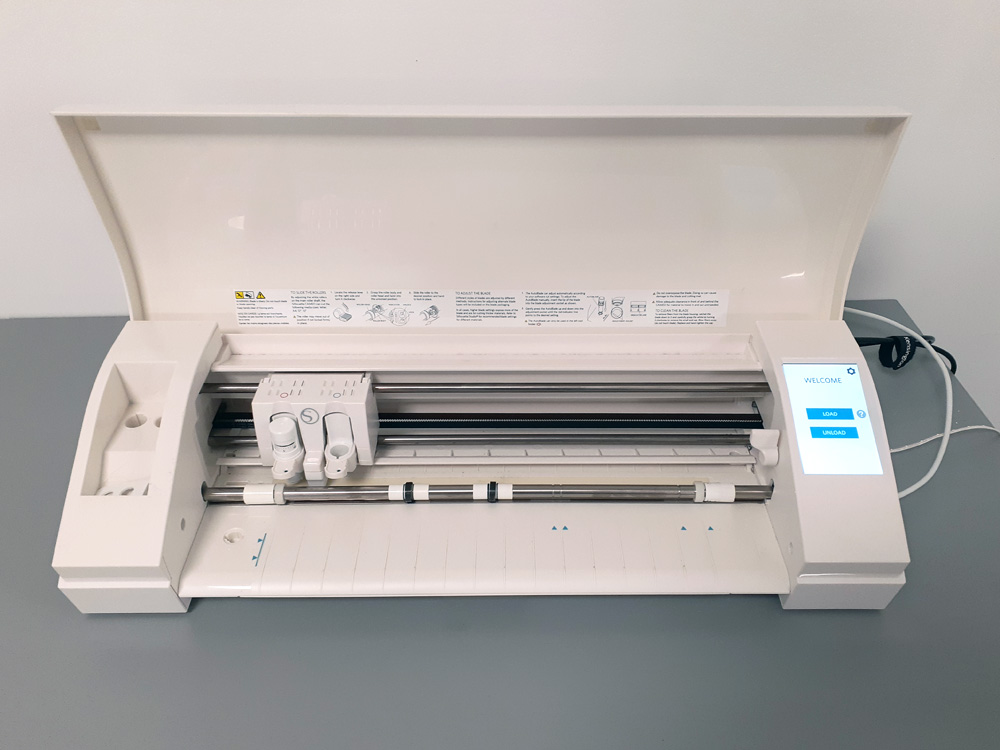
Open up the machine. Unlike the Cricut Maker, the Silhouette Cameo cutter uses a touch screen.
The Power button to turn it on is on the right side of the machine.
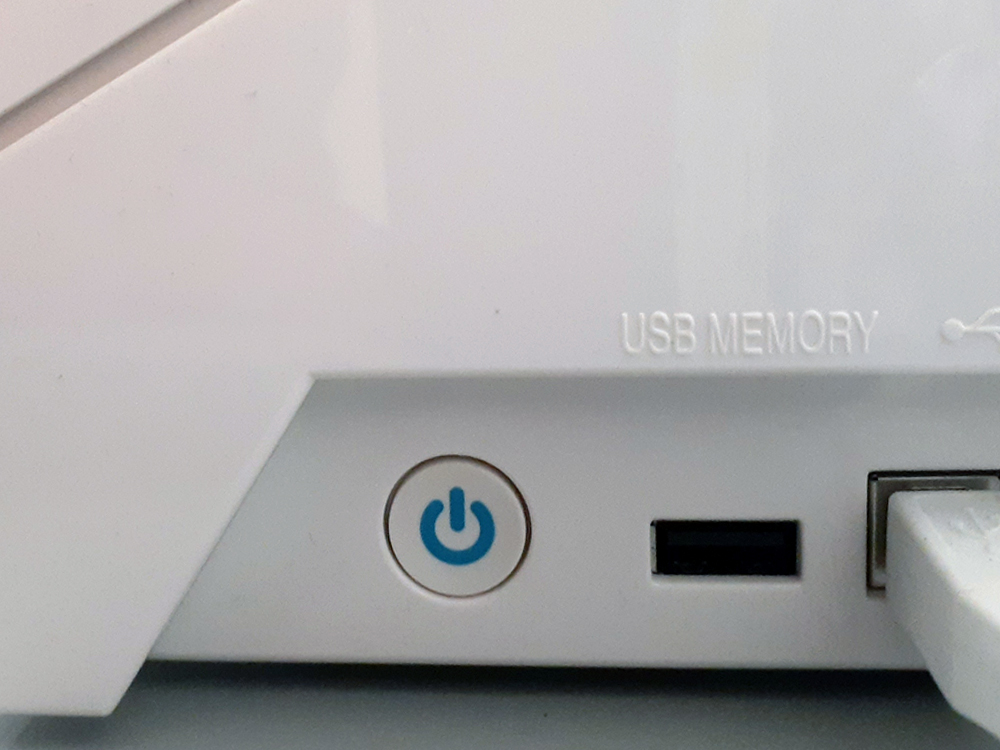
Connect you computer to the machine with the white USB cord attached from the back. Double check to make sure it is the correct wire as the Cricut Maker also connects through a white USB wire.
Select your materials. Unlike the Cricut Maker, there is only one style of mat for the Cameo. Older versions of the mat have a different grid type but that’s really all that’s different!
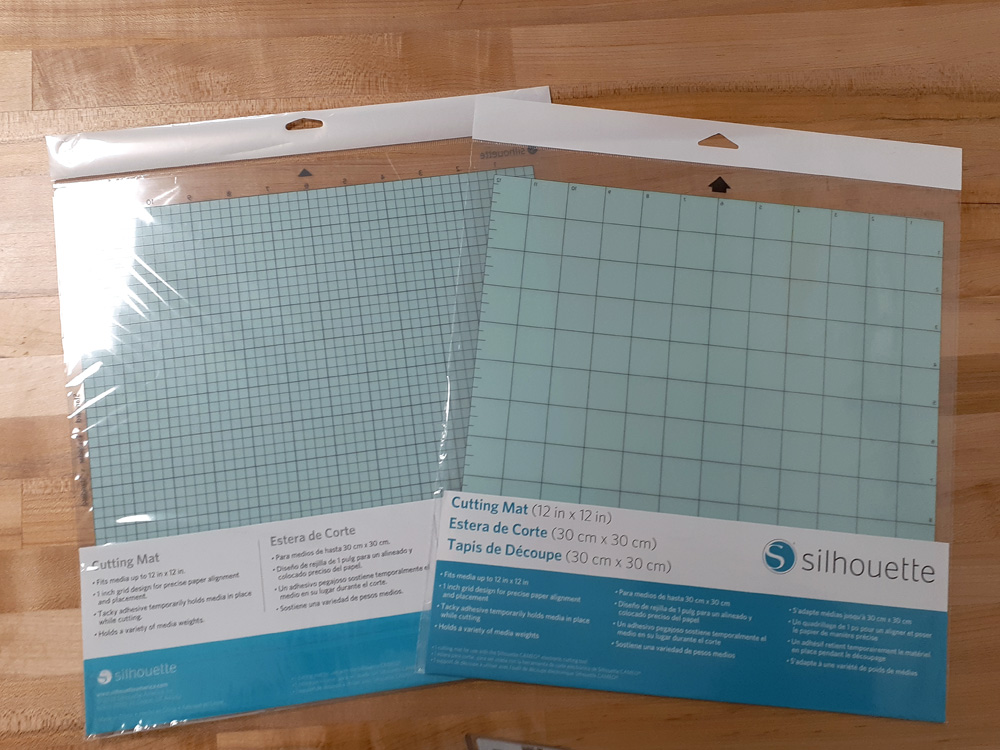
Remove the blue paper protector and align your material to the black grid on the adhesive side. Use the roller to help it adhere or to remove bubbles.
Align the mat to the black arrow on the machine.
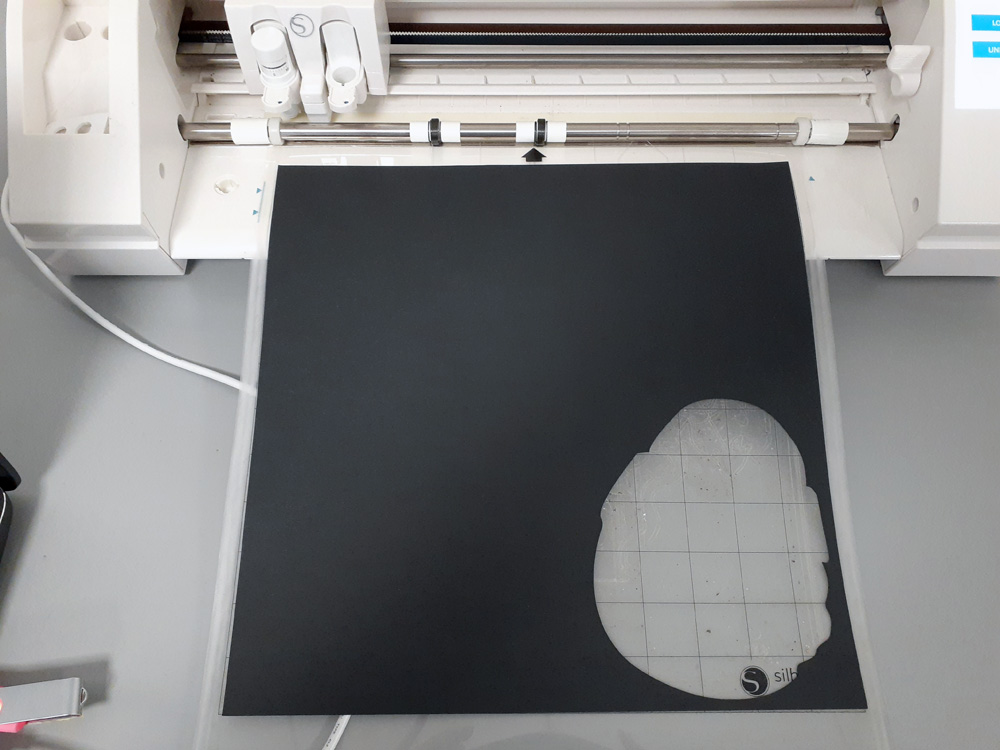
Select Load on the touchscreen to load in your mat. If it loads unevenly press the Unload option to unload it.
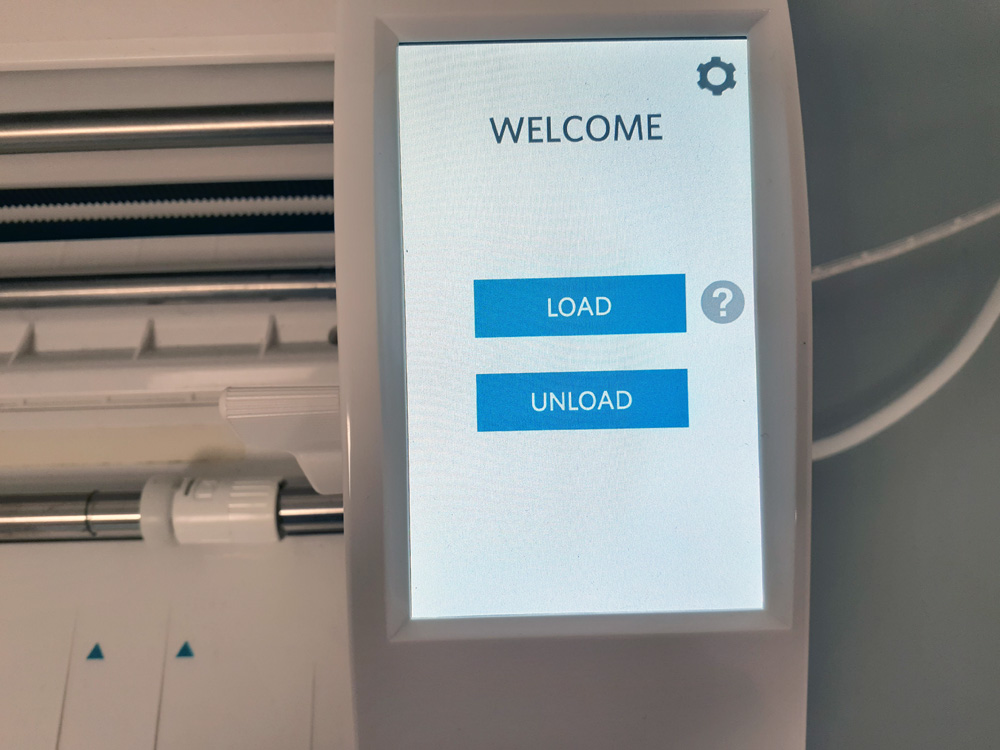
Repeat until satisfied with the alignment.
Open Silhouette Studio. The icon looks like this:

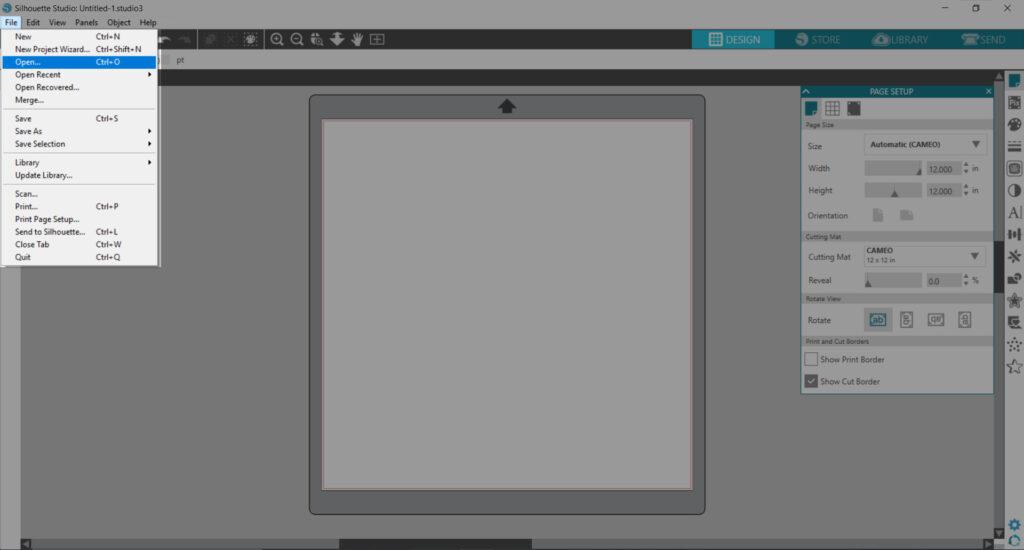
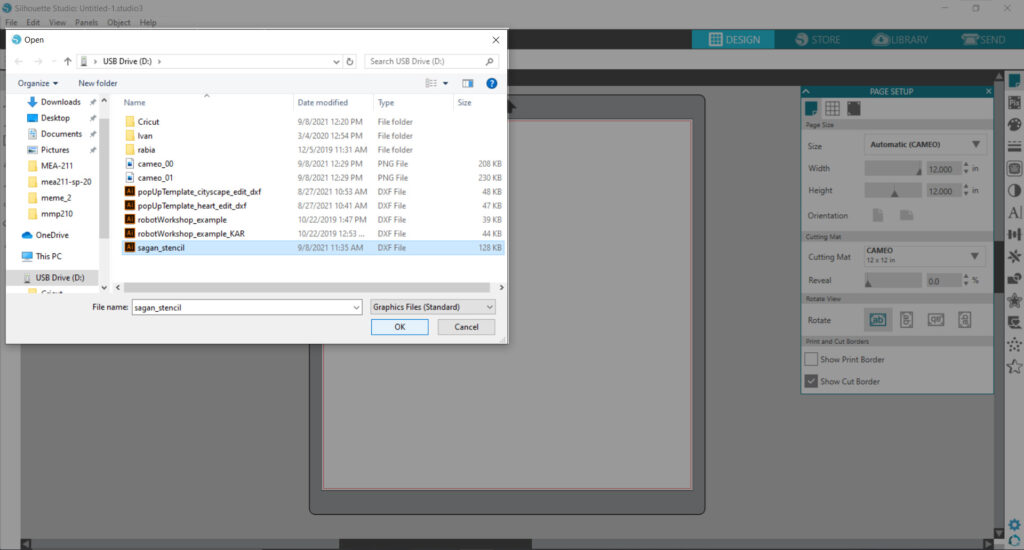
Go to File > Open to retrieve your DXF file. Find your file, then select OK.
Select everything and group your artwork using the Group button highlighted below. This help to keep everything together and in scale if/when you scale down your file.
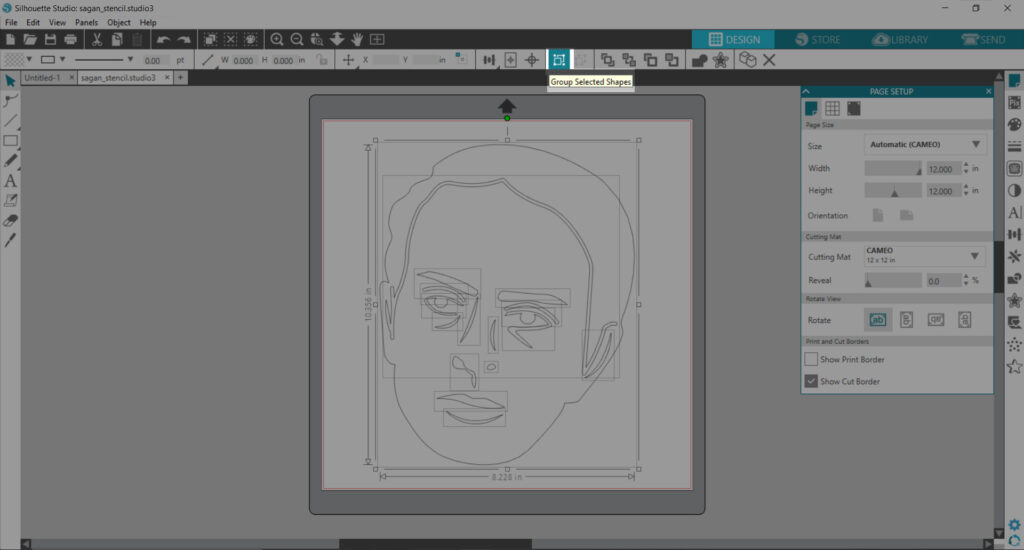
Scale your file down using the boxes highlighted. . Be mindful to limits– the maximum safe space is 11.75 x 11.75 inches.
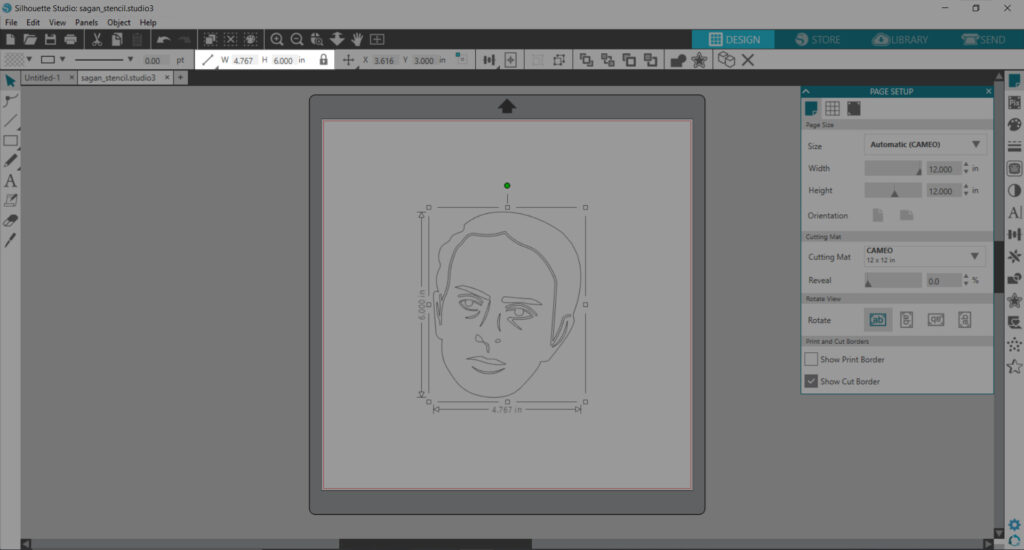
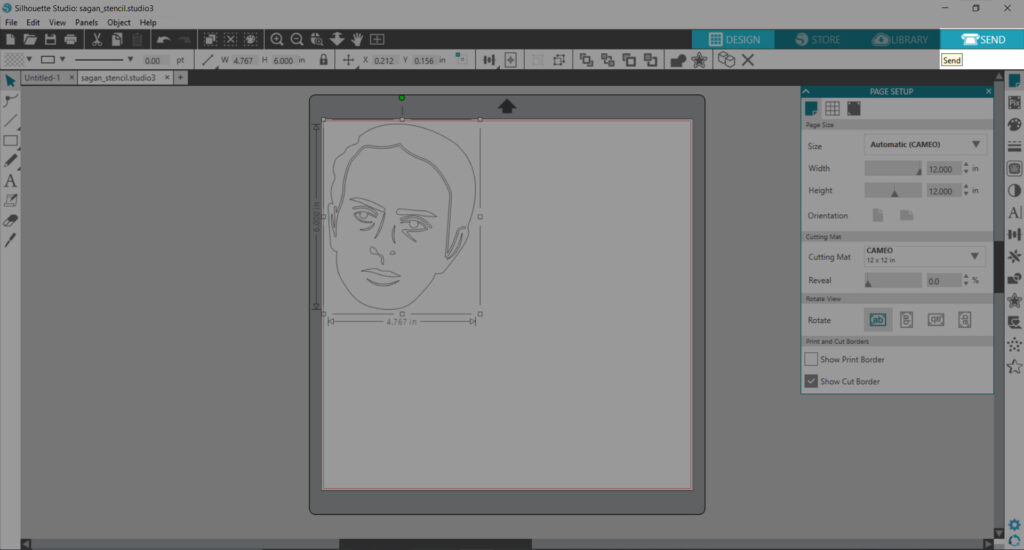
When ready, hit Send.
Under the Material dropdown, select your material or what you think is closest to it.
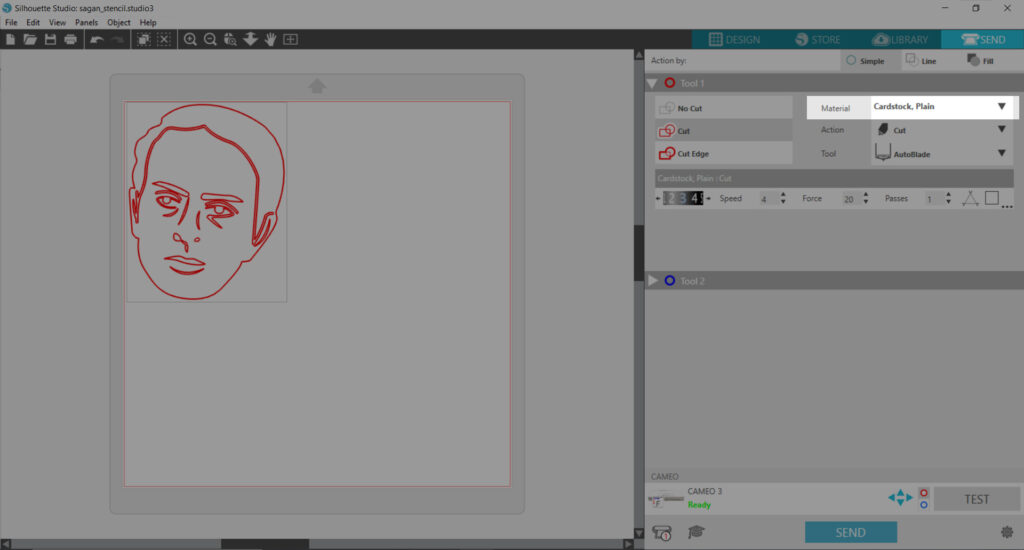
When ready, hit Send. Be advised: you must load you paper before hitting Send. While it is cutting, you can pause or stop the cut using the touchscreen.
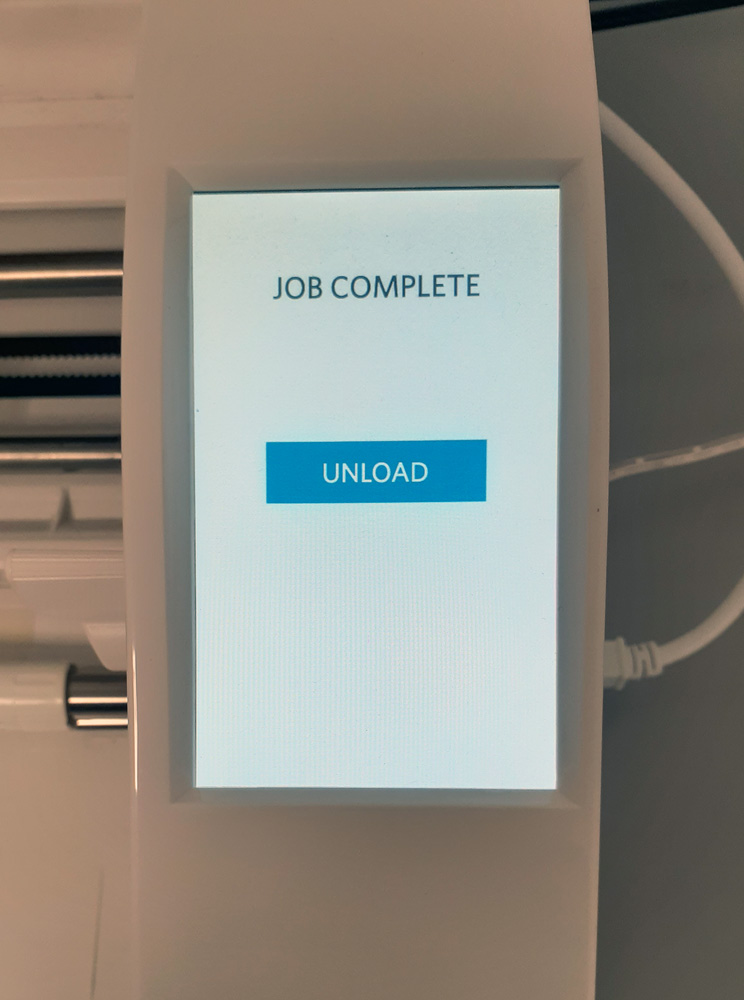
Once the cut is completed, select Unload.
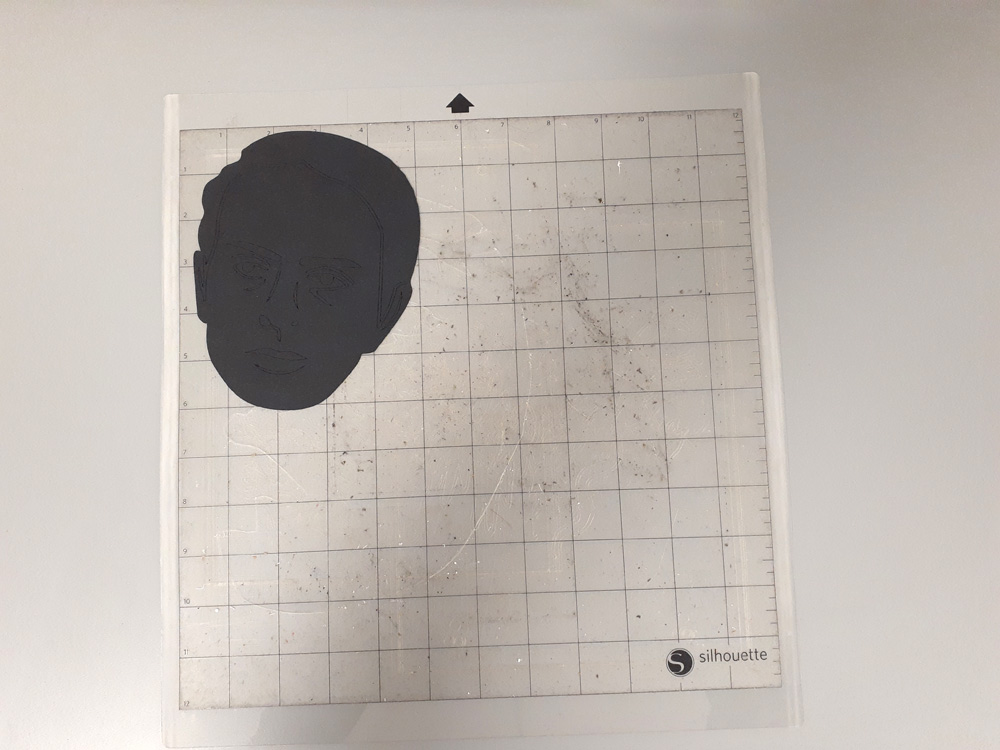
Remove all the material from the mat. Please replace the blue protective sheet on the adhesive side before storing away.
Happy Cutting!
