
JUMP TO: ILLUSTRATOR | INKSCAPE | OUTPUT
This guide is for those who have access to Adobe Illustrator, or Inkscape and is comfortable in designing in either. If you’re looking to learn how to illustrate in Illustrator first, we recommend out various guides under our Workshops page. If working from paper, look into our Image Trace guide for creating black and white artwork into a vector. The Monogram Logo and Box Template Workshop also covers more tips and tricks.
If you wish to work off a template, you may download a pre-mated template from our Templates page.
Adobe Illustrator:
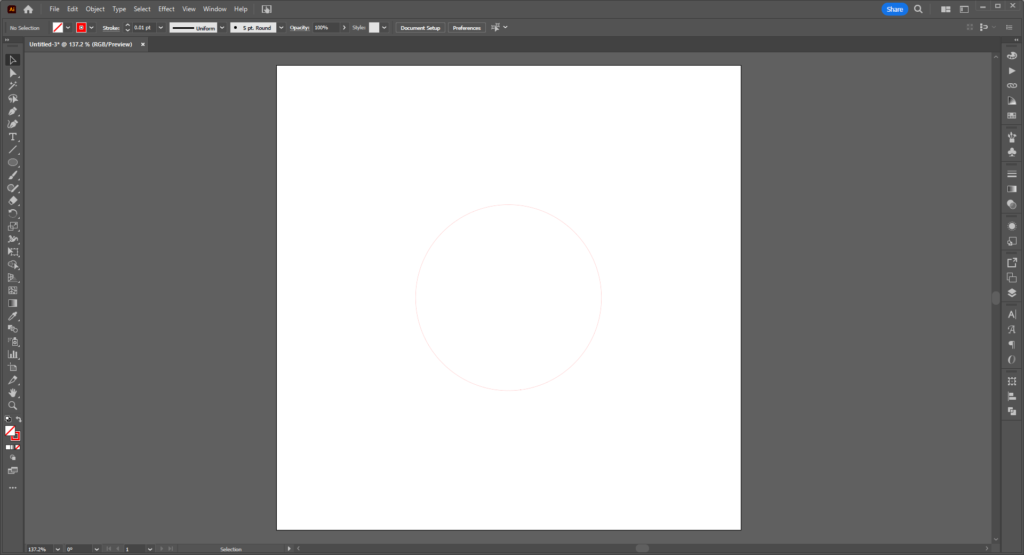
Opening this template, it should look like this:
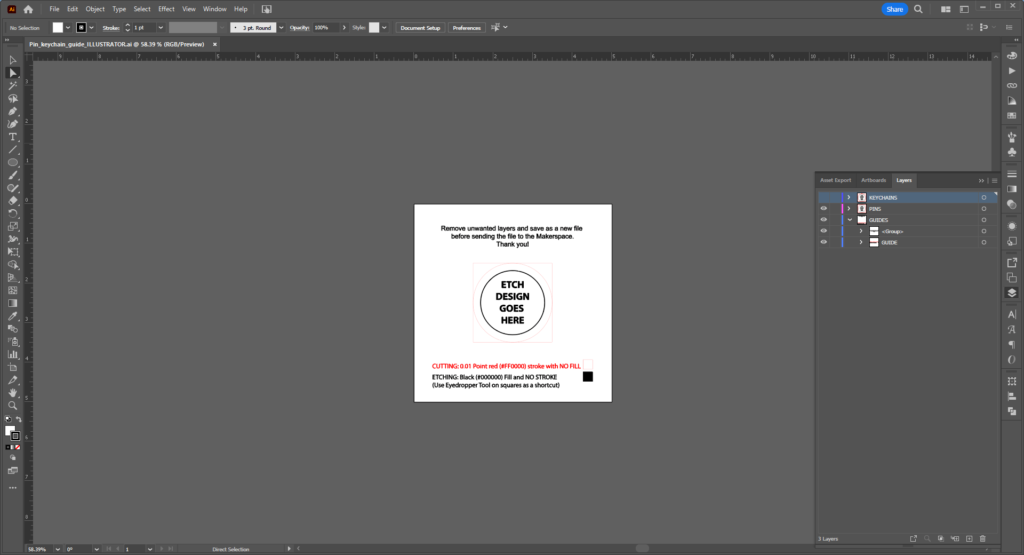
Your design eventually will have to fit within the black (blue in newer file versions) circle, but you can create your design in this artboard, or paste in another vector from another illustrator file, if the design has already been made.
As this is both for Keychains and Pins, you can remove the other layer if it is unnecessary. Likewise you can scale the template up or create a custom shape you wish to cut later as well. You can skip to Designing Your Artwork or Prepare for Output if you’re good to go, or follow below to start from scratch.
Setting Up Your Artboard
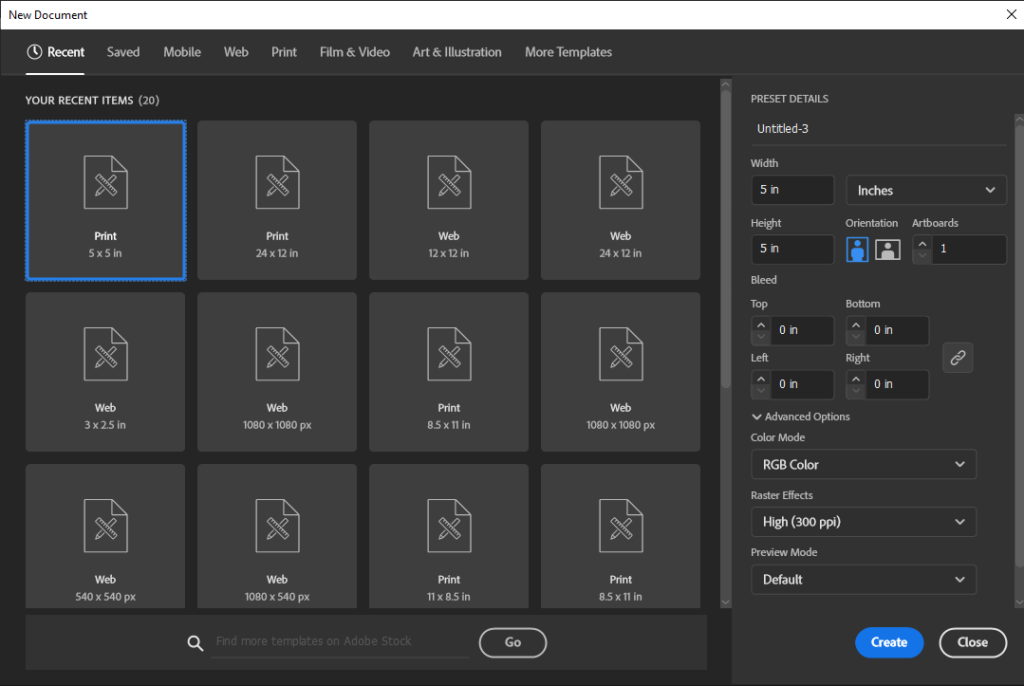
First thing’s first: Make a New File. Select the New File button or File > New. Set your artboard to whatever size you like– I’m following my template size and do an 5 inch by 5 inch Square with my color mode set to RGB.
Now we are creating a circular medallion shape for the laser to cut.
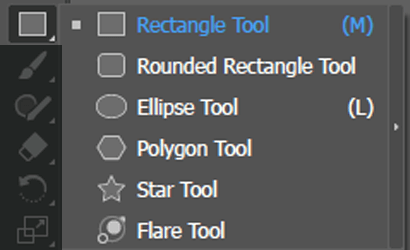
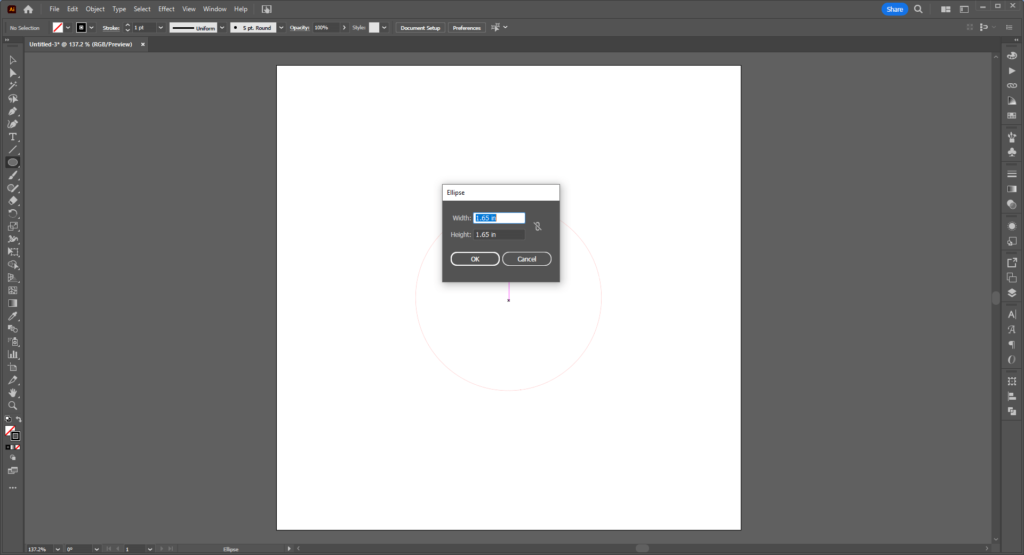
The Ellipse Tool should be on the left side of screen on the Toolbar. If it’s not the default shape on the toolbar, hold down your left mouse button on the icon to open up the submenu to see them all.
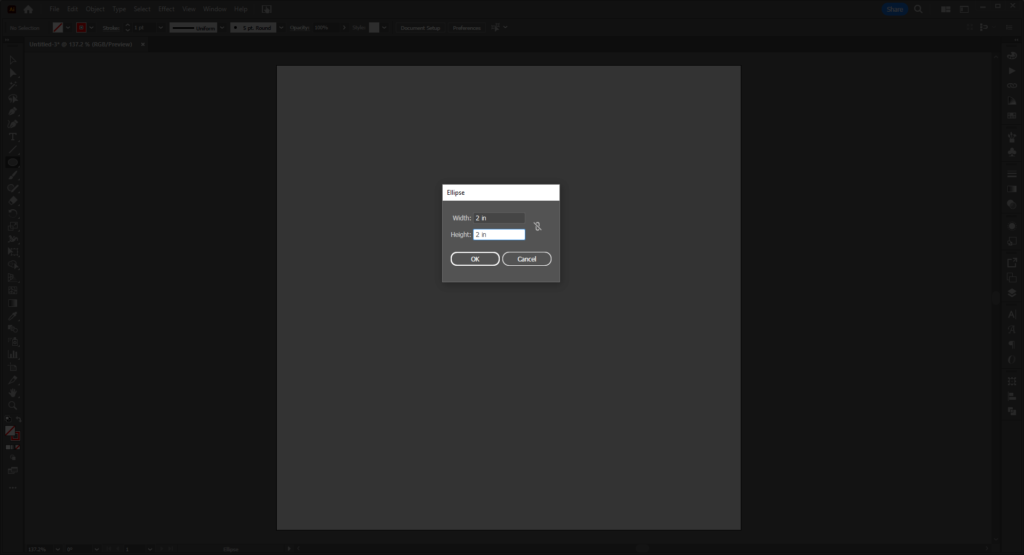
Select the Ellipse Tool and click on the artboard– you will see a prompt for Width and Height. Add your numbers as needed (You can also just hold Shift and drag on the artboard for an even square/circle or without to make a rectangle/oval.) For this we want 2 inches height and 2 inches width.
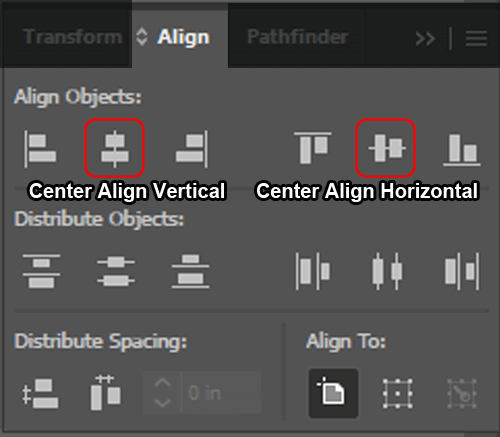
You can use the Align panel to center your circle. Window > Align will open the panel up. The two options you want are Center Align Vertical and Center Align Horizonal. Using both will have your design perfectly centered to the artboard.
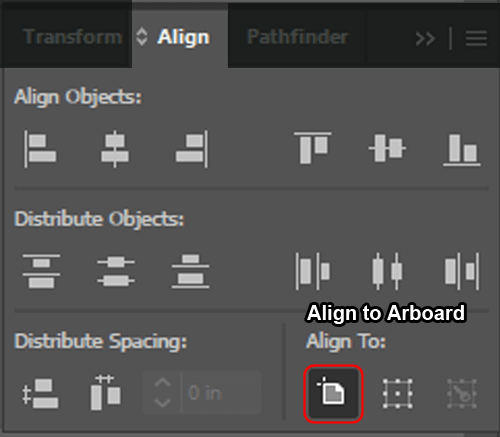
If it is not, make sure your option under Align To: on the bottom right is selected to the first Align to Artboard option.
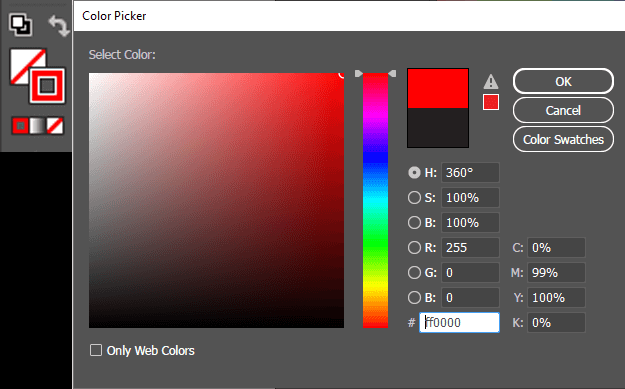
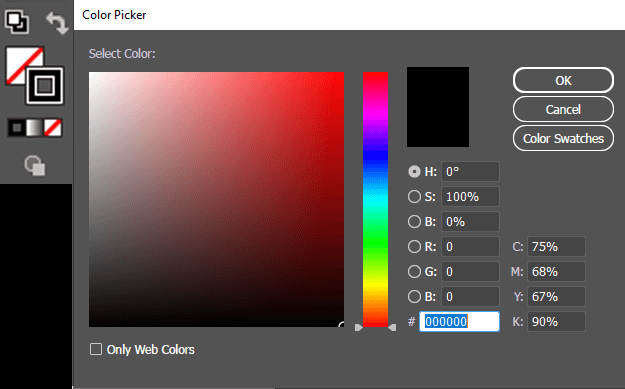
Set your Fill to None and your Stroke to Red (#FF0000).
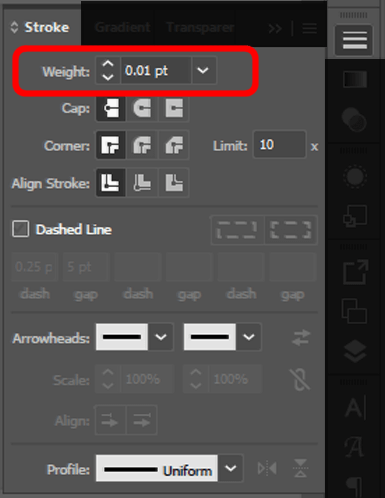
Next we need the Stoke Panel. You can access this using Window > Stroke. Set your Stroke Weight to 0.01 pts.
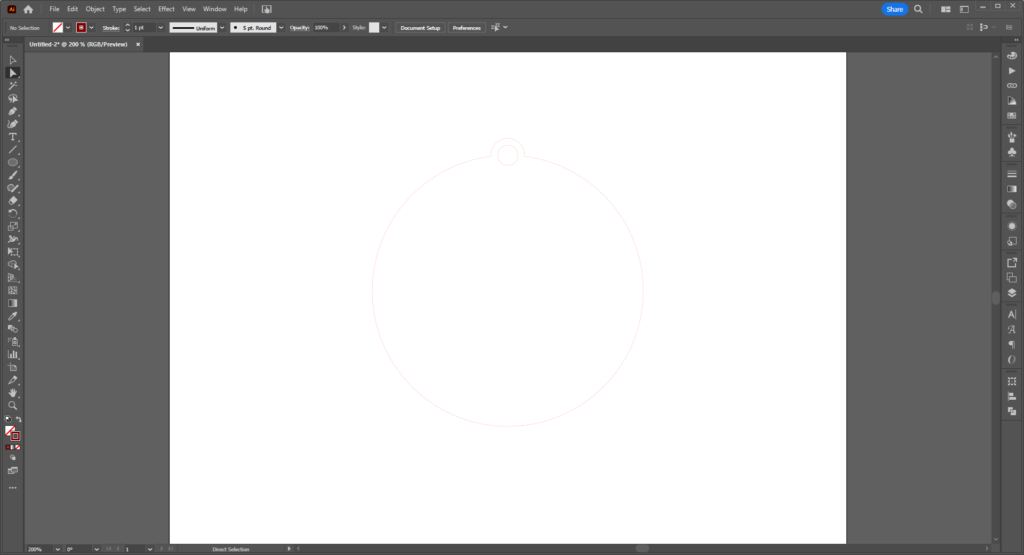
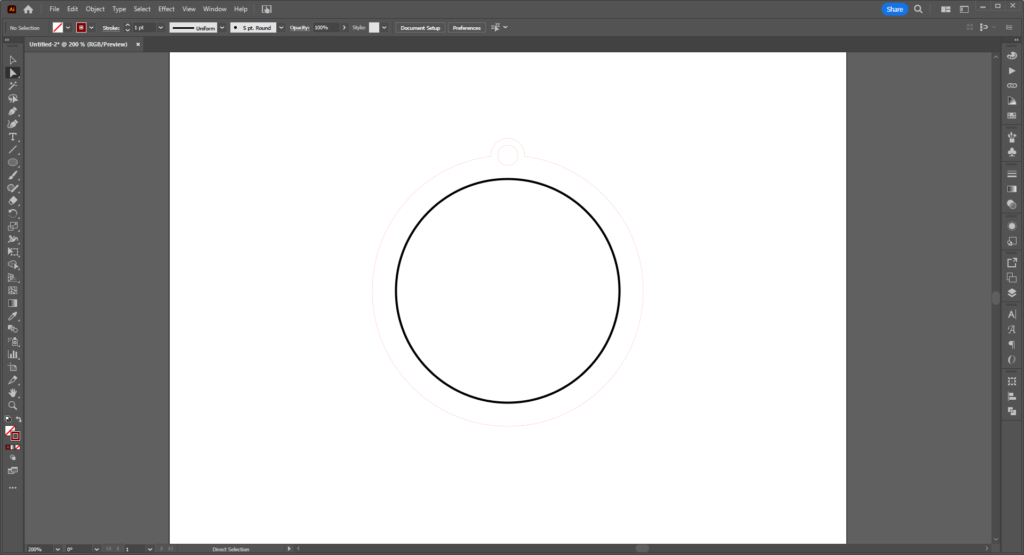
Repeat this two more times, making one ellipse at .25 by .25 inches and another at .15 by .15 inches. Center both and align them at their midpoints at the top of the largest circle.

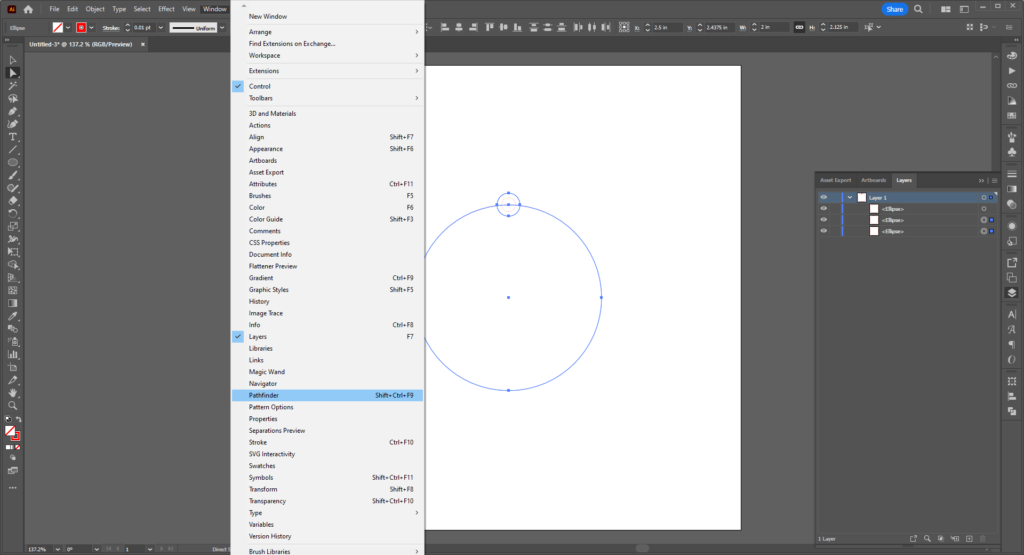
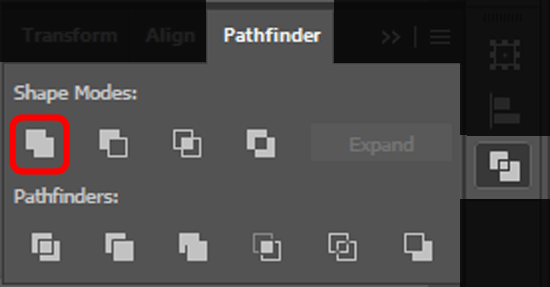
Select the two larger circles and open the Pathfinder Panel (Window > Pathfinder). Select the Unite option– the first icon on the top row.
Swap your stroke color to Black (#000000).
Using the ellipse tool, create a final circle at 1.65 by 1.65 inches and center it. This will be your design boundary for your etch.
The red lines will be cut and the black will be etched. Keep that in mind while you design.
Designing Your Artwork
Assuming you have not done so already– if you have, simply paste and scale to fit your boundary as needed. If you’re working from scratch, follow below.
Text:
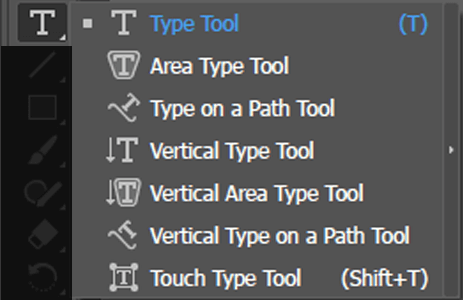
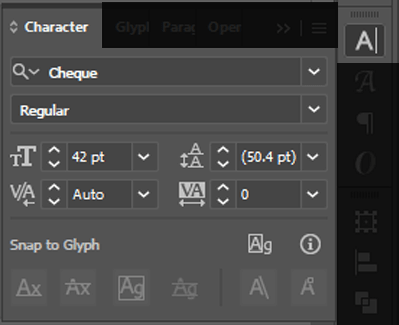
To add text, use the Type Tool (T). You may also want the Character Panel up to change the font type, size, and spacing. You can find that Window > Type > Character (or Ctrl/Cmd + T ). Left click and hold down on the Type tool to open the subpanel.
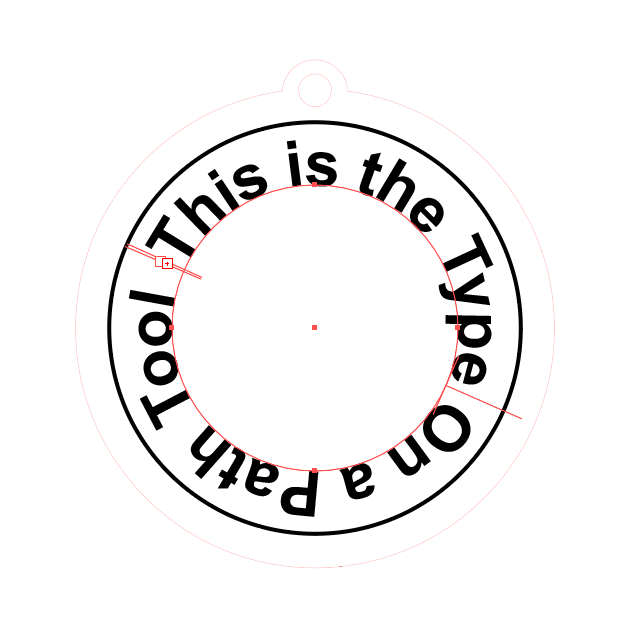
You can also use the Type on Path tool to type along a set shape.
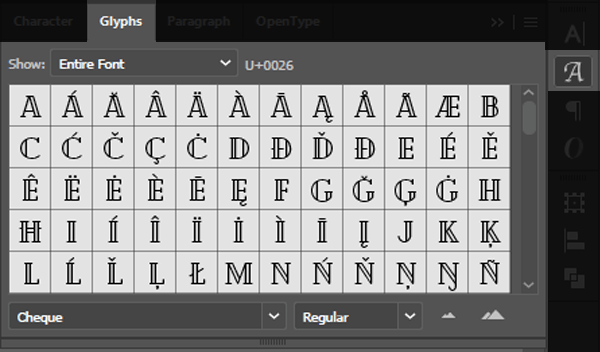
The Glyphs Panel will allow you to access special or secondary characters– great for monograms.
Shapes:
As we described how to use the Ellipse tool above, you can use the same methods with the other shapes (Rectangle, Rounded Rectangle, Polygon, and Star), using black as the etch and White (#FFFFFF) for parts you don’t want to be etched. Layering the shapes top to bottom to create your design. Likewise using Unite or Merge in the Pathfinder Panel will allow you to make more complex shapes.
(Quick tip if you’re dragging rather than clicking to create your shapes– using the Up or Down arrows on your keyboard to add sides to a Polygon or points to the Star Tool.)
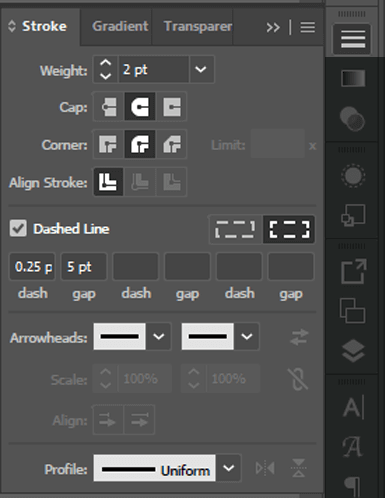
Strokes:
For dotted lines by checking the Dashed Line option and playing around with the dash and gap options. For dots, I recommend setting your dash at 0.25 pts and selecting the Round Cap option above it. The gap will be the space between each dash/dot, and you can add up to three dash or gaps for different effects.
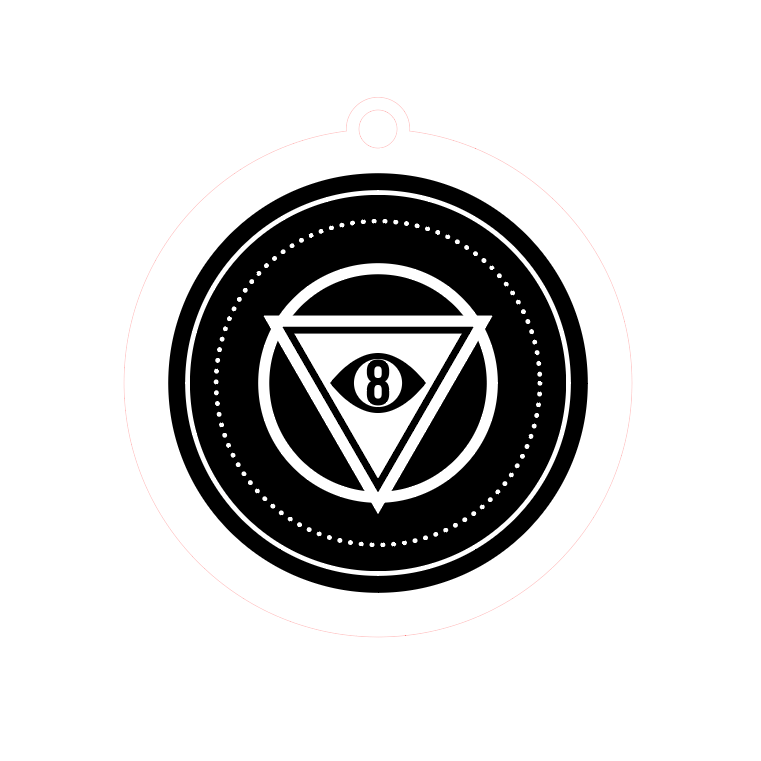
Here is a design using strokes (and dashed line):

Importing Lineart/Using the Pen Tool:
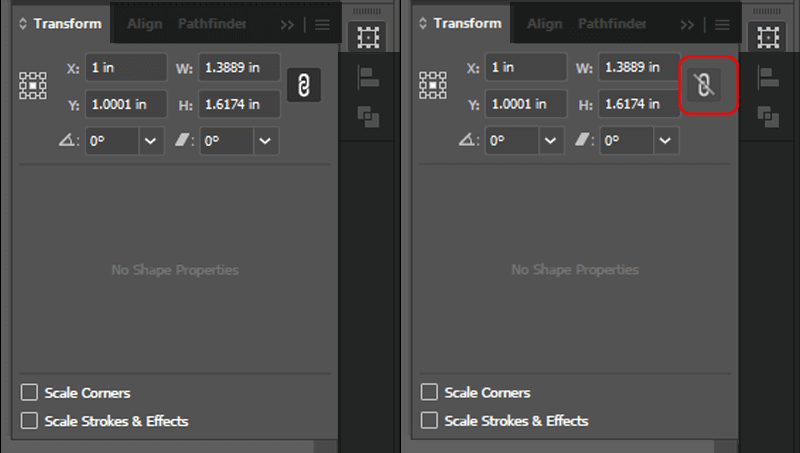
Place your artwork using File > Place. Resize using the Transform Panel (Window > Transform) and lock it in place. The chain link icon will keep everything proportionate if activated (below left), or allow a free scaling when not (below right).
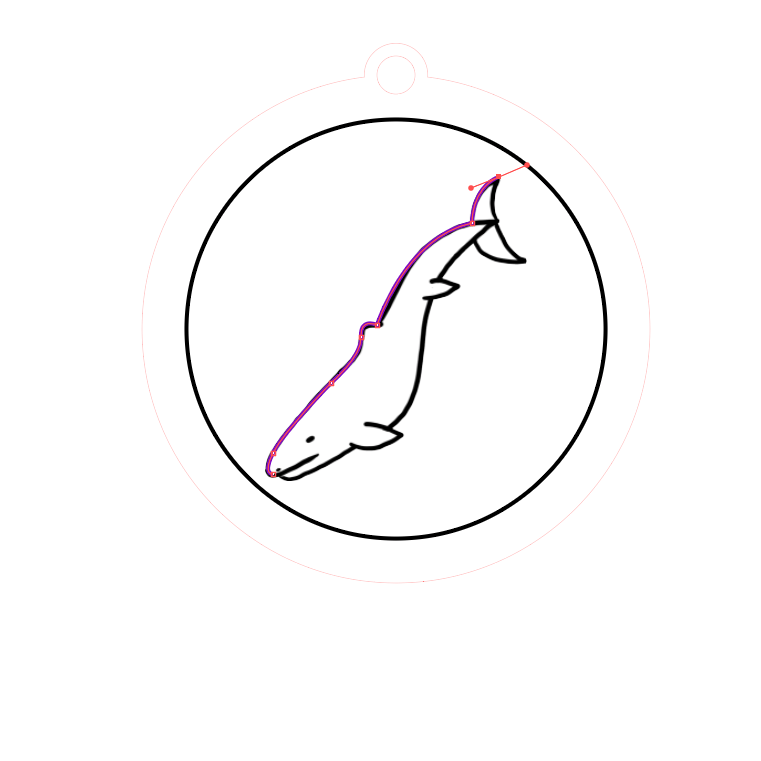
Draw over your sketch with the pen tool like you would in the above Stencil Guide.
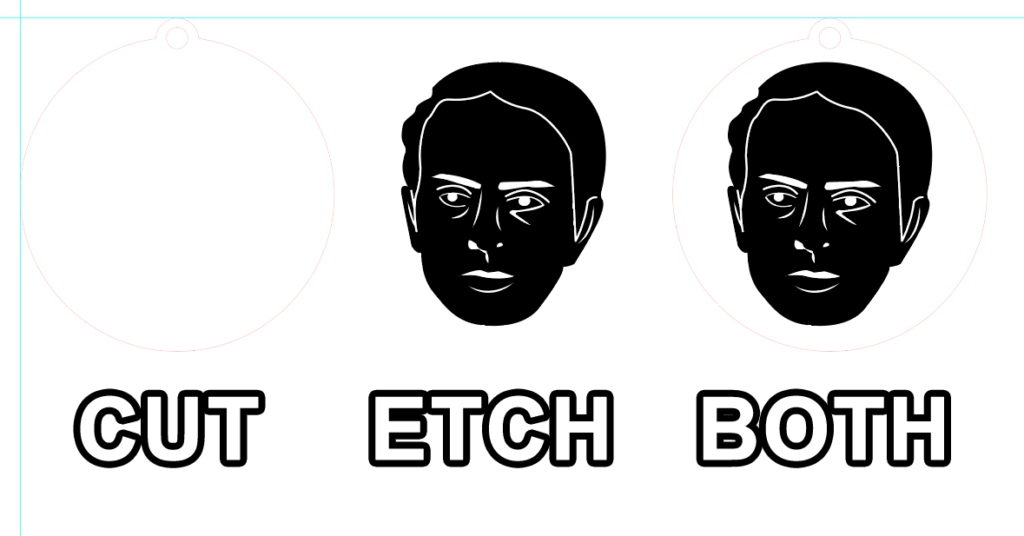
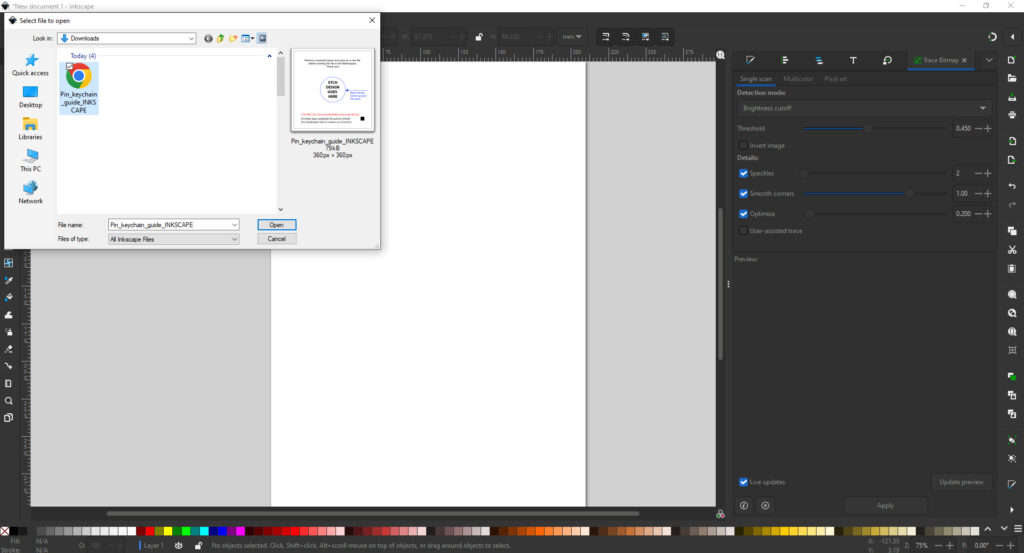
Here’s some examples on what it’s like to use strokes and shapes:
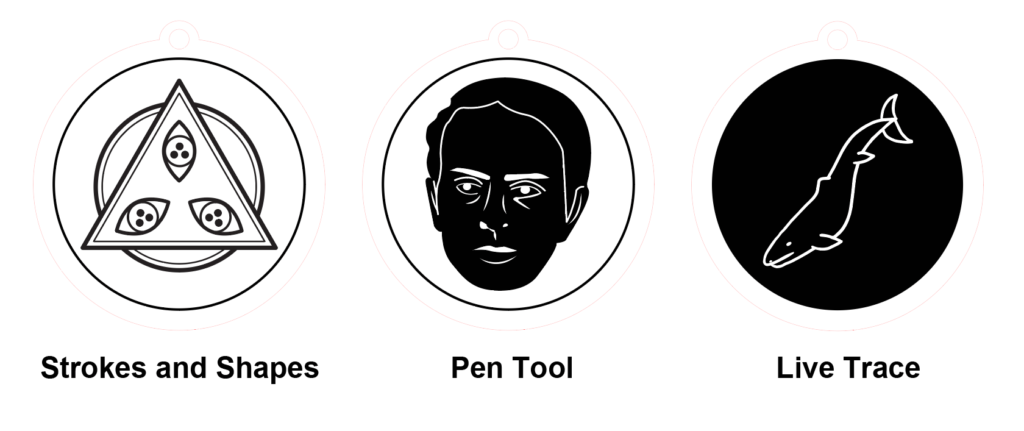
The left was designed using strokes and shapes, the middle was created using the pen tool, and the right was lineart converted via Live Trace.
Preparing for Output:
Separate your etching (remove the boundary line if you’d like) and cutting layers and save as an AI file to send to the lab manager.
Go to File > Save and Save to Computer. Select AI from the dropdown menu, and Save.
Inkscape:
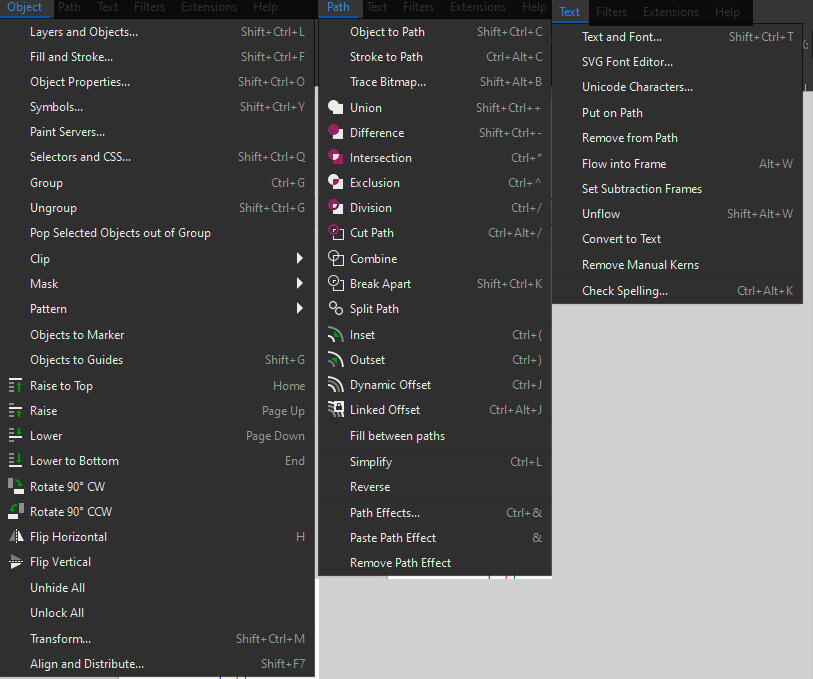
Opening this template, it should look like this:
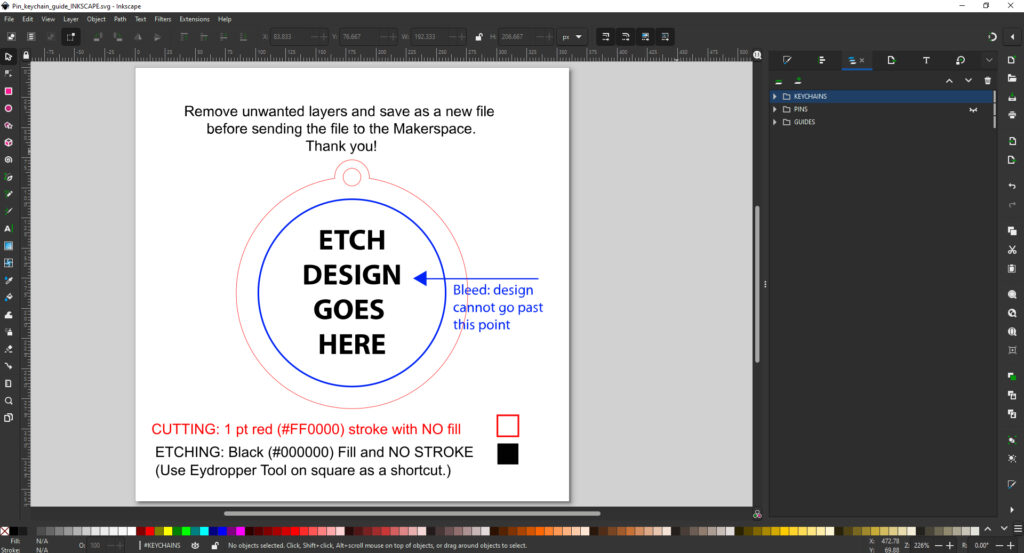
Your design eventually will have to fit within the blue circle, but you can create your design in this artboard, or paste in another vector from another illustrator file, if the design has already been made.
As this is both for Keychains and Pins, you can remove the other layer if it is unnecessary. Likewise you can scale the template up or create a custom shape you wish to cut later as well.
You can skip to Designing Your Artwork or Prepare for Output if you’re good to go, or follow below to start from scratch.
Tools
Here is the relevant tools used in Inkscape you can use to create your design.
Designing Your Artwork
Assuming you have not done so already– if you have, simply paste and scale to fit your boundary as needed. If you’re working from scratch, follow below.
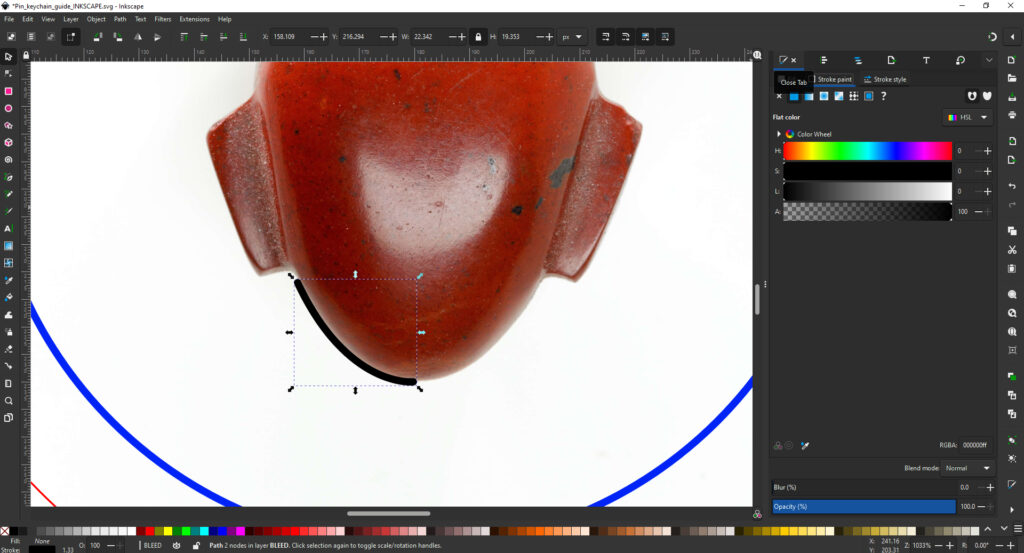
Fill/Strokes: The Fill and Stroke Panel is where you change the aforementioned fill and stroke, you can create dashed lines and the lines here. (Make sure the keep them #000000 to be etched, and a 1pt at #FF0000 for cutting)
Don’t forget that for any stroke to be etched, it need to be created into a shape. You need to go to Path > Stroke to Path in order to do that.
To add text, use the Type Tool (T). You may also want to check the Text Panel for more options, like how to put text on a shape. (Select the text and a shape and go to Text > Put on Path)
Shapes:
You can create designs with black as the etch and White (#FFFFFF) for parts you don’t want to be etched. Layering the shapes top to bottom to create your design.
Likewise using Path Panel will allow you to make more complex shapes, or merge things into compound paths. (It sometimes helps than having many layered shapes.)
Importing Lineart/Using the Pen Tool:
Place your artwork using File > Import. Resize if needed by hand or with (Object > Transform) and lock it in place.


Draw over your sketch with the pen tool like you would in the above Stencil Guide.

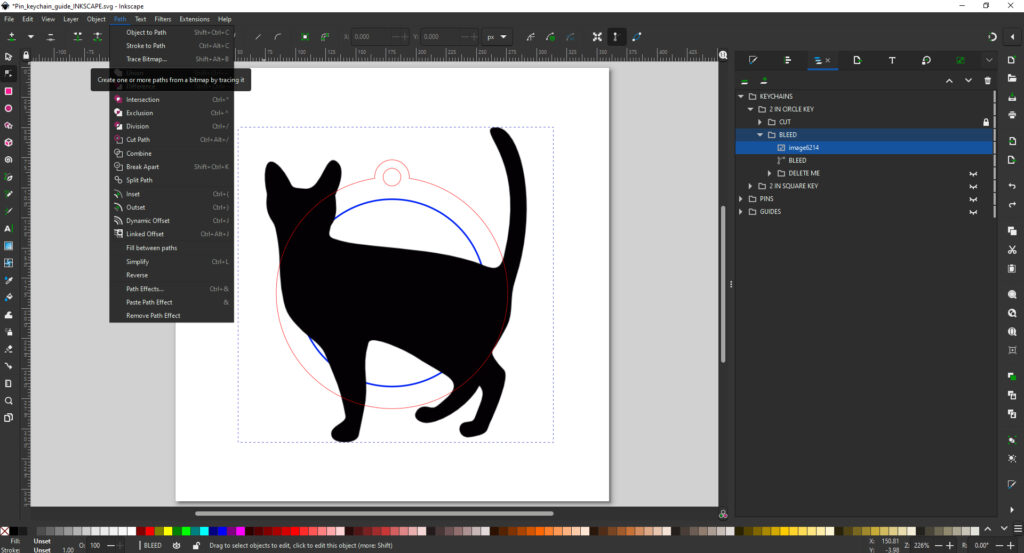
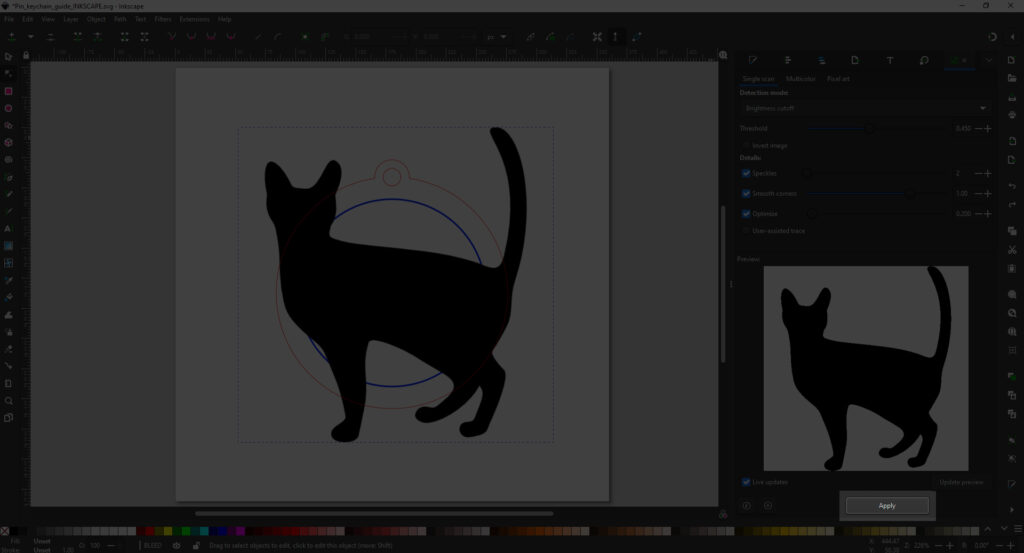
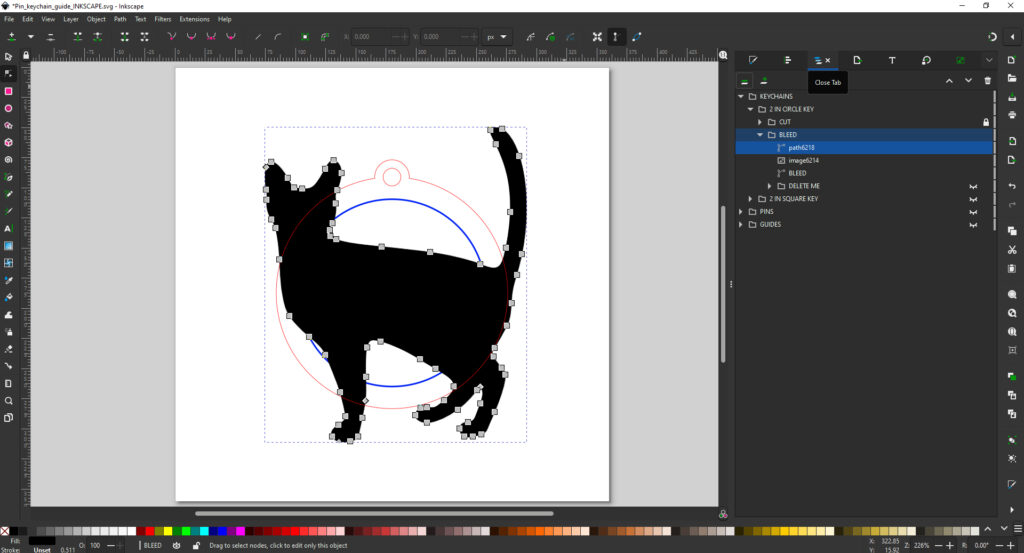
If you wish to bring in a scanned drawing, import the image and go to Path > Bitmap Trace to create a vectorized version of your image. This works best if it’s just black ink/marker.
Here’s some examples on what it’s like to use strokes and shapes:
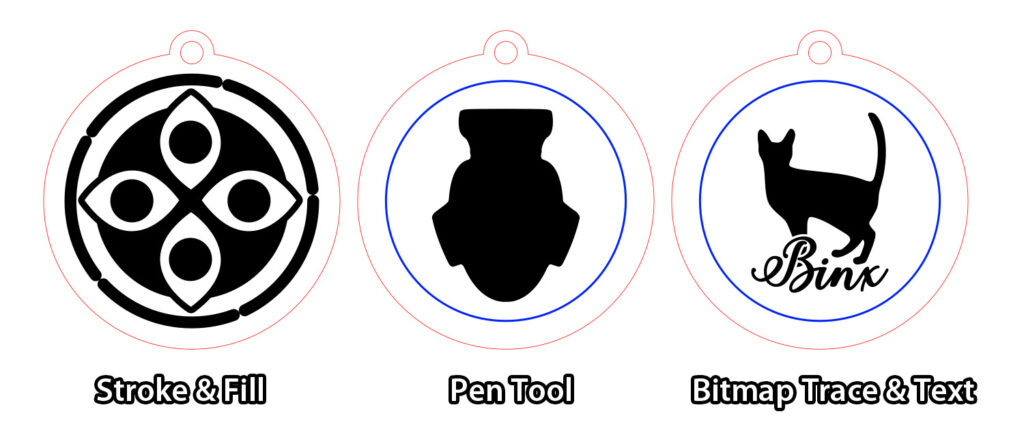
The left was designed using strokes and shapes, the middle was created using the pen tool, and the right was lineart converted via Bitmap Trace.
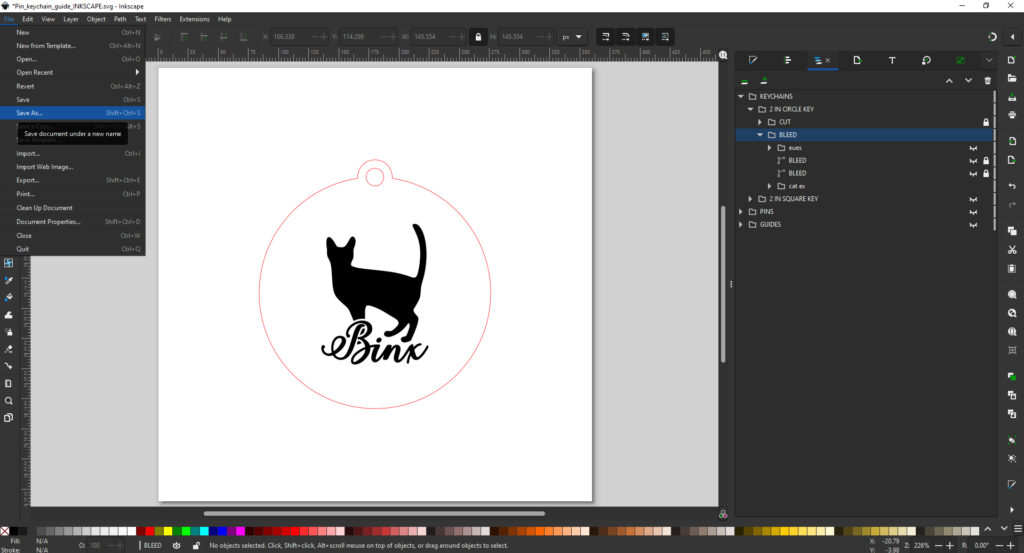
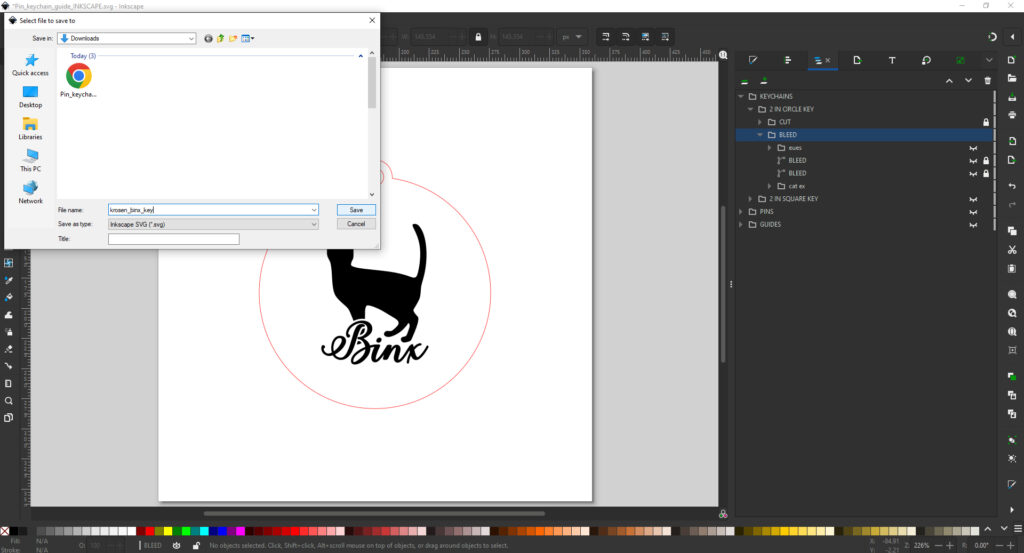
Preparing for Output:
Separate your etching (remove the boundary line if you’d like) and cut layers and save as an SVG file to send to the lab manager.
Go to File > Save. Select SVG from the dropdown menu if it is not the default, and Save.
Output to Laser Cutter:
If you want to prep your file further for laser cutting before sending it over, make sure to check the Laser Cutting Output Guidelines.
Once it’s cut, you can attach a keyring with some pliers, or in the case of pins– glue the pinback on with glue. (E600 or some kind of epoxy for acrylic, hot glue or wood glue for glue. Hot glue is VERY hit or miss for acrylic.)