
(If you find yourself using Inkscape, read on, but know your process is different. Videos on how to use Inkscape’s Trace Bitmap– their version of Image Trace– will be at the bottom.)
Created lineart in another program or on paper and want a quick way to vectorize it? Then look no further! Image Trace is a fast way of translating your lineart into a vector shape. What does that mean? This will turn your lines into vector shapes and not strokes; meaning it can be laser etched of vinyl cut but may not be viable for laser cut. For that you will still need to draw over using the Pen/Pencil tool, unless the idea is to cut out your shape. (It will explained down further).
Image Trace more or less tries to translate pixels and guesstimates the shape in a vector form. While it works for color images, it works best with clear cut color (or lack thereof) because there’s less varied pixels. Remember every pixel is a different color, so a ill colored image may have hundreds of colors in it’s image– and the Image trace tries to translate that into black or white. Creating an image in black and white cuts out a lot of the guesswork for it.
Preparing an Image:
Your image could be anything so long as it is a raster-based image. Maybe it’s a clipart piece that was saved as a JPG or PNG instead of an EPS/SVG and you want to edit it. Or you drew lineart in a raster base drawing program (Photoshop, Procreate, Krita, Clips Studio Paint, etc) and want to make it a vector. Or you’re old-school ink-and-paper and want to make a digitized version of your work– all you need is a raster file. JPG, PNG, even a PSD will work just fine.
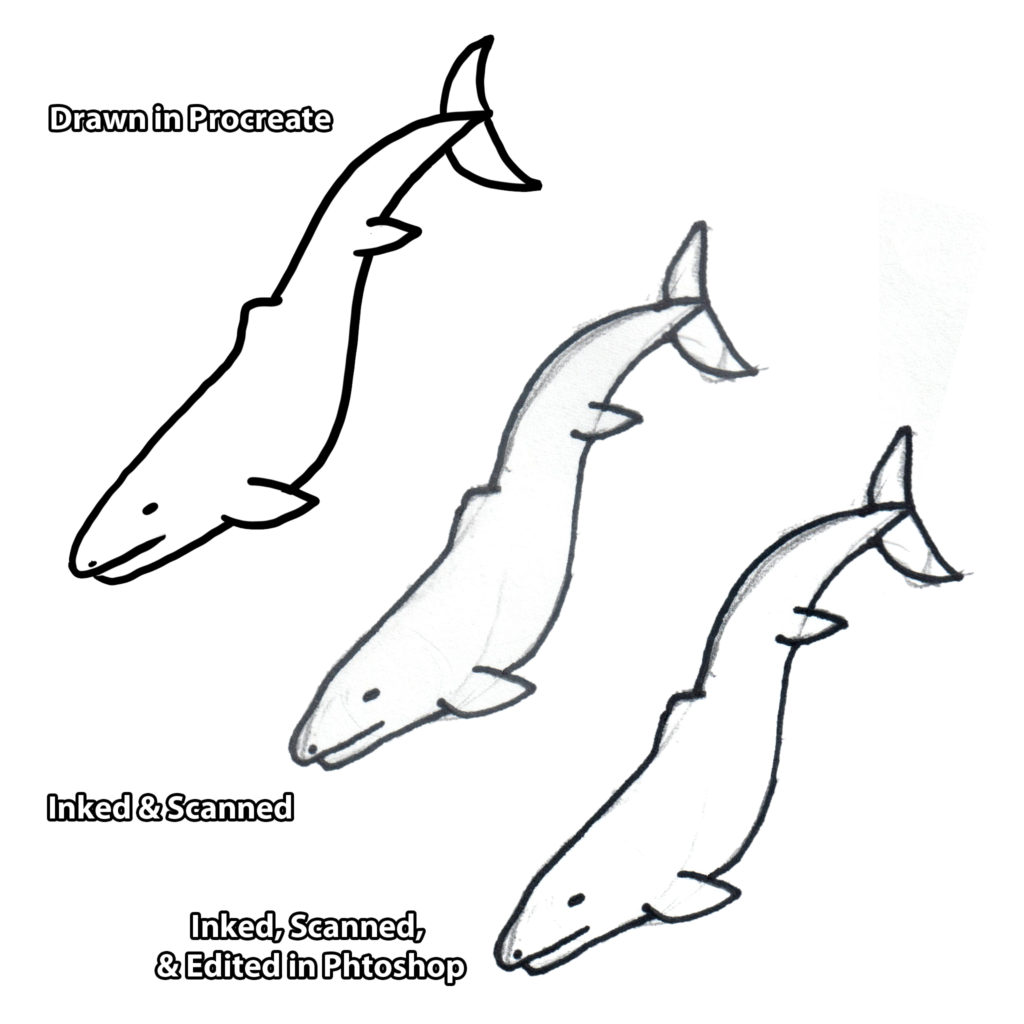
For my example I drew this simple basilosaurus on paper and made 3 versions to experiment with for output. First was drawn over the original sketch in Procreate, the second is was gone over with Sharpie and scanned, and the third is the scanned Sharpie drawing but I altered the levels in Photoshop to try an minimize my grey midtones.
Setup:
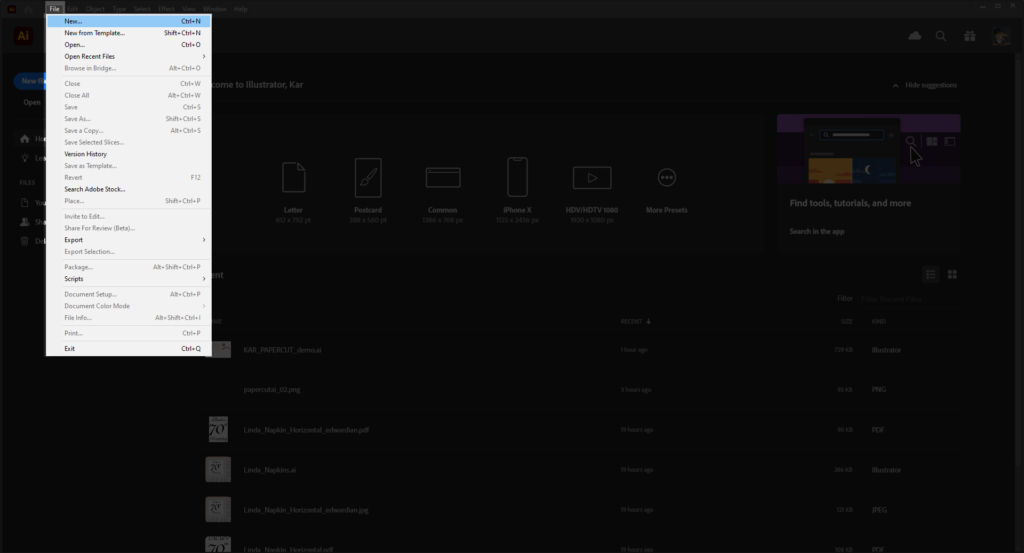
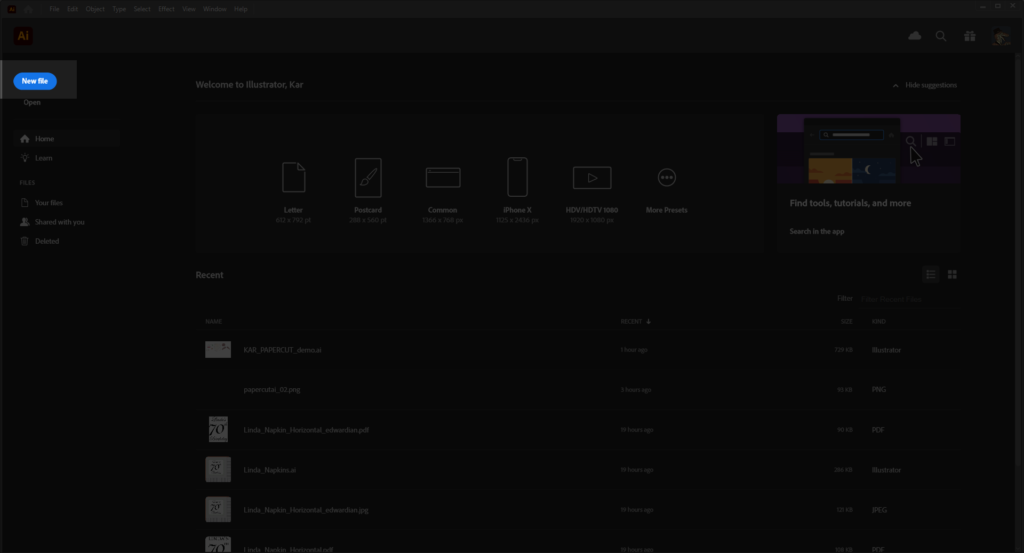
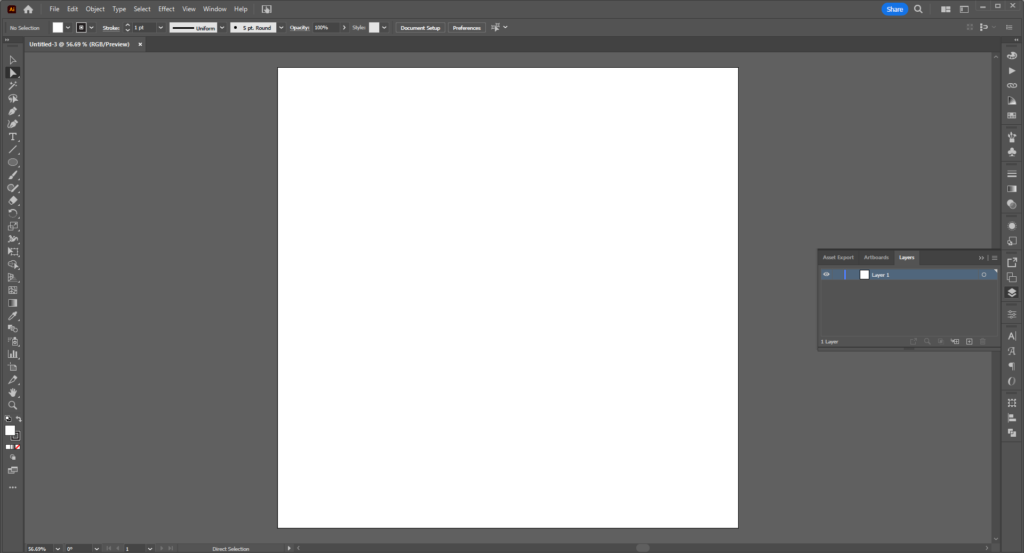
Open up Illustrator and create a new file. If this is your first time using Illustrator, then you’ll need to go to FILE > NEW or Crtl/Cmd +N. If you are using Adobe CC, you might see a bright blue New File button on the left of your screen all three of these do the same thing.
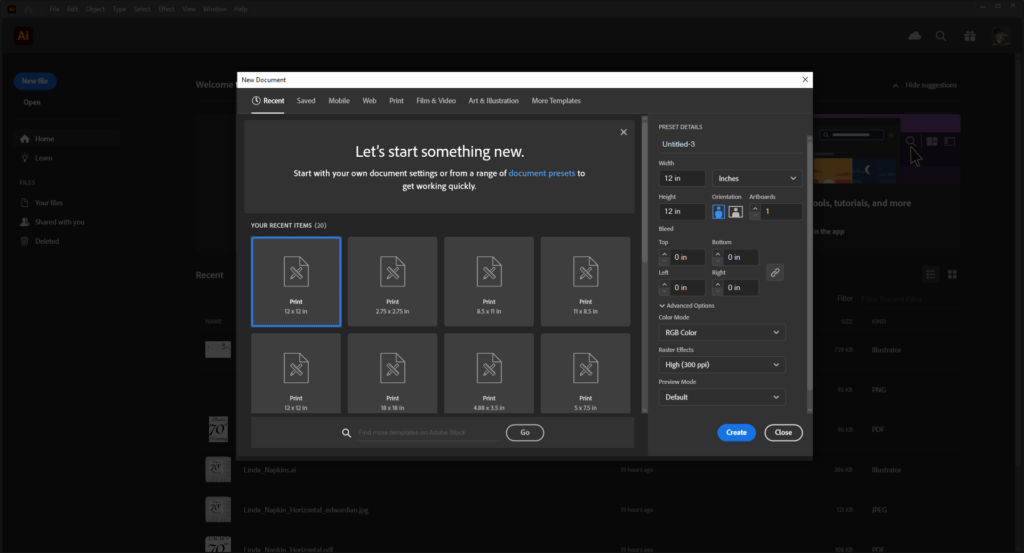
Your dimensions don’t matter for now– and don’t forget if you need a set file size you can change it and the artwork at any time. I’m using a 12 inch by 12 inch RGB color artboard– this would be used for the vinyl cutters. (However if you plan on printing this, you can set it as CMYK now or change it using File > Document Color Mode.
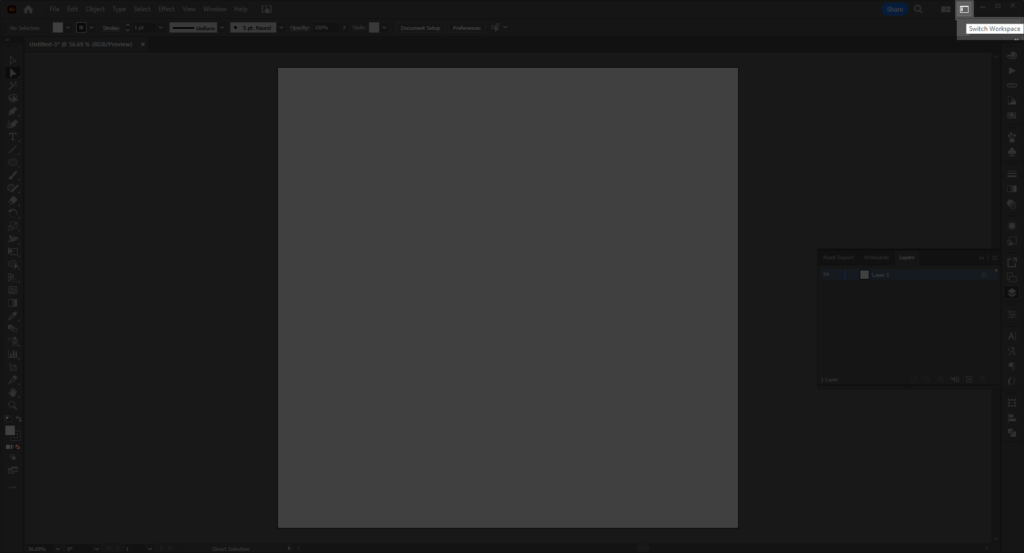
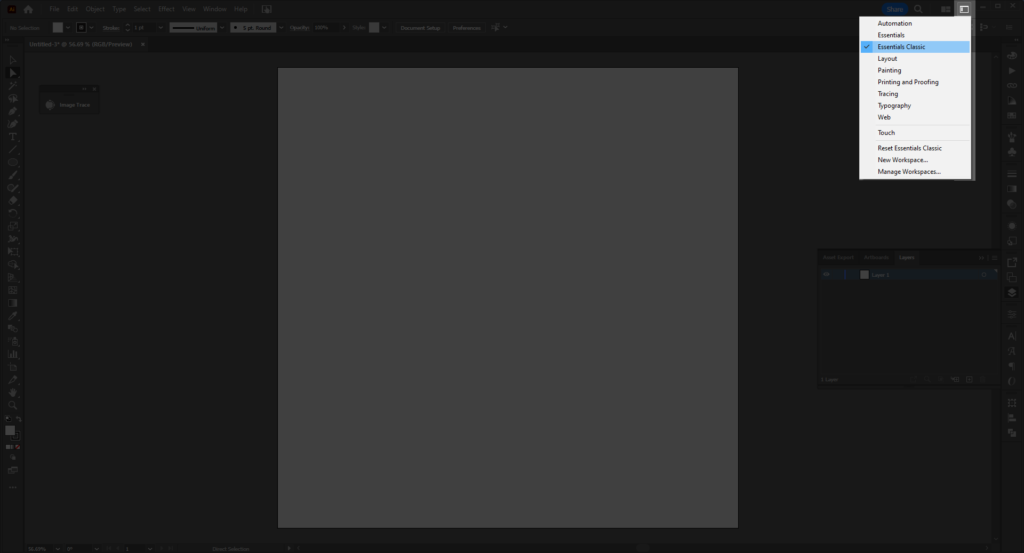
First, make sure you have your Workspace to Essentials Classic. I personally find it’s better because the buttons wind up right there on the top of UI and I don’t need to go find them. To do this, go to the upper right of your screen and select the screen shaped button next to the Minimize button.
Select Essentials Classic.
Placing the Image:
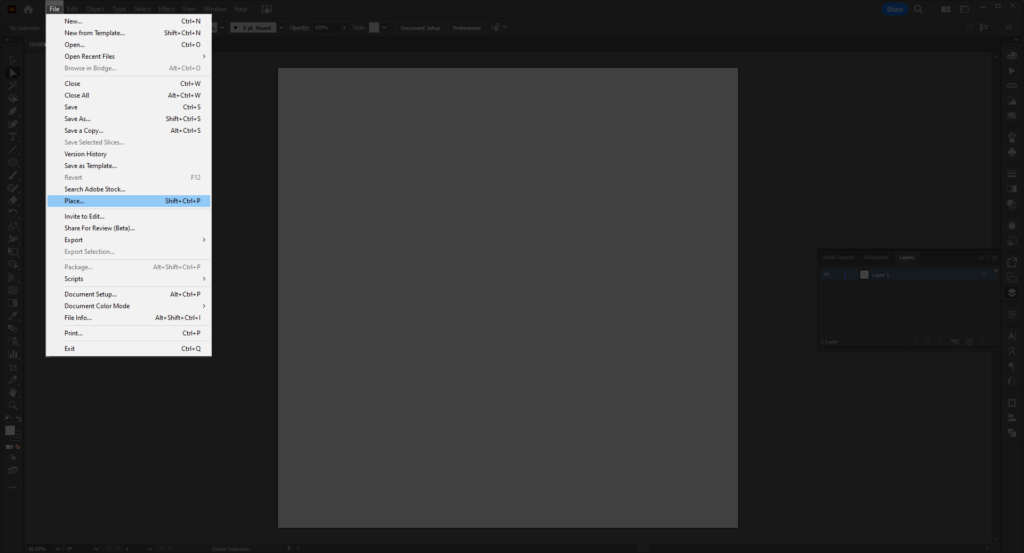
Go to File> Place and find your image.
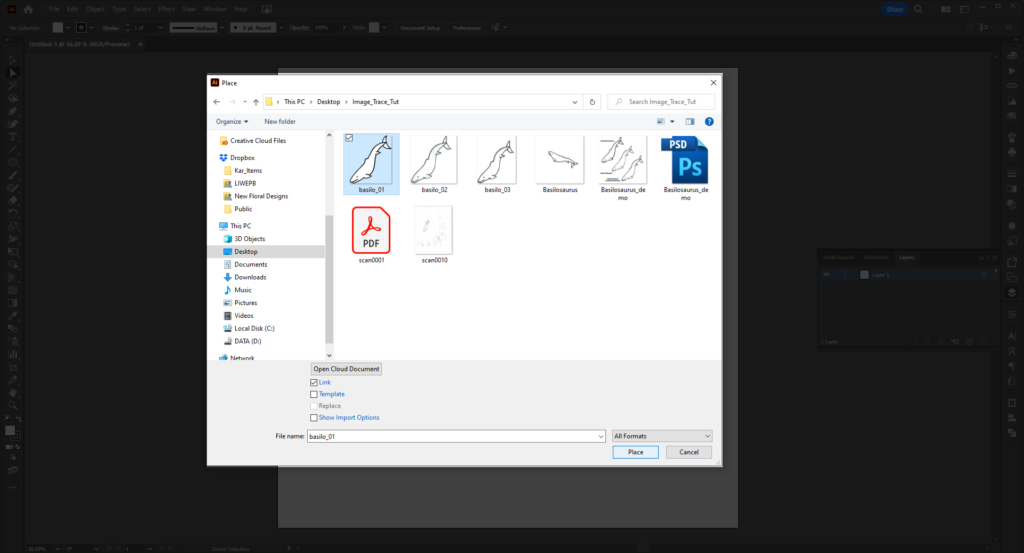
IF YOU DID NOT FOLLOW THE SETUP INSTRUCTIONS ABOVE: Deselect the checkmark on Link file to Embed the file without needing to use the UI.

When done, select Place to put it on the artboard.
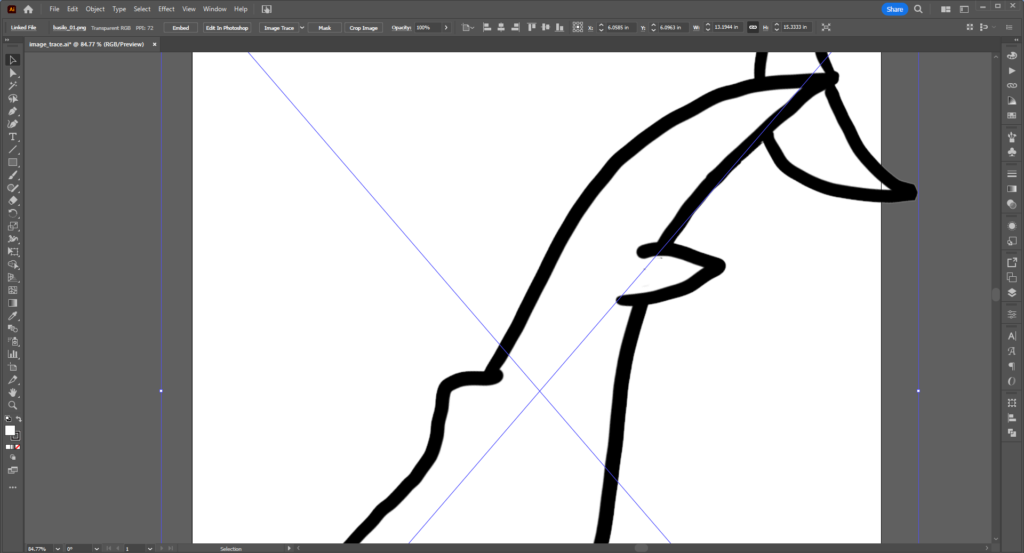
If you want to resize you can, or wait until after running the trace– I recommend resizing after.
IF YOU FOLLOWED MY SETUP INSTRUCTIONS ABOVE & DID NOT DESELECT THE LINK CHECKBOX WHEN PLACING: Select the Embed button on the UI.
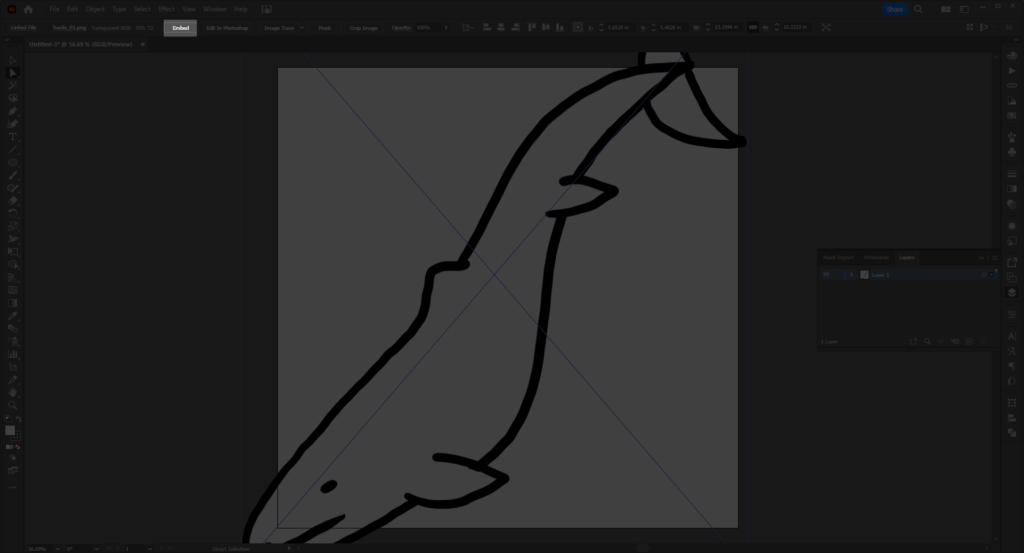
Unlinking/Embedding will keep the original image in the Illustrator file so you will have it in case the linked file is lost, moved, or deleted.
Running Image Trace:
Find Image Trace up on top of the UI.
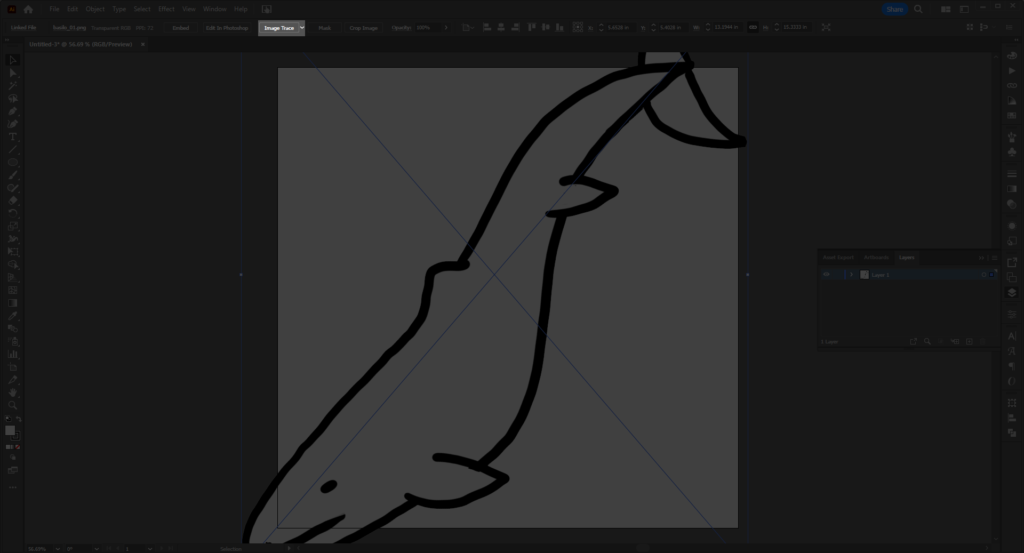
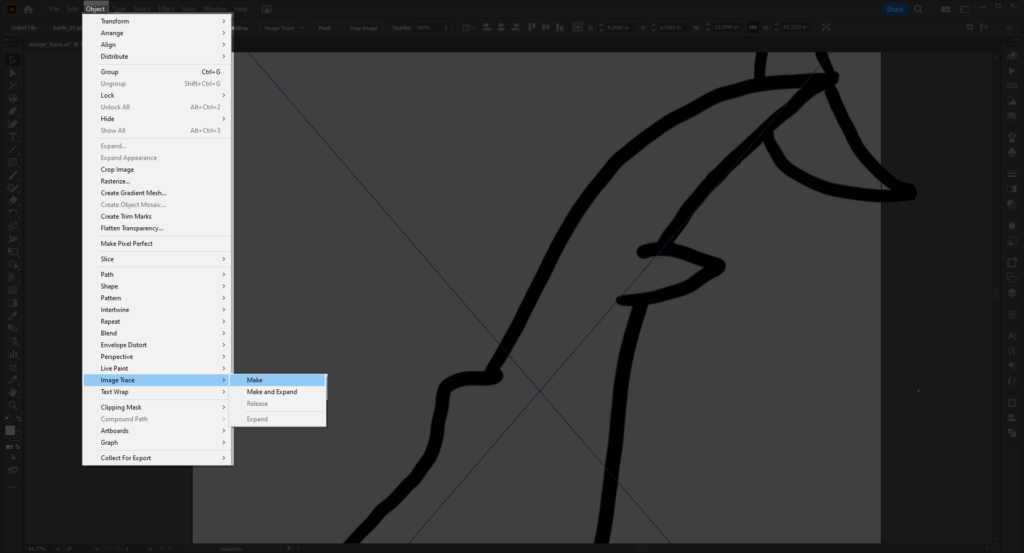
If you did not set up your workspace as stated above, then go to Object > Image Trace > Make.
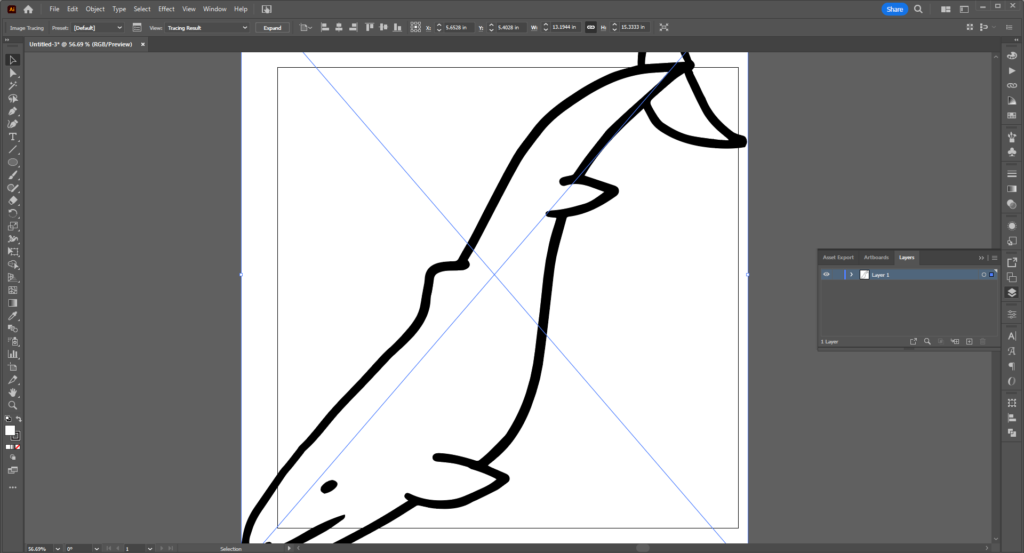
Either one of these will result in looking like it does below:
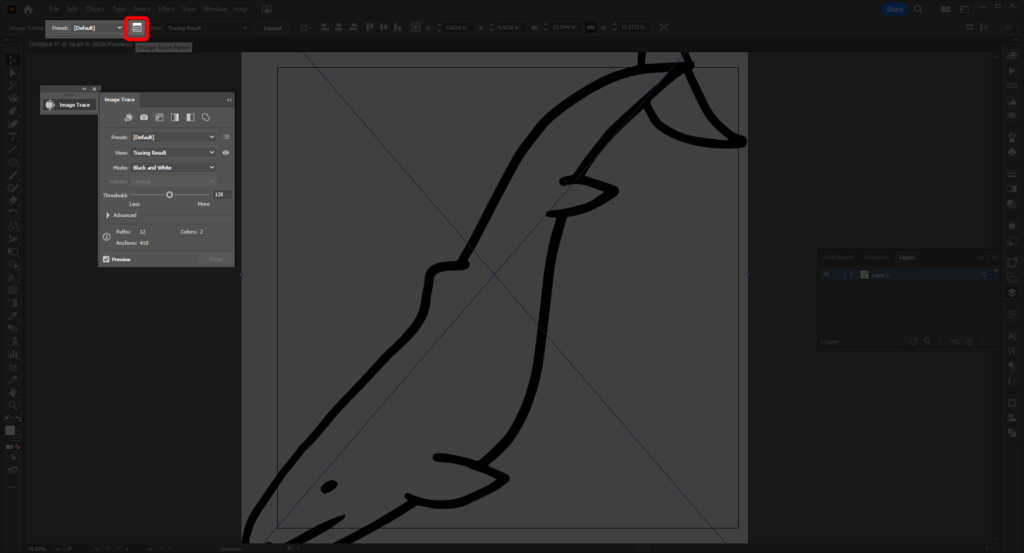
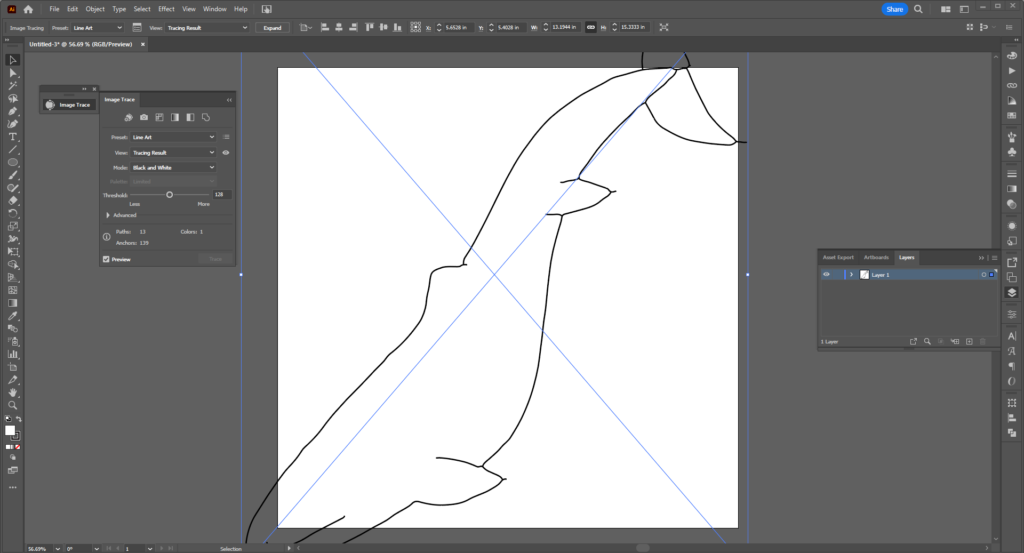
Select the Menu Looking button just right of the Presets to open the Image Trace menu for more options.
Different Presets will create different results. For images like this I prefer Black & White Logo.
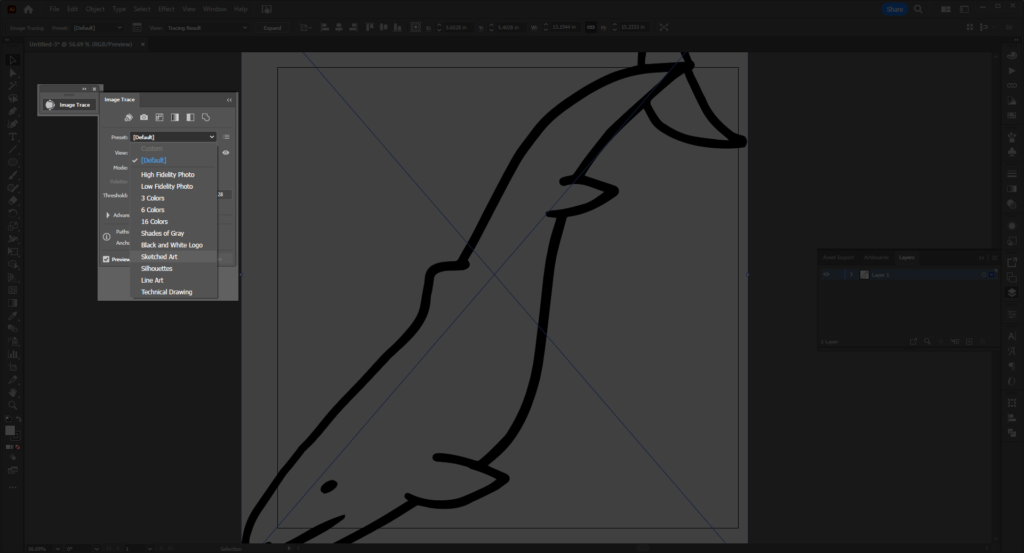
Here’s how it will look if I choose another Preset, Line Art.
If you’re still not satisfied with your results, you can explore even further with the Advanced section of the panel. You can find that by selecting the triangle on the left of the word.
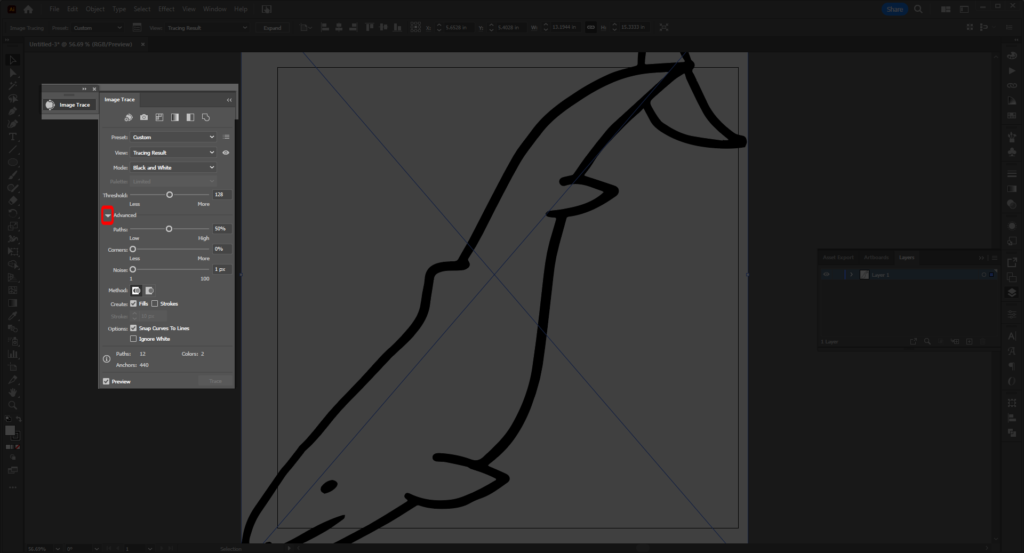
As you can see this will adjust things like noise, corners. or anchor points, and more. Play around with the settings and Preset Traces to get the results you like.
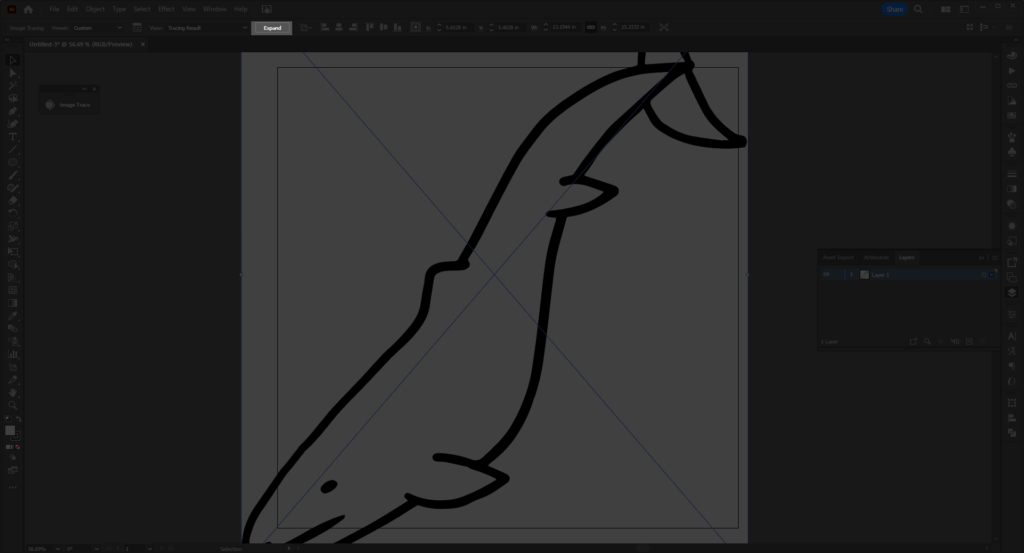
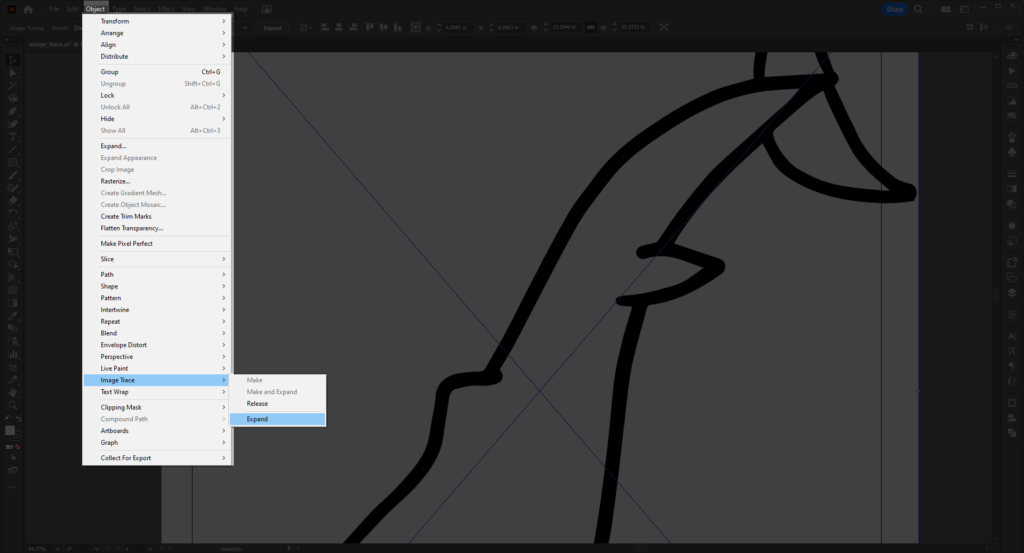
Expanding Your Artwork:
Once satisfied with your results, select Expand or Object > Image Trace > Expand. This will finally make your artwork into a vector. However these will be made into a kind of shape called Compound Paths as opposed to automatically turning your lines into a traditional shape with the stroke (The Line Art Preset tries to to this but I don’t recommend; if you want to be like that, then just use the Pen Tool to trace over it. If you are not familiar with working with the Pen Tool, I recommend following my other Illustrator Workshops )
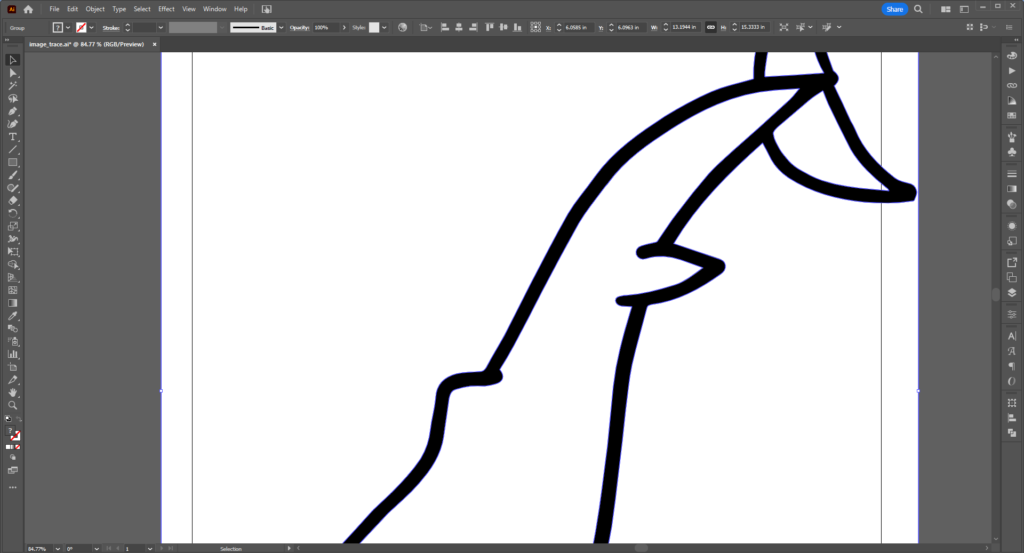
Notice how there is white around and inside of your black lines? Well that is because we told it to expand with the white, you can also do it without– but this makes coloring it easier.
Remove the white on the outside of the image, and resize to a size you like. Check your Layers Panel (Window > Layers) to see your shapes/compound paths.
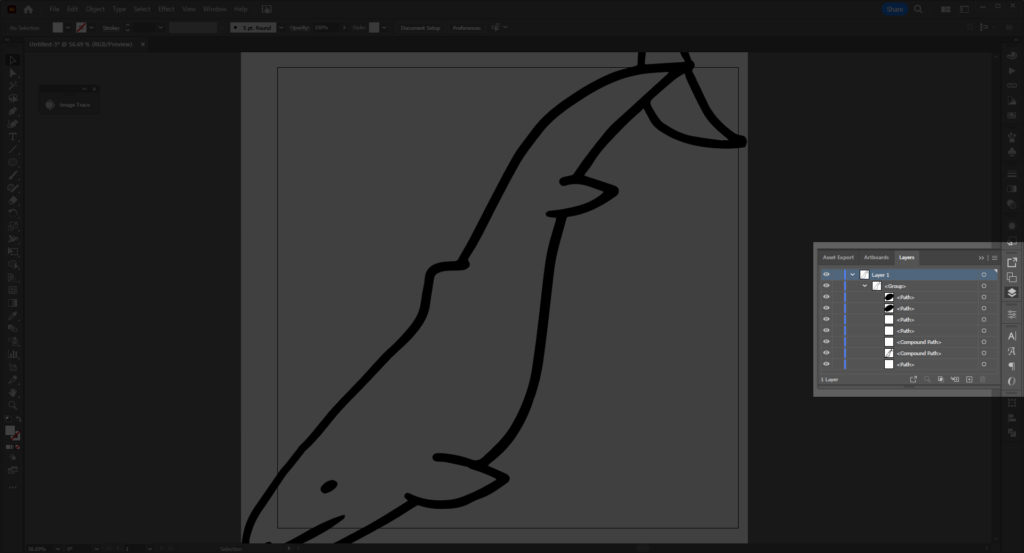
Selecting your white shapes, you can color them at will.
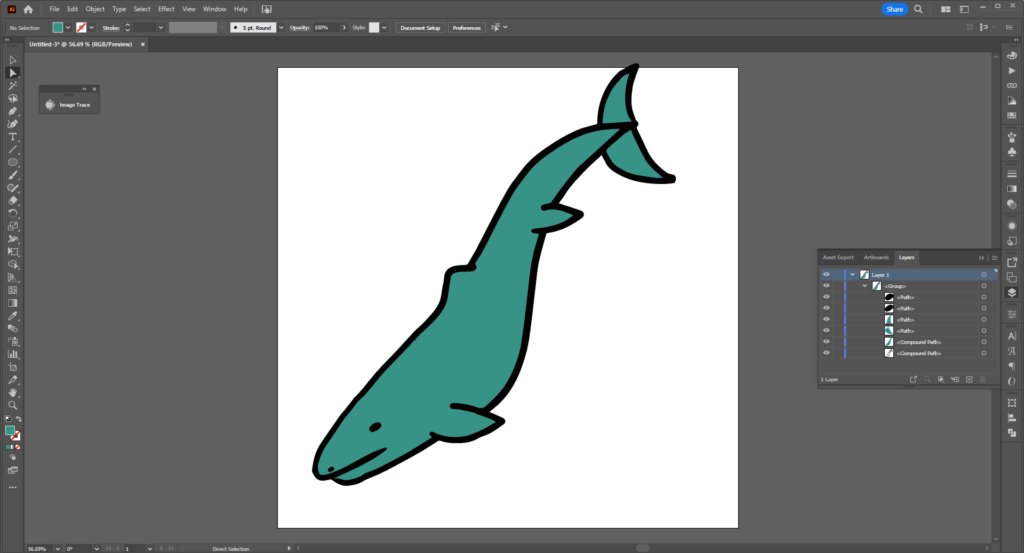
Separating the black from the white into groups (Ctrl/Cmd + G) will help you organize your coloring more if you have more complex artwork. You can also move the groups up/down or lock them while you work.
Silhouettes:
It doesn’t also have to be lineart– even just making a silhouette in black can be easily traced into a vector shape using Image Trace.
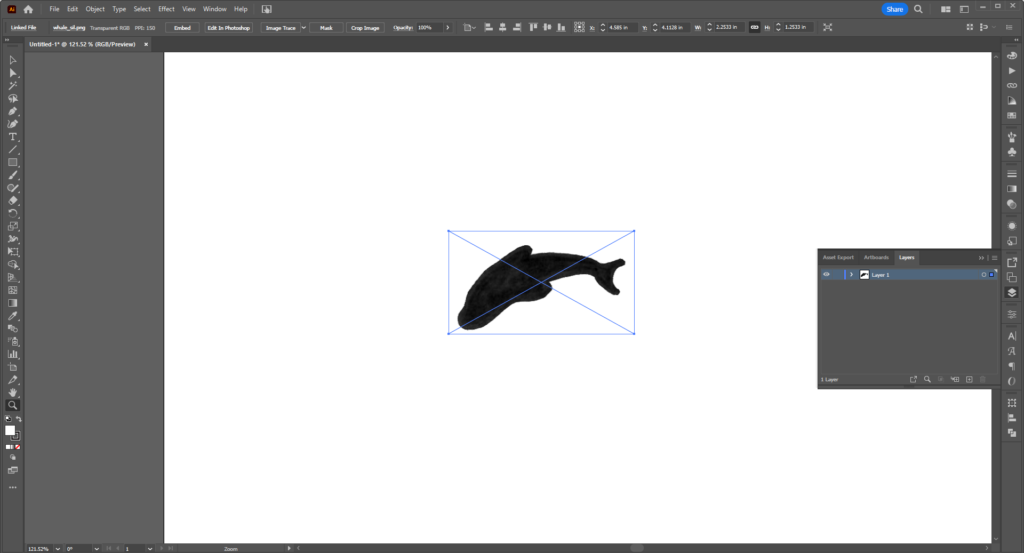
Because it’s a silhouette, I can just keep it as is and change the size/stroke to prepare it for say, vinyl or laser cutting.

Image Trace and Digital Fabrication:
As explained above due to the nature of Image Trace and creating all your black artwork into compound paths, this is best used for graphic worth than for digital fabrication.
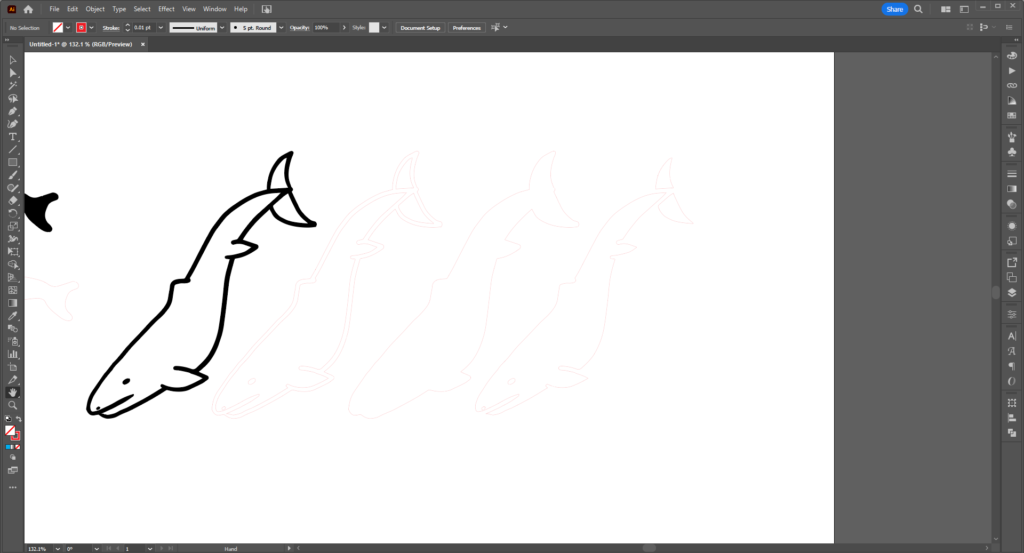
Far left is the original compound path. This a great for laser etching, but poor for laser cutting and not great (but doable) for the vinyl cutter.
The one one next to it (second from the left) is would be a terrible laser cut design and just result with everything being cut out, leaving a basilosaurus shaped hole in your material, and very thin piece that cold be mounted, but otherwise flimsy and prone to breaking alone. Vinyl cutting will result with the same results as the black– as the vinyl cutter will read both in similar ways.
The third from the left/second to the right would be the most viable to cut, it would just be the outside shape. (This was created by using the Direct Selection Tool and removing the inner parts of the design, leaving a silhouette). This also could be etched nicely, or vinyl cut.
The fourth (far right) would be an excellent stencil, of if the pieces were mounted as well. As for vinyl cutting, it could be a sturdy cut, depending the material. (This was created by removing the outer part of the compound path with the Direct Selection Tool.)
So depending on your project you may be able to use Live Traced artwork for these machines, but it’s no guarantee. But it really shines when it comes to converting inked lineart to vectors to create a larger/digitally colored peice.
Further Exploration:
Adobe’s Guide on Image Trace
Graphic Design How To: Convert an image in vector with Live Trace
Mike Pickett Design Co.: Adobe Illustrator Image Trace
Vectornator.io: How to Trace and Image in Illustrator
Inkscape.org: Trace Bitmap
Logos by Nick: Using Trace Bitmap in Inkscape
TJ FREE: Trace Bitmap Tool