In this guide we will show you how to utilize the Makerspace’s Cricut Maker and Easy Press to create a design on Heat Transfer Vinyl (HTV). We will be using Inkscape for this guide.
If you have already made a laser etched keychain or stamp in the Makerspace, this will be familiar to you in the design aspect, just that the scale, layout, and export process. If you have not, I will link the guides to those projects below to check out as well.
If you have already made a laser etched keychain or stamp in the Makerspace, this will be familiar to you in the design aspect, just that the scale, layout, and export process. If you have not, I will link the guides to those projects below to check out as well.
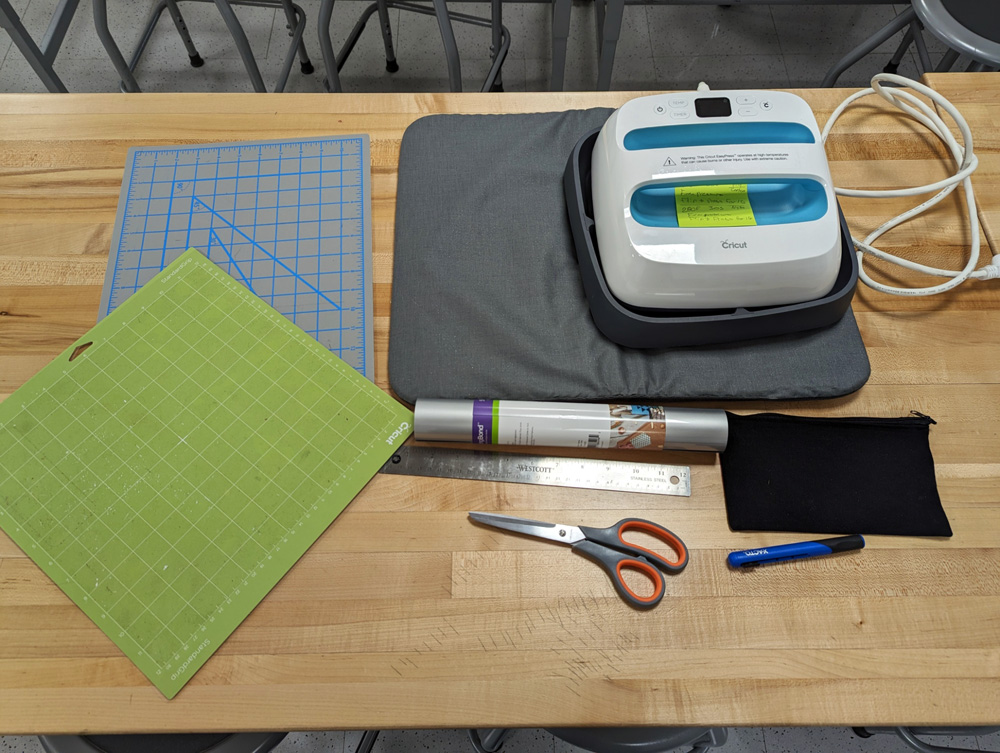
In the Makerspace, we provide Black & White vinyl, however you are free to bring in your own. We recommend the Cricut brand due to its availability and we have the right press settings for it.
Heat Transfer Vinyl can be used on many fabrics and materials; tees, bags, linen, and even real and faux leather. The only difference is how you set up the press, and below we’ll have a calculator linked for reference.
If you are using a shirt it is recommended that you wash it without fabric softener and dry before applying the applique.
If doing this at home with a clothes iron, you may want to get some extra vinyl scrap material to test your settings and do a little research. You can use this as a guide for the design and cutting.
Setting Up the File:
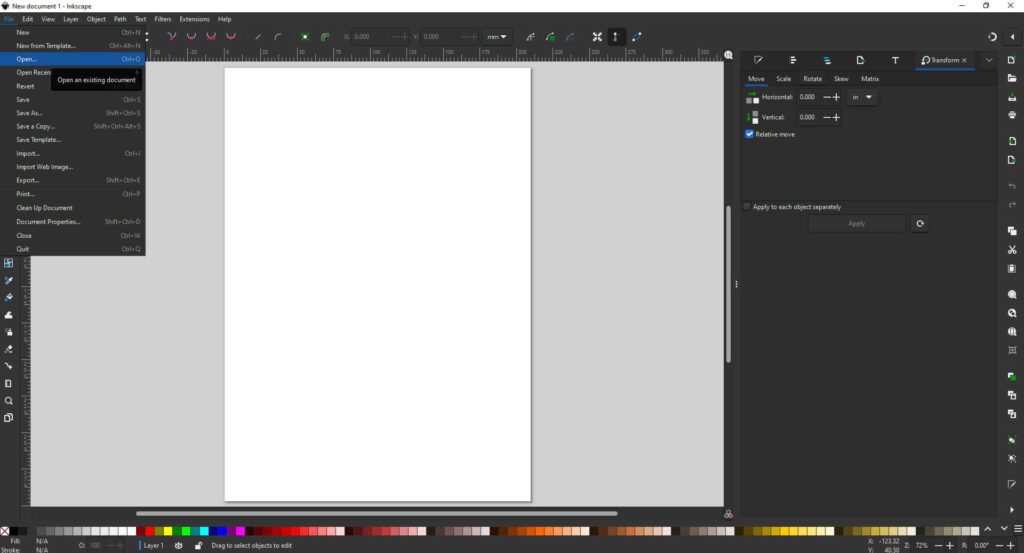
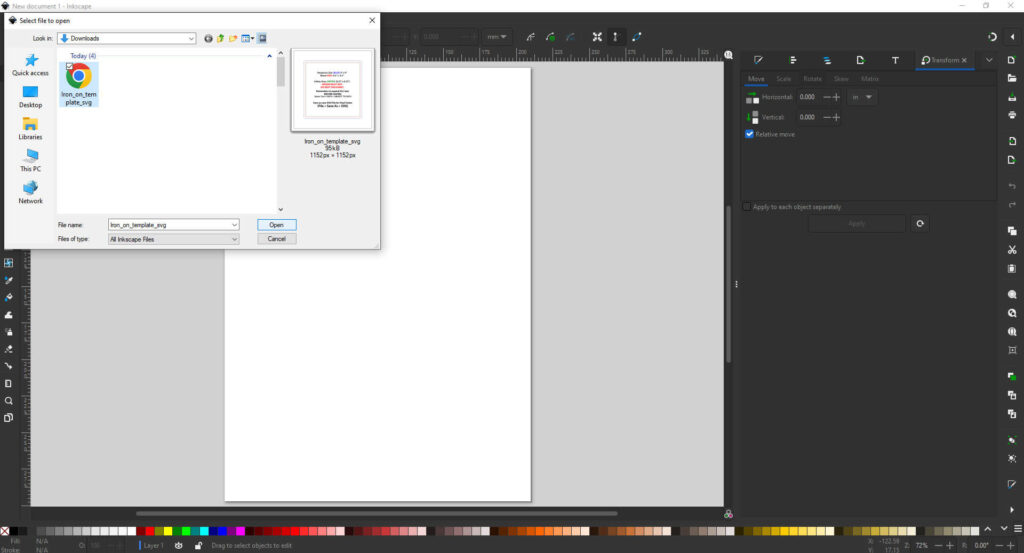
Please download this SVG Template for use in Inkscape. After opening Inkscape, go to File > Open and find the template you’ve downloaded.
In the template, there are two layers: the template layer, and the design layer.
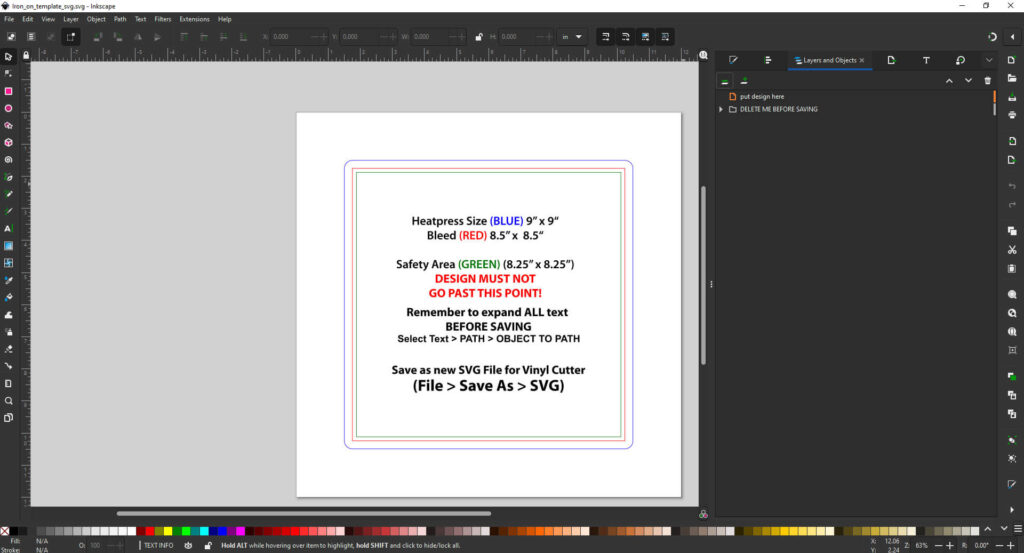
In the template layer there are some guides. In blue shows the size of our actual press (9 inches by 9 inches). For the most effective print, our design should fit comfortably under the press. In red is our bleed, basically giving our design some breathing room to keep it from going off the edge, and finally in green, is the safety area where your final design should fit. You may want to measure your material to make sure your design will fit.
Please make sure your design stays within the design layer, and the green safety area. You may want to keep that green square for export later to aid in the final cut.
Measure your item to make sure it’s the size you need it before saving! You can resize it in the Cricut Design Studio as well if you do forget.
There are many tools in Inkscape to make a design: you can draw with the pencil/freehand tool, use bezier curves to trace an image with the pen/bezier tool, use the shape tools and Path Panel to build and merge shapes, or add text with the text tool. Use the Object panel to resize using Transform. The Object panel will help you keep your design aligned.
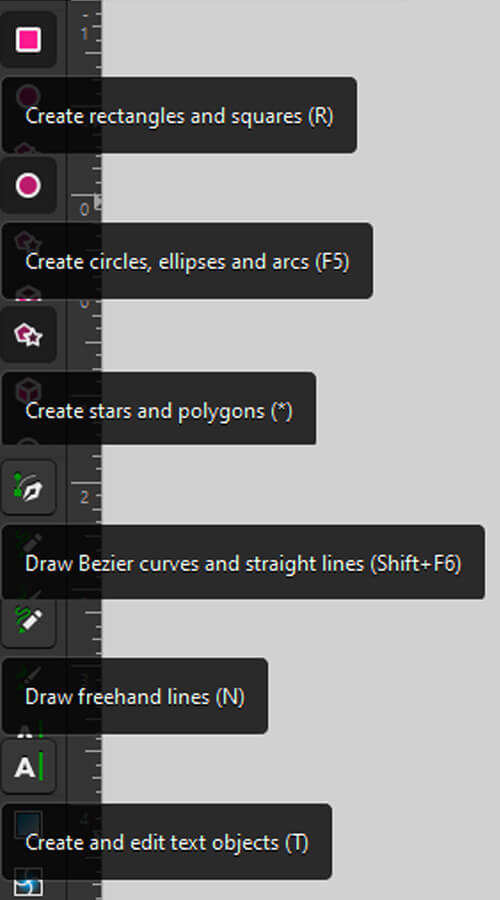
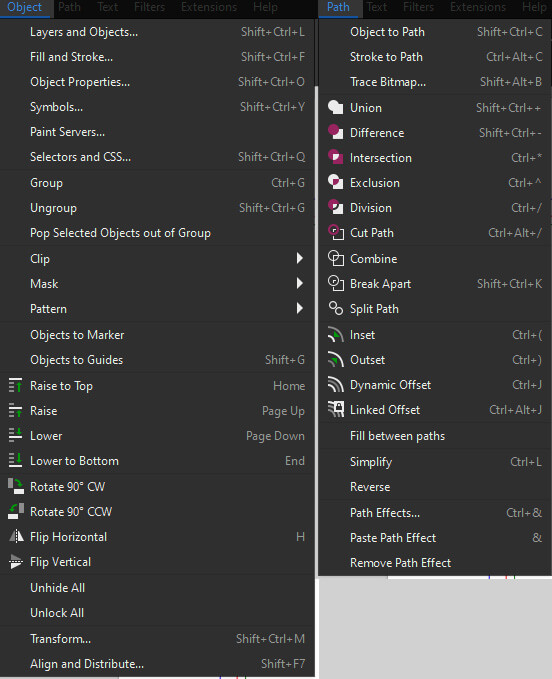
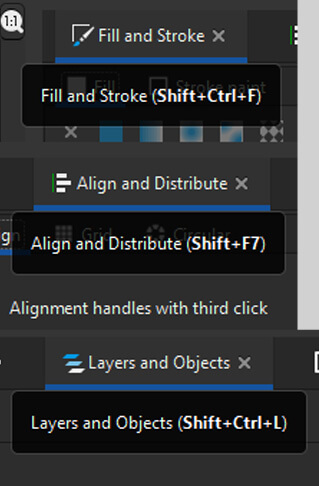
Some important tools/panels to use in Inkscape.
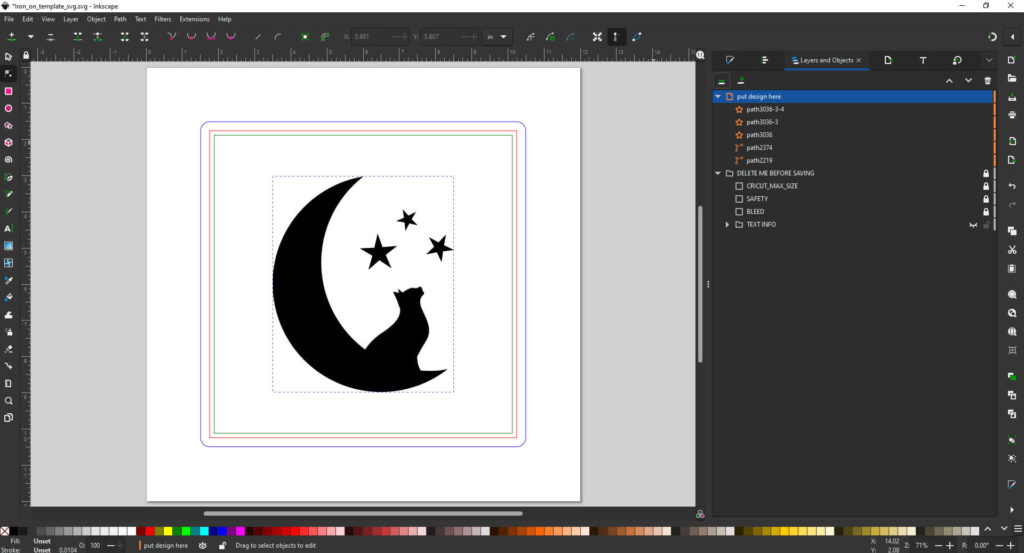
Some Tips when working on your first design:
- Be mindful you will need to weed out design, the more complex the more chances of failure.
- Keep it bold, keep it simple if it’s your first time, you can always try another design later.
- Thin text only works on a large scale, and needs careful weeding.
Here is a tee shirt design I made in the Makerspace using the vinyl:
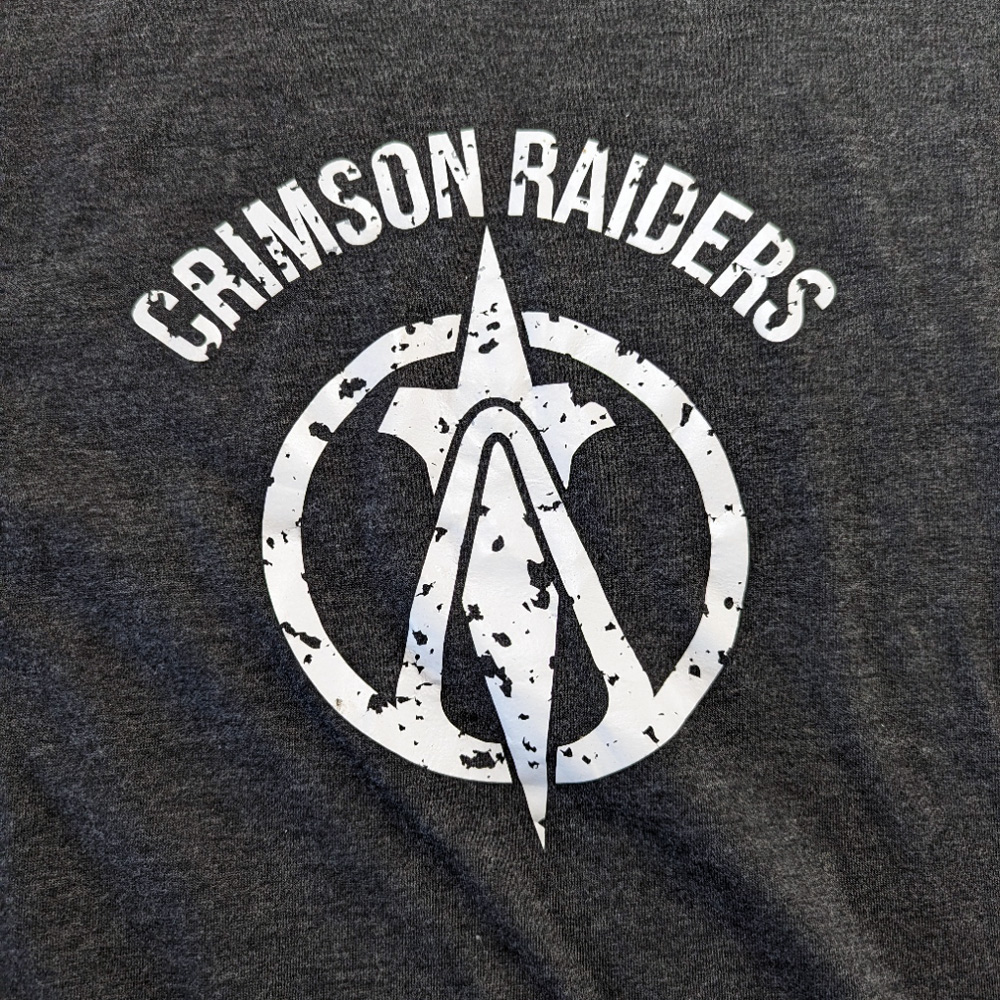
This required time for weeding and preparation, which does take some time and a careful hand to do or the design would have been ruined.
If you do want to try a larger design outside of the workshop, please be advised you may need to press multiple times to make sure the vinyl is properly adhered. If that is not a concern, your final design should stay within 11 by 11 inches.
Preparing For Export:
Delete the guide layer. Keep the green square with the design– this will cut out a square around your design and save your time cutting out the design. If you are using any strokes, you will need select your stroke and go to Path > Stroke to Path in order to make it as shape. Remember this is being cut out so I advise to keep it thick!
You will also need to make any text into a shape as well. This can be done by selecting the text and going to Path > Object to Path to turn your text into a shape.
You will need to save the file as an SVG file.
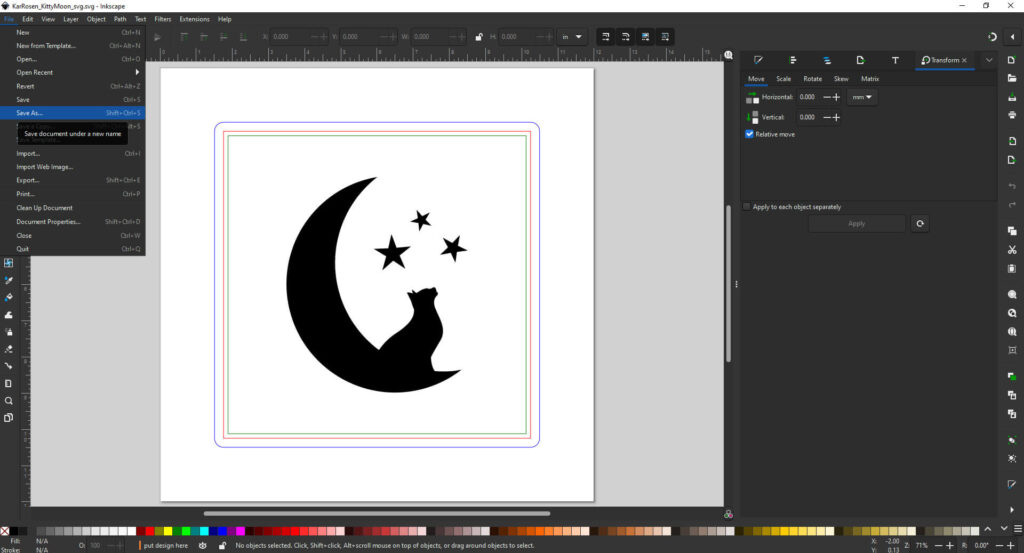
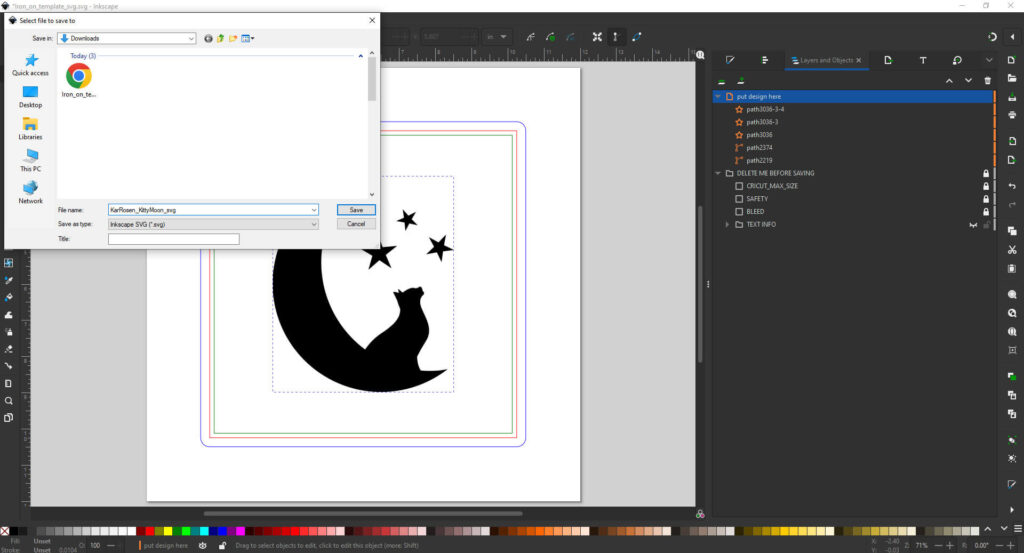
Cutting:
Measure your vinyl and cut it. I wouldn’t recommend cutting a full 12 inch square as it wastes material, I’d recommend adding ½ inch to an inch to your final design size (for me it’s 4 inches).
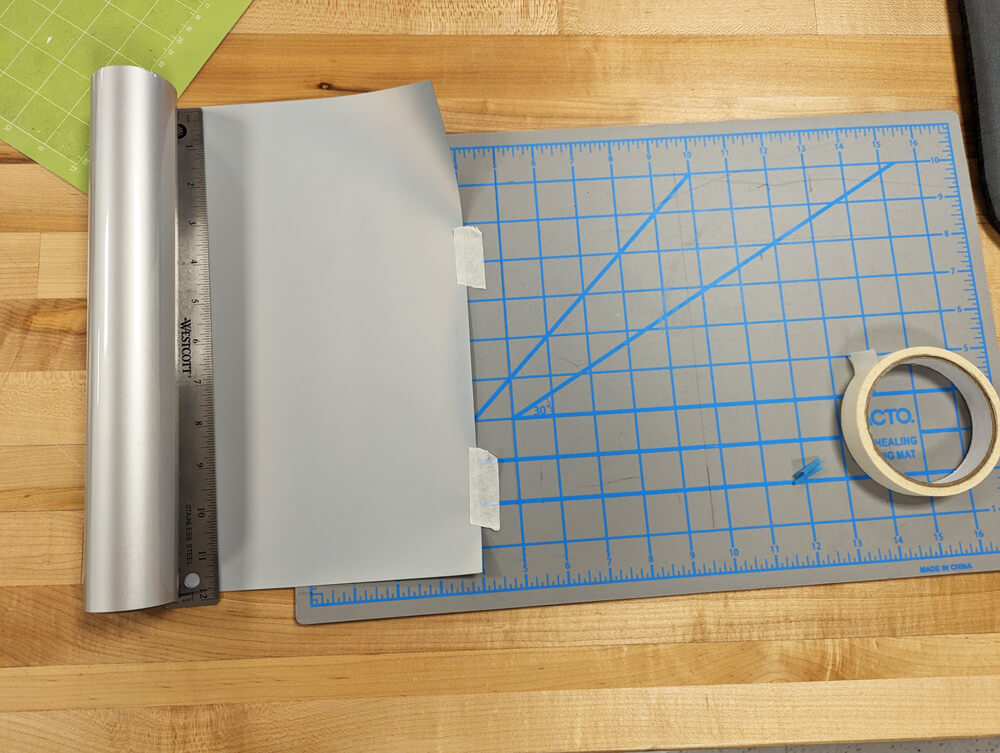
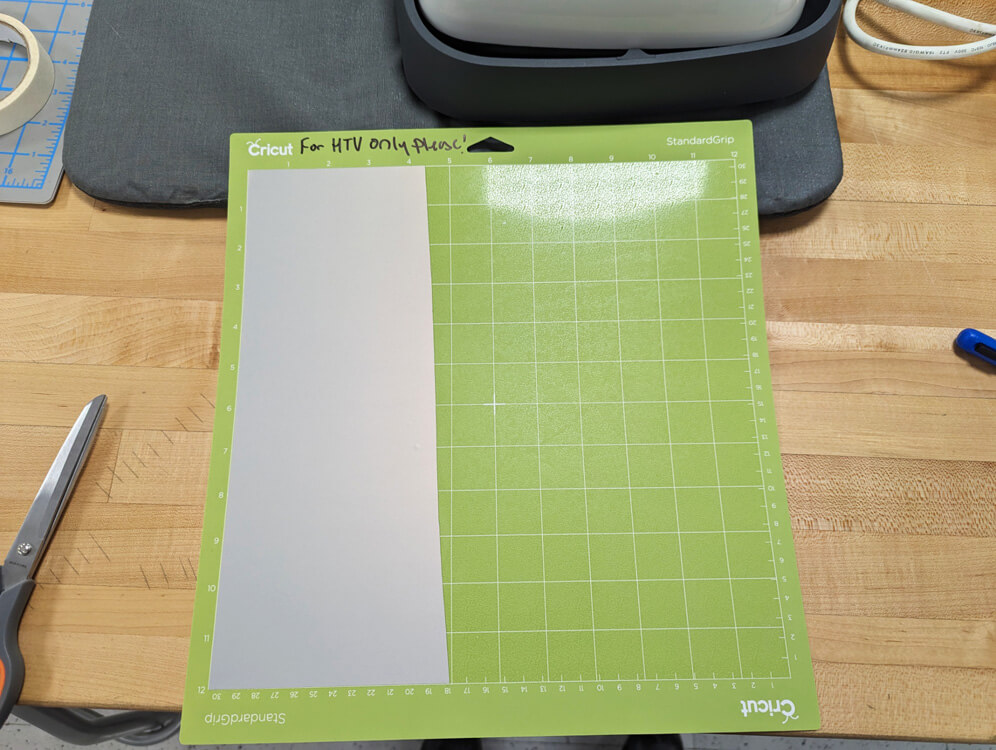
Put vinyl GLOSSY SIDE DOWN on the Cricut mat. Remove any bubbles carefully.
Load the mat into the Cricut Maker and open Cricut Design Studio.
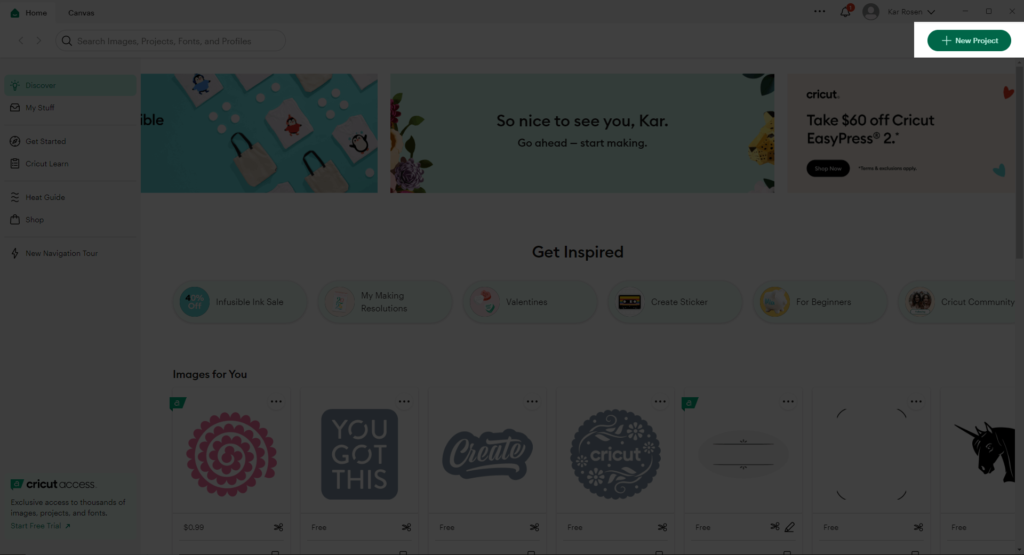
In Cricut Design Studio select NEW PROJECT.
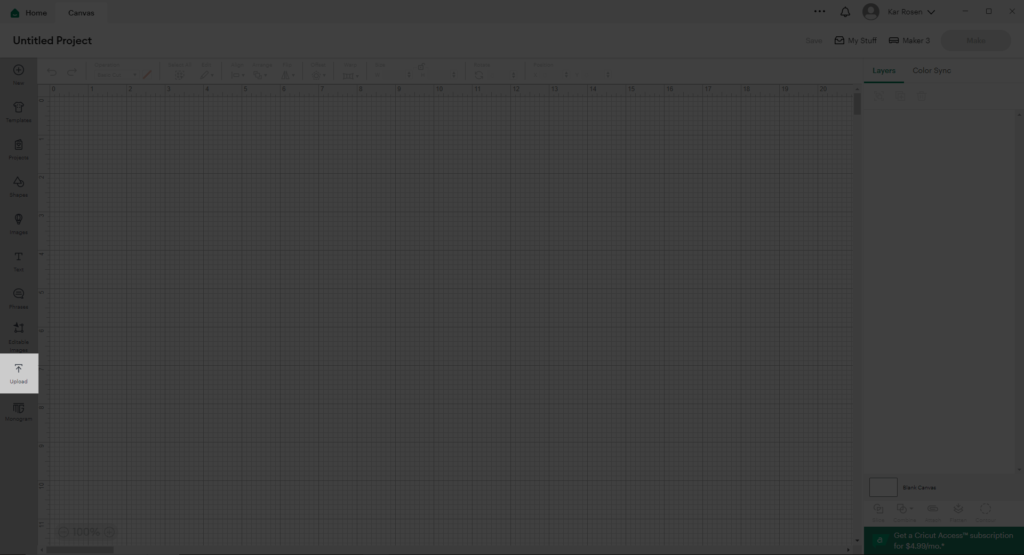
The left side of the Canvas, near the bottom, find the option to Upload.
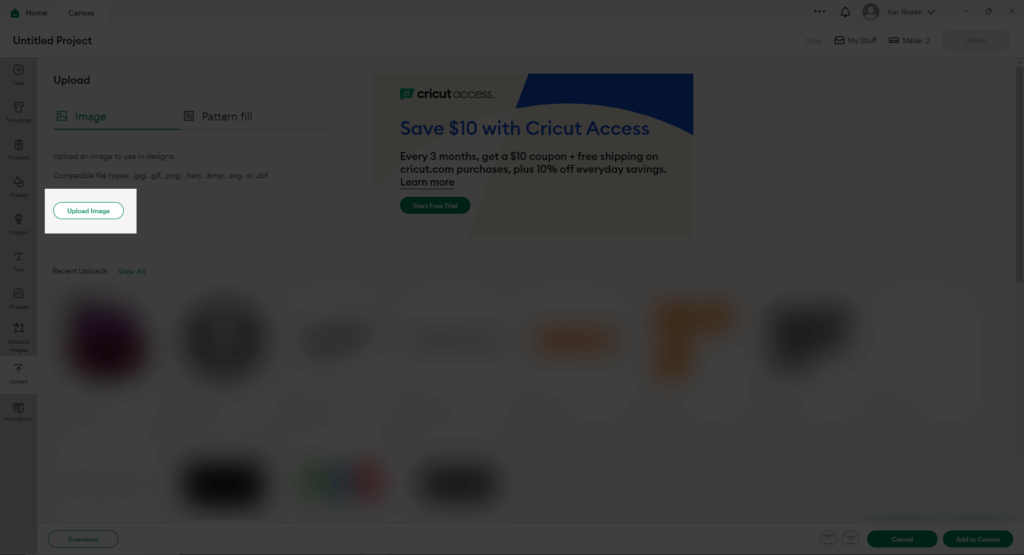
In the next page select Upload Image, then Browse in the next, and find your SVG. Then Upload in the final screen.
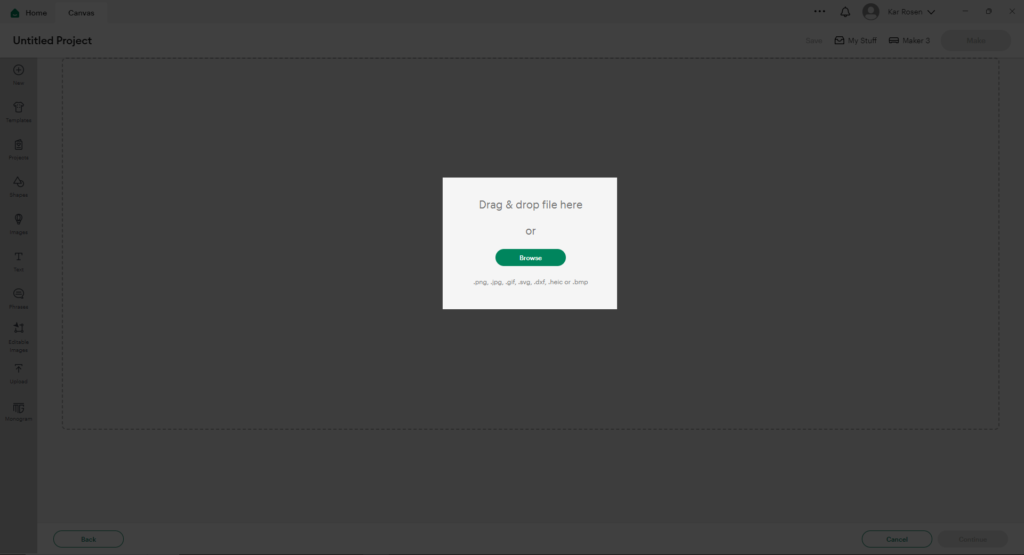
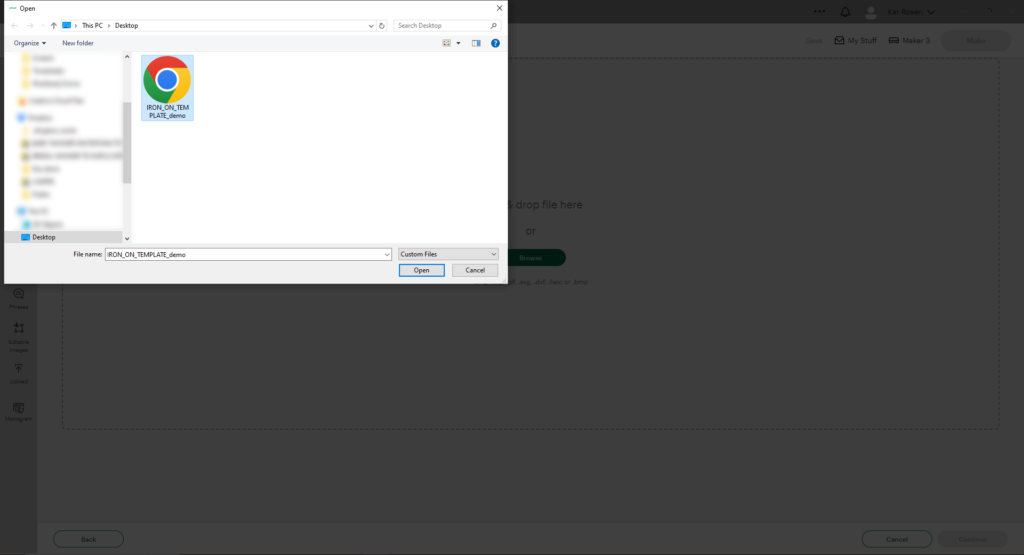
Once back in the designs page, select Add to Canvas.
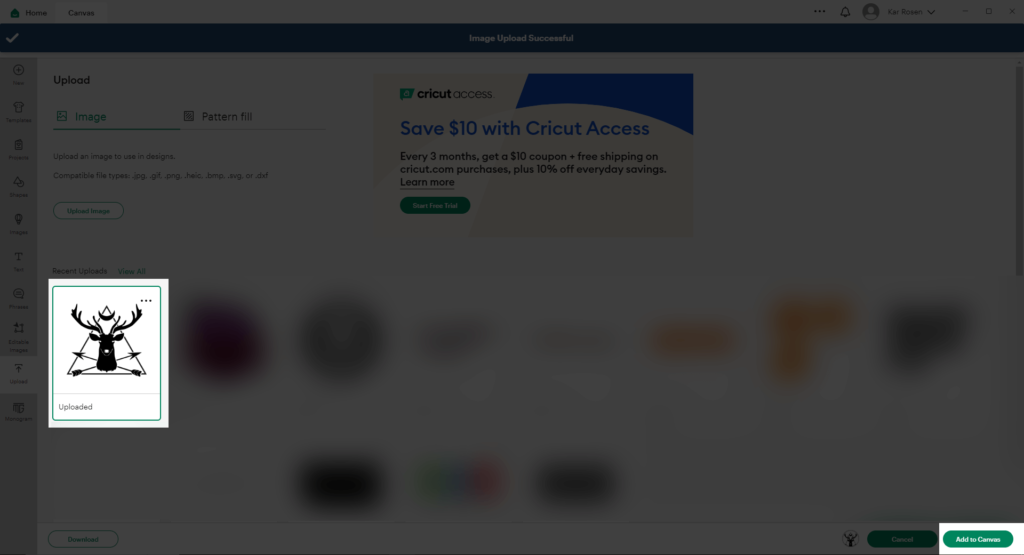
If you didn’t measure to size in Illustrator, this is your last chance to adjust your design to fit your material.
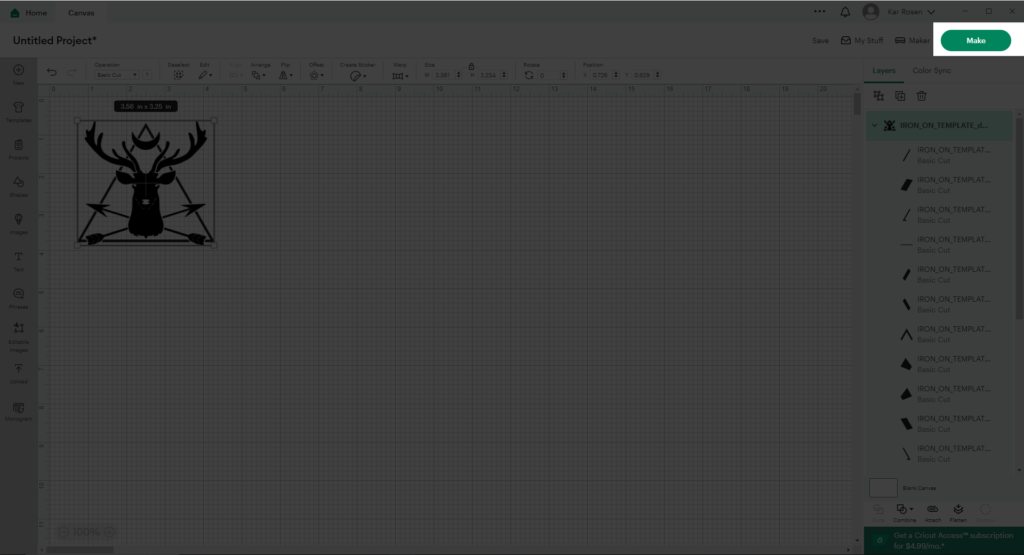
When in the canvas make sure all your designs are set to Basic Cut. Select everything and hit Attach. This will tell Cricut to keep everything laid out as it has been set to be. (Otherwise it will try to sort out the cuts on the sheet to fit.)
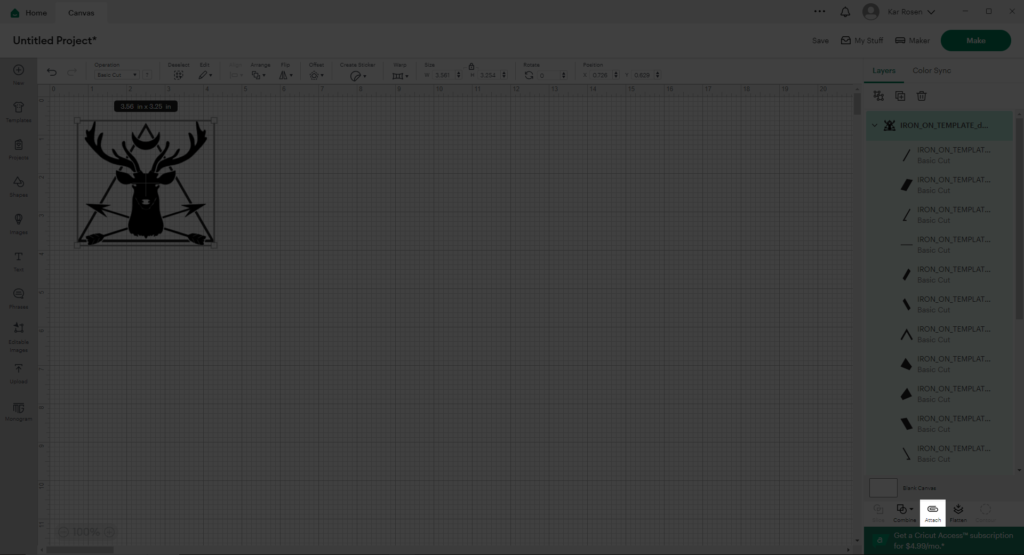
When Ready, select MAKE on the upper right.
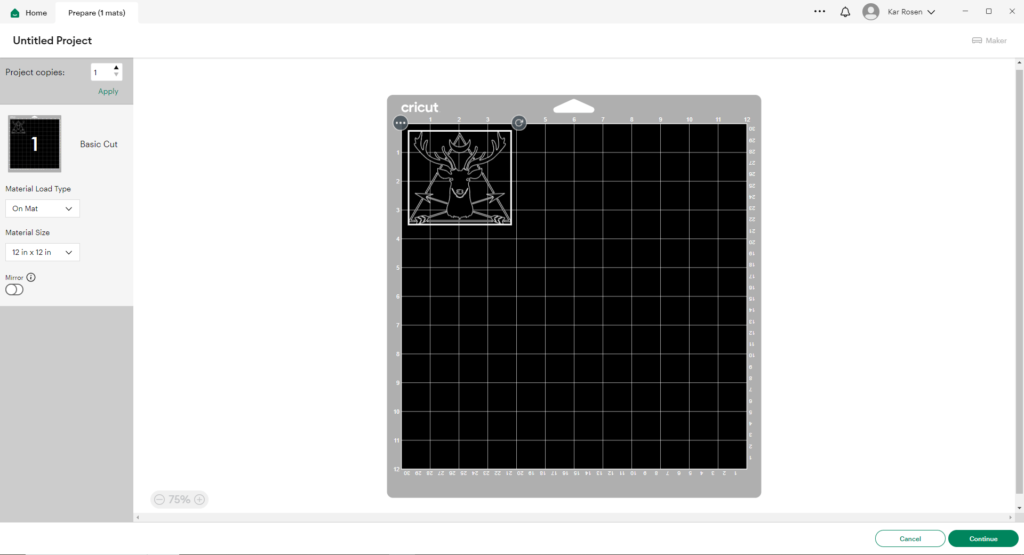
Toggle on the Mirror option if your design is asymmetrical or using text. (My example is symmetrical and without text so I don’t have to do it.)
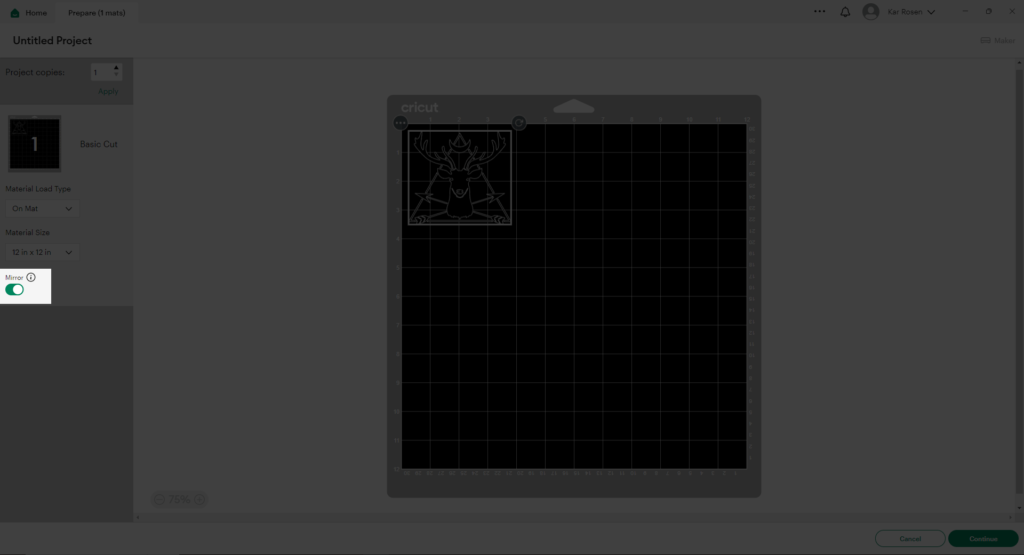
Here’s my file from the example above mirrored to show it in use:
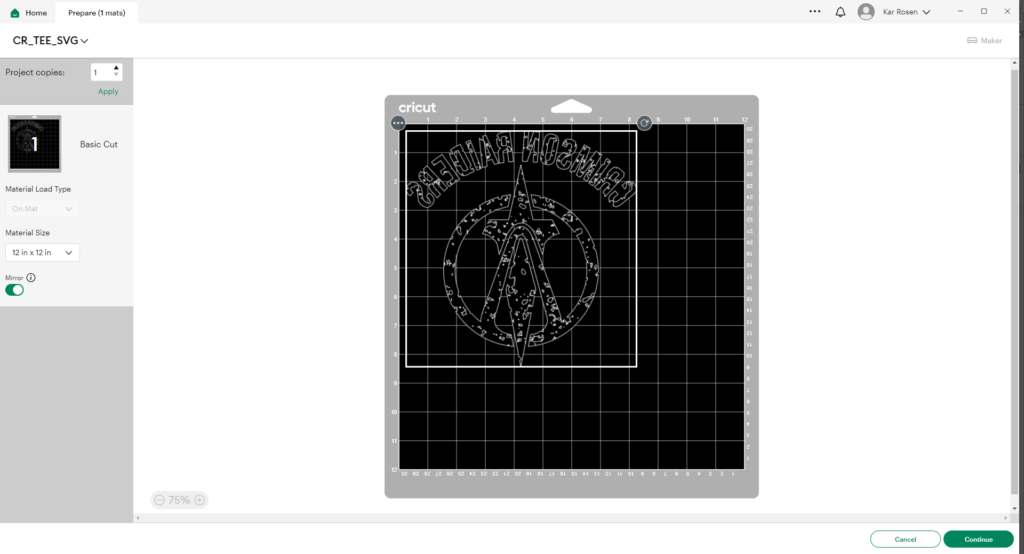
Select or find Everyday Iron-On in the materials.
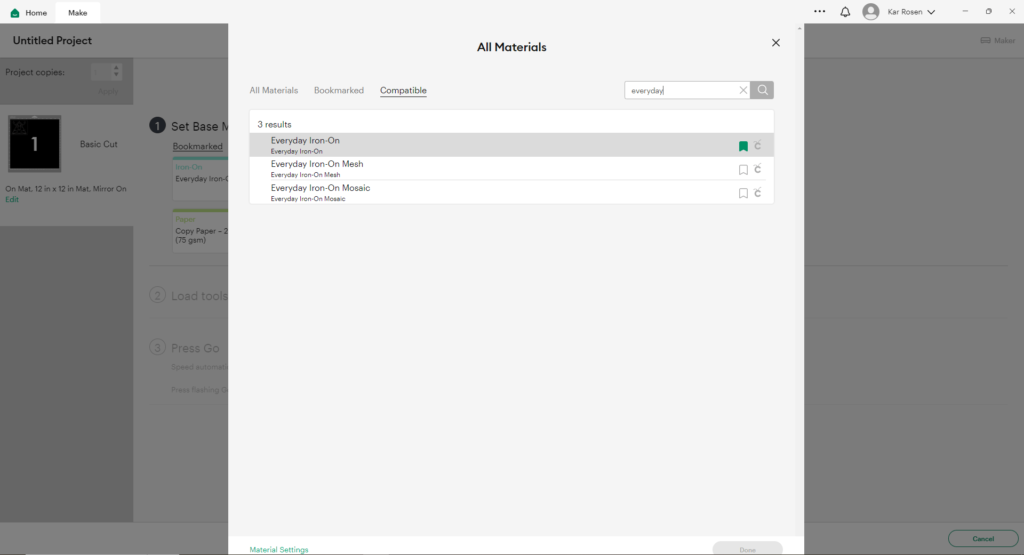
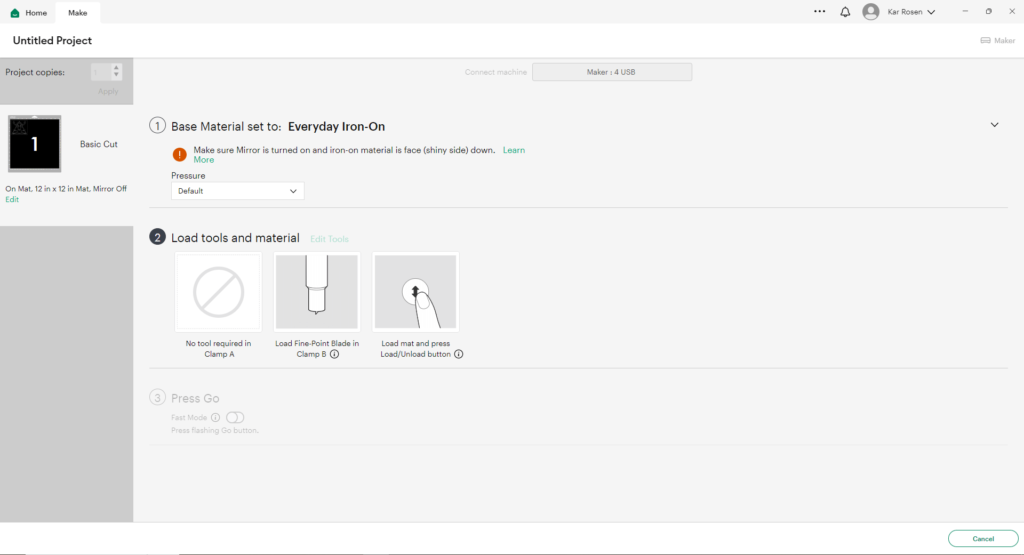
When ready, select the flashing Cricut button on the machine to cut.
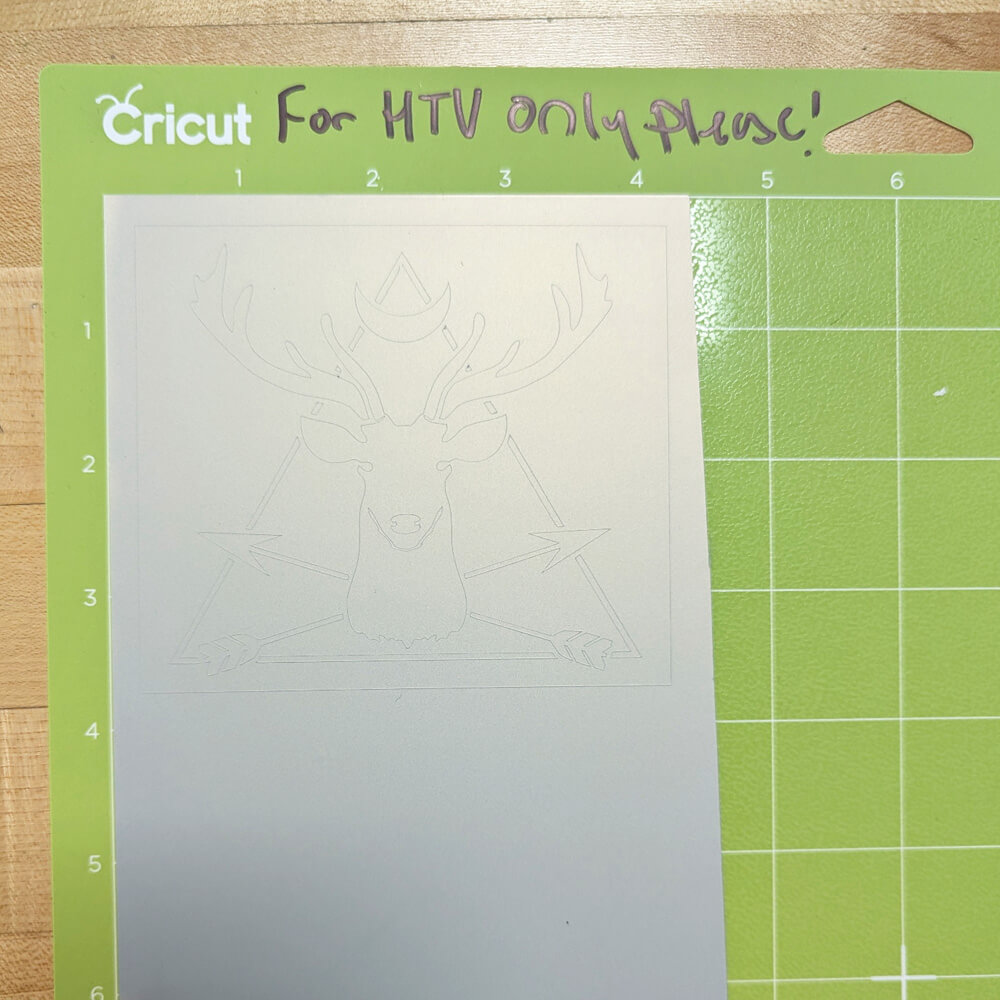
Weeding & Pressing:
When done, carefully remove the whole item, as you will need to cut it down for application. Once cut into a smaller, more manageable size, I recommend placing back on the mat to weed in order to keep it flat.
Weeding is the removal of the material you DO NOT want. You want these pare to be clear, as these will be the spaces that will help the applique attach to your material. Use an X-acto knife tip to gently pull up and/or cut the vinyl.
Please be careful and slow, if you ruin your design you will need to cut and start again.
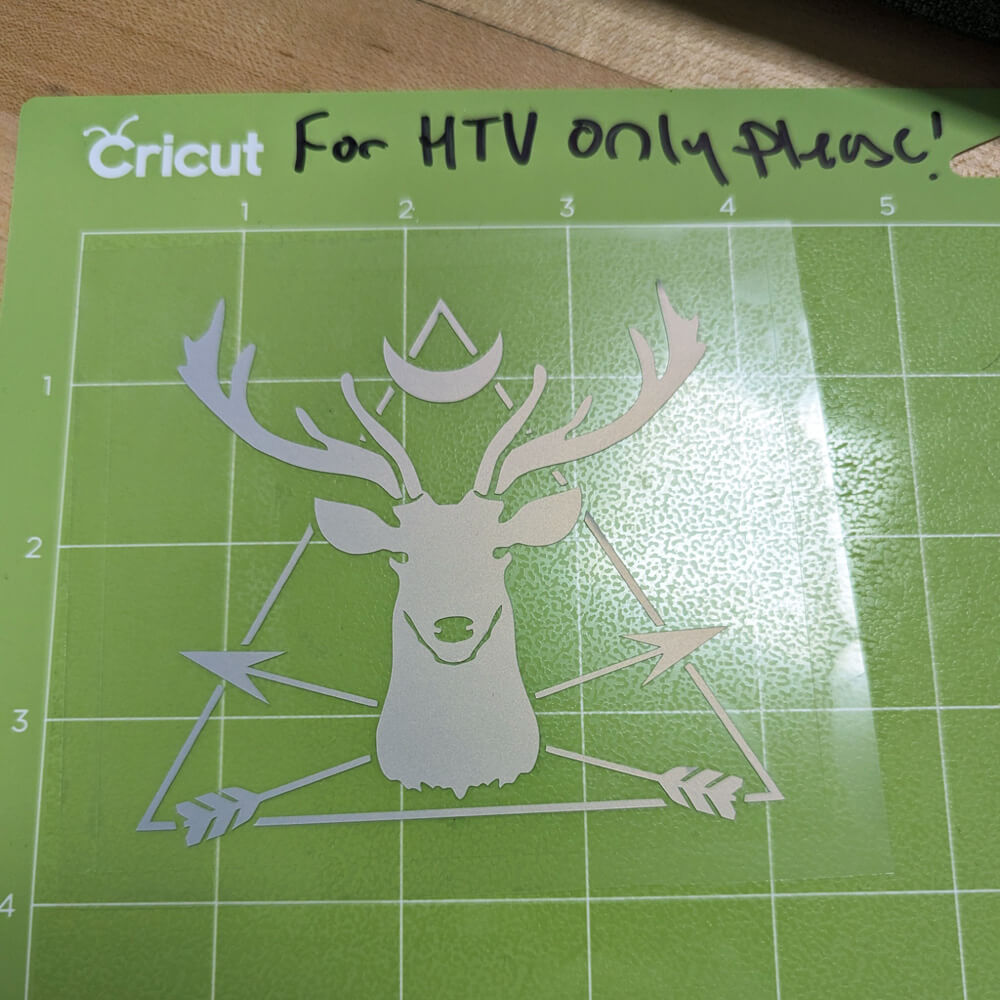
I cut off the excess from the roll into a 4″ x 4″ square and put it back on the mat to help me keep it flat while weeding.
Once ready, place the design onto your item of choice, when satisfied, give it a little press, as it sticks to the material.
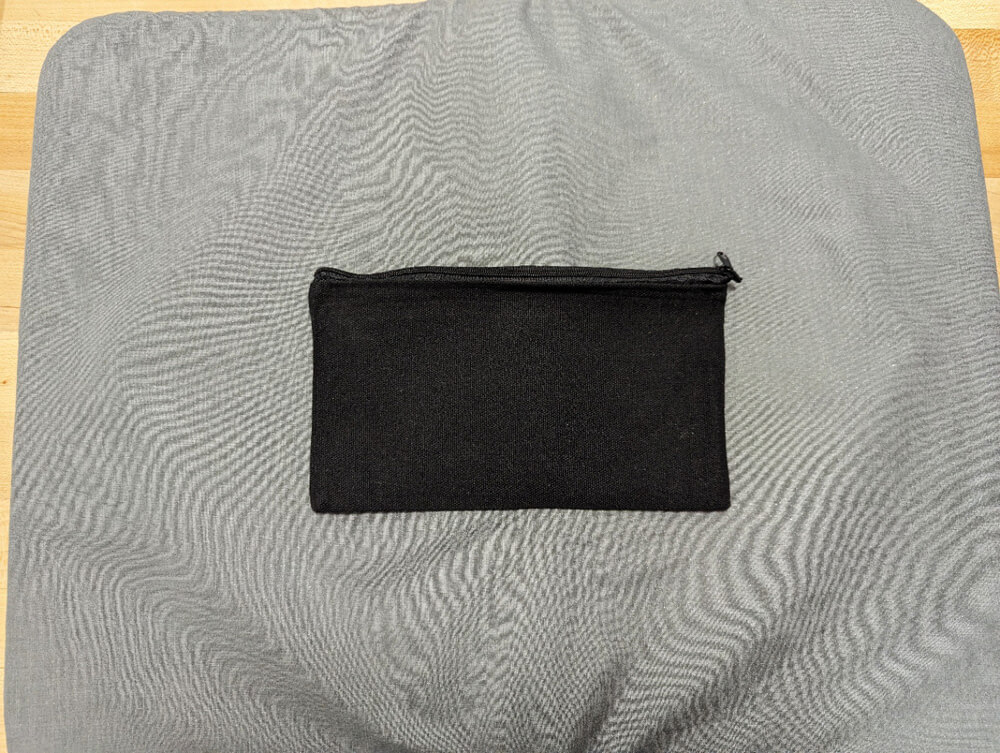
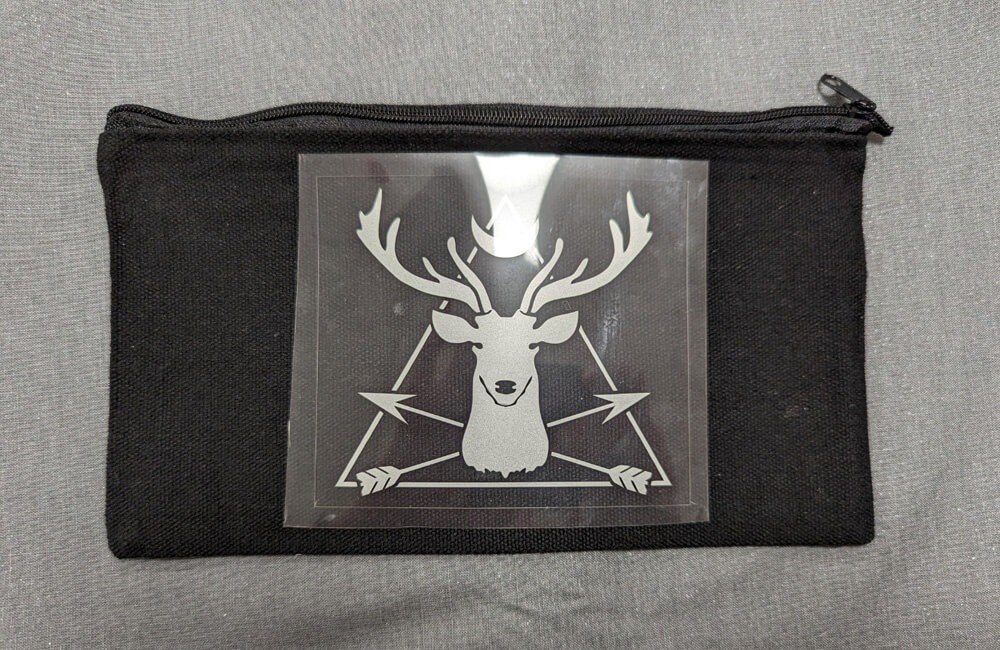
Using the Cricut Heat Guide find your model. In the Makerspace, the model we have is the Cricut Easy Press. Next, choose materials. In this case it’s the Everyday Iron-On, and then whatever you’re applying it to. (Double check!)
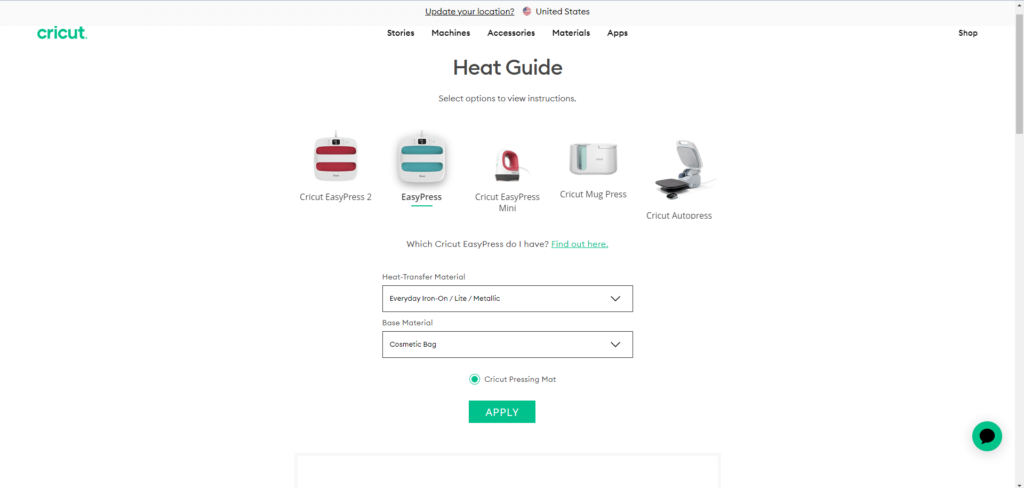
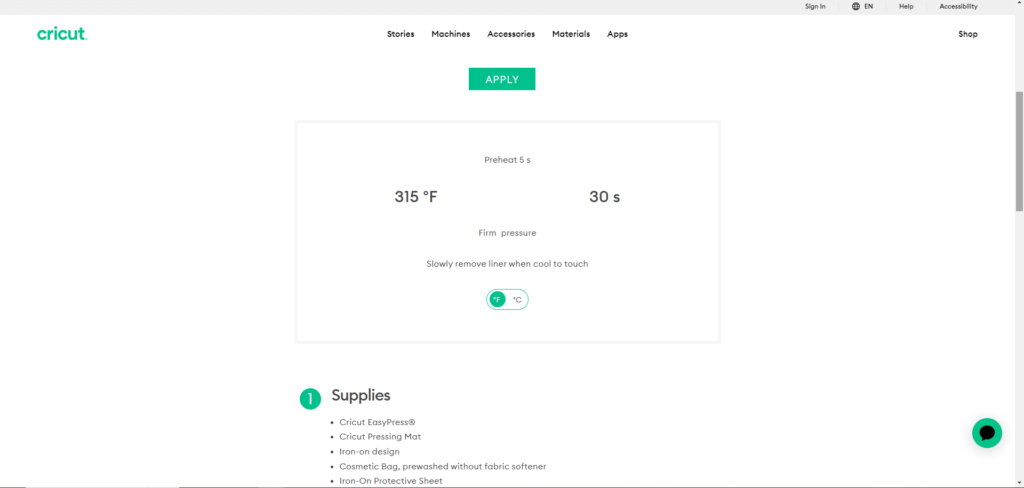
Once you have your settings, plug in and turn on the heat press and set the settings recommended. That would be heat temperature and time.
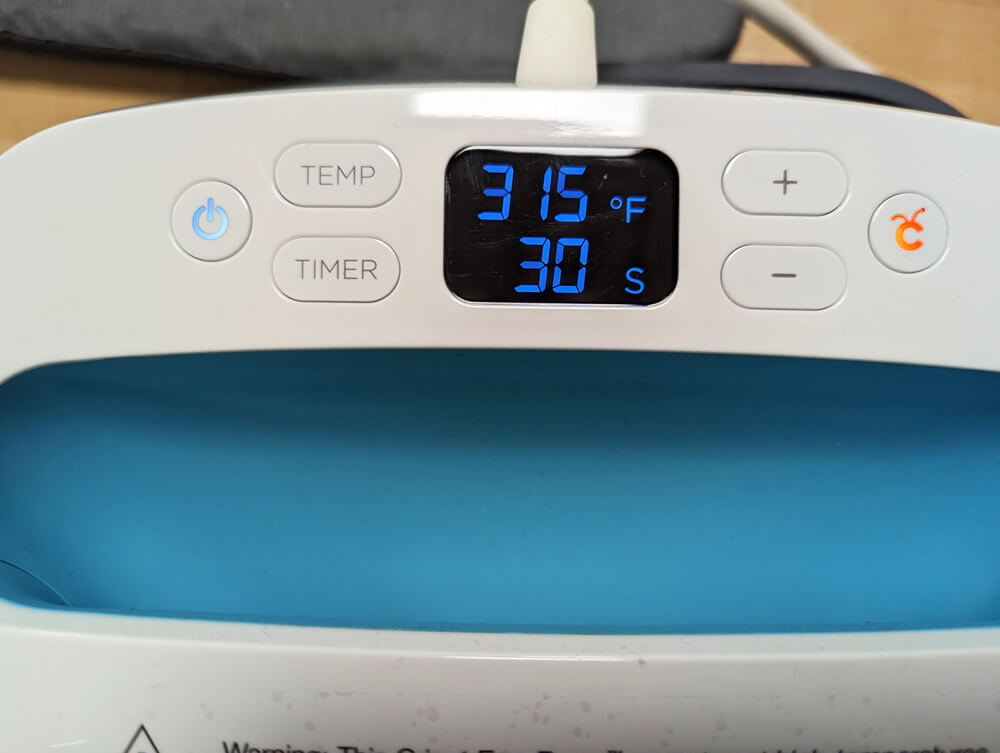
Wait until it’s properly heated. It will beep to inform you it’s ready.
Apply the press and press the Cricut button. The timer will count down and beep when it’s time. If you see parts have not adhered, try again.
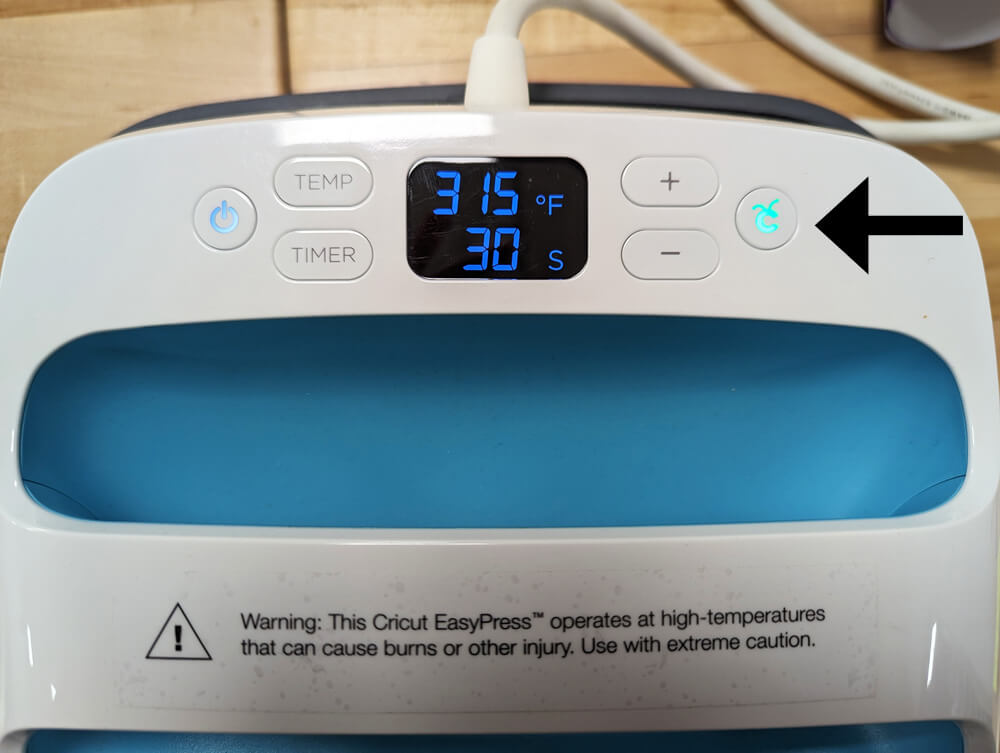
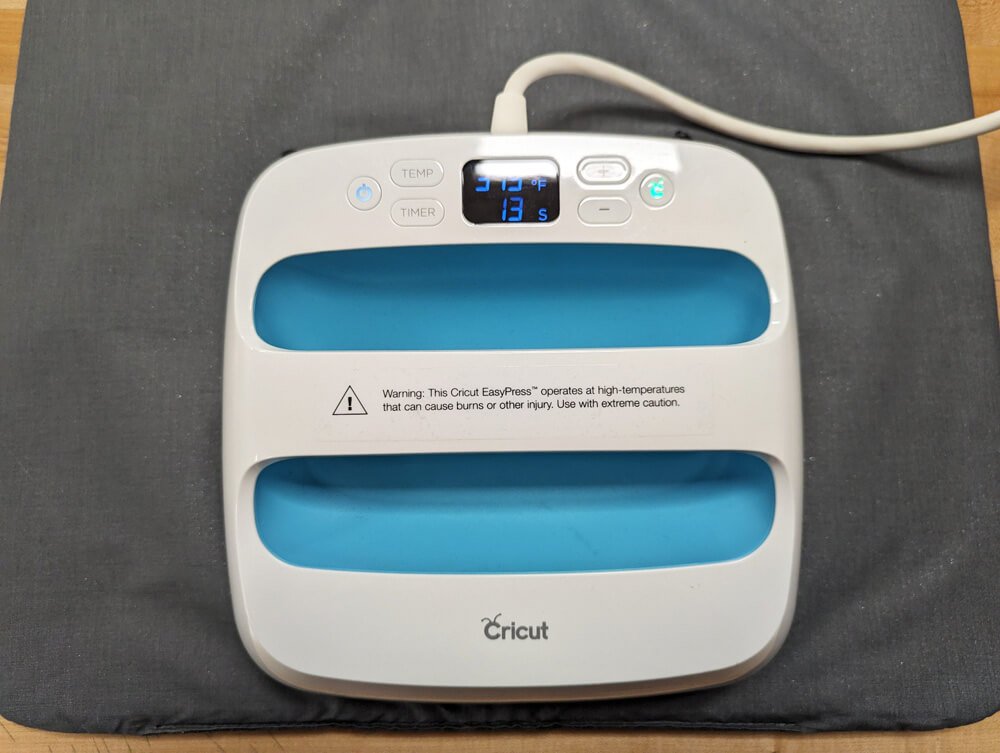
Wait a few minutes for the clear plastic to cool enough to handle, then gently remove the clear plastic.
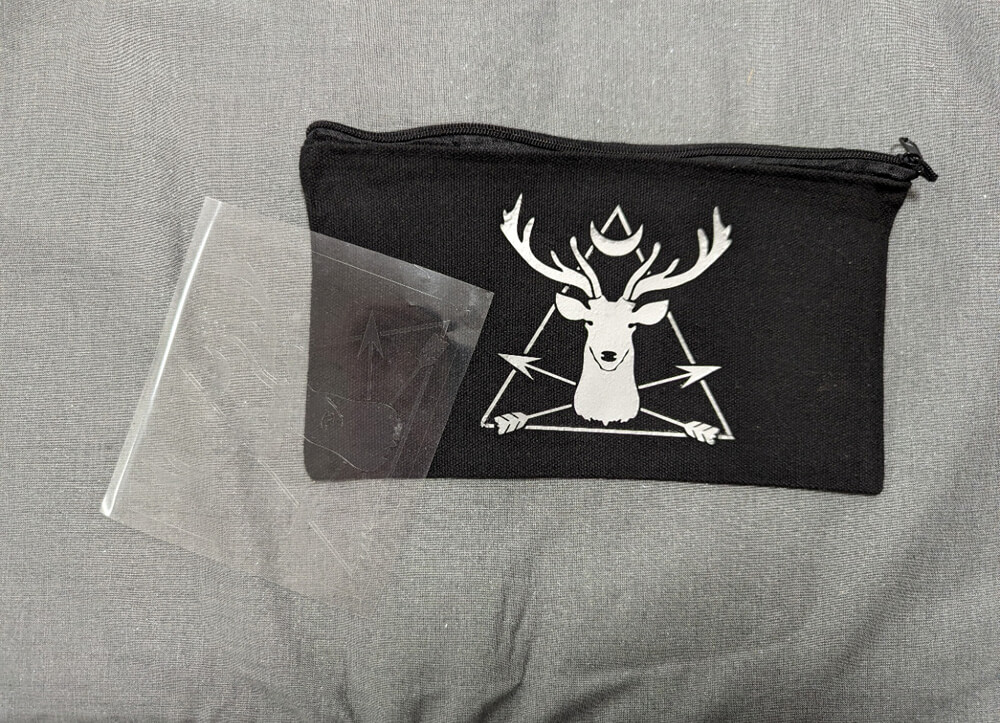
It is recommended to either hand wash the item or wash it with the shirt flipped to protect the decal. The design may fade/or wear out faster if worn and washed frequently.
For Further Exploration:
- About the Vinyl Cutter & Output Guides
- Keychain Workshop*
- Stamp Workshop
- Stencil Workshop*
- Monogram Logo Workshop*
- Illustrator Beginner Workshop*
*-Illustrator guides that you can try to follow along!
