
Accordion Books, one could argue, is the earliest form of bookbinding. In ancient Egypt, papyri were often folded in a zig-zag fashion as well as rolled– particularly in their funerary texts. (If you’re ever at the Brooklyn Museum, they have the Papyrus of Sobekmose on display; it’s very well intact and you can see where it had been folded!)

By the time of the 700s CE, what we know as “bookbinding” started to develop in monasteries in Europe with the development of illuminated texts. Meanwhile around the same time China and Japan still are using accordion binding. The Japanese call this Orihon.
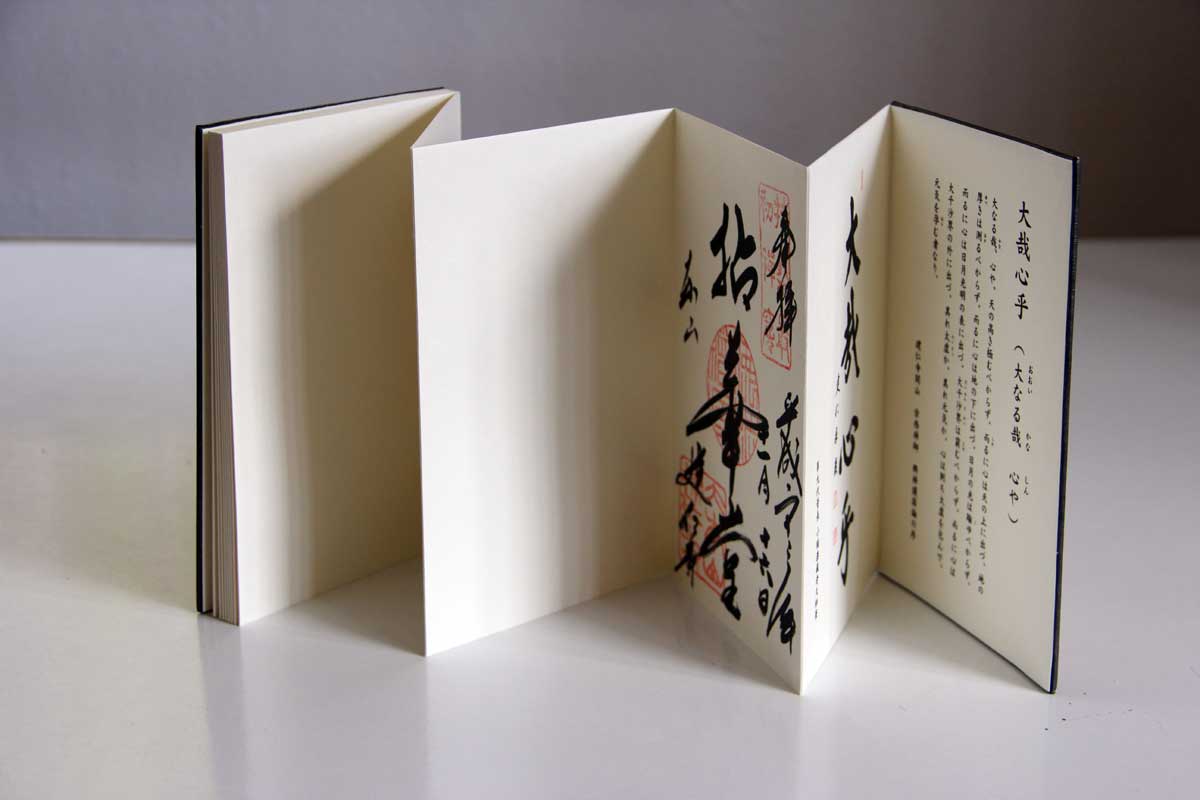
Accordion books are a fun/unique way to display your work, and very simple to do. You can even do them in other mediums like linen and other fabric! Due to to the ease of production and appearance, accordion books are still a very popular means of of bookmaking, particularly among artists. Following the instructions below, you too will learn how to make one!
Please note this is only one way of producing an accordion book. At the bottom of this page there are videos and links to other tutorials that show other methods of creating accordion books to use as reference.
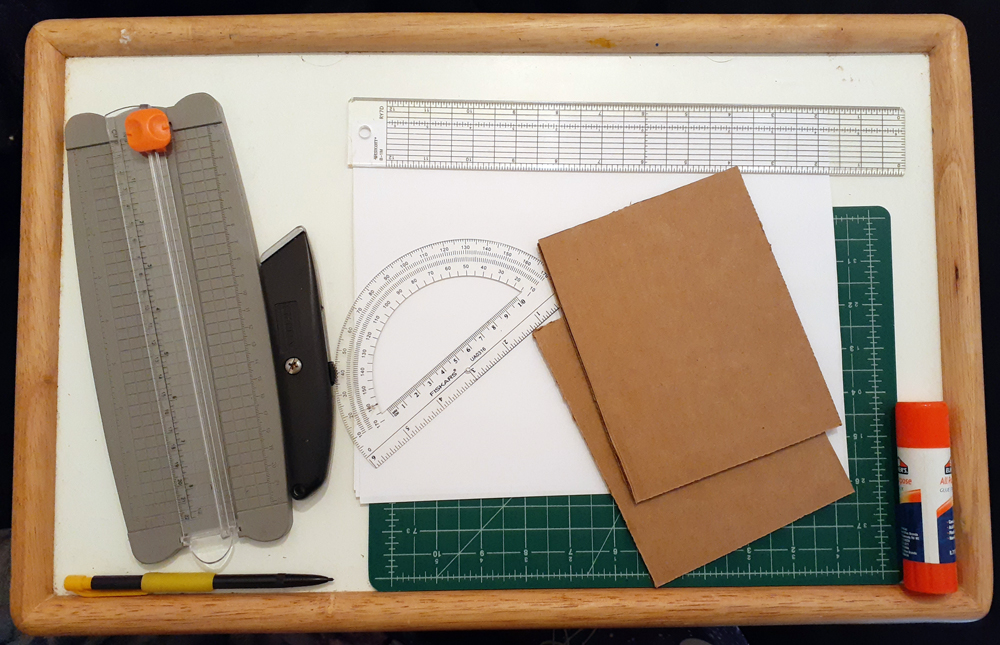
What You Will Need:
We have made a list of things that can be easily purchased physically or online, If you’re not sure where to purchase things, you can visit our Materials page, or contact us! Our info is in the Staff page.
- 2 Sturdy, thick boards (cardboard, chipboard, binderboard)
- Paper, fabric, or cardstock (for inside inserts)
- Glue
- Pencil
- Ruler
- Bone Fold
- Cutting tool (scissors, x-acto, box cutter, paper trimmer)
- OPTIONAL: Fabric/leather/decorative paper (For decorating your covers)
Files for Laser Cutter:
Feel free to edit the template to suit your cover and page size.
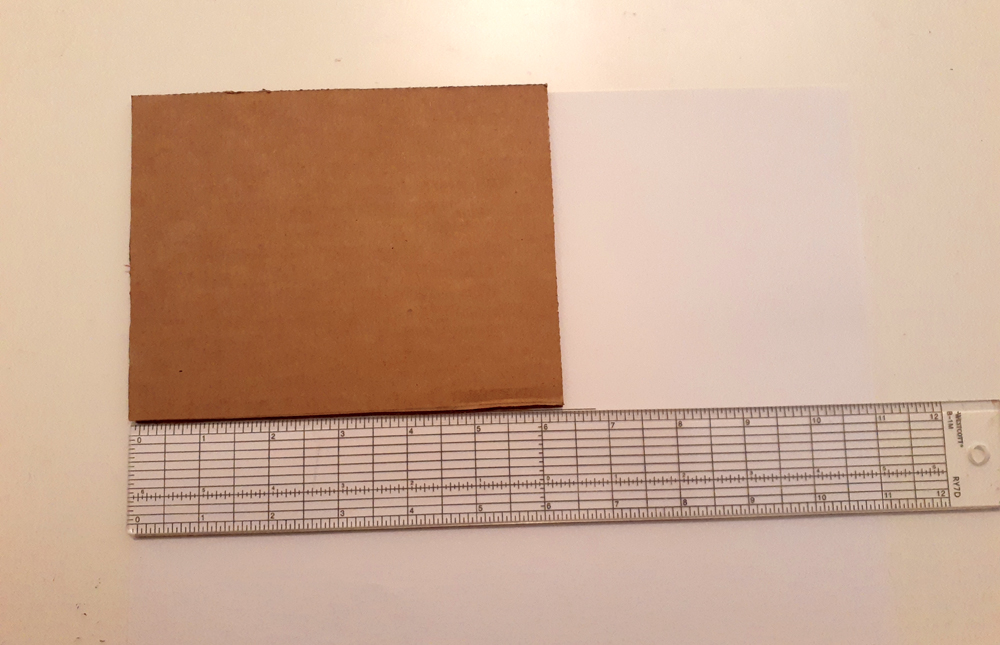
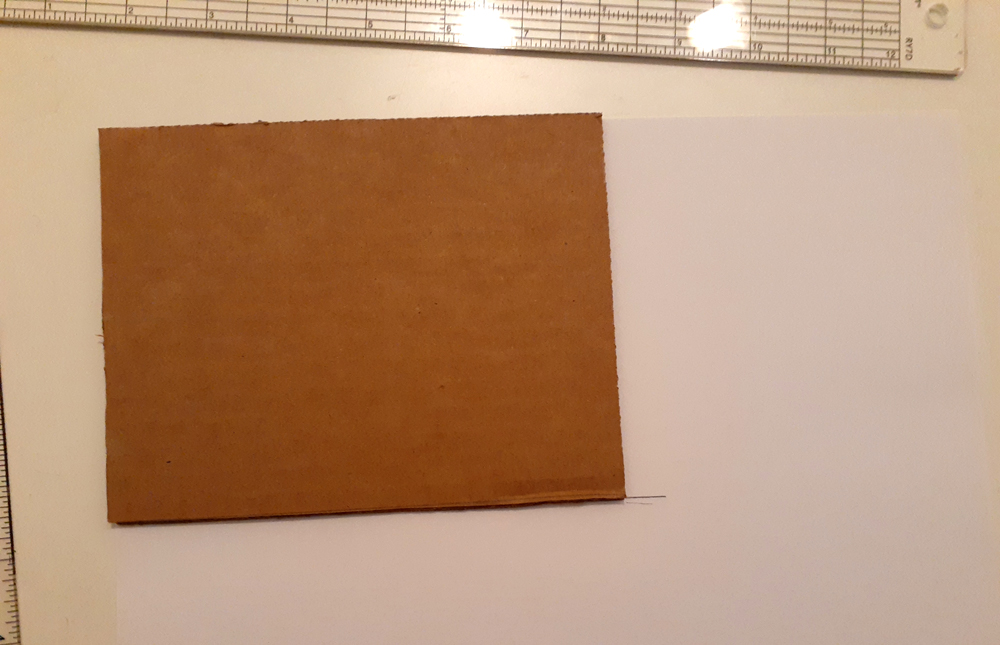
First, make your covers. If they aren’t ready to size, cut down to fit your desired dimensions. Next, make sure your paper will fit your covers. Using a ruler, measure out your cover, and add an extra 1/4 inch to the longest edge. This will be the tab you will glue to the other sheets later. Repeat as many times as needed. I did 8 sheets.
Cut your sheets out however you wish. You might want to do all at one using a box cutter, or paper trimmer, or with a scissor. I used my small paper trimmer (the large grey object in the first image), and recommend it as must-have for DIY.


Next we will fold that extra 1/4 inch tab we made earlier. If it’s small enough your fingers will work, but a bone fold our ruler works just as well. Do this for all of your pages.

Once you’ve folded your pages, add a little glue to the unfolded edge. Line it up against the crease of folded edge of the second sheet. Gently rub down the folded tab. Repeat until all sheets are done.

“Inside”. You can see the folded tab faintly below. 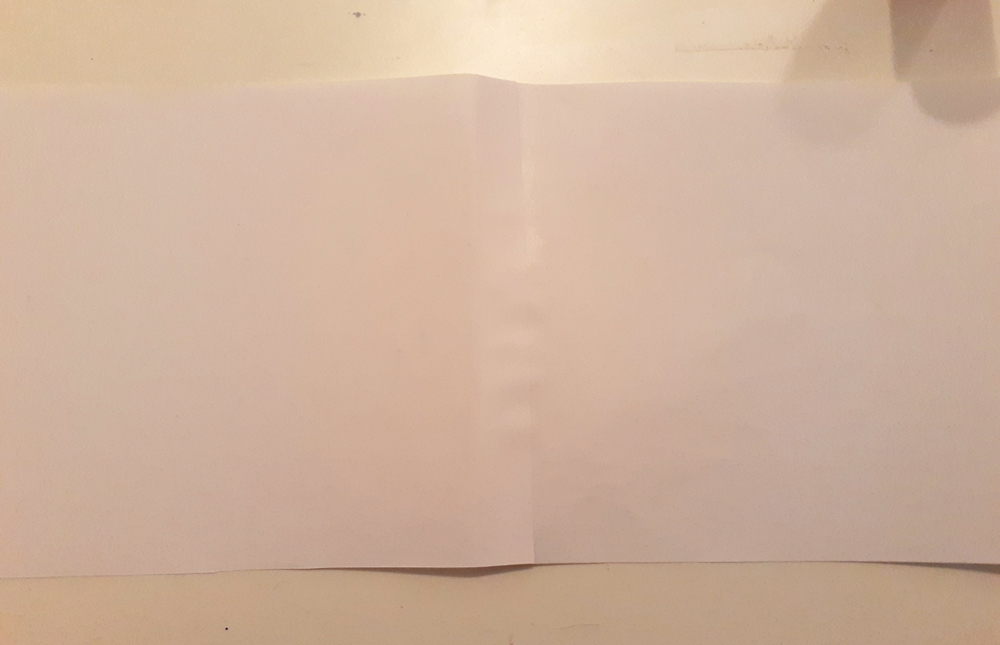
“Outside”. Note the slight bend of the tab.
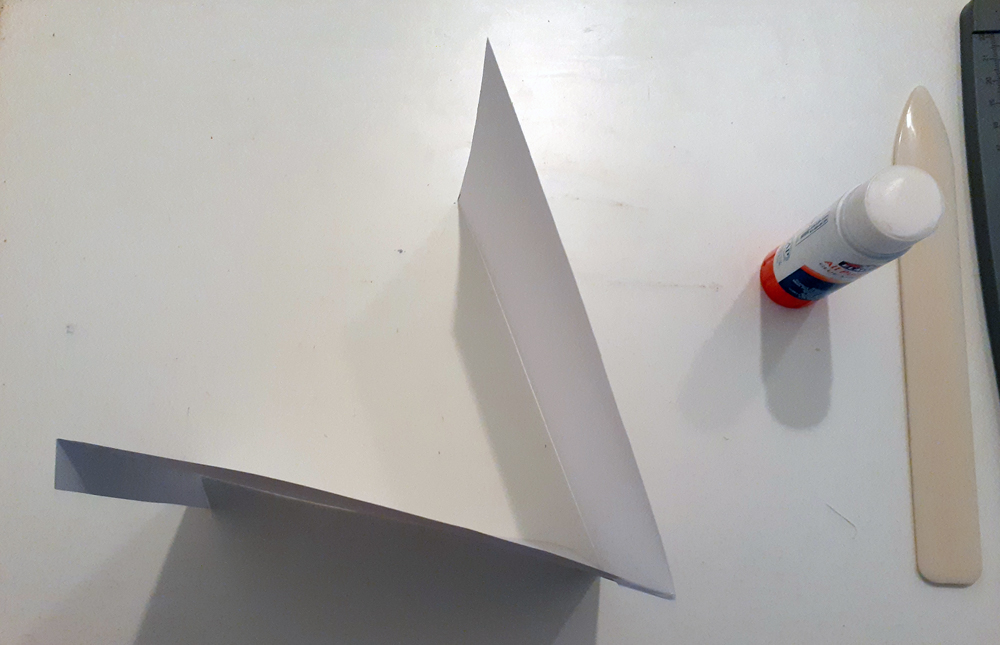
Fold seen from above 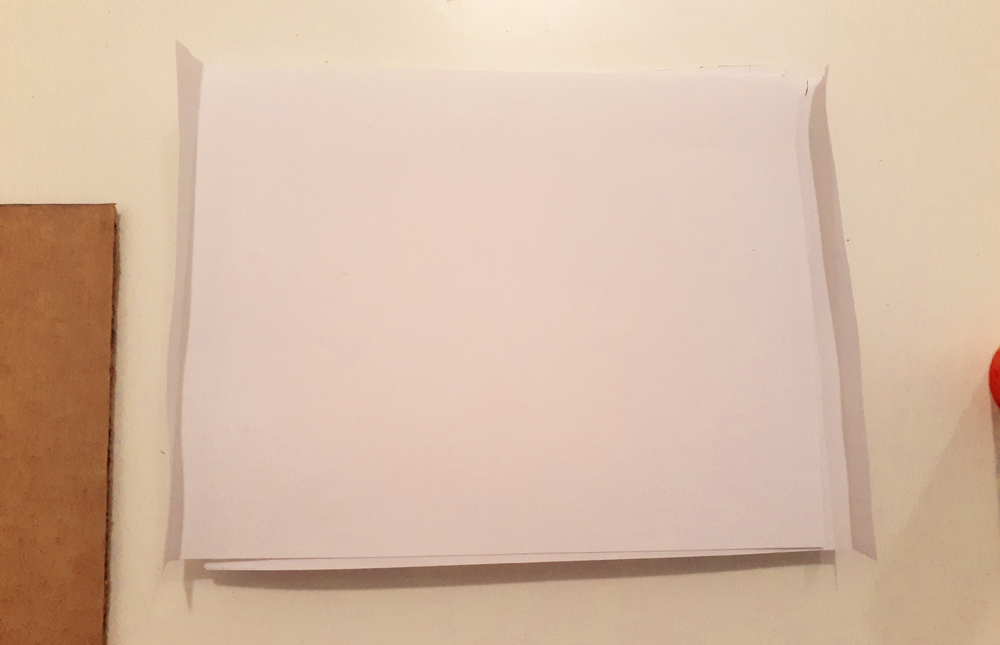
The “stack” laid flat
Once you have finished gluing your pages and have let them dry, apply glue to your covers and attach. Note: If you have planned to decorate your covers, be sure to do so before this part!

Wait for it to dry, and you now have an accordion book!

Show us what you made! Send it to bmcc.makerspace@gmail.com or reach us at bmcc.makerspace on Instagram (or use the the #bmccmakerspace tag) to be highlighted on our page!
Other Links:
- Design Sponge: Bookbinding 101: How to Make an Accordion Book
- Brightly: How to Make an Accordion Book (I’m sharing this because they use a method where it’s 1 strip folded– and I thought that was neat.)
- Sea Lemon on YouTube: How to Make a Mini Accordion Book
- Karen Kavett on YouTube: How to Make an Accordion Book
- Making Books: Free Bookmaking Projects
- Philobiblion: Bookmaking Resources