To begin: first you have to design something in a vector based program. While SVGs do work for etching, you will need vector shapes in order to cut. So in the end, it’s good practice to get yourself acquainted with a vector editing program. As stated in the title, we recommend Inkscape, as it is free and Open Source.
(If you’re looking for the Adobe Illustrator Version, go HERE.)
If you want to just download our template and start off that, you can download them here: Laser Cutter Template (SVG)
This is what the template should look like opened:
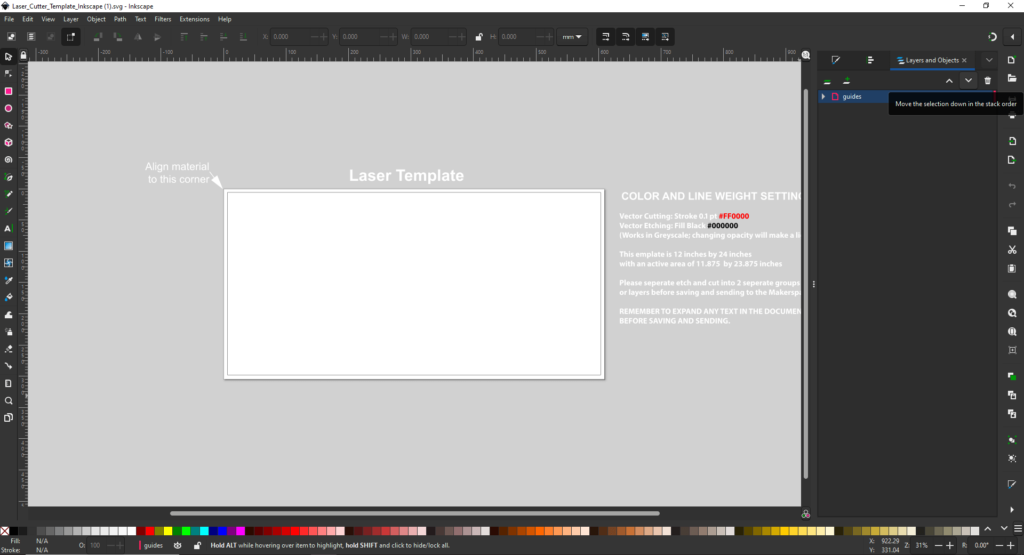
Now assuming you’ve used the template and added your images: congratulations, you now have a vector image to laser cut and/or etch. Hooray! Now we need to make sure the file is prepped and ready to go for the lab manager. Skip to the Prepping Your File section.
Setup Inkscape
If this is your first time using Inkscape there’s some things to set up to make things a little easier, or rather, as similar to Adobe Illustrator as possible. Head over to Quick Setup.
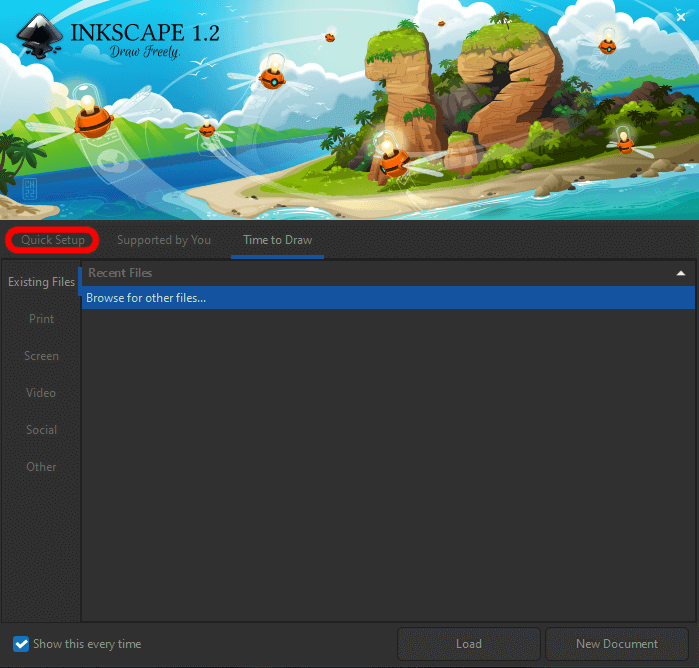
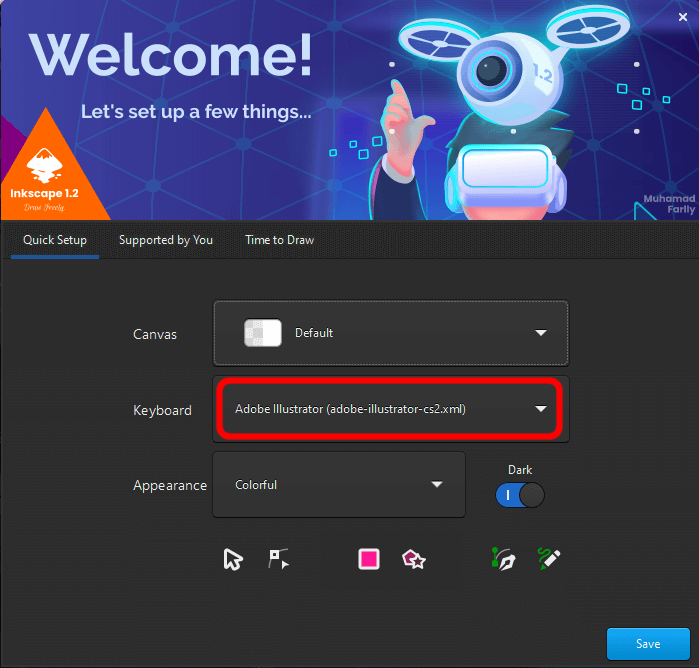
Next you’ll see a dropdown menu, select Adobe Illustrator.
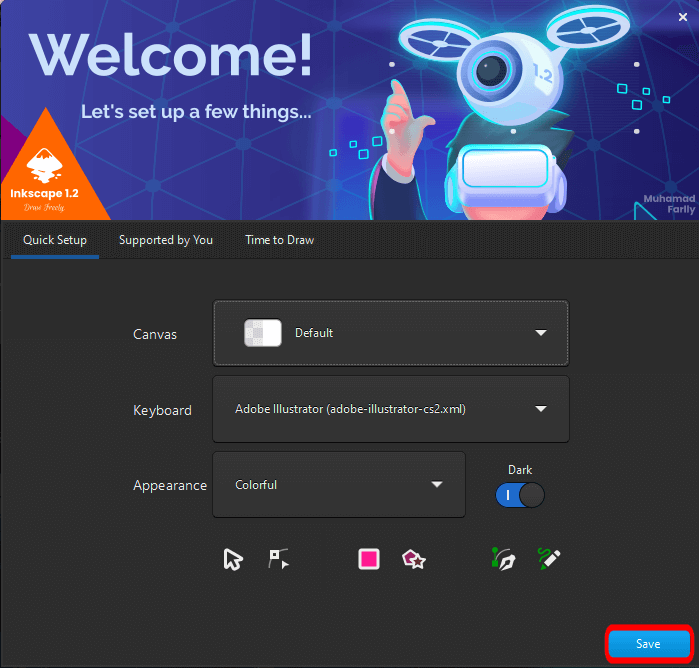
Next, hit Save.
Creating Your Own Template:
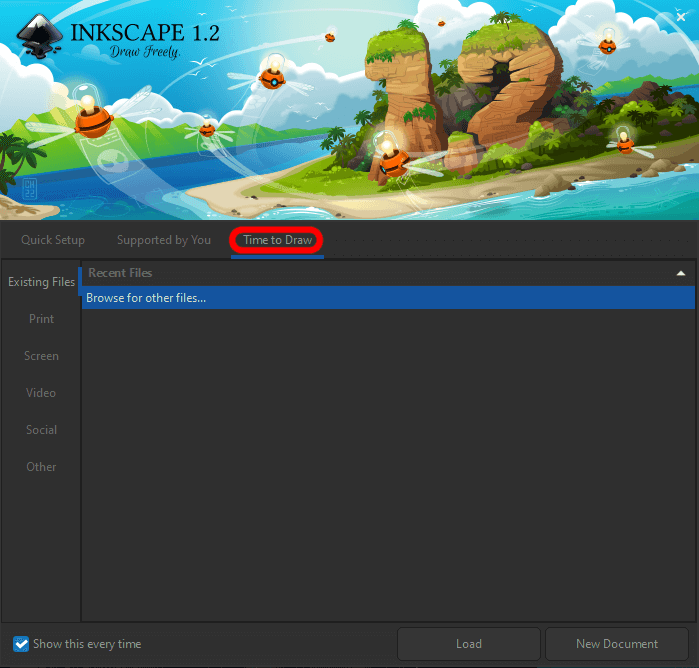
Select Time to Draw on the splash screen.
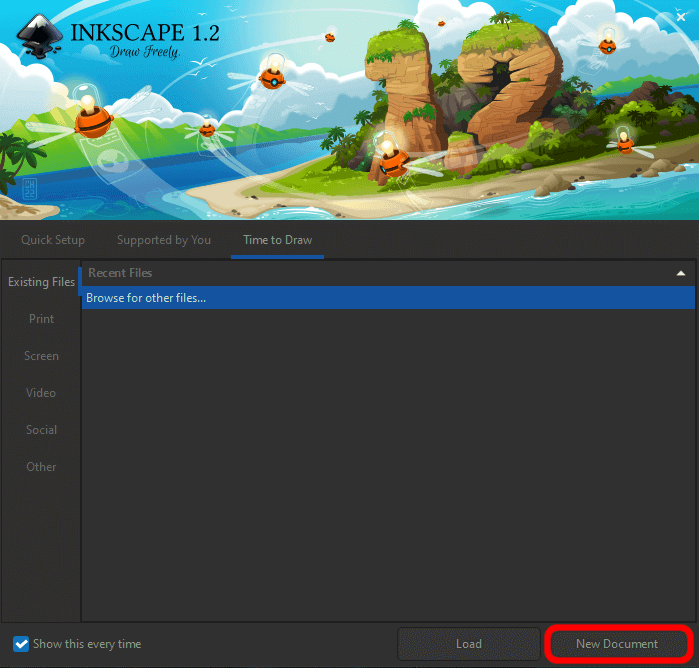
Select New Document.
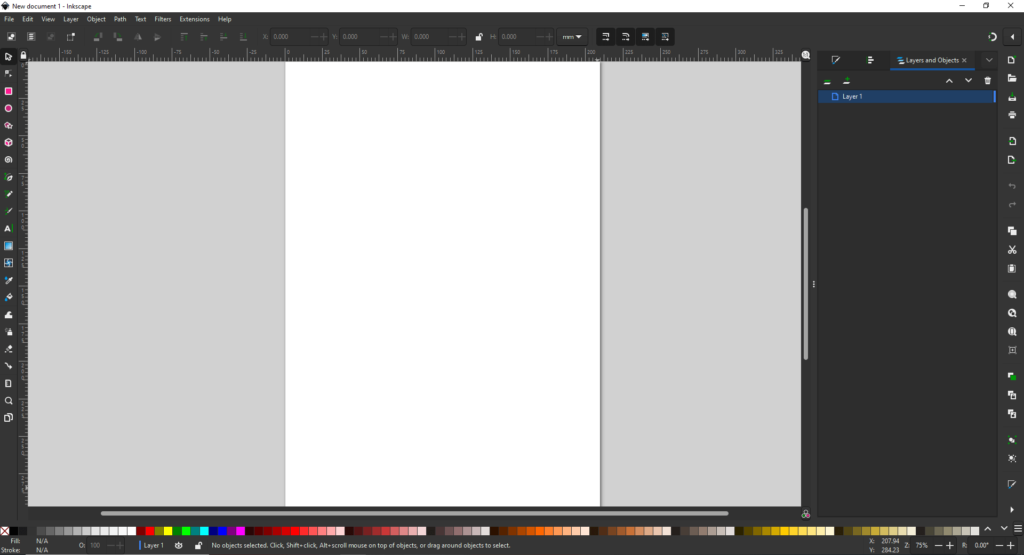
This should be how the screen looks when you open it:
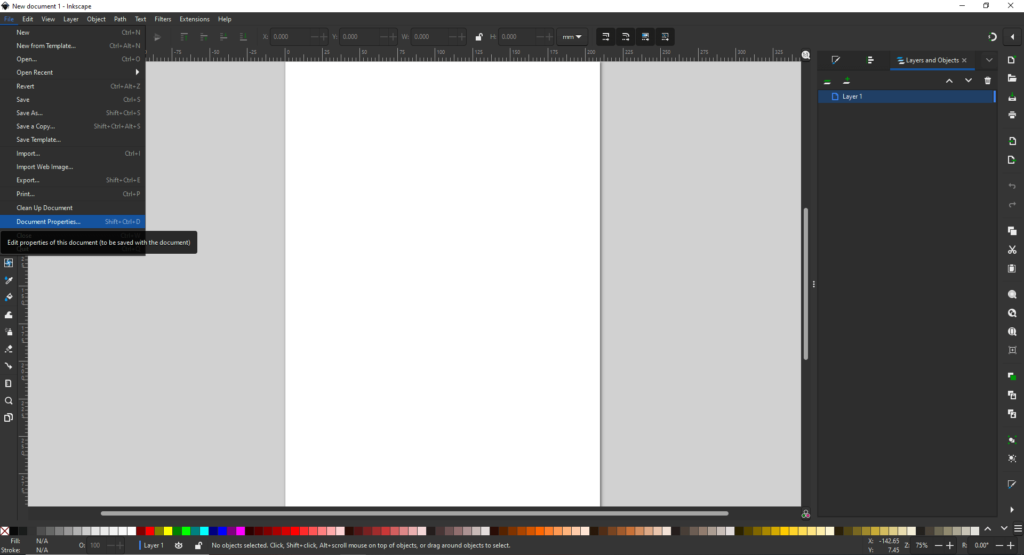
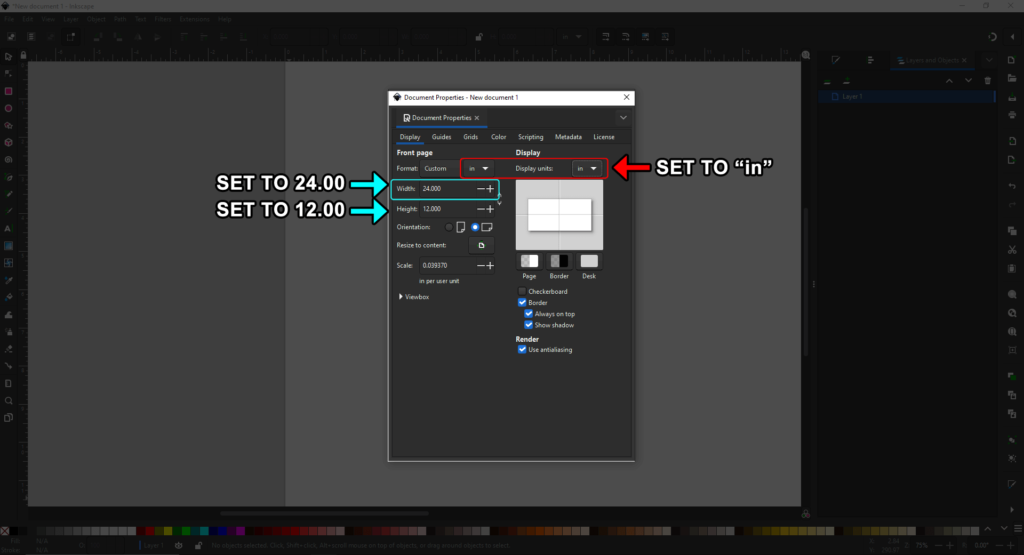
Next we want to make the artboard and measurements how we want. Go to File > Document Properties to access the menu we need.
Inkscape defaults to metric, so everything is current set at millimeters. Set your Format and Display Units to inches. Set your artboard width to 24 inches and your artboard height to 12 inches.
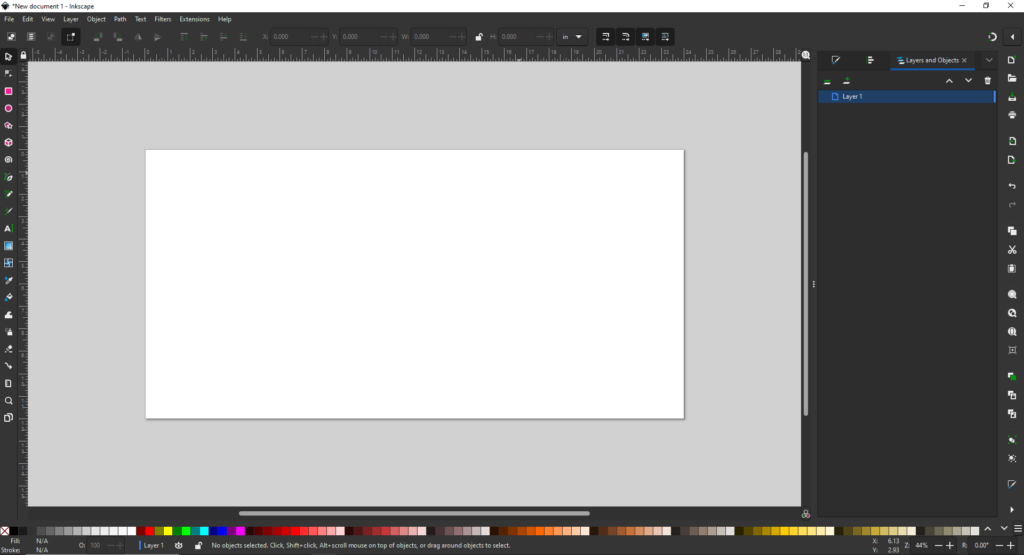
Your Artboard should now look like this:
Next we’re establishing a safety zone. Our bleed thankfully can stay small at about 0.125 inches, so we will need to subtract 0.25 inches from the artboard’s height and width making an 23.75 by 11.75 inch rectangle to fit our designs in. To do that, simply drag from the ruler to pull out a guide.
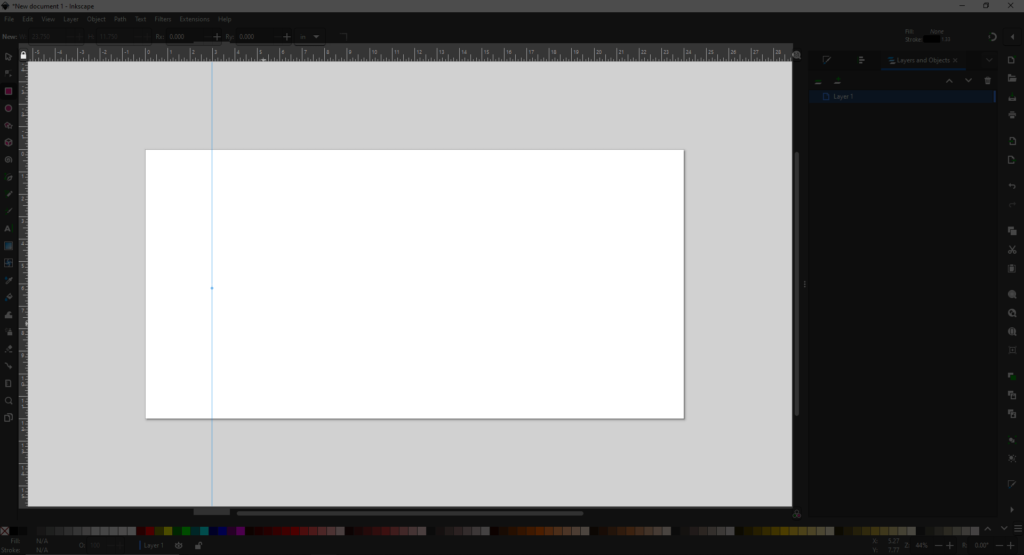
Double click on the little dot to adjust its location.
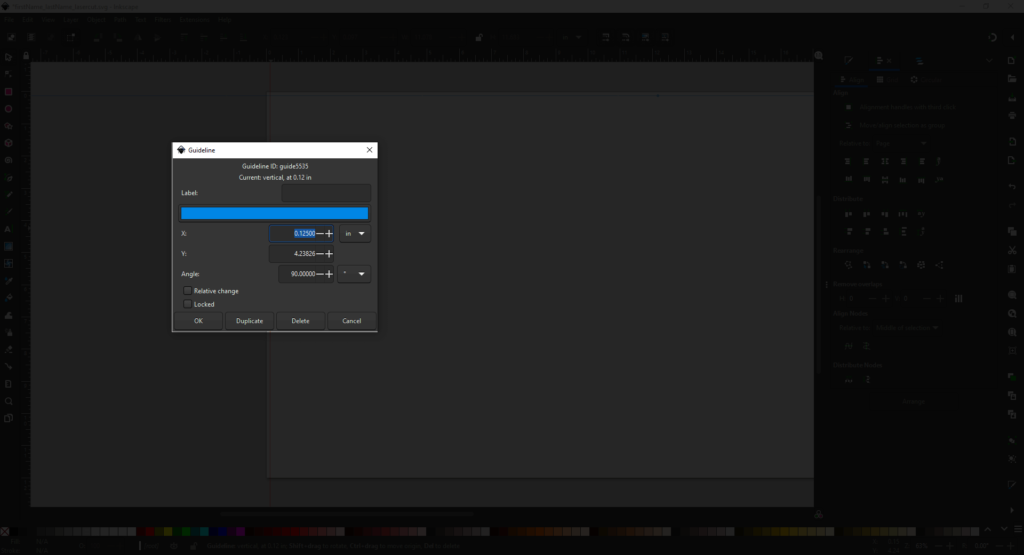
On the X Axis you want one at 0.125 inches and 23.875 inches. On the Y Axis you want one at 0.125 inches and 11.875 inches.
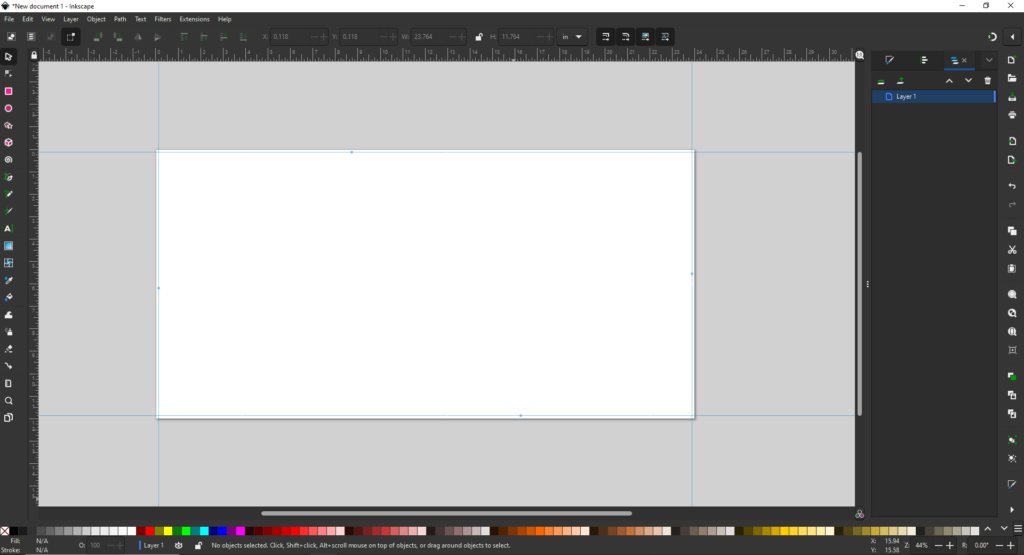
You may want to add additional guides for say, your material size. For example, if your material is 12 by 12 inches, you make two more guides on the X Axis at 12 inches and 11.875 inches to give you the proper safety area. If it’s 4 by 6 inches, add two more on the X Axis at 6 inches and 5.875 inches, and add two at 4 inches and 3.875 inches on the Y Axis and so forth.
Prepping Your File:
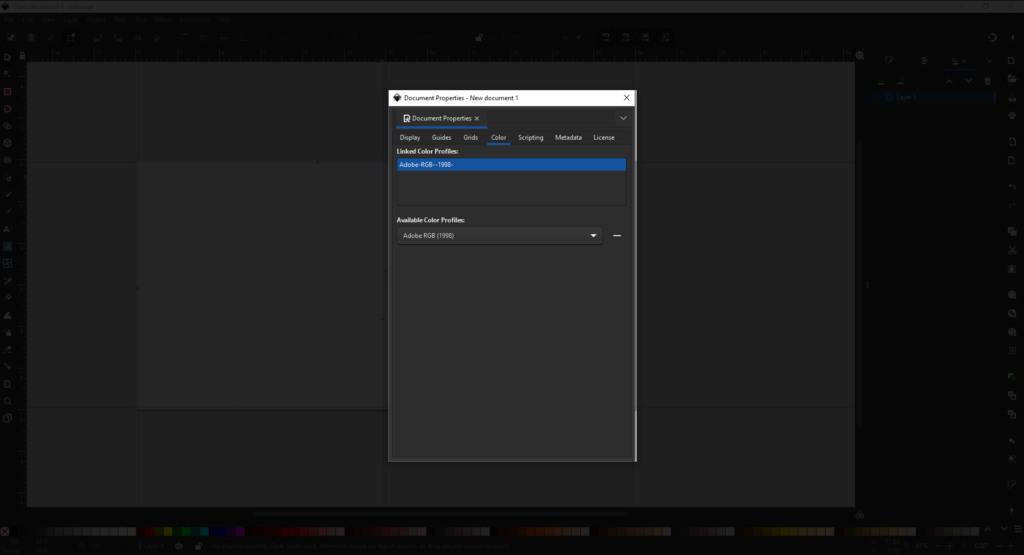
Make sure your Color Mode is RGB. You can check that by going to File > Document Properties and going to the Color tab. Because it is a digital print and not ink-based print, it does not need to rely on CMYK! Adobe RGB is just fine.

Etching Settings: Vector MUST be in greyscale. If only doing one solid color, Black (#000000) etches the deepest. The closer to white (#FFFFFF), the shallower the etch.
Cutting Settings: MUST be a red (#FF0000) stroke set at 0.1 points. Anything else and print will not run. Sometimes a black (#000000) stroke works as well, but not always. (Inkscape for some reason will not make the stroke visible at 0.01 pts– the correct size but I can fix that before I run it.)
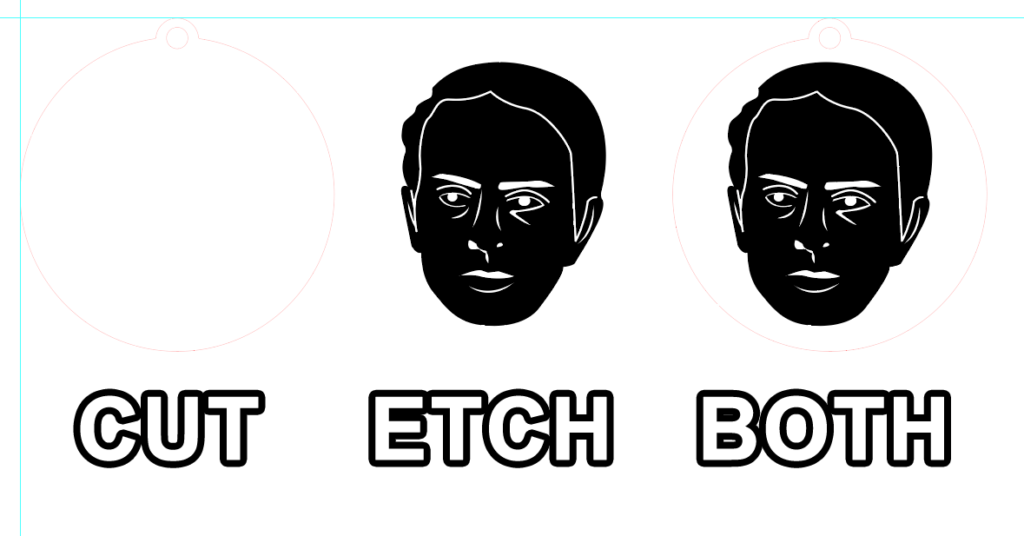
If you are doing both etching and cutting, separate you etch and cuts into separate groups or layers– whatever your preference is. This helps the Lab Manager run jobs more quickly. (Especially when it’s something like keychains.)
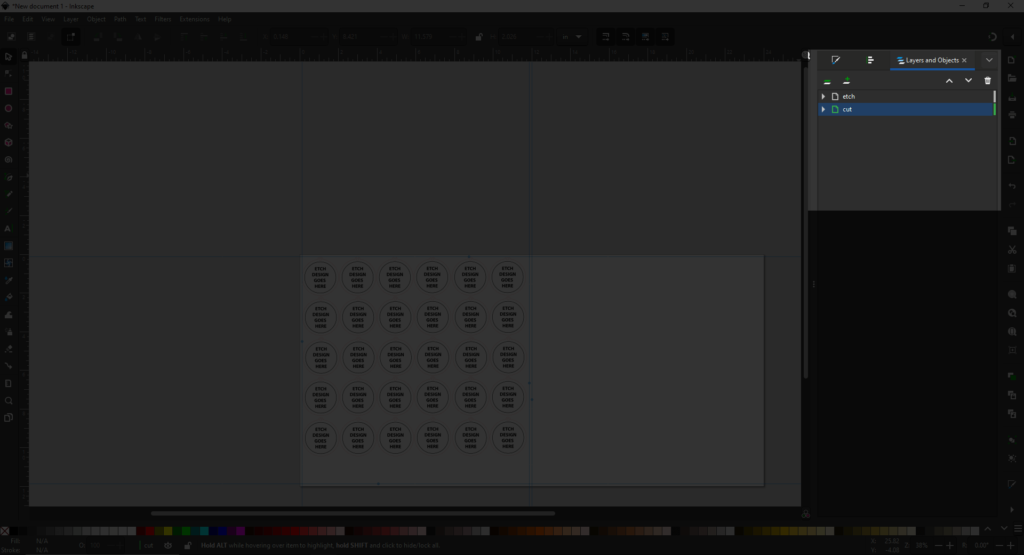
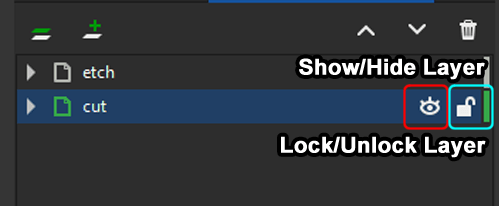
If you’d like, remove all your extraneous parts/sketches you traced on, etc and put them in a new layer and hide & lock them. Those are the little eye and padlock icons in the Layers panel.
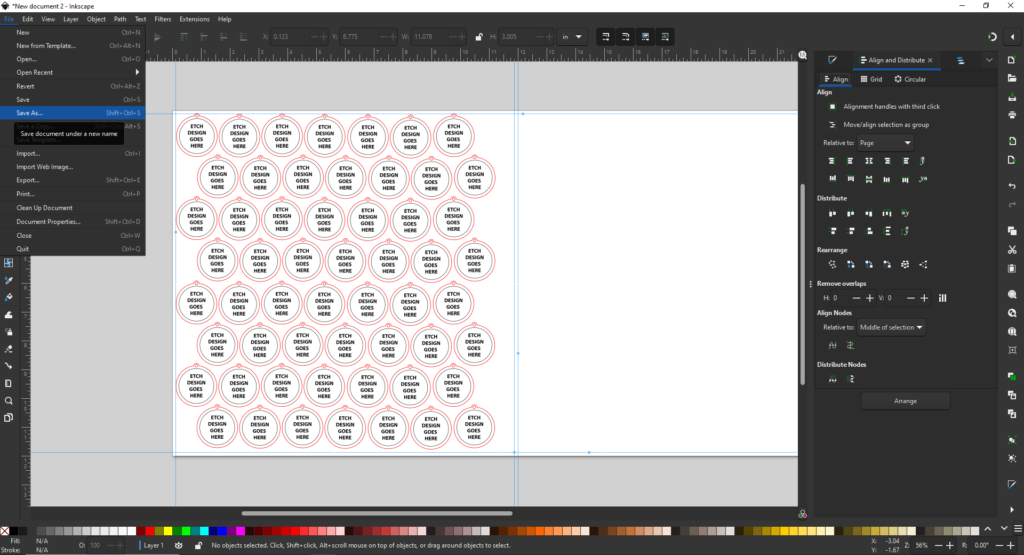
Next, go to File > Save As and name your file. Save it as an AI file. (If you’re not using Illustrator then please save it as an EPS file.)
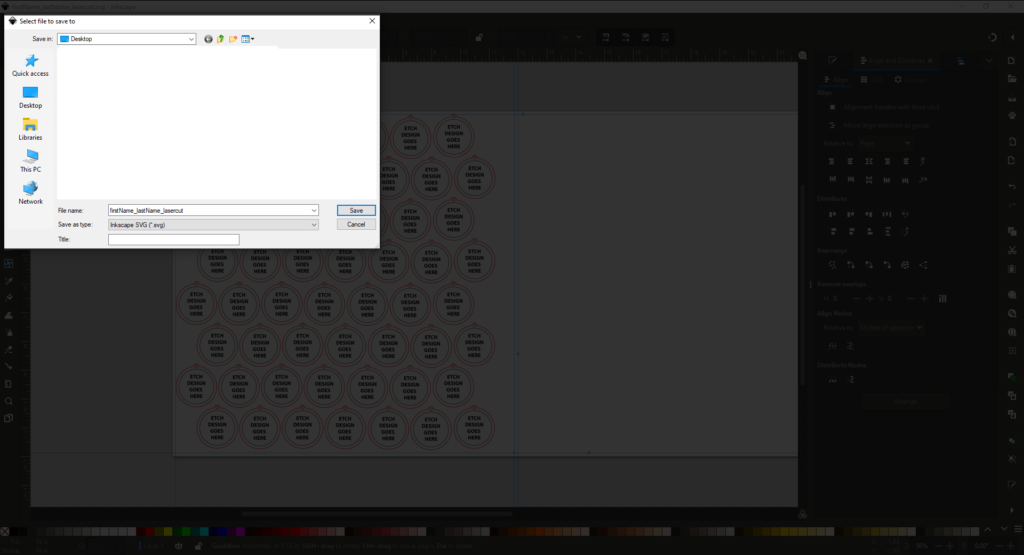
Then move the file to a flash drive (to bring in physically) AND email it to the Makerspace Manager when you contact them to make your laser cutting appointment. That way should for some reason the file have any issues on arrival via email, you have a copy they can use.
For Further Exploration:
- Inkscape.org: Inkscape Tutorials
- Logos By Nick: All 21 Inkscape Tools Explained
- Skills Factory: Inkscape Tutorial For Beginners
- Sweater Cat Designs: Inkscape 1.2 Quickstart Guide
- TJ Free: Inkscape Tutorial Playlist
