
This works best if you had already done the first workshop going over the p5.js editor in order to make yourself familiar with the interface.
You will also need the p5.js editor. It is browser-based, so there’s no need to install anything. You don’t necessarily need to make an account, but if you want to save your project, it’s advised that you do.
In this guide we’re going to be exploring some more intricate parts of p5.js and create a sunny beachscape using the ellipse(), but we’re also going to explore the arc() shape, as well as the vertex(), bezierVertex(), and bezier() methods, as well as the constant integers PI, HALF_PI, PIE, and CHORD. More on those as we go on!
I will also be linking the finished code of the scene I make at the end of the guide for reference and experimentation. I do, however, highly encourage you to start from scratch and follow this guide to create your own scene!

Without further ado, let’s get started!
Making Our Beach Scene:
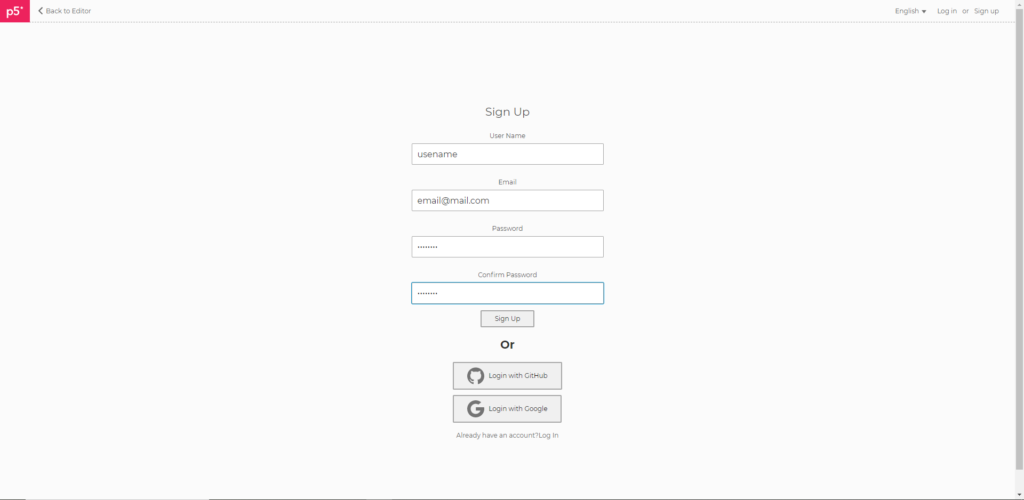
If you wish to save your work, please make an account. Go to the editor linked above. On the far right, you will see Log In or Sign Up. Select Sign Up.

You’ll be taken to the sign up page. Make a username, put in your email, and make a password. Once you confirm your email, you’re all set.
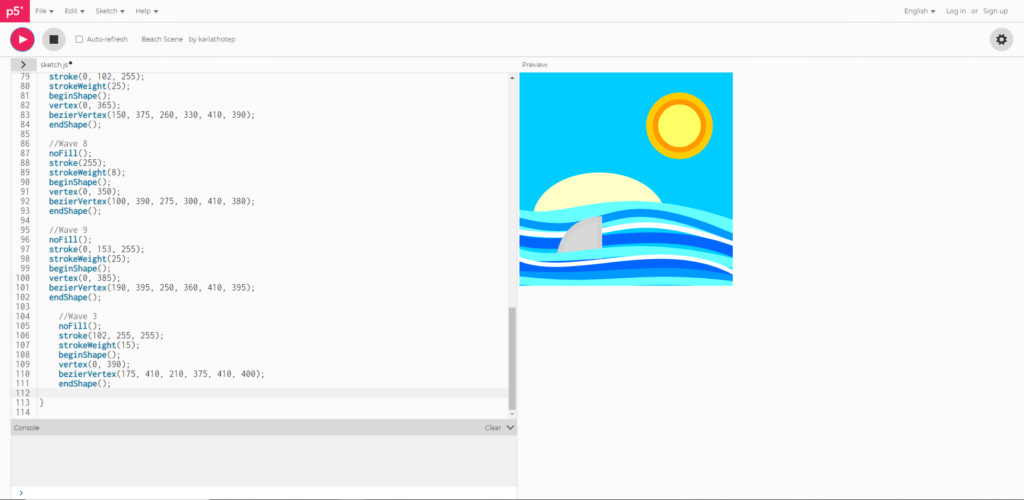
Once you’ve signed in, or just opened the editor there you will see the editor like this:
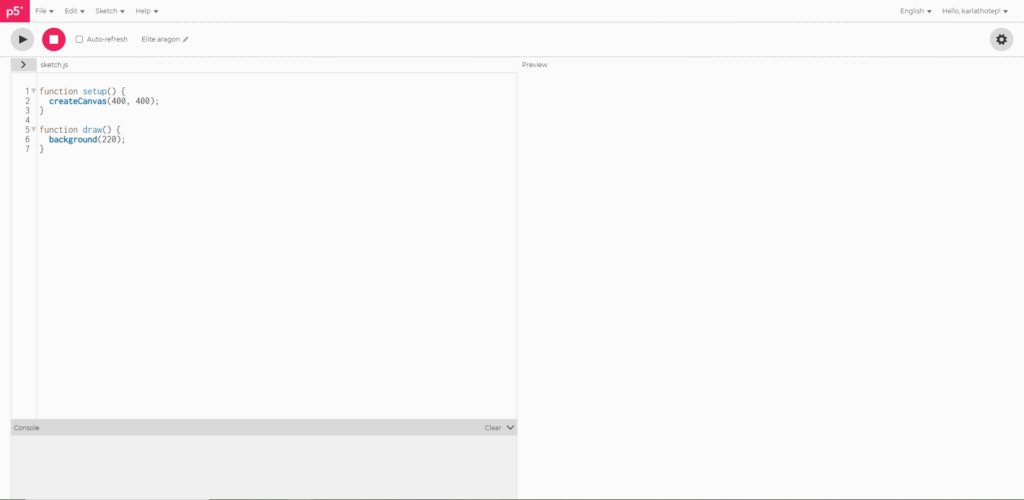
Best practice is to change the name.

As you can see, there’s some code already generated. These were explained in the previous guide (linked above), but we’ll give a quick summary:
- setup() is the function called when the program starts. If you know Arduino code this is like the void setup() function.
- draw() is where you put the code that constantly executes on repeat. This is like void loop() in Arduino code.
- createCanvas() generates your artboard size. It defaults to 400×400 Pixels. You can make it smaller or bigger– but we’ll be keeping the default.
- background() is your background color. You can change it in many different ways, using hexcode, RGB, HSB, and more!
For this, we’re using RGB. Change the values in the parentheses so it becomes background(0, 204, 255); So this means our red value is 0, our green value is 204, and our blue value is 255. If you hit the play button on top, you will see it has generated a sky blue square. That will be our sky and base for our image.
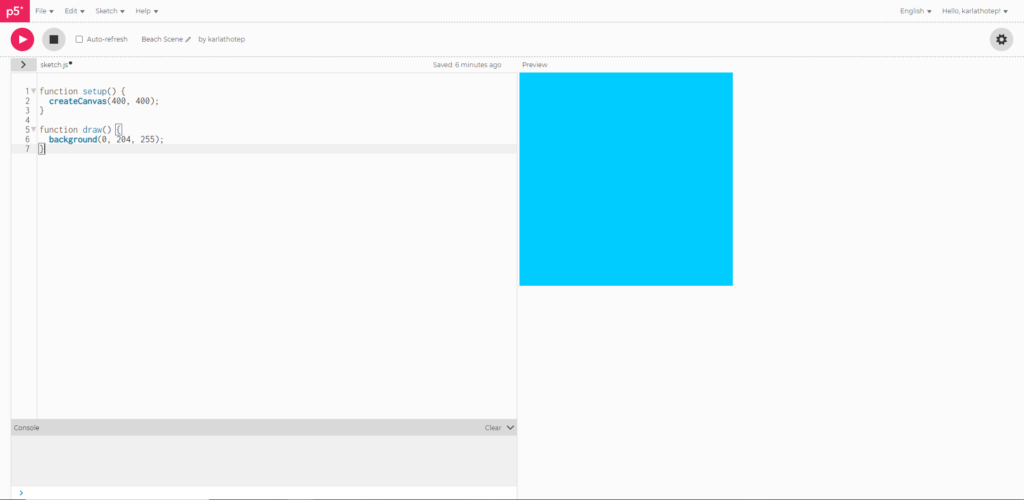
Don’t be afraid to do your own colors– you can make a night scene or an alien world if you’d like! Any number between 0 and 255 will work! For my night example I used background(10, 10, 100);
A quick thing to note as we go on, the p5.js editor layers top to bottom, meaning your bottom most layer is the line of code on top, while your topmost layer’s code will be on the bottom. Keep that in mind when you’re layering.
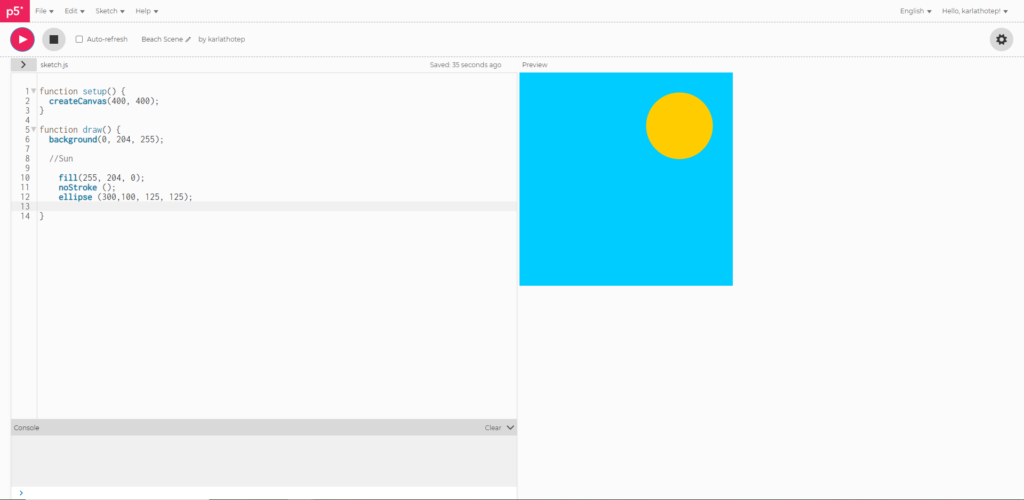
Next we’re going to make a sun (or moon or planet) using the ellipse() shape. My sun is 3 ellipses stacked one atop the other, you can add more or less ellipses to your liking.
First, notate your code with a comment. This makes everything easier to understand. So I’m making a sun, my comment is //Sun. Underneath this is where the code lines that make up my sun will go.
Remember making an ellipse is (x location, y location, width, height).
First ellipse (bottom):
fill(255, 204, 0);
noStroke ();
ellipse (300,100, 125, 125);
Second ellipse (middle):
fill(255, 153, 0);
noStroke ();
ellipse (300,100, 100, 100);
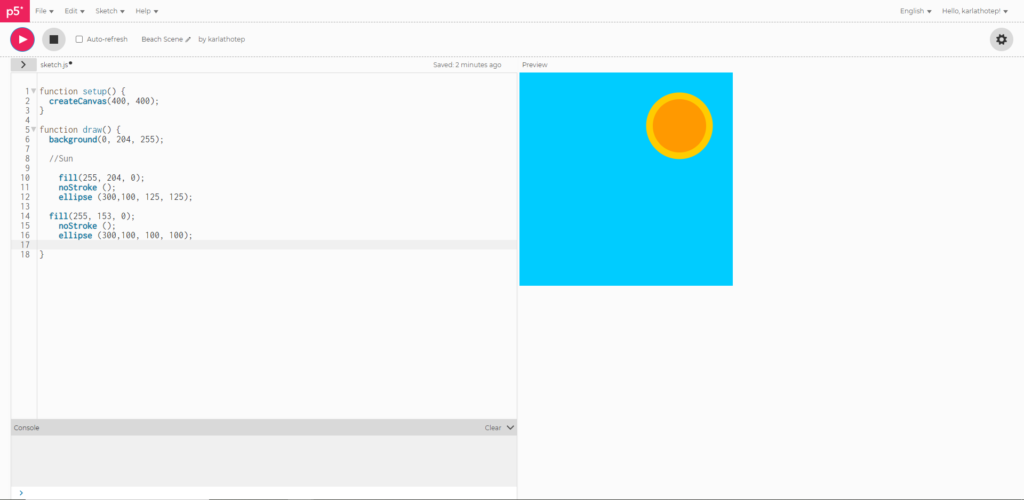
Last ellipse (top):
fill(255, 255, 102);
noStroke ();
ellipse (300,100, 80, 80);

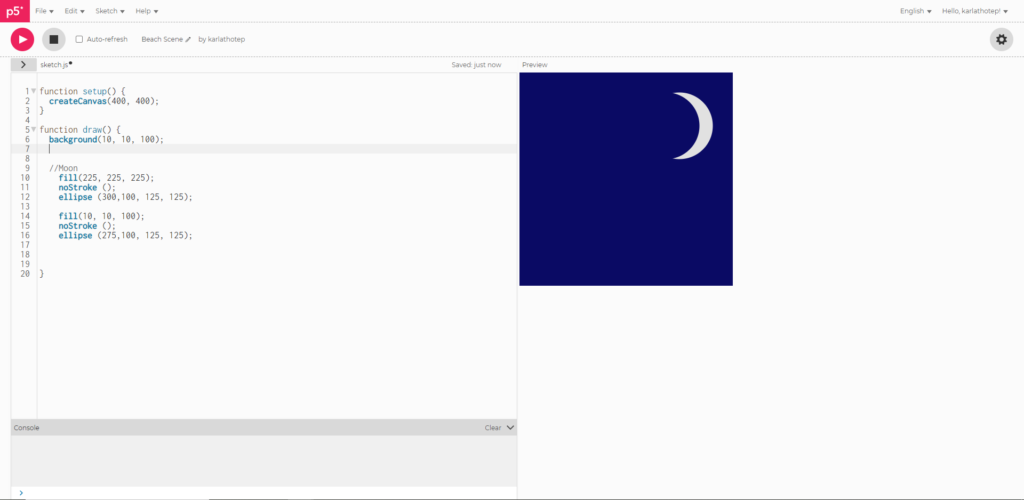
For a crescent moon, You will need to lay an ellipse the same color as the sky over the moon ellipse.
//Moon
fill(225, 225, 225);
noStroke ();
ellipse (300,100, 125, 125);

fill(10, 10, 100);
noStroke ();
ellipse (275,100, 125, 125);
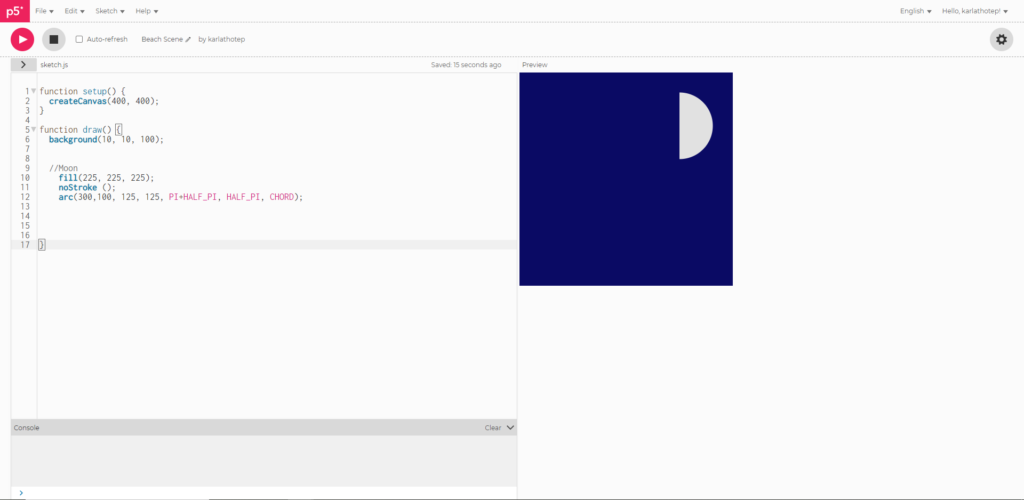
You can also use the arc() method too, but it only works in segments, so if you just wanted half an ellipse, you’d use that. The arc() shape is a bit tricky, so don’t be afraid to play around with it. The arc() method has five parameters. X-location, Y-Location, Width, Height, Start Angle, Stop Angle, Mode. To help understand how to figure out the Start/Stop Angles is a chart, taken from Lauren McCarthy’s Getting Started With p5.js.

As you can see, 0 doesn’t start at the top. When you put in 0, it will start or stop there. Also, the code reads in radians, the numbers on the outside circle. Those will be the ones you use in the code. We also have some nice shorthand as well.
- QUARTER_PI = 45 degrees or 0.79 radians
- HALF_PI = 90 degrees or 1.57 radians
- PI = 180 degrees or 3.14 radians
- PI+HALF_PI =270 degrees or 4.71 radians
- TWO_PI = 360/0 degrees or 0 radians
Mode is how you want the shape to be like. CHORD closes up the shape in a semicircle, PIE closes it like a pie chart or slice, and OPEN leaves it open (it doesn’t affect much unless you have a stroke on your shape).
And don’t worry, it takes a bit. even I still on occasion think in angles and not radians and it doesn’t look how I want it to look.
For our moon I used the following:
 //Moon
fill(225, 225, 225);
noStroke ();
arc(300, 100, 125,  125, PI+HALF_PI, HALF_PI, CHORD);
I tried to put in the actual numbers but I did not get the results I wanted. Stick to the shorthands and it’ll make things easier.
If you want, you can add the following to make that a really thin crescent, if you’d like too!
fill(10, 10, 100);
noStroke();
ellipse(290, 100, 125, 125);
We’ll also be using this to make our next two elements as well!
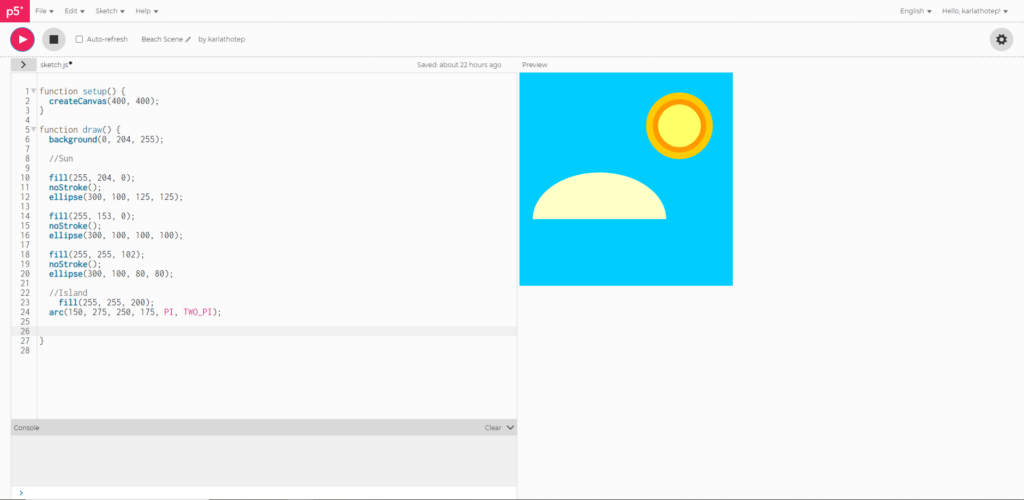
First is an island!
  //Island
fill(255, 255, 200);
arc(150, 275, 250, 175, PI, TWO_PI);
For night time change the fill to (158, 147, 74).
//Shark
fill(216);
stroke(210);
 strokeWeight(10);
arc(150,350, 150, 150, PI,PI+HALF_PI, PIE);
For night time change the fill to 150 and the stroke to 130.
If you noticed, I didn’t put in the three parameters in the fill and stroke– here’s another shortcut. If all three parameters are the same, you can just put in the one number. (You can also do this with ellipses and squares with the same heights and widths.)

Now we’re going to make our waves! These will be made using the bezierVertex() method. This can be used to create shapes using bezier curves, very similar to the pen tool in Adobe Illustrator. Except you have to write out every coordinate. You can also create weird shapes.
For that there are two parameters for the vertex(): x and y. This is where your line will start. And there are six parameters for bezierVertex: x1, y1, x2, y2, x3, y3. These are your “points” of your bezier curves– just like points you make with the Pen tool in Illustrator. Changing these will affect your curve– so don’t hesitate to experiment!
  //Wave 1
noFill();
stroke(102, 255, 255);
strokeWeight(25);
 beginShape();
vertex(0, 260);
 bezierVertex(200, 300, 100, 220, 400, 280);
endShape();

So if you noticed, we’re using the stroke() method to create waves, and the vertexBezier() will guide the shape. The noFill() function keeps your lines clear without fill. The strokeWeight() is how thick or thin you want to make the stroke. The parameters inside the stroke (102, 255, 255) is the color you want the stroke to be. The beginShape(); and endShape(); functions are needed for your bezier vertex to work. These allow you to make custom shapes.
The colors I used for the day scene:
- 102, 255, 255 makes a cyan color
- 0, 153, 255 make a cornflower/sky blue
- 0, 102, 255 makes a saturated blue
- 255 makes white
The colors I used for the night scene:
- 14, 109, 181 is a less saturated cornflower blue
- 0, 83, 138 is an even more unsaturated cornflower blue, almost navy
- 0, 42, 105 is a deep royal/navy blue
- 255 makes white
The next part is free for all! Copy and paste that previous code, change the stroke color and weights, move things around, and repeat until satisfied.
Next, let’s add some final touches. For the daytime version, we’re going to make some birds. For those who are making a night scene, I will be covering the star() shape.
For the birds, we’ll be using the bezierVertex.
  //Seagull
 noFill();
stroke(255);
strokeWeight(4);
beginShape();
vertex(75, 25);
bezierVertex(75, 35, 87.5, 65, 90, 25);
endShape()
Like the waves, feel free to add as much or as little. Understandably it can be a little confusing placing all those vertex points, so it’s perfectly fine if you want to skip it. You could also lump several ellipses together to make a cloud shape too!
 //Cloud
 fill(255);
noStroke();
ellipse(130, 100, 50, 50);

fill(255);
noStroke();
ellipse(100, 110, 50, 50);

fill(255);
noStroke();
ellipse(160, 110, 50, 50);

fill(255);
noStroke();
ellipse(130, 115, 50, 50);

If you are doing a night scene, you can add some stars!
(If you noticed, I changed the colors for the night scene– you are free to take those colors from the source file that I will share at the bottom of this guide.)
The easiest way is to place a smattering of tiny ellipses:
  //Stars
fill(255);
noStroke();
ellipse(50, 50, 5, 5);
ellipse(125, 90, 5, 5);
ellipse(200, 25, 5, 5);
ellipse(225, 100, 5, 5);
ellipse(30, 150, 5, 5);
ellipse(175, 150, 5, 5);
ellipse(350, 200, 5, 5);


Show us what you made! Send it to bmcc.makerspace@gmail.com or reach us at bmcc.makerspace on Instagram (or use the the #bmccmakerspace tag) to be highlighted on our page!
And if you’re feeling like experimenting more:
- You can explore the vertex method more to make 4 pointed star or diamond shape.
- Try the star() function
- Use the for property with the random() method to generate random ellipses for the sky
Further Exploration:
- Beach (Day) Code on p5,js editor
- Beach (Night) Code on p5.js editor
- p5js.org: p5.js’ official site.
- Coding Train: videos on p5.js and more!
- Make: Getting Started with p5.js: Making Graphics Making Interactive Graphics in JavaScript and Processing by Lauren McCarthy, Casey Reas, & Ben Fry (Let Me Google That Link)
- Programmer Group has Chapter 3 up with the codes, explaining the radial shapes