Please Note: Documentation was made prior to size adjustments for the 3D print. It will incorrectly show 50.80 in the image. It has since been corrected after a test print in the text itself.
This Workshop assumes you have previous experience in Tinkercad, although you do not need previous experience to do this. However, more information about making a Tinkercad account and the basics of Tinkercad, please refer to this Workshop. Tinkercad is 100% free and browser based, so no need to download anything. When you are done with that walkthrough you may return here.
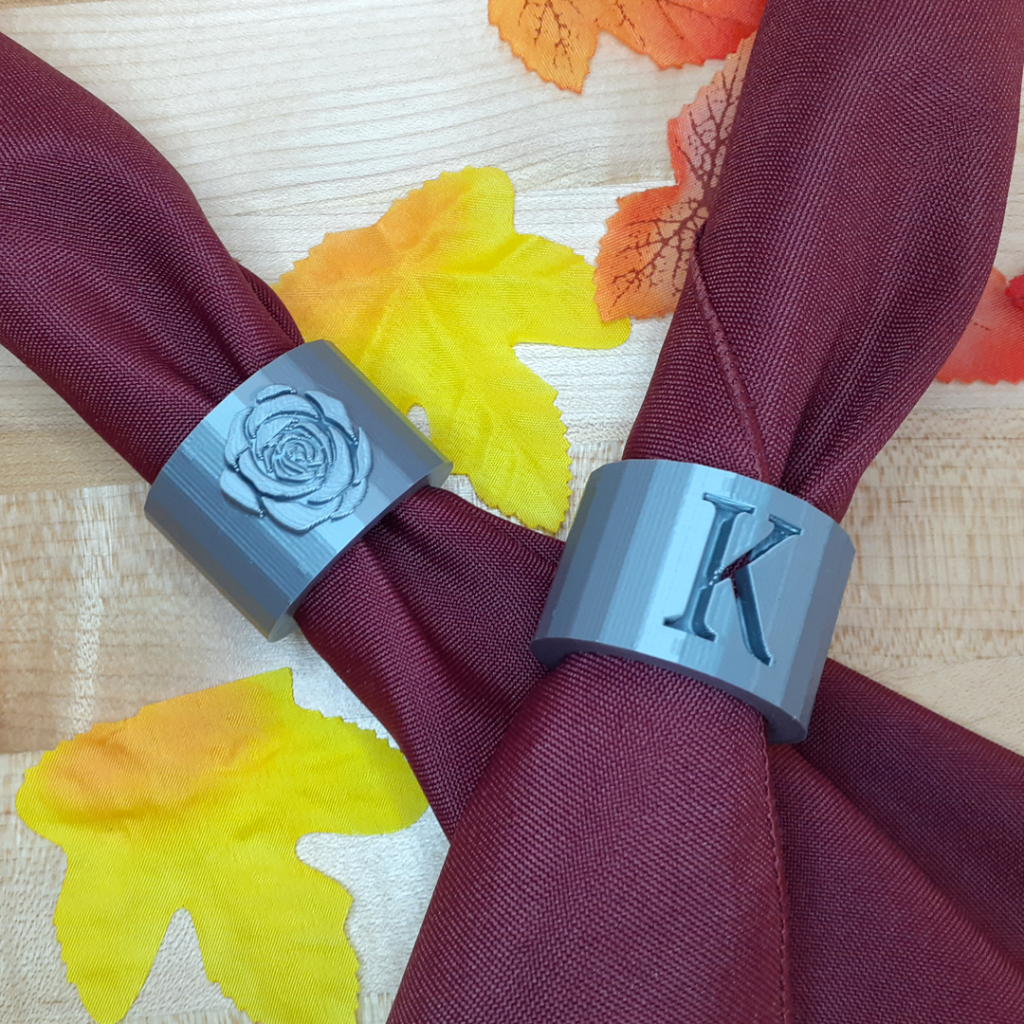
While napkin rings aren’t entirely as commonly used today as they once were, this nice DIY project is a great way to spice up your decor! Our napkin ring will be 2 inches in diameter and 1 inch high (1.5”x1.5”x1”) once printed. As 3D printing programs use millimeters as measurement, that is 38.10 mm x 38.10 mm x 25.4 mm. For this guide all measurements following now will be in millimeters.
(If you want to just make a copy of the models made in this tutorial and play on your own, please see Further Learning at the bottom of the guide.)
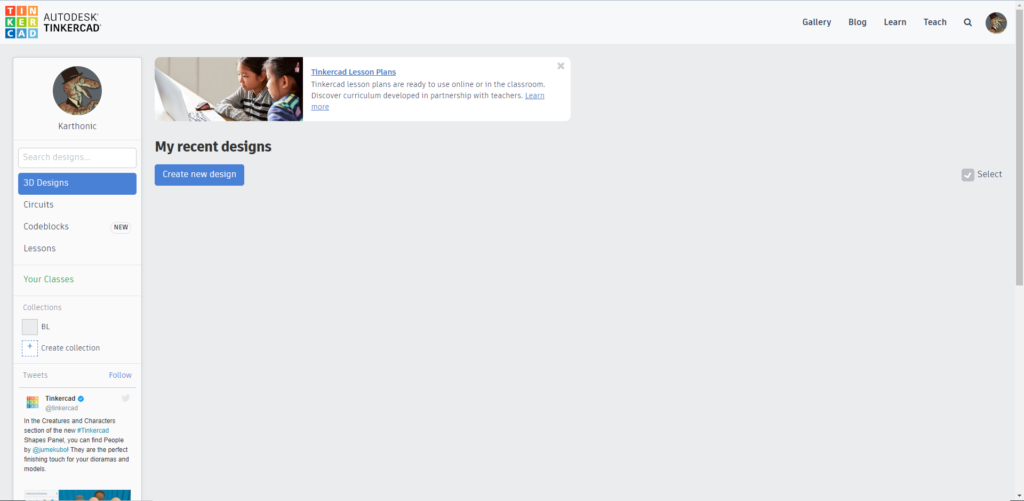
Once you’ve made your account, select Create New. Once selected, it will open your Tinkercad workspace. If you are unfamiliar with 3D modeling, it is advised that you use a mouse while creating this piece.
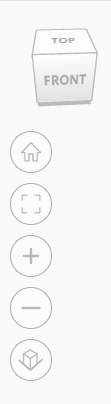
This is your navigation box. You will move it around to help you model.
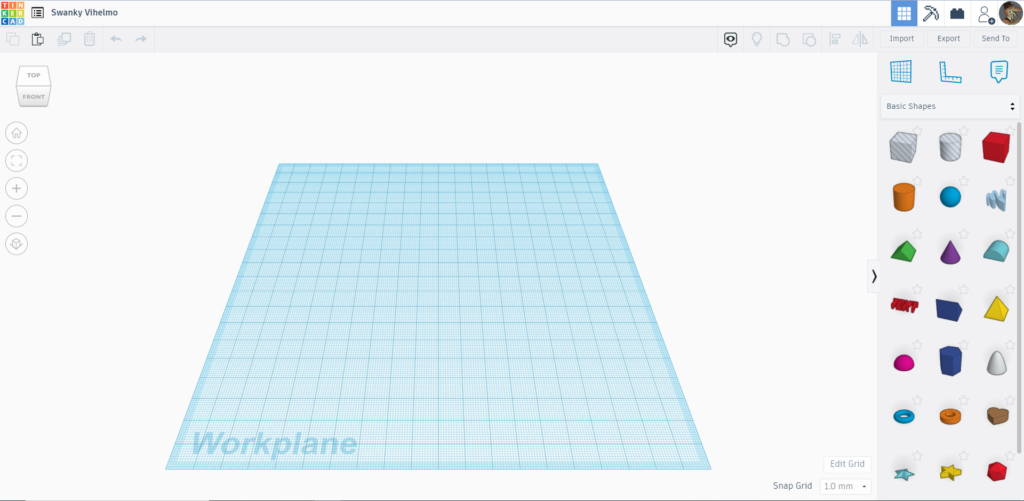
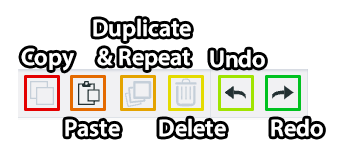
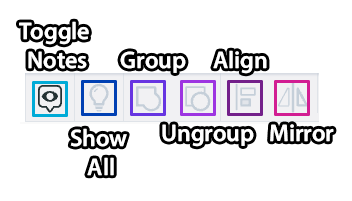
This is your toolbar, with all your options:
For more in depth explanations it is suggested you look through the 3D Modeling Workshop.
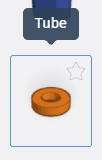
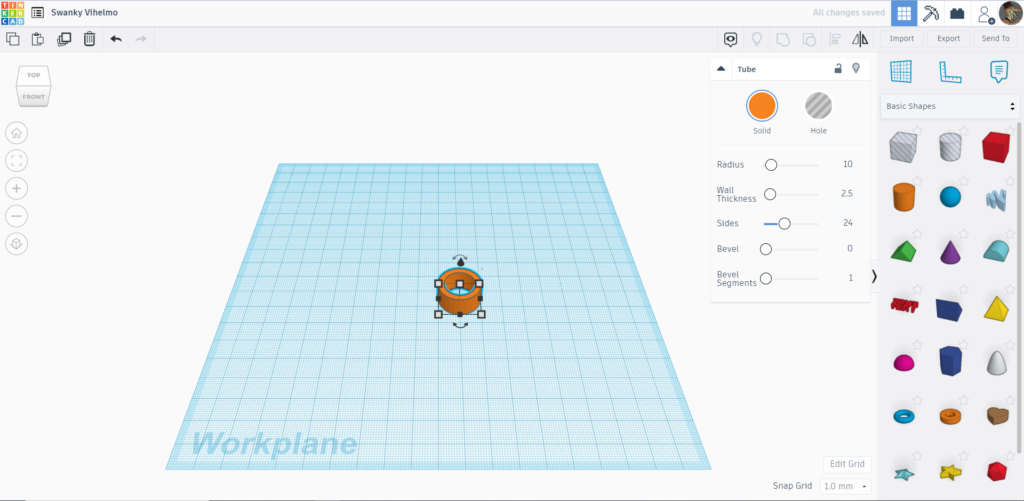
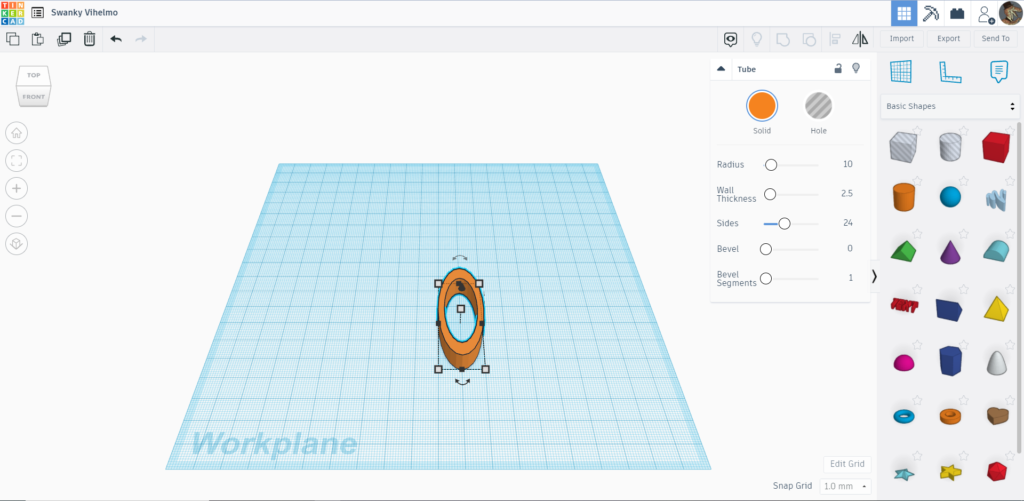
Select the Tube shape. This will become your napkin ring. While 2.5 mm is a good thickness for me, you may change the thickness in the menu. You may want to use the bevel to make a bevel edge for your design.
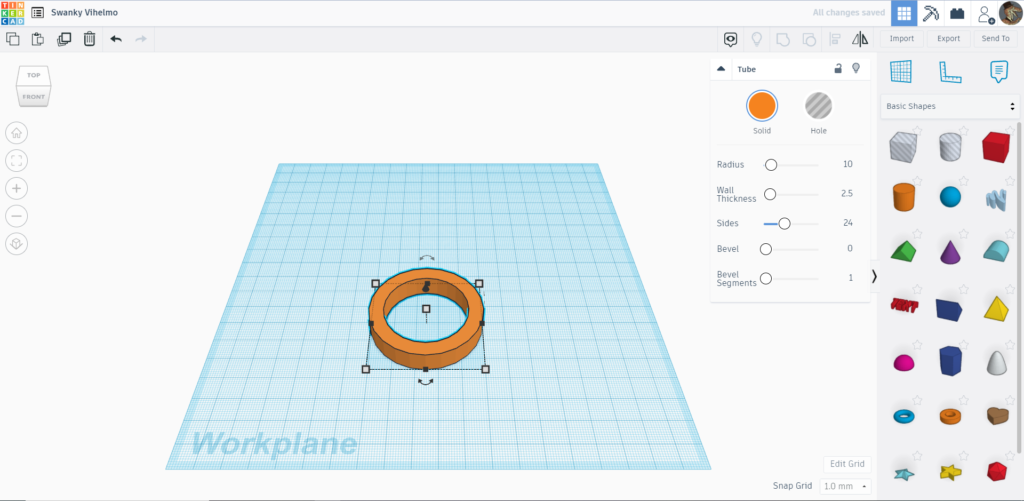
Next you will need to resize the ring. Click the bottom, middle square, and you will see a dialog box that says 20.00. That is your shape’s length. We want it much bigger– 38.10. Once you type in the number the ring should become a stretched out oval shape.

Now we adjust the width, click the center square on the left side, once again you’ll see 20.00 in the box. Just like before, but 38.10. Your ring should become a circle again.

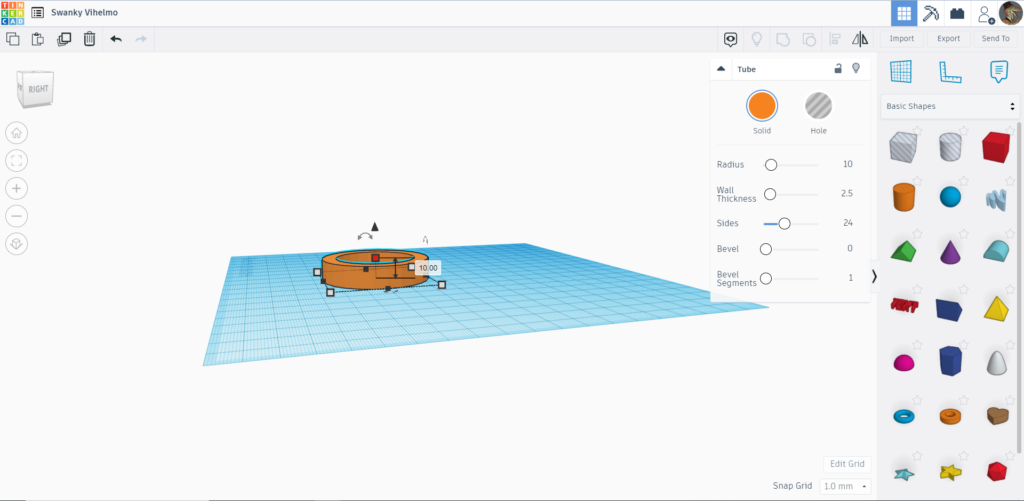
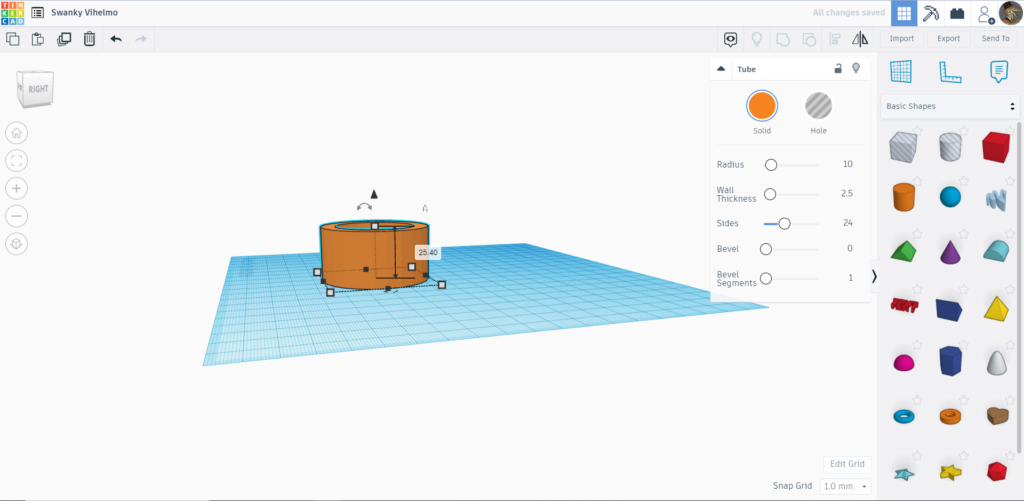
The height is still not correct, so we’ll need to fix it. You may need to move the navigation cube around to get to it. You will need to get to the top middle square with 10.00 in the box. This is your height. Change that to 25.40 and you have the ring!
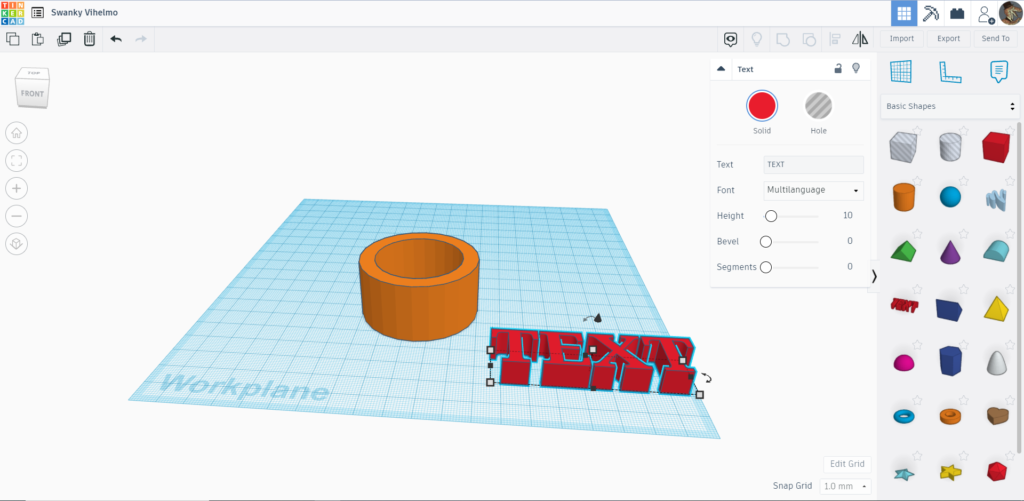
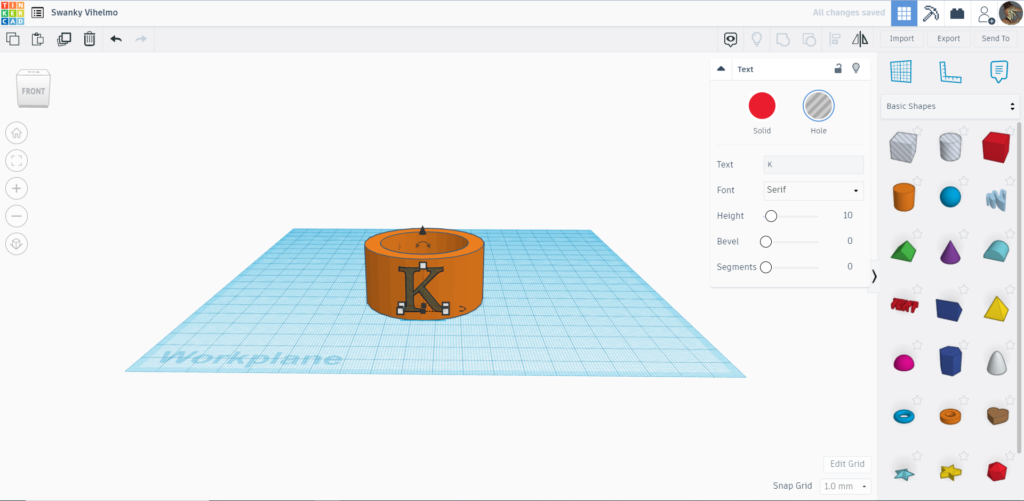
Now we can customize it with a monogram. Select the TEXT option in the shapes. This will bring up a text box. There are only 4 font styles in Tinkercad but if you want something different, I would recommend looking into our Importing SVGs into Tinkercad workshop.
If you are using the TEXT tool, select the font style you want and type in what you want. Because it’s a round surface and I can’t curve it with the ring, I’ll be keeping it to 1 letter. You can also adjust the size like the ring.

For my K it’s 18 mm by 18 mm by 6mm.
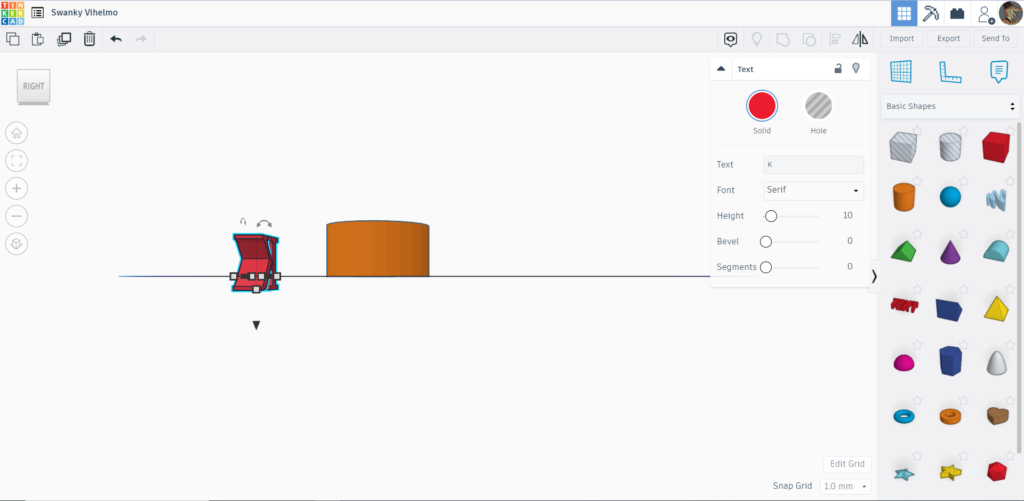
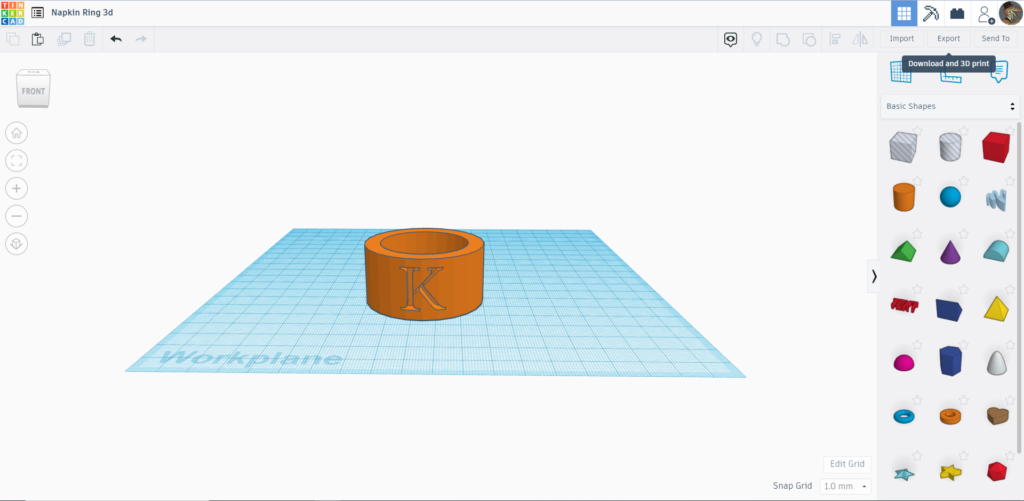
Move your navigation cube around and meet the letter shape to the ring. Highlight both and select Group This will merge the 2 shapes.
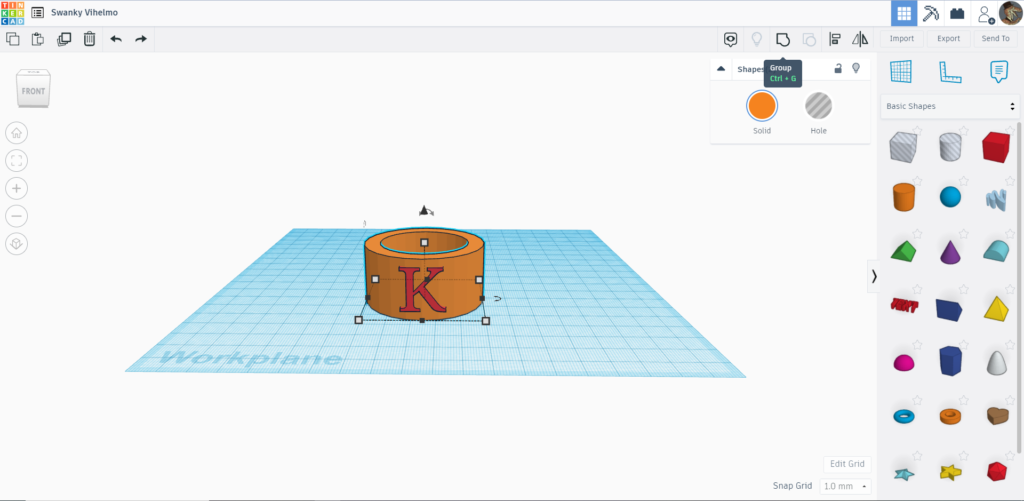
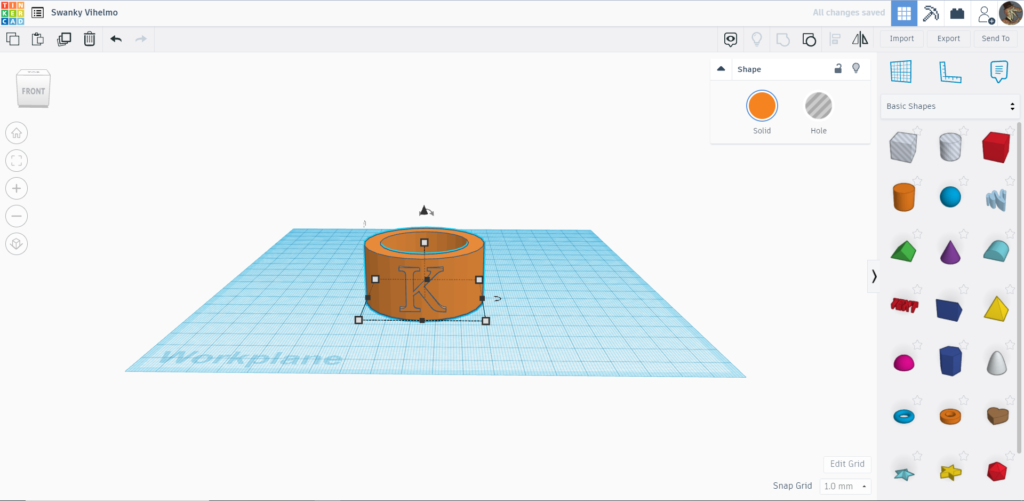
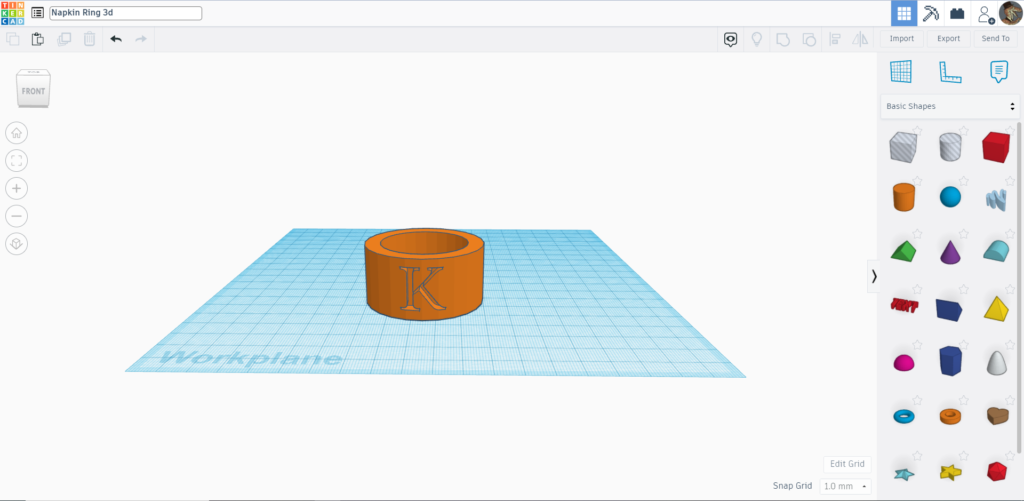
In total, you have the option to do 3 kinds of design. You can have it embossed, where it sticks out like above.
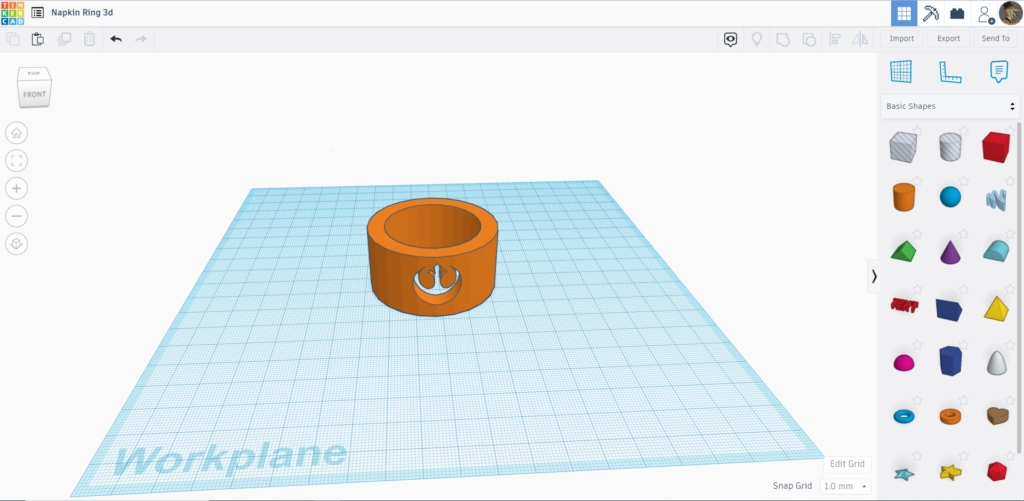
You can also do an engraved look (seen below), where you make a hole in the side panel and align it making sure that there is still some ring behind it.
Or a hole, where the hole goes through the whole side of the ring– not recommended with certain characters (like O for example). And may need support with printing which adds more time (but it’s up to you if you think it’s worth it).
You may want to add some simple design as well– just be aware it can’t “wrap”. You can also use the SVG Import technique above for custom made shapes or designs.
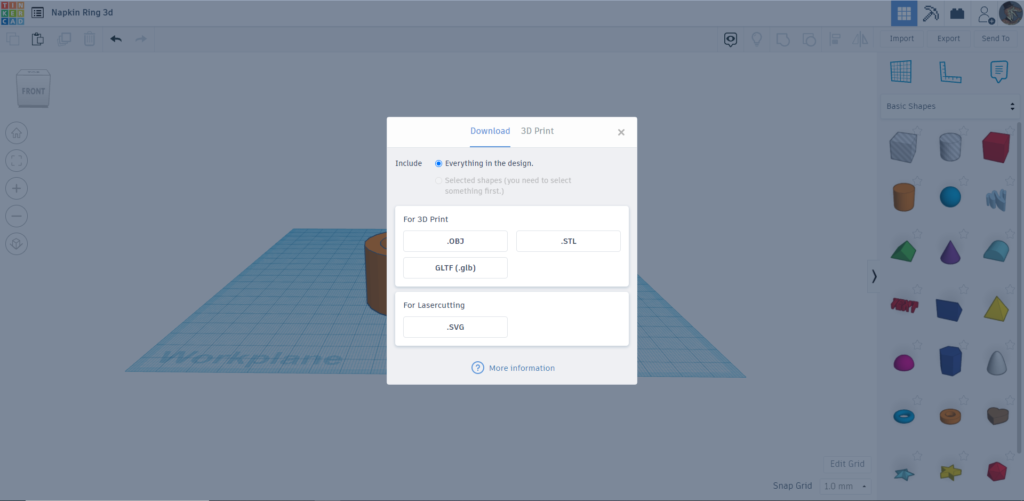
When you’re ready, select Export to export your file. In the next box, you want to export it as an .STL file.
Once it is downloaded you can slice it using your 3D printer of choice’s slicing software. If you are using the Makerspace 3D printers, book a reservation over email to the Lab Manager with the .stl file attached– or book time to print on your own if you’ve 3D printed before.
Cura Guide for Ulitmakers
Slicer PE for Prusa
And once it is printed you can sand it with some sand paper, cover it with a primer coat and spray/acrylic paint it! Using metallic paints can give you a nice faux metal look. Or keep as is! Ours below were left unfinished.