
This has been written in collaboration with BMCC’s Early Childhood Education Department as part of CUNY’s Computer-Integrated Teacher Education (CITE) Project. For more information on the project and more, visit this CITE website.
Project Objective: To better understand computational thinking and coding through a simple, visually-based programming language.
But how does Scratch help understand Computational Thinking?
- Decomposition: Taking your intended program and breaking it down by actions.
- Abstraction: Seeing what actions can be done within the limitations of Scratch/Scratch Jr.
- Algorithmic thinking: Synthesizing the desired actions into the proper code blocks.
- Pattern Recognition: Finding similar actions or logic used to create your project.
What is Scratch Jr?
Scratch Jr. Is an even more simplified version of Scratch, created for children from the ages of 5-7 years old to help give them the grasp of coding. It can only be used on a tablet and not on a browser (like Scratch proper) and limits the kind of functions one can program.
Unlike Scratch, Scratch Jr also has some limited resources outside of the site, but a few books on Amazon, I will link below.
What Can I Do in Scratch Jr?
A lot of things! Anything from simple games to silly animations for fun or for storytelling, or both! Your only limitations are the code and your imagination. If you’re coming from the original Scratch, you might find it significantly limited as this is intended for 5-7 year olds.
However, looking at this with no coding knowledge at all can be a little daunting at first– but don’t worry. Playing and experimentation can help you understand the interface and blocks better. It is a bit more intuitive, a lot more tap and drag than Scratch, likely because it’s tablet only.
Crab Dance Animation
Overview:
First, you will need to install Scratch Jr on a tablet. If you are using one from the Makerspace, disregard this, as we already have it on our tablets. If you plan to to use your own tablet, please use the following links to install: iPad | Android Tablets | Amazon Fire Tablets
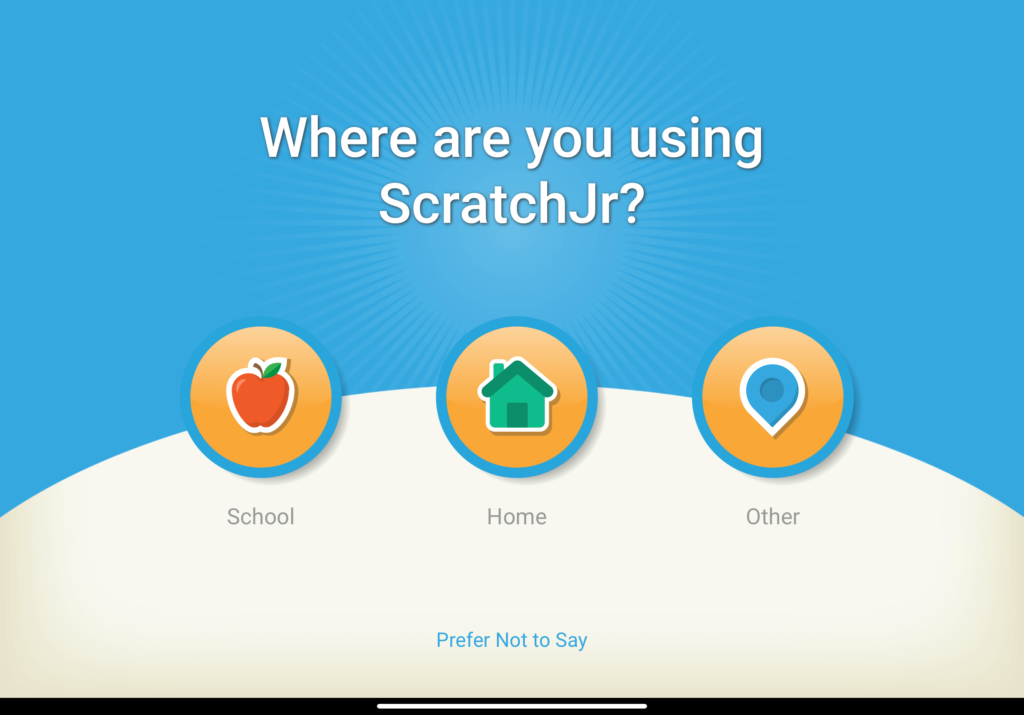
When you open up the app it will ask what you’re using this for– it doesn’t exactly matter, as I haven’t noticed any difference in the interface.
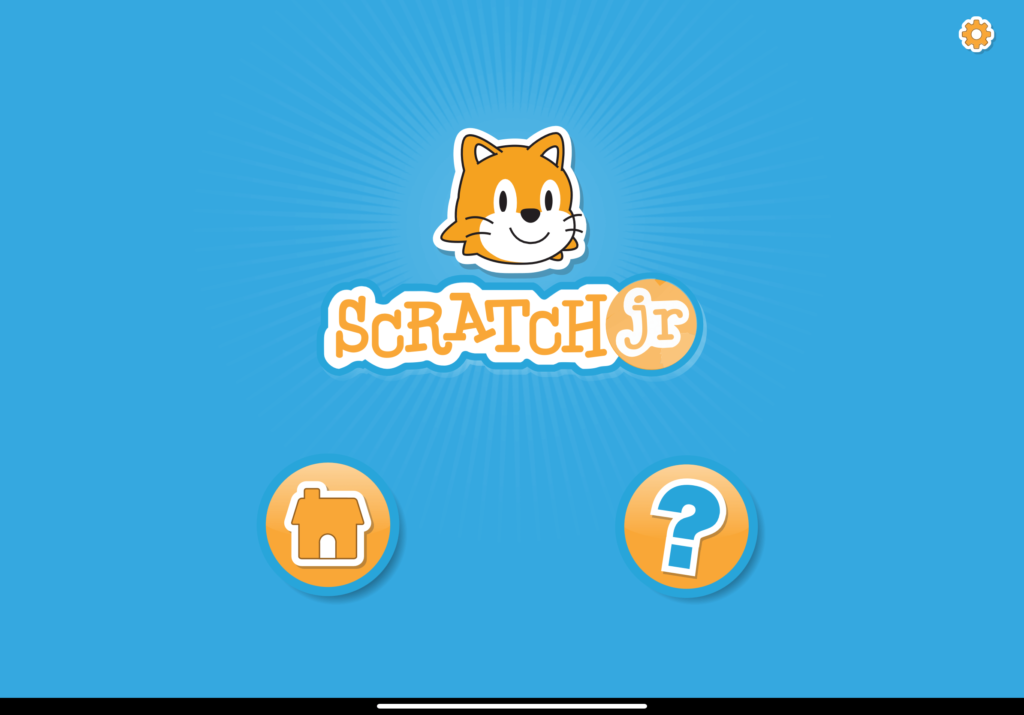
The Home button takes you to the app proper (or in fancy coding terms the integrated development environment, or IDE), and the question mark is a quick onboarding video on how to use Scratch Jr. You can come back to watch it anytime you want or need.
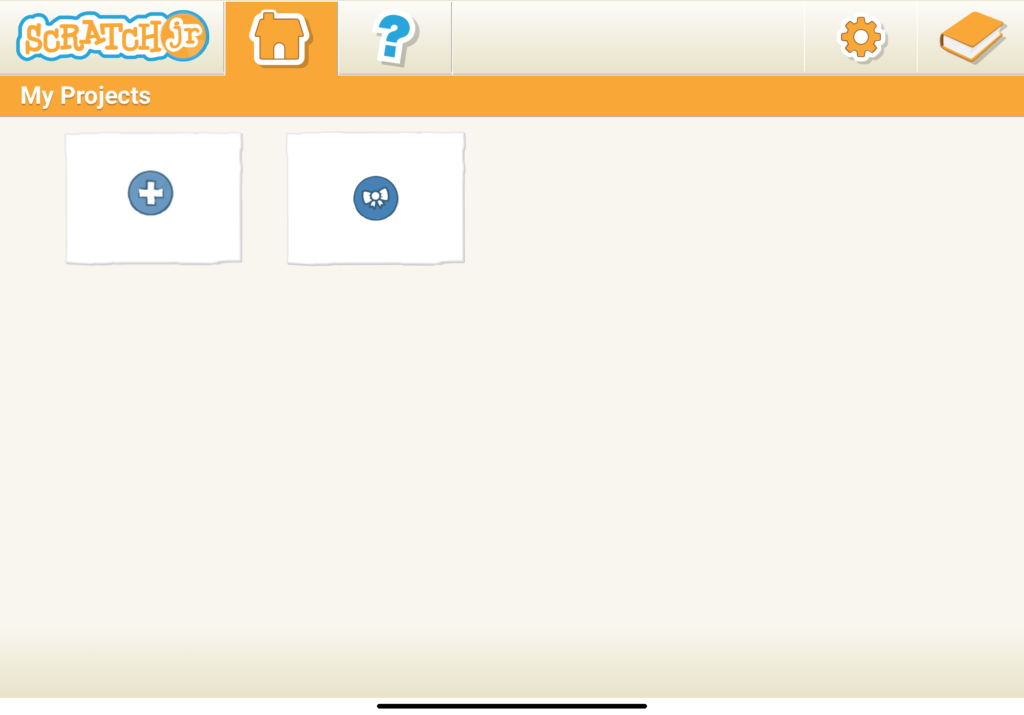
When you’re on the IDE menu, we want to select the plus sign icon to make a new project. The bow icon is for uploading from the tablet itself (for those who might receive someone else’s code– more on that later.)
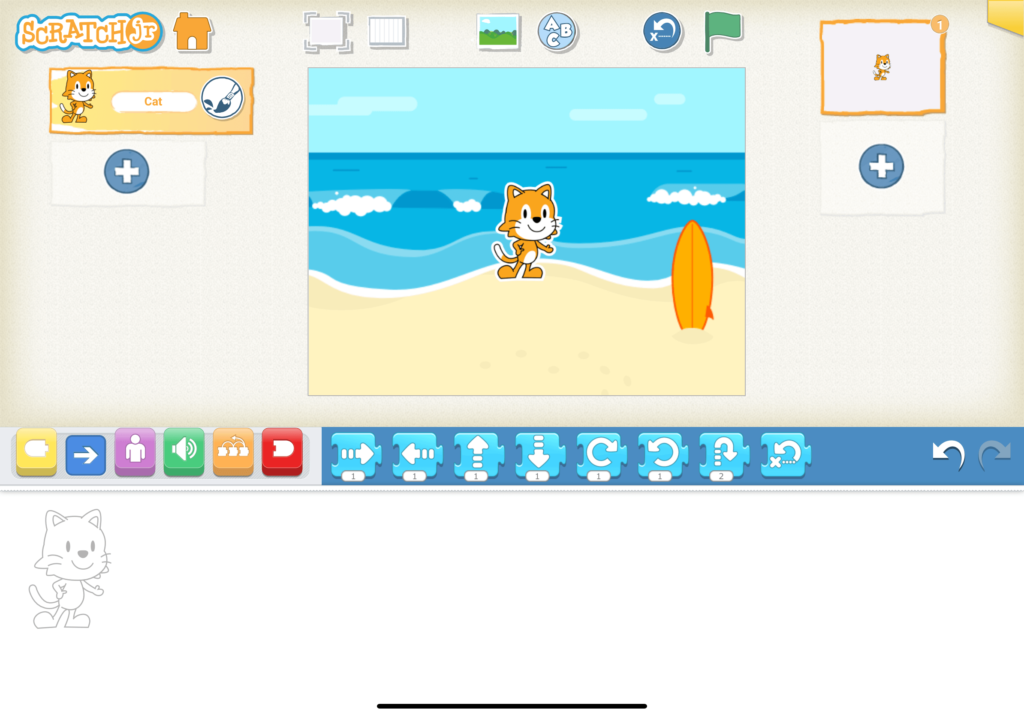
You will be taken to the IDE, where you can see Scratch Cat on a white background. To the left of the workspace is your character selection, to the right is the scenery selection. Left to right on the top are the full screen button (rectangle with brackets), the grid tool (rectangle with grid)l, the background selection (photograph), title text (circle with ABC), reset (curved arrow with x), and run (green flag). Below the workspace is where you’ll drag and drop them. On the far right bottom are the Undo/Redo buttons, and on the far left there is a light gray line art of a character– the character you currently have selected..
While I hope this is all intuitive, I will label everything in the screenshot below.
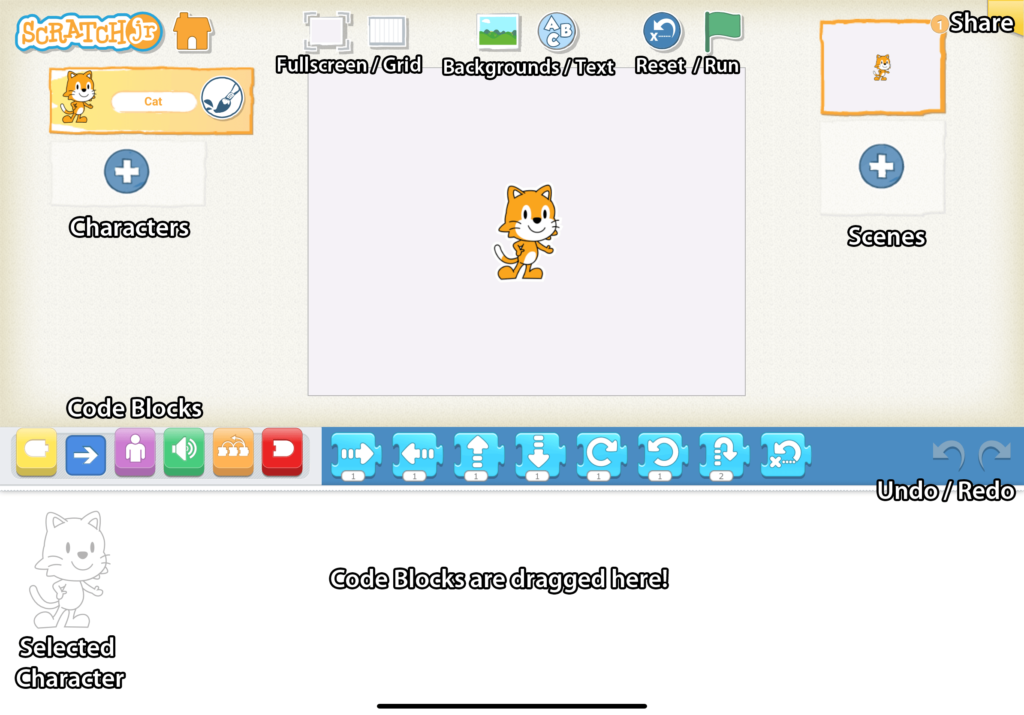
You’ll find at the bottom there are blocks of many colors– those are our code blocks. Yellow is trigger blocks, Blue is motions, Purple is appearances, Green sounds, Orange is control options, and Red is the ending code.

Setting the Stage
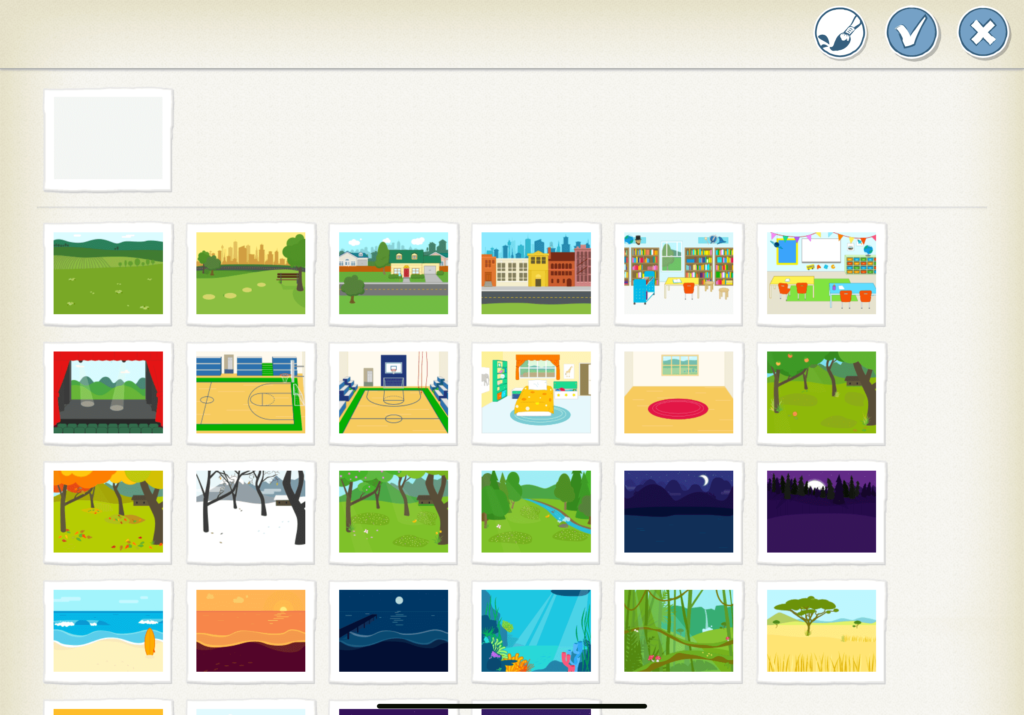
First, I want to add a background. Select the Background button and choose a background. Mine is called “Beach Day”.
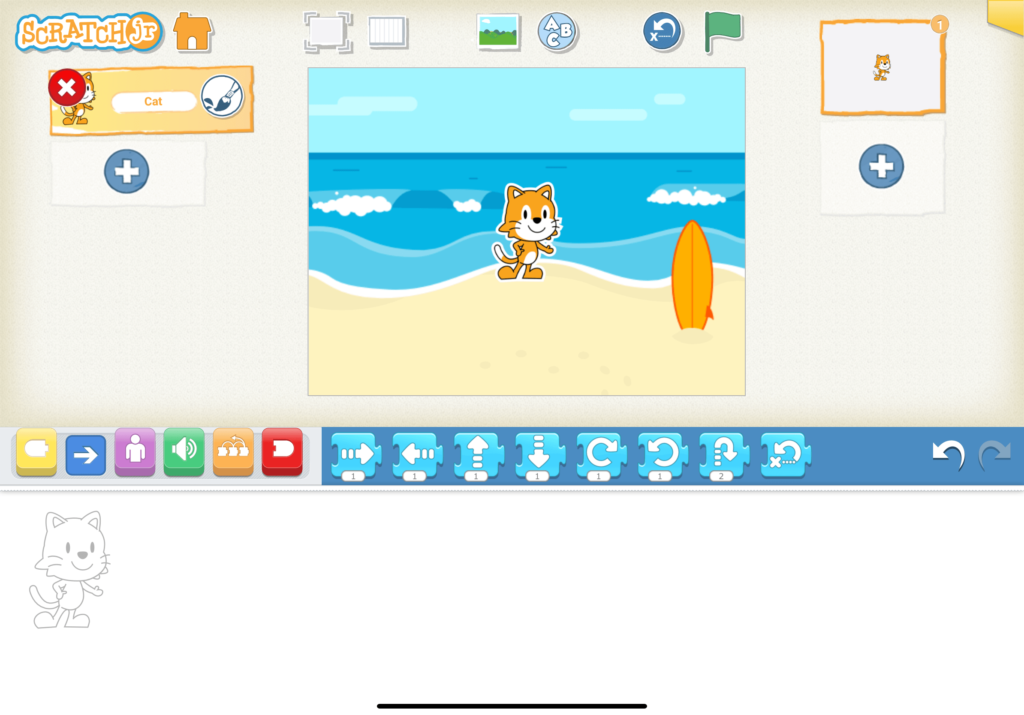
Next, we’re removing Scratch Cat. You can hold down on Scratch Cat themselves on the workspace or on the character option on the left until you see a big red X. Click that to remove them from the scene.
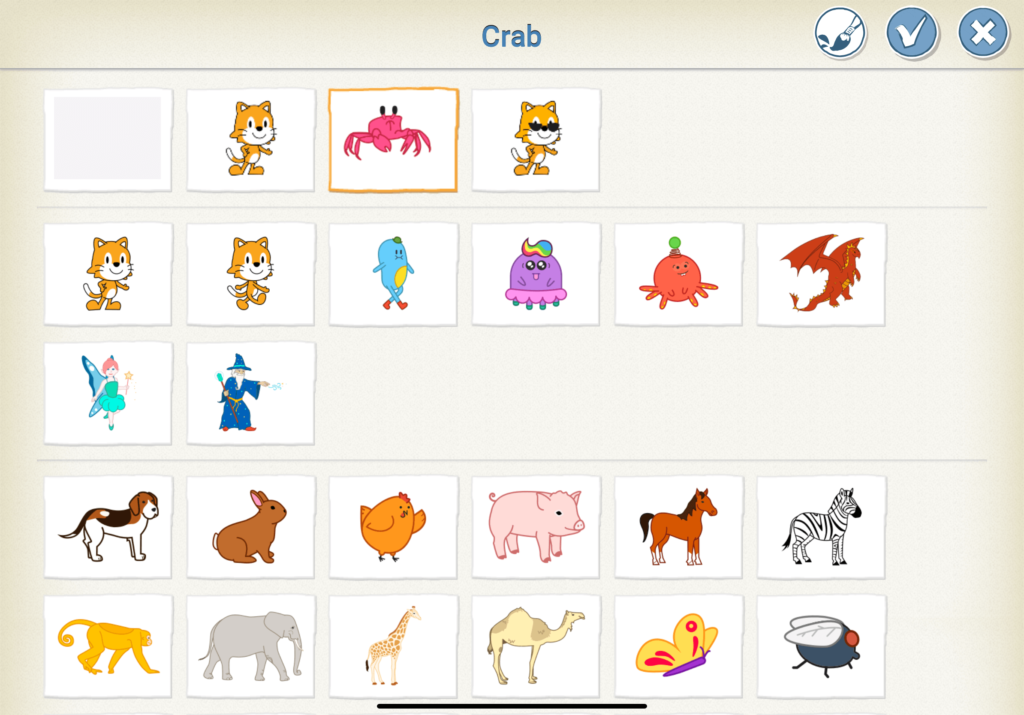
Select the plus sign on the left, and pick your characters, we will need two crabs, so repeat this twice.
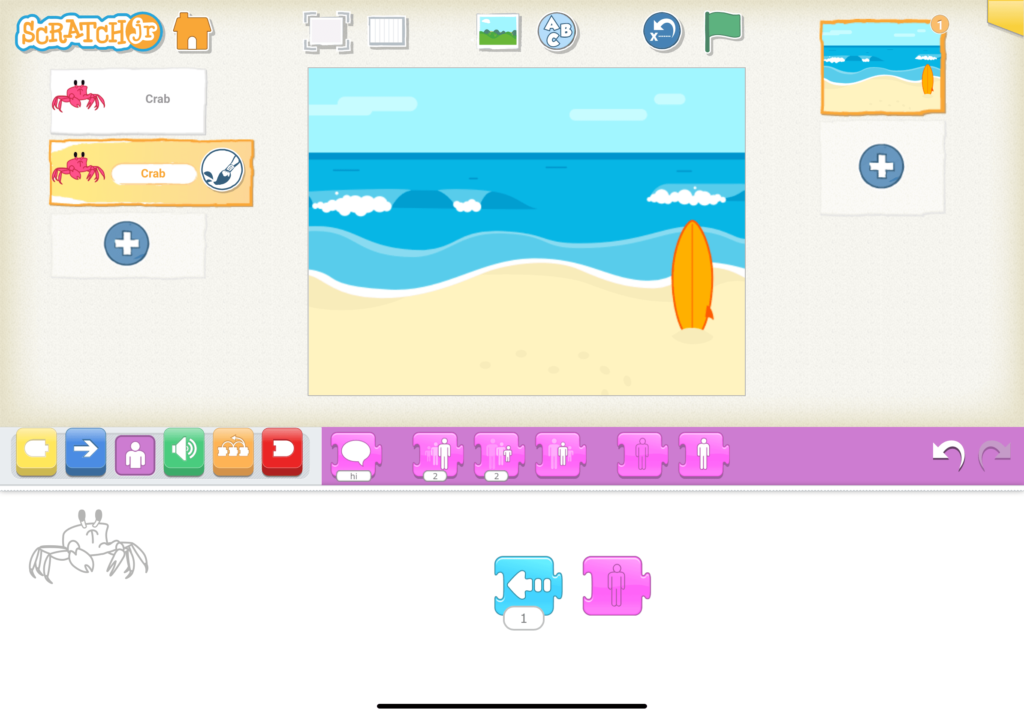
I want the crabs looking at one another, so I need to flip it with the code blocks. I am going to the blue code block and finding the move left arrow and clicking it. It will flip the character. (You can drag it off when you’re done.) I also want to drag from the purple the invisible block so I can make my characters disappear (you will need to make both crabs invisible).
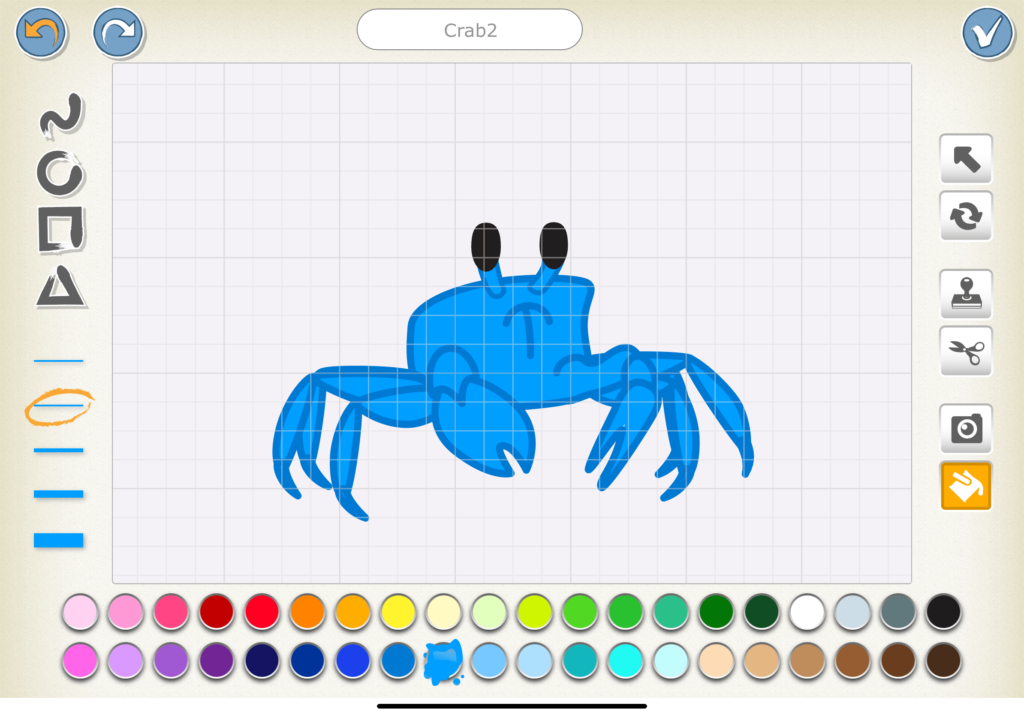
For our peace of mind, we will recolor one of the crabs, select one of the crabs in the character panel, and you will be taken to the editor. I selected the lineart and fill and made it blue. I also labeled it Crab2 for clarity.
(Sidebar, while you can’t upload things like in Scratch, you can draw over or use the camera to snap a photo to edit over the premade Characters or Backgrounds.)
Coding the Dance
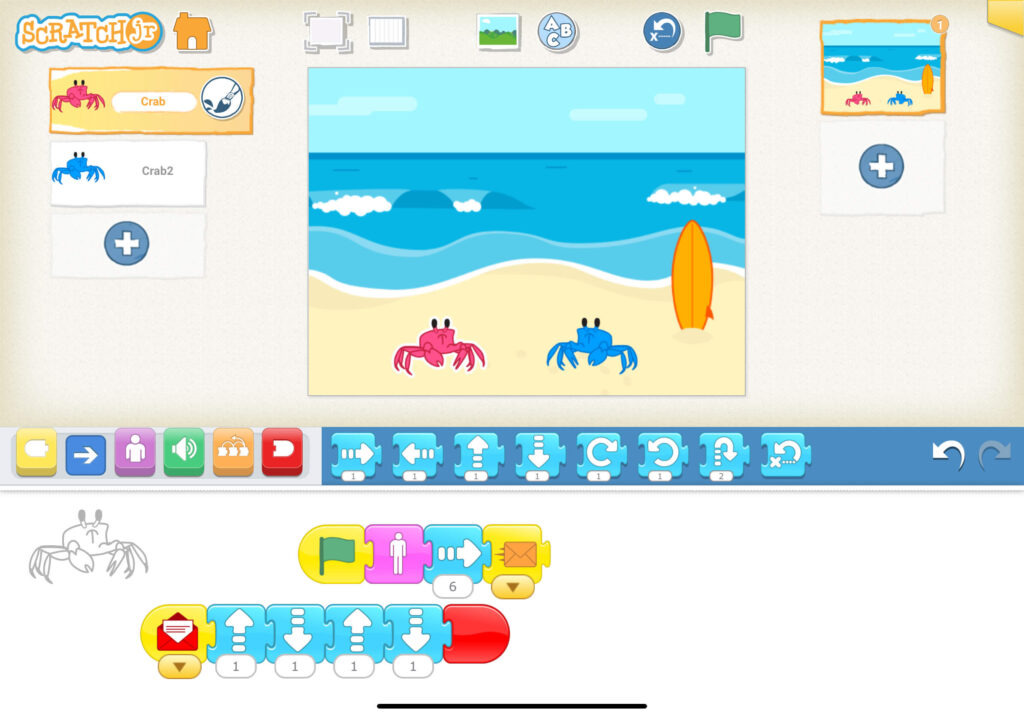
So drag your code blocks to make the crabs dance. You can follow my code below or experiment. As you can see I have code on both crabs, as that particular code controls them. (You can do each one at a time, or hop between as I like to do.)
To explain my actions in pseudocode, this is what is happening:
When the green flag is clicked, the red crab will appear visible on the stage and move 6 space right, the blue crab will remain invisible. It will send a message (orange letter) to the blue crab. When the red crab receives the red letter message, they will move up and down 1 space twice, and end.
Here’s the pseudocode here:
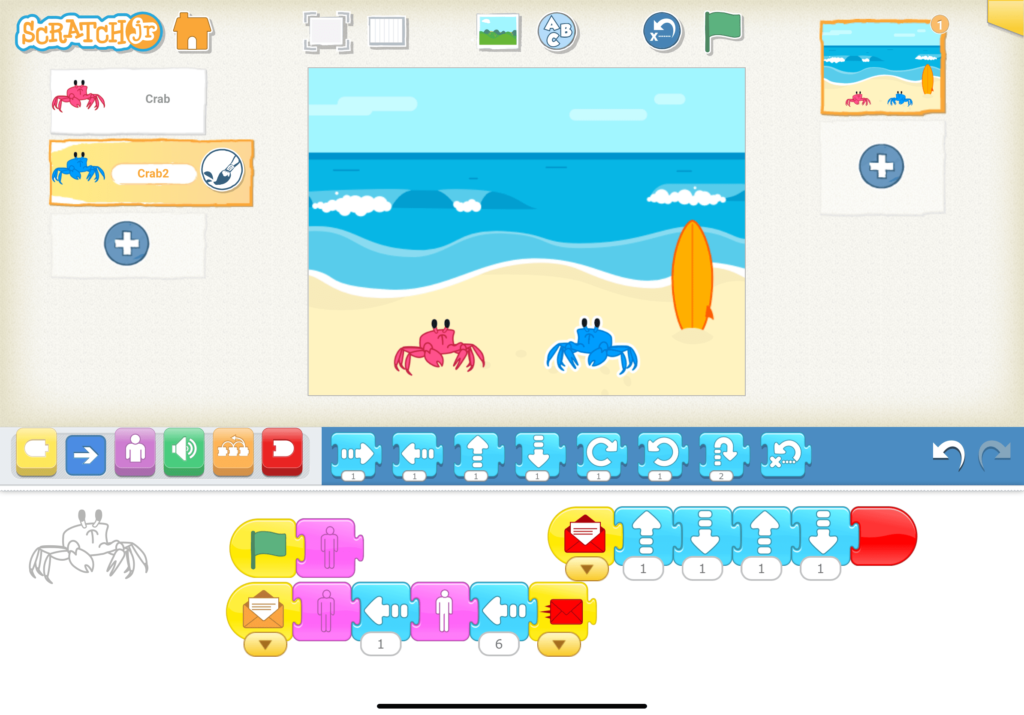
When the blue crab receives the orange letter message, it will stay invisible, move to the left 1 step (as my character refuses to appear on the far right and kept popping up), then become visible. The blue crab will move another 6 spaces towards the left and send out a red letter message. When the blue crab receives the red letter message, they will move up and down 1 space twice, and end.
Saving
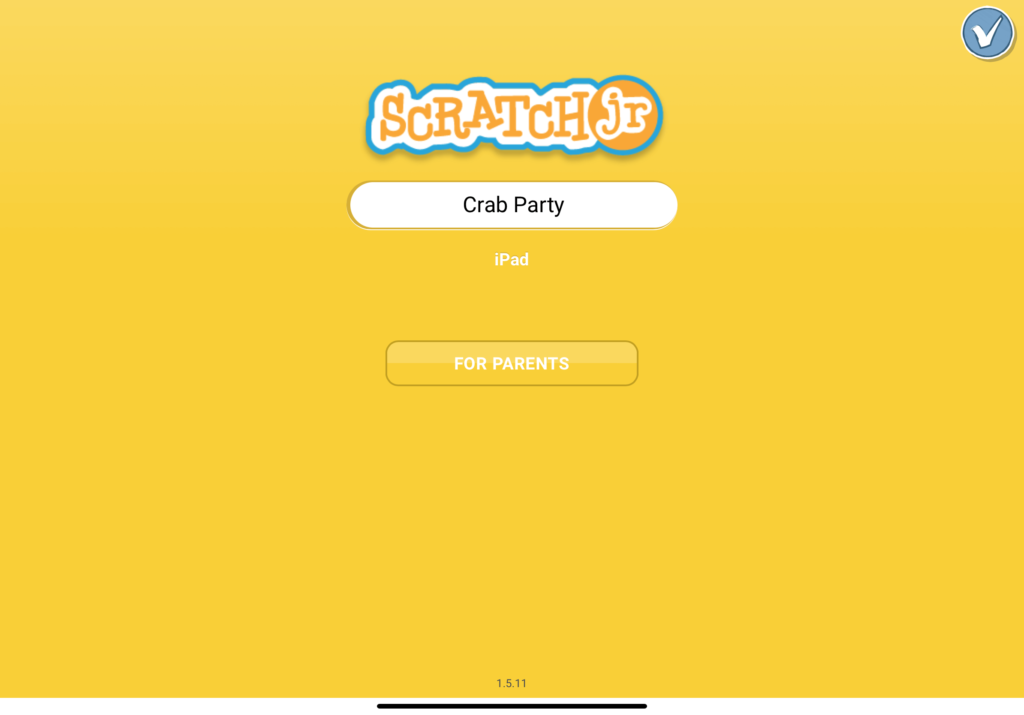
On the far right top corner, there’s a yellow tab. This is where you’ll name your project, and have the option to share.
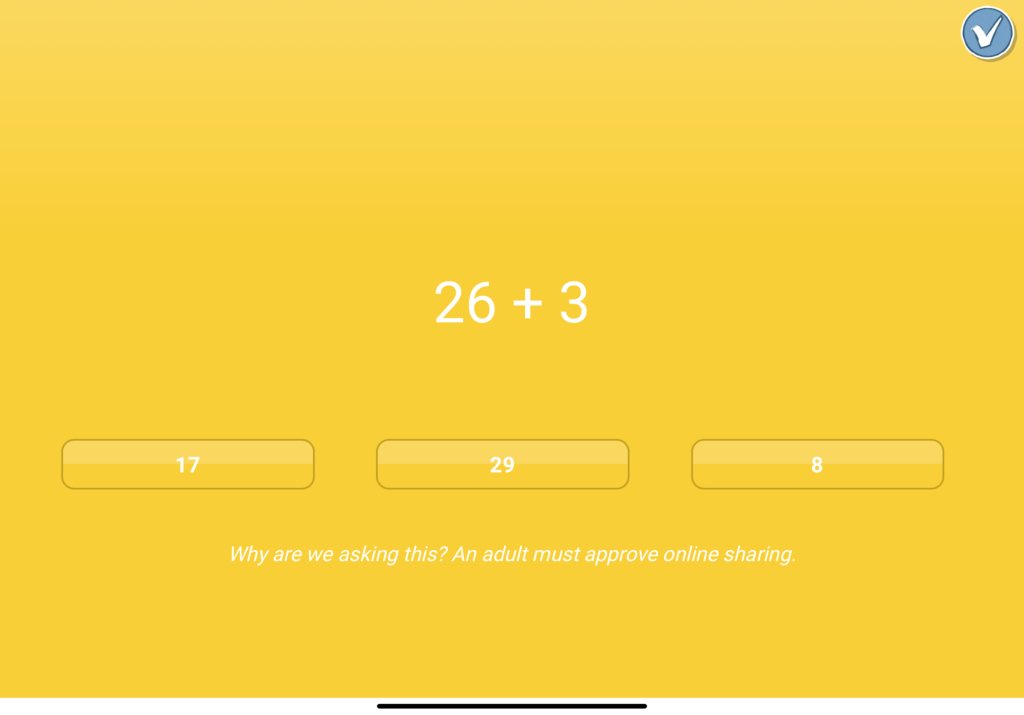
To share, select For Parents, and solve the math problem presented to access these options.
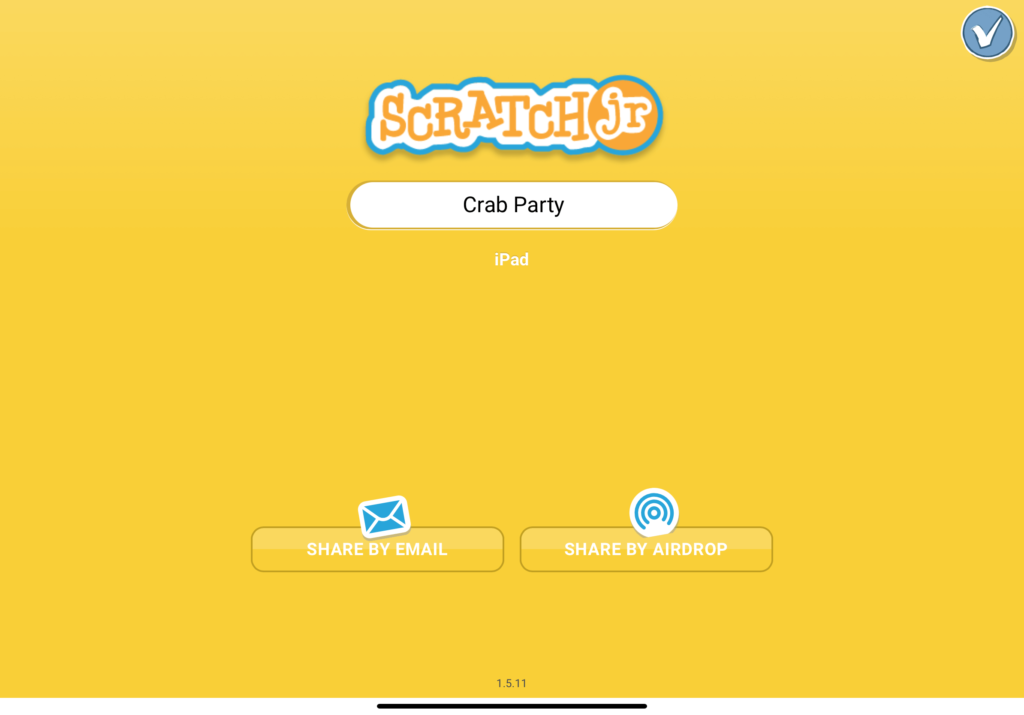
For the safety of children, Scratch Jr has only one or two sharing options depending on the device. You can email your code to another person through your tablet’s mail app, or for iPad users via AirDrop.
Further Exploration Challenges:
If you’re welling brave to try some of these ideas:
- Add dialogue vis speech bubbles
- Add sounds (you only have the pop or record your own)
- Create a second scene and figure out how to transition to it!