
This has been written in collaboration with BMCC’s Early Childhood Education Department as part of CUNY’s Computer-Integrated Teacher Education (CITE) Project. For more information on the project and more, visit this CITE website.
Project Objective: To better understand computational thinking and coding through a simple, visually-based programming language.
But how does Scratch help understand Computational Thinking?
- Decomposition: Taking your intended program and breaking it down by actions.
- Abstraction: Seeing what actions can be done within the limitations of Scratch/Scratch Jr.
- Algorithmic thinking: Synthesizing the desired actions into the proper code blocks.
- Pattern Recognition: Finding similar actions or logic used to create your project.
What is Scratch?
Scratch is a visual programming language– meaning it shows its code syntax though visual graphics rather than just text. In Scratch, these are displayed as blocks, but still follow the logic and rules of traditional coding languages. Scratch is coded through the browser, but has offline editors for browsers and tablets.
Scratch Jr. Is an even more simplified version of Scratch, created for children from the ages of 5-7 years old to help give them the grasp of coding. It can only be used on a tablet and not on a browser (like Scratch proper) and limits the kind of functions one can program.
Tinkercad also allows for Scratch-Style Programming with their Circuit Simulator to allow experimentation into virtual physical computing– this is the means of using code with (usually) a physical component with inputs and outputs with the intention of creating an interactive system. This is more advanced; but I feel it’s worth sharing as it is a great bridge of shifting from a visual programming language to a more traditional, text-based programming language (Arduino Code).
What Can I Do in Scratch?
A lot of things! Anything from simple games, visualizations, to silly animations for fun or for storytelling, or both! You can use premade assets or import your own sounds and images! Your only limitations are the code and your imagination!
It can look a little daunting at first– but don’t worry. Playing and experimentation can help you understand the interface and blocks better.
Sea Turtle Jam Game
Check Out My Code on Scratch!
We are going to design a simple game in Scratch. This is based on Craig Steele’s Unicorn Rush game from DK’s Coding With Scratch 3.0: Projects Workbook. [Thriftbooks] | [ Amazon ]. The code is still relevant, even if the graphics are outdated with the current version of scratch. The objective is to make the sea turtle eat as many jellyfish as possible within a time limit.
First, Download these Assets:


This is our sea turtle and jellyfish. I wanted a more realistic looking turtle (and Scratch has no turtle assets), and jellyfish to match.
Setting the Stage:
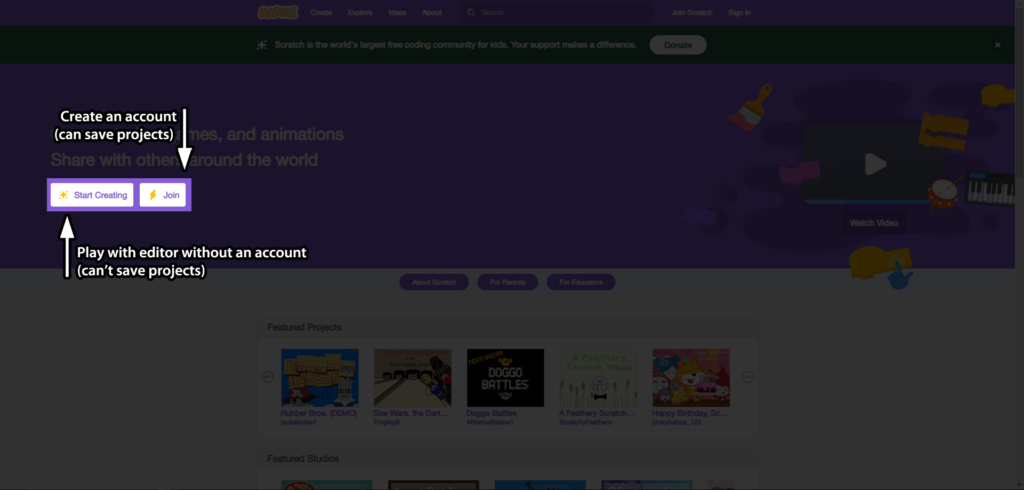
Next go to the Scratch Website (scratch.mit.edu), and either click Start Creating to create without an account, or click Join to make an account. Making an account is free, and great if you want to keep your projects.
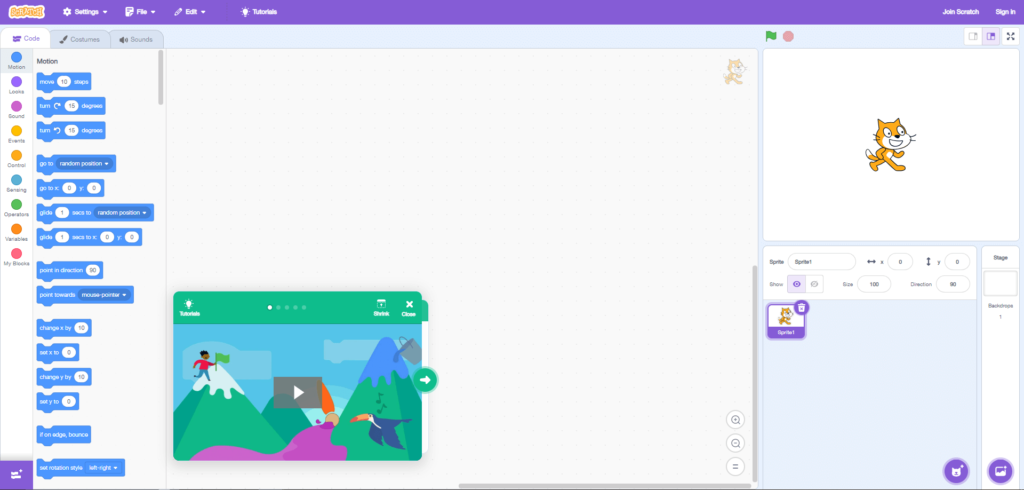
Regardless of what you choose, it will take you to the Scratch Editor. I recommend watching the little tour guide to help onboard you better.
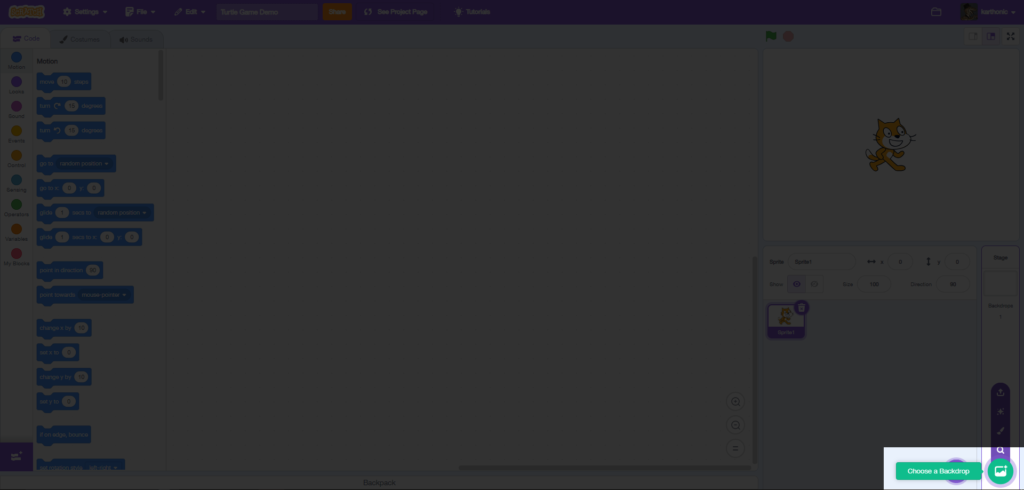
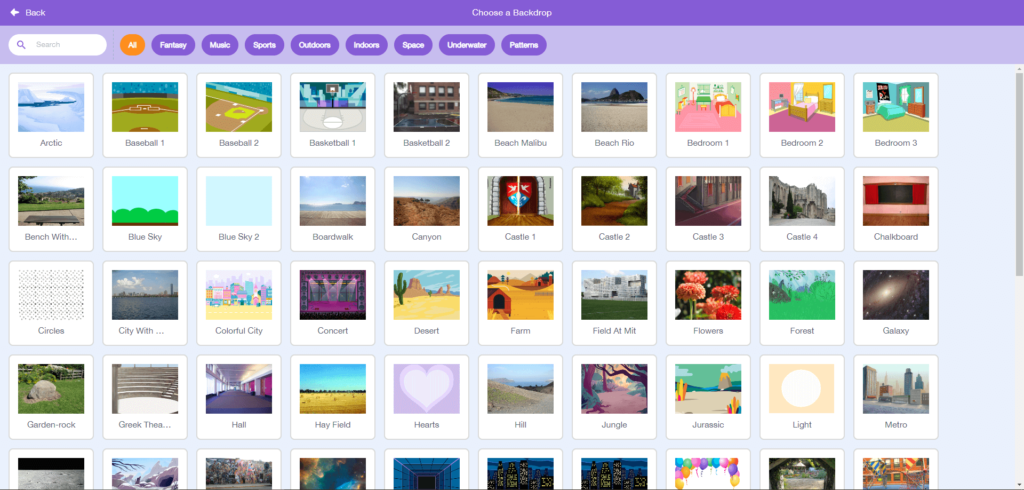
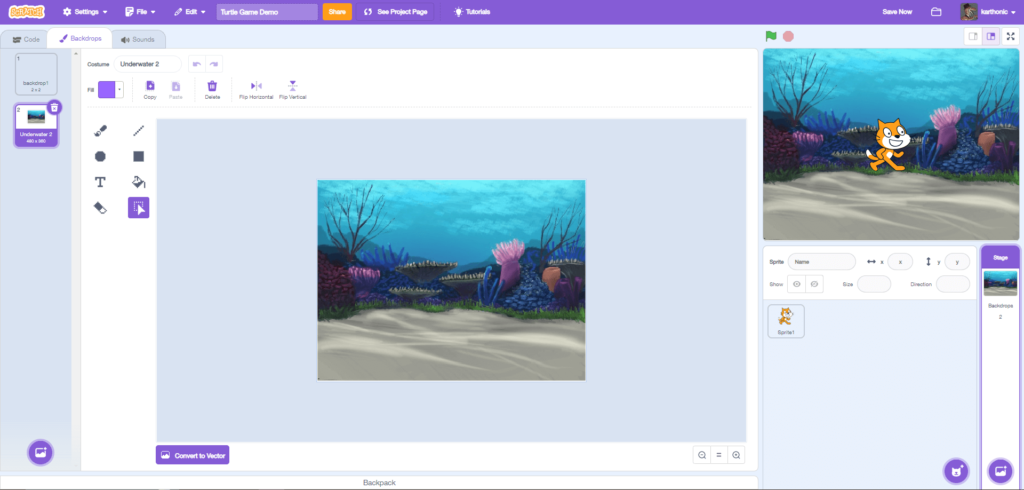
First we want to set up our space background– this is already a premade asset in Scratch!
On the far bottom right you’ll see a long, skinny rectangle dedicated for backgrounds. Select the purple icon to choose your background. There’s plenty of backgrounds, choose one. I’m staying in theme, using Underwater 2.
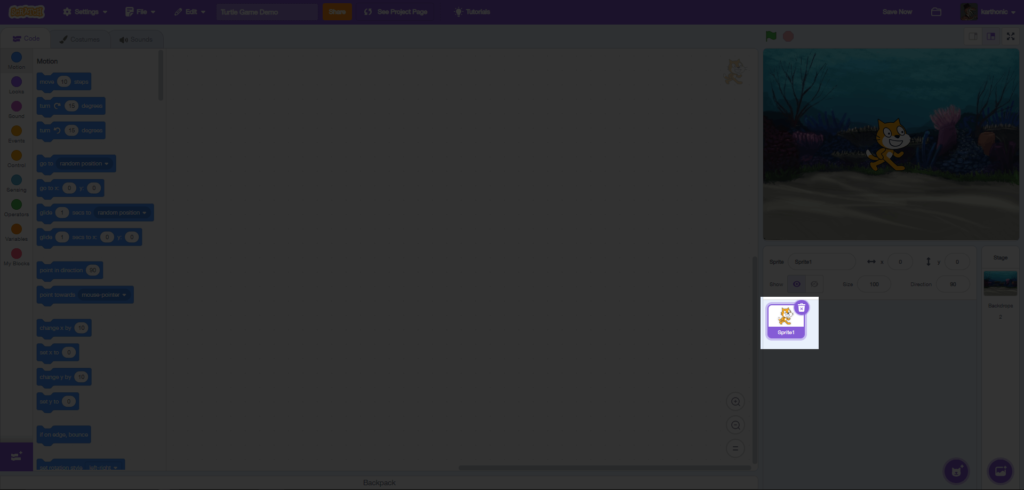
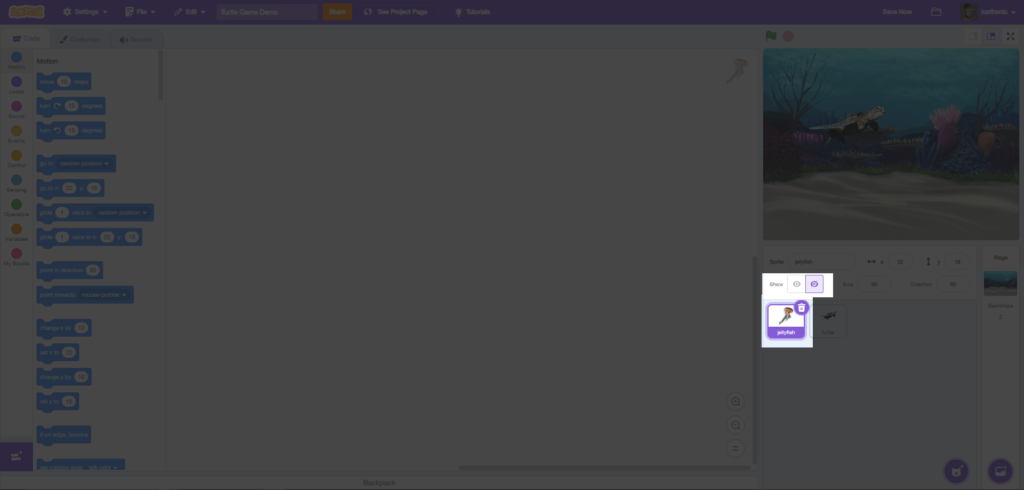
Next we’re going to have to replace Scratch-Cat with our turtle. Bye, Scratch Cat! Selecting Scratch-Cat on the lower right and clicking the trash can will remove them from the stage. Hovering your mouse over the Cat icon will give you options. You want the Upload Sprite option.
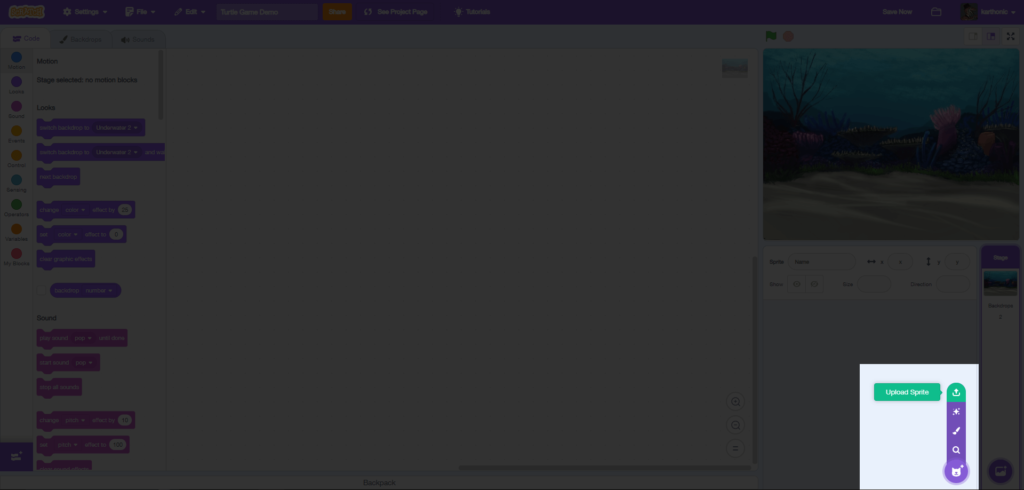
Select the turtle and jellyfish and both will upload!


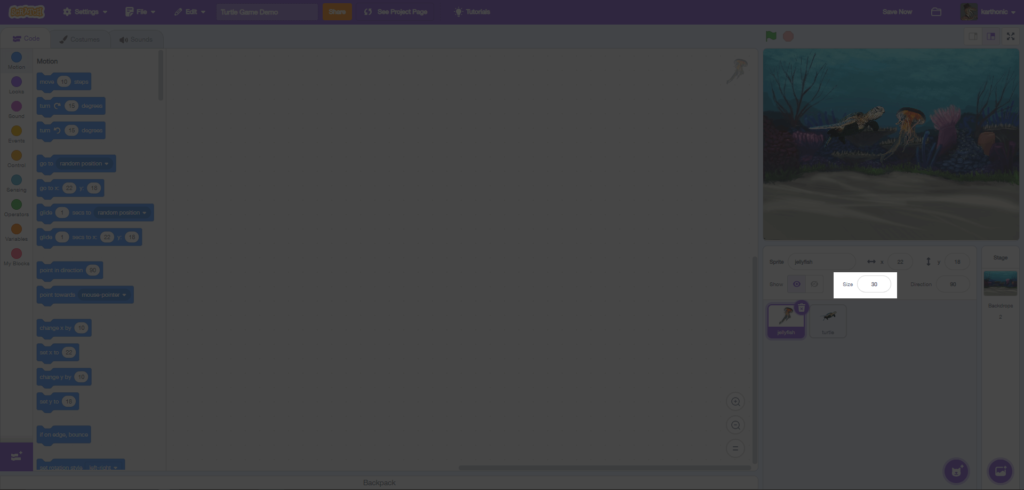
As you can see, our sprites are a little too big for our space– so let’s resize them. In the lower right pane, we can resize the sprites by clicking on each and adjusting the percentage. I adjusted both to 30 percent. Next, hide the jellyfish (for now) by clicking the icon above it.
Setting Up the Turtle:
Now, we want to set up the base code and the turtle’s actions. Make sure your turtle is selected!
On the left side, you’ll see the code blocks are organized by color. We need Events (Yellow), these are blocks to help determine how our program will start. For us, we want it when the Green Flag is clicked. So when we click the green flag on the page, it will always start. We will also need blocks from Motion, Control, and Sensing to start our code.

To add code, drag and drop in the workspace, to remove a block, drag it off the workspace.
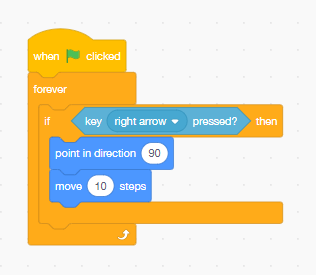
Here are the blocks for one direction. In pseudo-code we’d say: When the green flag is clicked the program will start. While the program is running, when you select the right arrow key, the turtle will move 10 steps forward and point at 90 degrees.
But we need to repeat this for each direction.
If you run your code you might see the turtle is flipping around weirdly. Let’s Fix that. We’re going to add something between the start and code: Set rotation style: left-right.

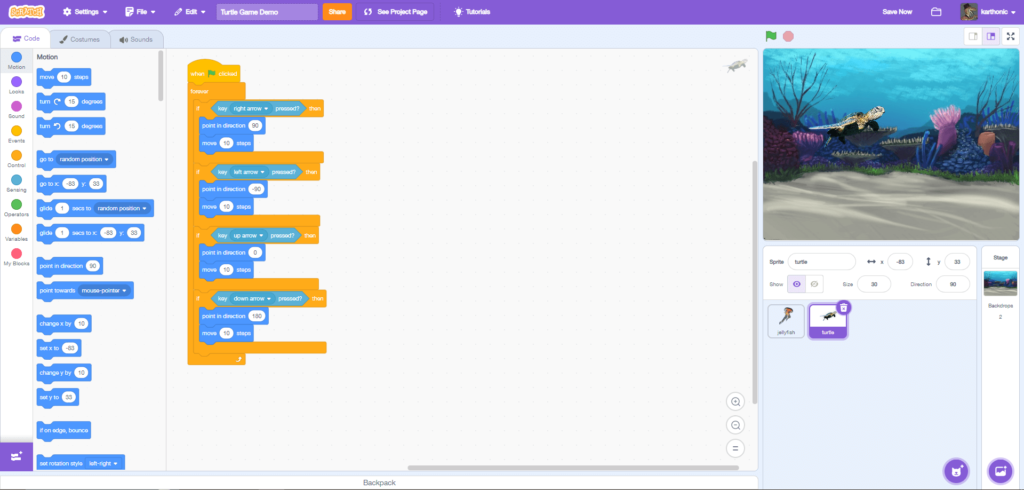
In pseudo-code we’d say: When the green flag is clicked the program will start. Our sprites will rotate left to right. While the program is running, when you select the right arrow key, the turtle will move 10 steps forward and point at 90 degrees. When you select the left arrow key, the turtle will move 10 steps forward and point at -90 degrees. When you select the up arrow key, the turtle will move 10 steps forward and point at 0 degrees. When you select the down arrow key, the turtle will move 10 steps forward and point at 180 degrees.
Run the code (the green flag on the upper right) to make sure everything is working.
(Bonus: If you don’t like the turtle hiding the edge, add the block if on edge, bounce.)

Setting Up the Jellyfish
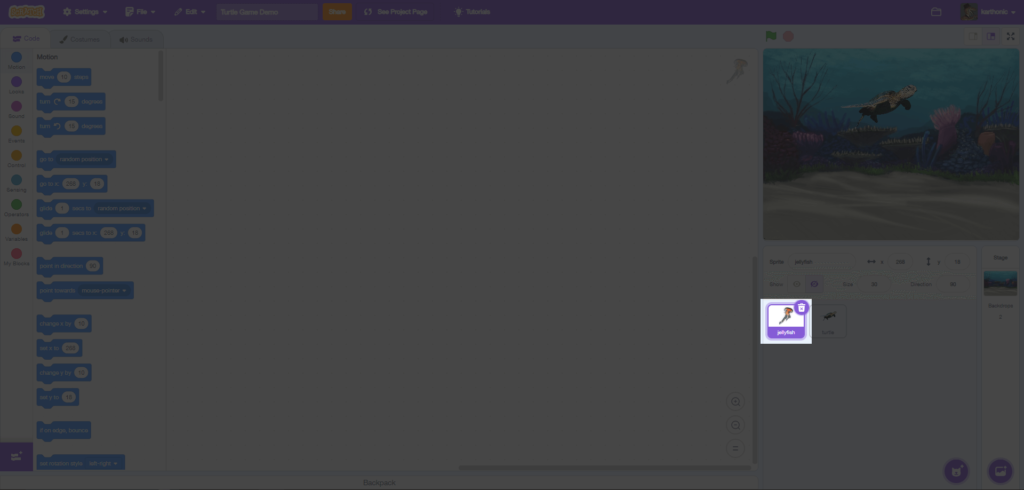
Now select our friend the jellyfish so we can put some code on them.
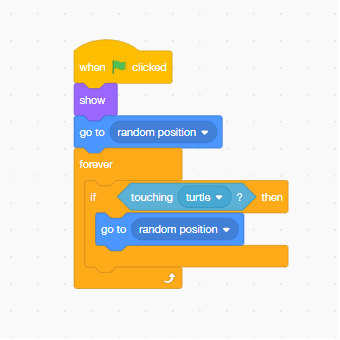
In pseudo-code we’d say: When the green flag is clicked the program will start. While the program is running the jellyfish will reveal itself and appear at a random location on the screen. If it is touched by the turtle, then it must go to a new random position.
Run the code again to see that when you move the turtle to the jellyfish, it moves to a different position.
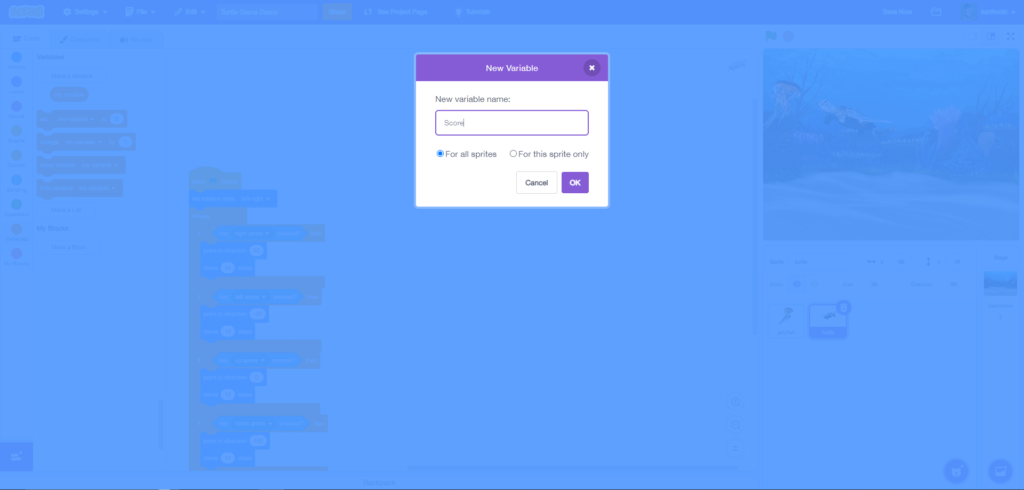
Set the Score:
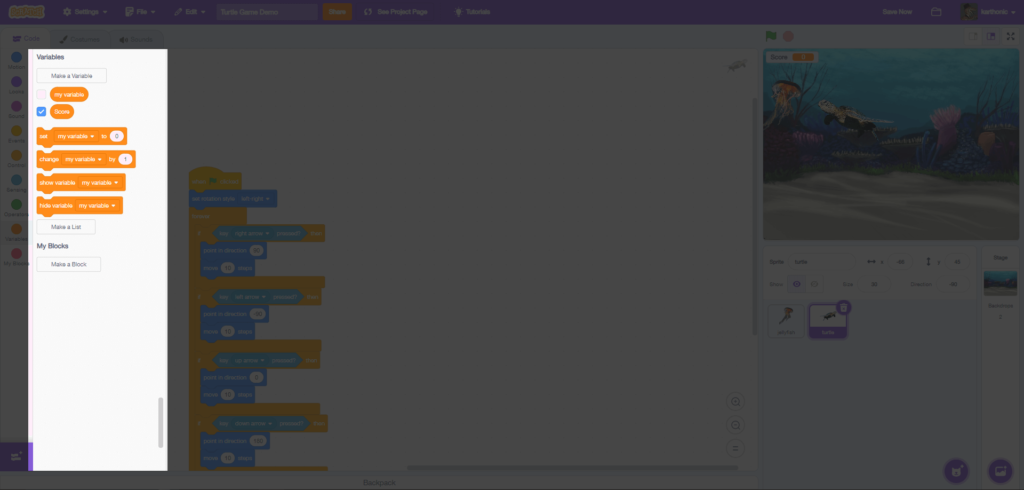
Finally we need to set the timer and the scoring system in. We will need to create a custom Variable. When you go to the Variable section, you’ll see a dialogue box that will allow you to name it. We’ll name it Score. It will pop up in the Variable page.
Select the jellyfish. We’ll be adding more code.
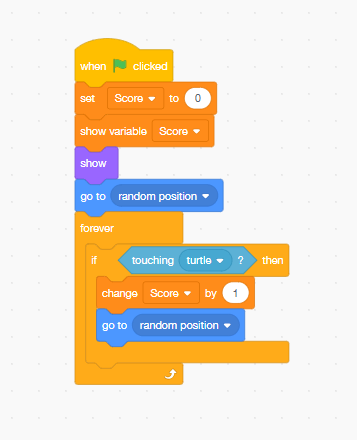
In pseudo-code we’d say: When the green flag is clicked the program will start. Start the Score at 0 points and show it on the screen. While the program is running the jellyfish will reveal itself and appear at a random location on the screen. If it is touched by the turtle, then add +1 to the score and go to a new random position.
Next we need to add a timer. While still in the jellyfish’s code, we’ll add a second block. It does not have to be connected to the main block. This is our timer.

In pseudo-code we’d say: When the timer is more than 10 seconds, hide the jellyfish and stop the program.
Congratulations! You’ve just made your first game in Scratch!
Bonus Challenges:
- Can you make the turtle reappear on the screen when hitting the edge?
- Can you add a visual timer to count down the time left?
- Can you add music and sounds?
(Spoiler: You Can! Hint: Check the Background character for the code!)