This is all the progress i made with my Gamemaker game. I spent most of my time working on the swing for the character trying to figure out how to get a top down character to swing in a circle make sense it works decent so far there probably still needs to be some adjustments to the release speed but overall it feels fun to use.
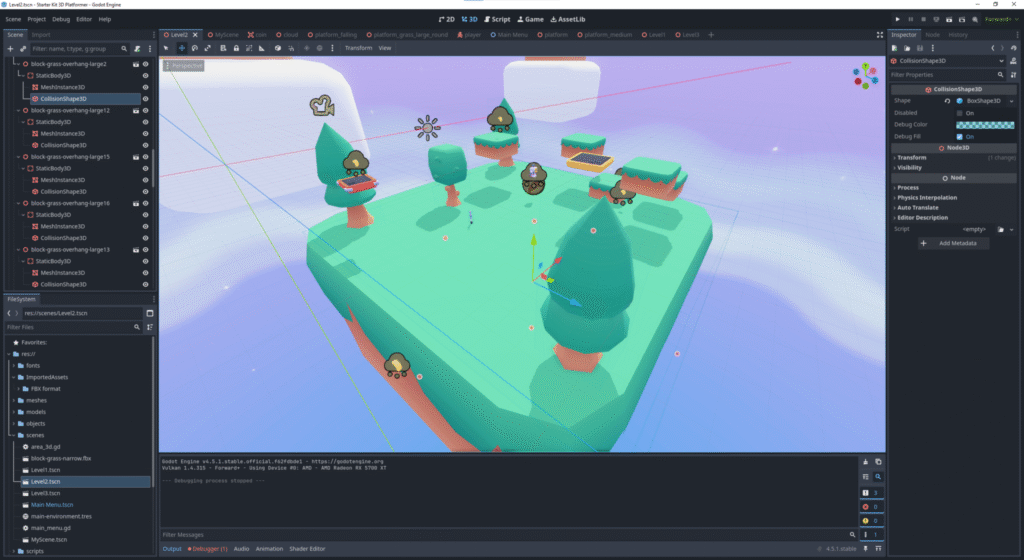
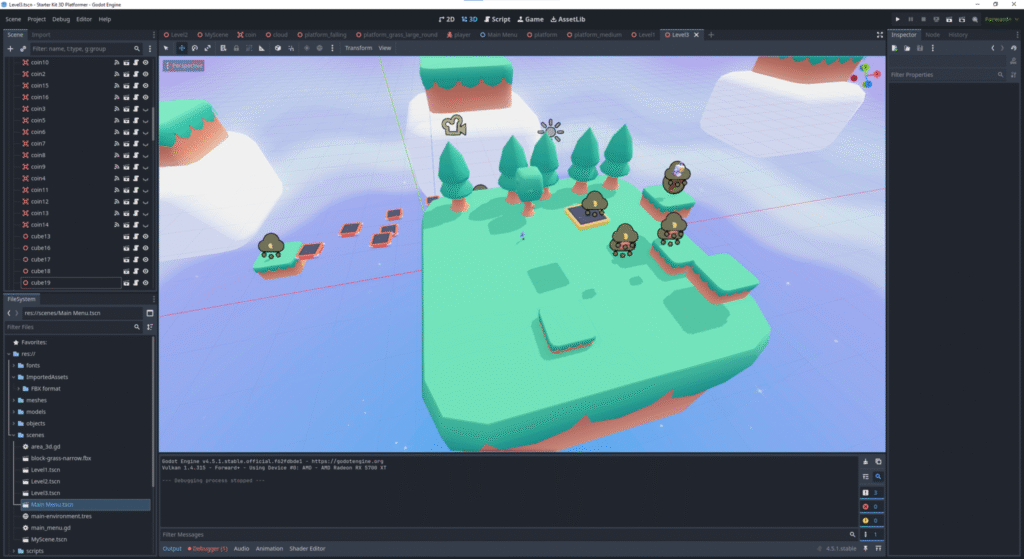
I Unfortunately wasn’t able to pour as much time into this game as my others but it was still a valuable learning experience. I spent most of my time getting familiar with the Godot engine. For creating the scenes i pleasantly surprised to learn that Godot has a feature that allows you to take place your blender files directly into Godot so that made setting up the scenes a bit easier since I’ve used blender a lot more and could first arrange them in there then carry it over with ease. Still a lot that could be improved especially with the camera for the player controller i tried changing it to be more reliable but I just didn’t have enough time to get to where its not annoying to use.
added in a free 3D platformer character with animations changed the initial player controller to also have a dash that I mapped to the shift key or right trigger on a controller. Also made it so scene transitions are triggered after touching the flag when you get enough coins
Working on an idea for a top down platformer. The concept is that your something like a frog trying to navigate a pond. you have a charge jump and the grapple is your tongue. I’ve been messing with the swinging physics to make it feel smooth especially when in combination with the charge jump that launches you at a variety of speeds. I also set up a 8 direction character with idle walk and jump animations.
This twine game started with me having a very simple idea I just wanted to make a story where you are running from something and trying to escape. My original idea started in a haunted mansion of sorts. and I was going to create the entire story myself detailing each section and every decision even allowing you to go back to certain sections.
I decided to flesh out this idea and continue on with it introducing a new major concept that I really liked. The monster or whatever was chasing you would have a distance value and based on the choices you made you would add or subtract from your distance and once it hit zero the monster would catch you and the game would end and similarly if you made it to the end without them catching you then you win.
My early versions of this worked decently but dealing with the monster catching logic felt weird and creating the scenes felt like I was a bit in over my head. I’m sure I could have done it if I had put more time into developing the story but I honestly wasn’t that interested in creating a unique set of questions and scenes for every single choice box so instead I decided to revamp it and try to simplify my process.
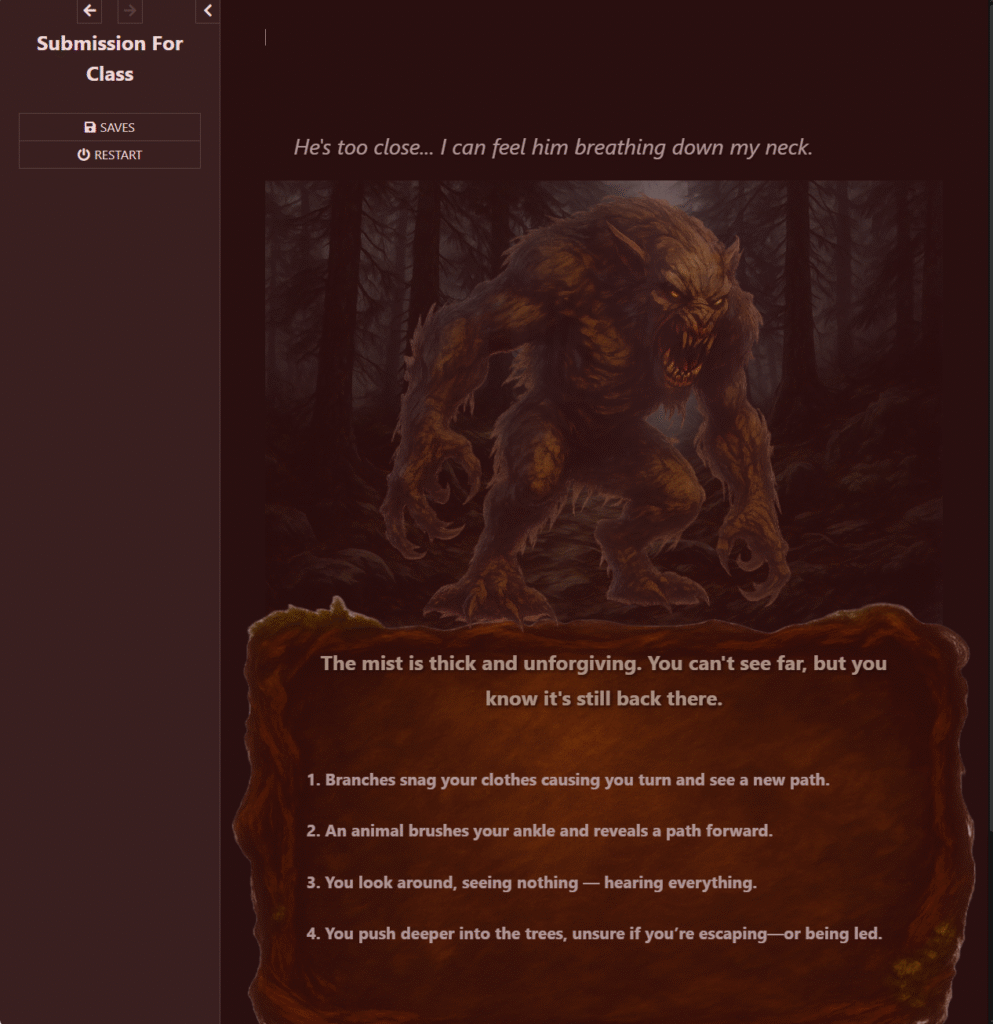
With this new version of monster chance i decided take the scenes into a forest that you needed to escape instead and I used ai to create very generic quotes of decisions the player can make that I then chose the negative positive or neutral values for to progress the story. This was obviously much easier than making much more detailed story with specific twist and turns but the problem was it was way too generic, and I was still creating each choice box individually one after another. My original plan was to create 50 choice boxes, and I quickly realized how insane that was and decided I needed a new method. looking at my setup, I realized all my choice boxes were pretty much the same I had a statement that made a comment on your setting then gave you choices of what to do next and it updated the distance. So, I decided I would try making one giant loop that would handle everything. And with that the new system for my monster chase game was born.
Before I started working on the new version I AI generated some art I could use for the game. I wanted to have the monster appear on the screen in some cool way and i knew since I had the distance value already for keeping track of the monster, I could use that value to change the opacity of the monster image that I would label on top of the backgrounds and in my opinion it’s kind of cool to have the visual representation of the danger making it a bit more immersive.
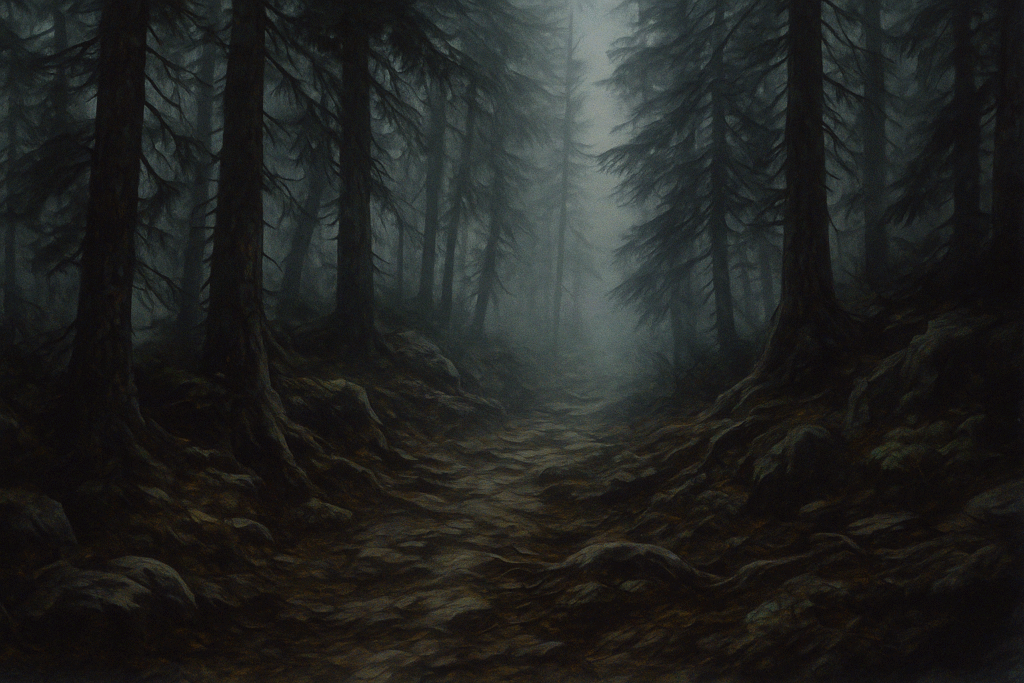
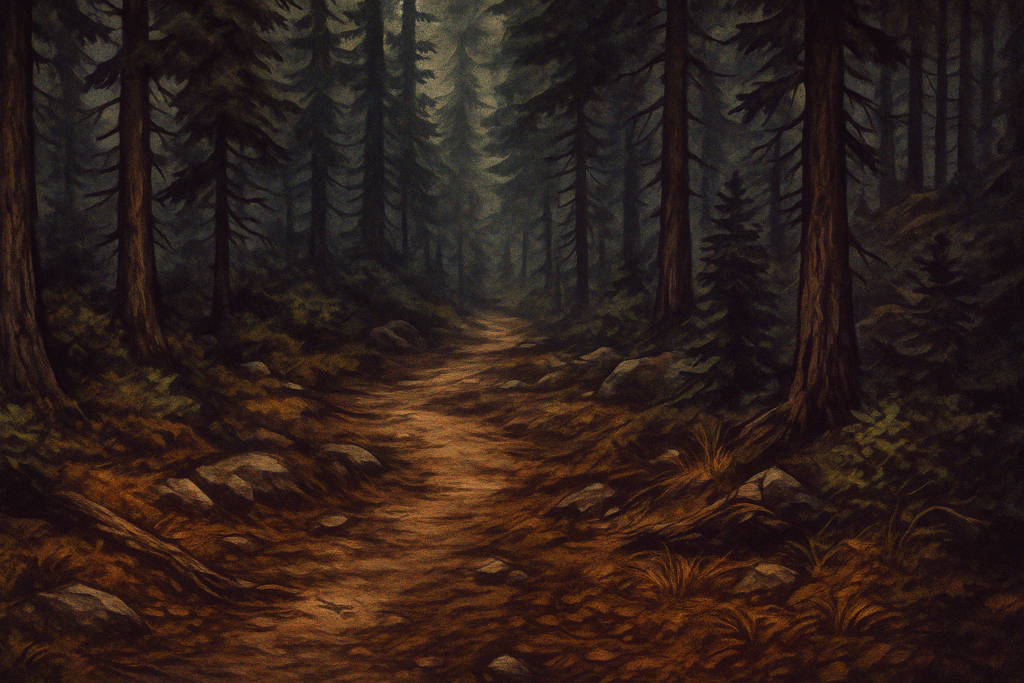
At this point in time, I was very sure of what I wanted to do so I generated 6 background images that I would use to transition the game just to add some variety, so the story actually felt like it was progressing, and you weren’t just spamming choices nonstop. I also generated a text box to hold the choices for some visual appeal. I was originally going to use realistic images for the backgrounds monster and text box but It felt difficult to find things that meshed well together especially when trying to find different scenes for the forest, so I decided on this instead.
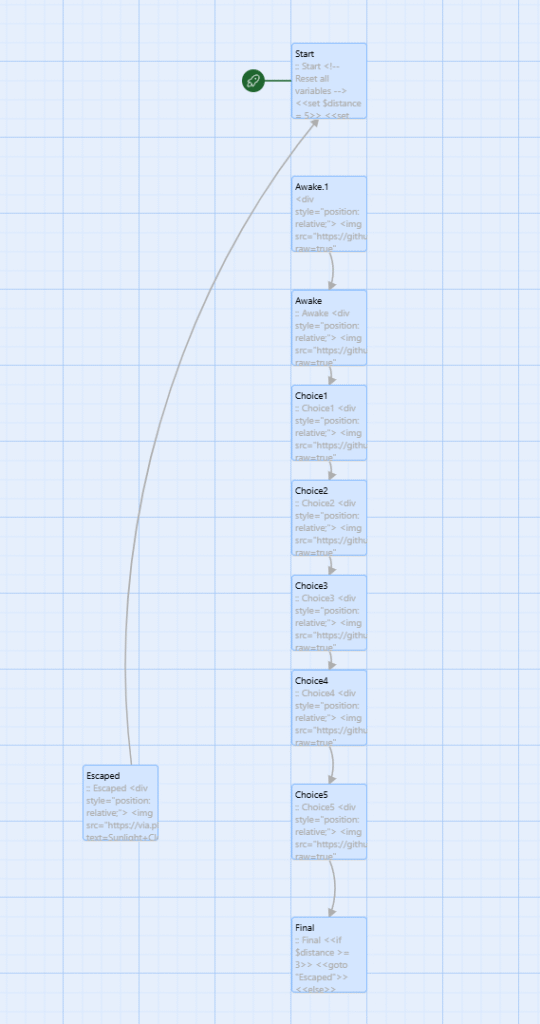
This is the final design of my story so much simpler than where I started and its primarily because all of the choice box creation is made using premade information stored in the setup passage. Display scene and render choices handle all the information and styling off the choice boxes.
here in the display scene I store all the links for the backgrounds. I used GitHub to store all my images and easily link to them into twine.
The display scene handles the outline of the images and then it links to the render choices widget and where I handle everything pertaining to displaying the choices.
Using the render choices widget i was able to make things a lot more complex somewhat easily. I render out quotes for each choice based on a list that I premade every section has 4 list of premade quotes(negative, positive, neutral, and item) I haven’t finished dealing with items but its something I intend to work on more and implement later. Using the Setup box I premade a lot of randomness into the game not just for the types of quotes but also for the numbers I want to allow in each section. I made it so there is randomness for the numbers each quote hands out so I cant even always be sure what’s going to happen from a selected choice.
Here i have the base numbers that can potentially be assigned in each section and an example of the premade quotes logic I used for the first part of the game each quote also has a debuff and a multiplier I wanted to implement lasting effects from quotes but again that’s something I ended up leaving out for now to be explored later
here i have thought quotes based on the distance from the monster to add more immersion that i display on top above the background and on the right you can see the allowed patterns for some stages that i use so I can have some control over the randomness this way i can avoid a game full of nothing but positives or too much negatives. I had my friends playing this game nonstop and the numbers and quotes needed to be tweaked a lot to make it actually interesting. A major issue was that I made all the quotes that are negative or neutral sound way too obvious, so it made no sense to pick them over the positive ones ever. I went back and tried to generalize the statements more while occasionally giving you an obvious line to stay away from or to pick. Also adding some negative values to the positive questions and neutral questions helped a lot as well to mix it up and they responded to it well.
The next major thing I added was an overlay widget. I wanted to add some more oomph to the choices and make the player get more of a sense they had done something this was recommended to me by a friend I had testing the game who said it would be nice to have some idea as to whether or not you made a good or bad choice. I used the distance again for this I created a check for what the distance was before a choice then once a choice is pressed, I check again to see if it went up, down, or stayed the same and either flash green or red depending on what happened.
Lastly, I implemented a very simple ending system if you get caught it will display a caught scene depending on where you got caught and if you die at the beginning or right at the end, you’ll get the “too soon” or “so close” versions. If you escape, you’ll get speed runner if you’re really far from the monster, just barely if your close, and anything else will give you escaped. This is another thing I have plans to make much more complicated with ideas already in motion such as a gun type item that if you get caught lets you attempt to shoot the monster and if you get lucky and kill him, you’ll get a special ending. But that’s all for now.
Started messing around with basic platformer mechanics and level design I’m considering just making a Mario style platformer. As I keep working on it if I still like the idea, I want to add some more advanced mechanics like wall jumping and ground pounds. In terms of the levels the first thing I’ll probably continue with is creating a basic mob that just walks back and forth.
This is my character for my Gamemaker game so far. I tweaked the design of a sprite I had found from many years ago. It was originally for a scratch platformer I was making in high school that I never finished. The design is overall pretty random, but the upper part of the head was inspired by Harley Quinns costume.
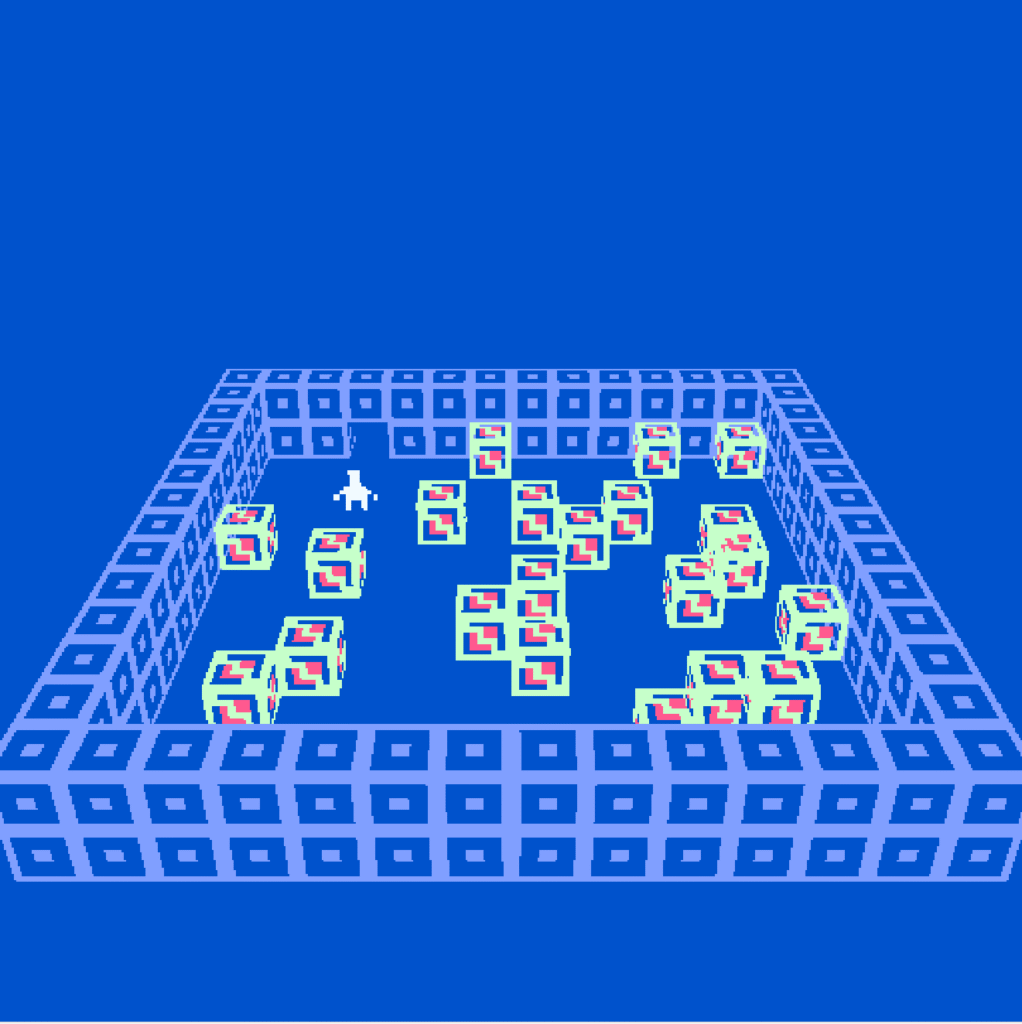
This game went through an unbelievable amount of phases as someone who has spent a lot of time working in unity and a little bit in unreal engine I was immediately put in a very jarring position when I couldn’t do any of things that I felt so comfortable with previously. I still consider myself a new developer and as such I have a hard time containing my ideas and being realistic at times but I’m glad I didn’t hold back this because even though bitsy kept me in check with its inability to do certain things I found myself still able to attempt to go above and beyond but in a more streamlined way. I looked all over the internet for ways to get around bitsy limitations and it led me to the many hacks created by talented developers instantly when I saw the 3D hack in particular specifically the one that allowed for more colors, I was ecstatic. I looked at various games people had made using the hack and I was fascinated. Although I had many ideas for what I wanted to make in bitsy, with the limitations, online search results, and small testing of my own I settled on making some sort of puzzle game more specifically a puzzle game involving pushing blocks. This idea came from the discovery of another very crucial hack to my finished product the “PushSpritesHack”, with it I was able to be confident in starting actual testing of mechanics.
At this stage in development I thought it would be really cool to create entire 3D block puzzles that the player would have to solve. Similar to games that would take image, mix it up, and you as the player would slide the pieces around to put it back together. However, with this new idea came new major problems. The biggest of them all being bitsy does not allow you to reuse sprites and push sprites hence the name doesn’t allow you to push tiles which are reusable. This means every single block puzzle I wanted to make would require me to make every single tile individually and even making that chicken which I considered relatively simple and easy took somewhere between 30 to 40 blocks and cluttered game files with sprites and I made the inside hollow. The next major issue was that I had no way to verify if the puzzle was completed which my friends suggested I could’ve done the honor system for, but I didn’t want to settle for that. For the second issue push sprites had somewhat of a solution push sprite has an embedded way to check where the sprites were and run dialog when all the conditions (Target states) were true and if they went back to false. I have a feeling i know exactly how to set this up properly now but trying to figure it out at the time seemed like an impossible task I struggled for hours, days even trying to understand how to properly name and set up the code to have dialog run when the blocks were in the right place and try as I might it did not work.
THEN FINALLY A BEAMING RAY OF SUNSHINE CAME OUT OF NO WHERE. This great man going by janosc on itch.io made a game called animal husbandry where he not only used the push sprites hack but successfully got the checks working AND DOCUMENTED HOW HE GET IT TO WORK. However even blessed by the gods I still couldn’t figure out how to get it to work despite going WORD FOR WORD. Then I realized he was using a third hack called javascript dialog O______O. Again hence the name it allows you to run javascript in dialog. With this I thought I was finally going to reach greatness but nope still couldn’t get it to work AFTER HOURS. I even tried getting ChatGPT to tell me why his worked and mine didnt and basically to sum it up it said its because I was using bitsy 3D but knowing what I know now I don’t believe that was the case especially since I don’t think checking the location of the sprites has anything to do with the different renderer bitsy 3D uses especially since its just rooms layered on top of each other. All the sprites still have a room #, X coordinate, and a Y coordinate to tell you where they are but this is a problem ill chase another day.
With all that said I resorted to doing what all great beginner game devs do I copied his entire file and changed everything in it slowly until it made sense to me and worked for my game 😀 . At this point I had completely given up on bitsy 3D, bitsy color, and bitsy HD. It was hard letting go of trying to make the puzzle game in 3D especially since I liked the idea and the visual aesthetic of bitsy 3D so much but with all the issues I was running into I had to make a change. I considered going back many times especially once I got the conditions work for the first time but I resisted the temptations in the end and made the first real prototype for Just Another Push.
I Just put everything I thought I could use to make cool puzzles in one test area I wasn’t sure at first what things would look like and but trial and error put me in a decent spot. In this scene I had sized blocks that could only pushing blocks of their size or smaller, blocks that could only move on 1 axis, Blocks that could only be pushed by other blocks not the player, and 3 types of walls Fences that allowed blocks to pass, gates the player could walk through, and borders that stopped everything. creating 1 axis blocks required some finessing push sprites didn’t have that function by default.
Function I used to check for sprites with the XOnly or YOnly in their name
After the Axis based sprites, I went on to add in teleporters then I redesigned some of the wall types, and created Goal tiles to show the player where to put the cubes in order to trigger the win con.
With all the blocks and Walls setup or atleast at the time what i thought was all the things i wanted to add I moved on to making tutorial rooms. For this I used the help of two amazing tools. Being photoshop and pixsy. pixsy is a tool made specifically for bitsy that will take an image and convert it to just two color values and create a room in bitsy for you from that image. You can take this a step further by using photoshop. First you make a document exactly the size of a bitsy room 128 pixels by 128 pixels since bitsy is 16 by 16 tiles and each tile is 8 by 8. I searched online and some people recommend using bitmap since bitsy only uses two colors but if you use that you wont be able to add in images so I stuck to RGB and just made everything black and white before importing it. adding grid lines was a great help as well to know where every individual block is.
These tools allowed me to quickly get 10 rooms up and running for the tutorials and from there I just tried my best to simply explain how the basic mechanics worked. I figured for the Game Jam I could just have people play the tutorial and see how well it worked before I started making levels. However even though I now had ten finished tutorials that all led to each other and functioned with the start lobby and could be completed there was one major issue. Before I even submitted my game to the Jam I had my friends playing the tutorial levels over and over. And like always with my biased developer view I couldn’t see the alarming amount of ways to get yourself completely locked and unable to do anything but restart the page. My friends did things in ways that I wouldn’t have even thought of and despite some of the decisions being blatantly ridiculous the possibility to make the game unplayable was there and i had to change that. This was also an issue in the animal husbandry game that I took inspiration from the developer himself said there was no way in bitsy to reload rooms and no hack created by the community that did this either. This meant that I was going to have to find some way to create a script on my own that reloaded scene so the player could undo unfixable mistakes. At first I simply tried making levels that couldn’t be broken and through testing with my friends I was able to make significant progress but the reload button was still a necessity especially for tutorial levels where I definitely wanted the player to be able to mess up so that they could learn what the right thing to do was much faster. To put it simply making the reload button was a horrendous hassle, but I realize after awhile that I was overcomplicating the situation I was trying to dig into bitsy renderer and refresh the room to its original state which maybe is possible but it wasnt necessary at all for my game. After struggling for so long i realized the only things that will ever move in my game are the Avatar and the sprites all the tiles for walls and whatever else would never need to be moved. So instead of trying to reset the room all i need to do put the sprites back to where they were at the start. Theres probably a way I could have done much better by creating a function that dug into the script and found the names and recorded their positions and then changed them when it was time. BUT INSTEAD I hardcoded all of it
this is how it started out of sheer desperation I wrote down every individual sprite and their positions that I wanted to move back and stored them in a variable then when the condition was met, I reset the positions.
clearly very tedious BUT IT WORKED!!!
with that the tutorial was fully playable with no issues (that I know of :D)
Unfortunately, I didn’t get my game on itch before the game test in class on Friday, so I didn’t receive much feedback. One person let me know that they really liked the game so that at least gave me confidence the concept was worth pushing for. Through further playtest with my friends, I updated the design of the reload button since my first one was apparently “ugly” and made the words in the tutorial levels stand out more using flashing arrows.
To wrap things up so far I’ve added 10 levels with the help of my friends to make the difficulty increase at a somewhat decent pace it definitely ramps up more than I will have it in the future but I think its good for now since there’s only 10. I changed the character sprite to a cute jelly creature with an up and down animation. Theres also a lobby now so the player can easily navigate to all levels and I added some cool effects to the start game area and fixed the unfortunate typo that said Left to Start when you definitely had to press right. I added in two more hacks as well “AvatarbyRoom” for the start menu dot thing and “Transparentsprites” so the tiles can be seen through the blocks I think they both add a nice touch. I had to spend some time changing the hacks A LOT to make them work, stacking so many of them together was causing some issues. In the future Id like to come back to this game and add a lot more to it. levels, a proper lobby, music, etc. working in bitsy as a annoying as it was at first became a fun and simple process once the headaches were gone and I could just spend time building. I’ve promised myself ill return to this game and finish it but for now its on to the next project.