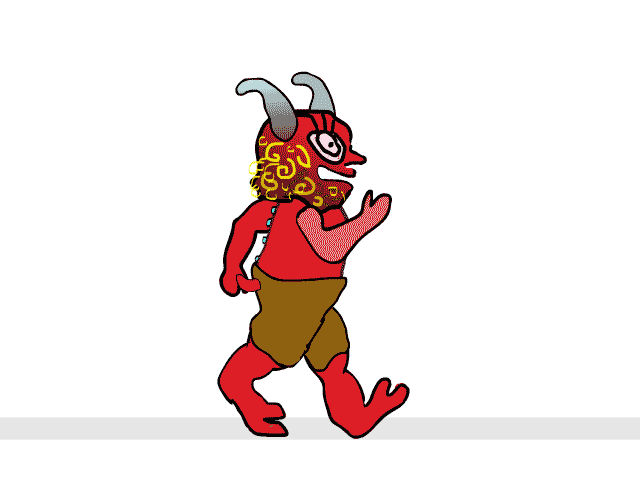
12 principles applied: follow through & overlapping action
Follow through & overlapping action can give your character weight and personality. This principle reinforces the idea that an animated character exists in a world bound by physics principles.
The two terms are closely related:
- Follow through: Loosely connected parts of a body/object is always a few steps behind and will continue to move after the character has come to a complete stop.
- Overlapping action: Different parts of a body will move at different rates based on their location and mass.
Follow throughs and overlapping actions are usually added after the main body parts of character have been animated. The straight-ahead technique is often a good solution for these extra details.

Cleaning up and coloring your work
The power of animation lies in the relationship between multiple frames rather than in the beauty of single drawing. In order to get the motion right, we often use a lot of overlapping lines and should avoid getting too precious about any given frame. There’s no color involved in early versions of an animation either.
However, once we’re happy with a sequence, cleaning up our lines and adding color is an important step of the animation process
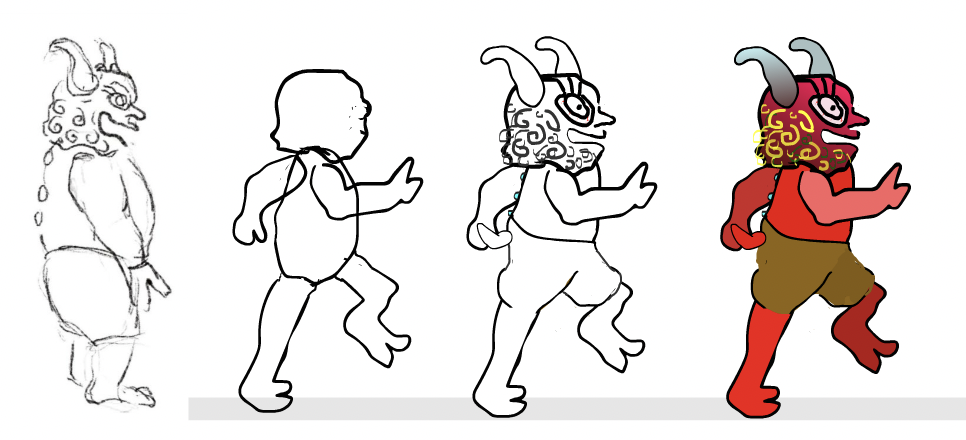
Cleaning up your frames in Animate
Cleaning up your rough animation frames will make your animation clearer by replacing tentative, overlapping lines with a single solid one. It’s also an opportunity to fix small errors or inconsistencies (i.e: volume).
Always work on a new layer.
It may be easier to use the Pen *Keyboard shortcut: P (if you need a refresher on using the pen tool, try this game: https://bezier.method.ac). For simple shapes you may consider using the Rectangle *Keyboard shortcut: R, Oval *Keyboard shortcut: O, and Line *Keyboard shortcut: N tools
- Keep the color, stroke width and style consistent with the other strokes in your drawing.
- You can change a straight path into a curve with the Selection tool *Keyboard shortcut: V: over, click and drag on the path you wish to edit.
Coloring your frames in Animate
Once you have a clear set of lines, you can add color to your frames. A well thought-out color palette can really help your character stand out and reinforce some of its personality traits (bright colors for a happy-go-lucky character vs. muted/dark colors for a villain).
First, pick all your colors and save them in a color palette (or group of swatches):
- Select Window > Color
- Select your first color and click on the Add to swatch button. Repeat for each color
- Select Window > Swatches.
- On the Swatches tab, click the New Folder icon to create an empty palette. Don’t forget to give it a name (i.e: the name of your character).
- The colors you recently created/added should be on the last row of your swatches. Toggle your newly created palette and toggle it so you can see its content (currently empty) and drag and drop each swatch into it.
Now that you have all your colors selected you can use them to fill your drawing with the bucket tool*Keyboard shortcut: K:
- Select the bucket tool
- Click on the fill swatch and select one of the colors in your color palette.
- Click in the area you want to fill. You will only be able to fill closed shapes. If an area doesn’t fill as expected it might be that there is a tiny gap somewhere – zoom into your drawing and close the gap. You can ask the bucket tool to automatically close gaps of a certain size:
- Click and hold the Gap Size icon and select the size of gaps you want the bucket tool to fill.
- If you want to use the bucket tool to fill an area that isn’t (or is only partially) defined by a stroke, you can create temporary demarcations:
- Activate the pencil tool *Keyboard shortcut: Shift + Y
- Define the area you want to fill with a color that you are currently aren’t using anywhere else.
- Select the Bucket tool and click inside new shape.
- Select and delete the temporary outlines.
You can also use the brush tool *Keyboard shortcut: B to fill certain areas more organically (this will work better with a Wacom/tablet). When using the brush tool, pay attention to the Brush Modes as they will yield very different results:

Paint normal: the brush creates new marks without interacting with previous strokes/fills.
Paint fills: the brush creates new marks over everything except strokes.
Paint behind: the brush creates new marks only “behind” existing fills and strokes
Paint selection: to use this mode, you must first select one or several areas with your selection tool. The brush only creates marks on the selected area(s). This is a great option for shading.
Paint inside: this mode is similar to the selection mode in that it only allows the brush to create marks within an object. However, the brush will only apply marks in a single area per brush stroke.
Assignment:
Revise your walk cycle. Details here
Checklist
- View overlapping action and follow through video
- Revise your walk cycle in Animate to include clean lines and color, as well.
- Rendered your completed walk cycle as a video file and posted it to YouTube or Vimeo.
- Created a post on your OpenLab Portfolio with the video and posted a link to the Walk Cycle Revised discussion board
- Posted the fla file to Blackboard along with the URL for the portfolio post