
Welcome to MMA100 Week #8 & #9!
Here is this week’s useful information and class resources:
*Did you miss Week #7’s Post? Go Here
*Did you miss Assignment #3’s Details – There are 2 part? Go Here
* On 3/20 – we went to visit the Animation Tech-Talk – What did you think about the talk? What did you learn from the event? Did one person or piece of advise stand out? Please leave a comment here!
Our Mid-Term project begins!
Lets Design a Poster. Lets bring together the application of typography and imagery.
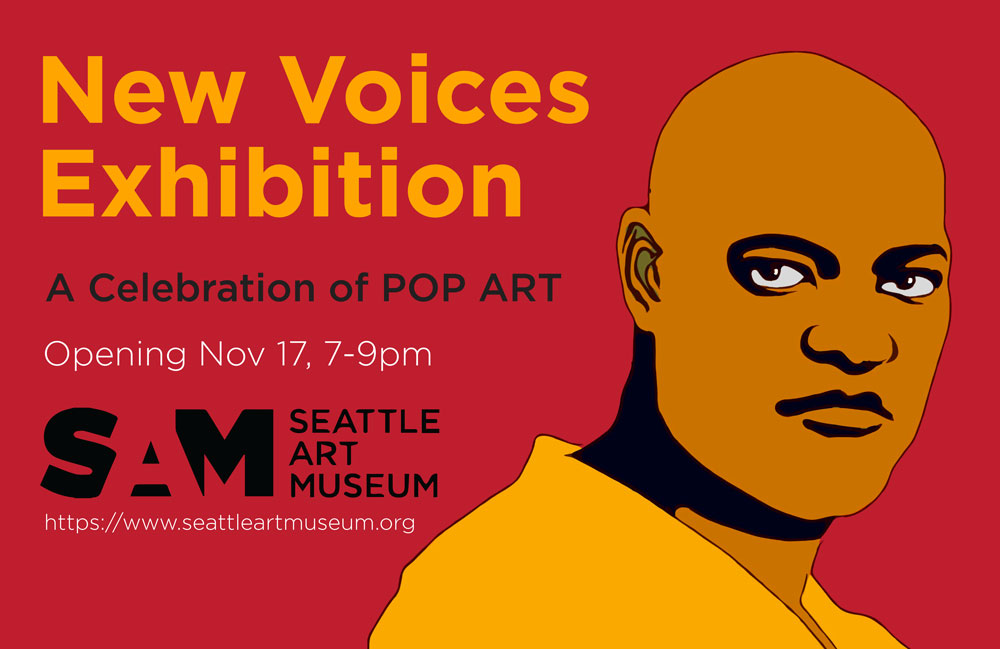
Museum Exhibit Poster (examples will be shown in class – as well as a series of Illustrator vector demonstrations)
Choose one or more of these styles/movements of art to create a poster using a SELF-Portrait:
POP ART, SURREALISM, MEXICAN MURALISTS AFRO-FUTURISM, ANIME/MANGA, POLITICAL ART, FAUVISM, AFRICAN MASKS, ANIME, VIDEO GAMES or (Another Style Not Listed Here or a Hybrid)
Process: Research! Find a series of images and references to work from. Save these images to your project folder. Create your self-portrait in the style of the Art Movement that you chose for a Museum Exhibition. It should be obvious which you picked WITHOUT seeing the title.
Your self-portrait IS the artwork for the Poster campaign you create for the exhibit. You must design the poster in 2 sizes – one landscape and one portrait orientation. I suggest 11”x17” (or smaller)
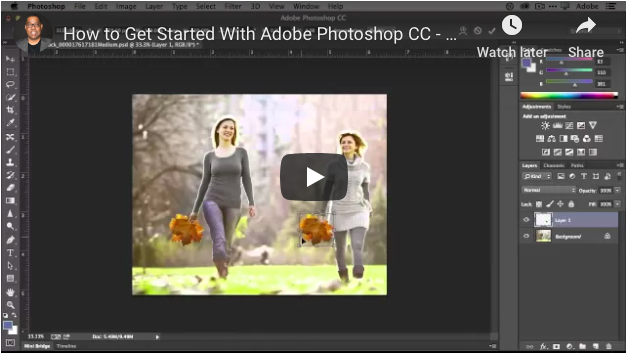
Your self-portrait must first be drawn in Illustrator and can be brought into Photoshop later for manipulation, like adding blended color, photos or effects. After you illustrate your self-portrait you’ll create a poster for the exhibit.
The museum having the exhibit you’ve chosen is: SAM, Seattle Art Museum. Find out more about the institution at this website: https://www.seattleartmuseum.org/visit/seattle-art-museum
For the midterm project please use the SAM logo as it is: (attached as a download link here) *feel free to re-recreate the logo on your own if you wish.
You may use any of the tools in Illustrator we’ve learned or explore and find new ways to draw. You can work from a photo in Illustrator as demonstrated in class. DO THE PORTRAIT FIRST. Then make the poster.
Minimum required copy/text for the poster is:
New Voices Exhibit
April 15th – May 30th 2019
Opening Reception, April 20th 7PM-9PM
https://www.seattleartmuseum.org
*(and the SAM logo of course)
Fonts and colors – are entirely student choice. Students may ADD copy, but may not delete from the minimum above.
Class Work Sessions and Critique – In class lab work sessions will be next week 3/20 – 5:30pm – 7pm and 3/27 – 5:30pm – 9pm – We will be printing our works in progress and discussing them on the critique board. The Class critique & evaluation for the Mid-Term Project will be on Wednesday 4/3.
***Updated – Final submissions of your two posters created in Illustrator will be saved and printed via .pdf file format (and I would like a .JPG file version saved via Photoshop – I will demonstrate on 4.3) both files will be e-mailed to me by Sunday 4/7/19 – rseslow@bmcc.cuny.edu ****
———— – – – – – – – – – – – – – – – – – – – – – – – – – – –
**Need Inspiration? Check out these links and tutorials below:
http://designbeep.com/2012/08/08/26-best-adobe-illustrator-portrait-tutorials/


Art Movement Resources:
https://www.theartstory.org/section_movements.htm
https://mymodernmet.com/important-art-movements

