
This tutorial shows the simple way to create a GitHub repository and upload files using the GitHub web site only. It’s meant to be a first step and a quick way to get your files onto GitHub and able to publish with GitHub Pages.
As you learn more we will see how to integrate your repository into your text editor and upload and download files and create commit messages directly from the editor without need for this.
This technique can also be useful if you need to add files to GitHub but are not at a computer where you have the GitHub Desktop app or an enabled text editor.
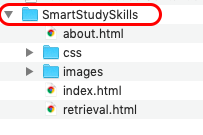
Step 1: Make Sure Your Files are in a Single Folder
You should always develop your web project files in a folder with all HTML/CSS/JavaScript/images/other media inside of the folder. See this post on basic folder structure for more info.
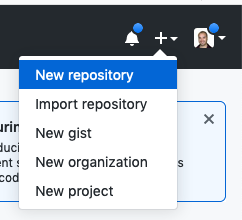
Step 2: Create a GitHub Repository
You will need to have a GitHub account and be signed in on GitHub in order to do this.
Step 3: Complete Repository Information
- Add a Name. The name cannot have spaces in it. GitHub will change the name to remove spaces or characters you can’t use.
- Select Public. If you don’t then the GitHub pages we use to publish the site won’t work.
- Select Initialize this Repository with a Read Me
- Select a License. We will use GNU General Public LIcense v3.0 in this class
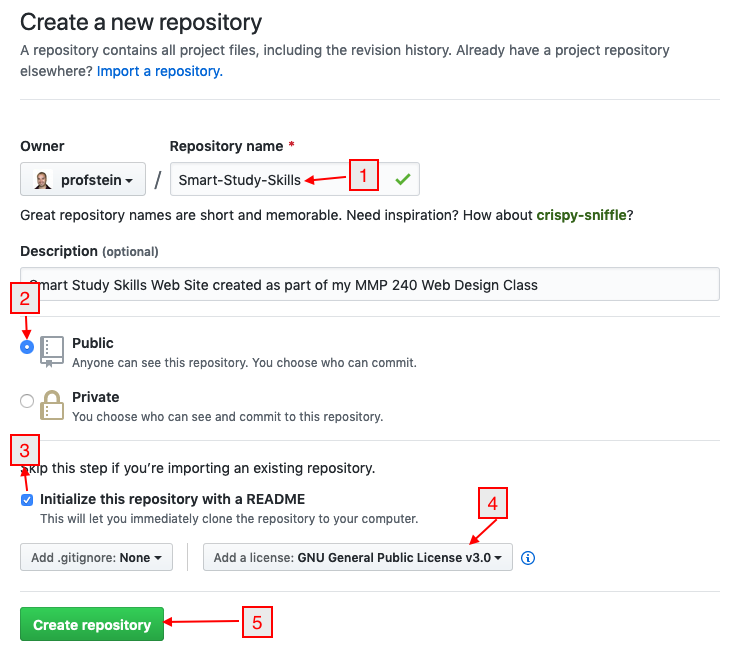
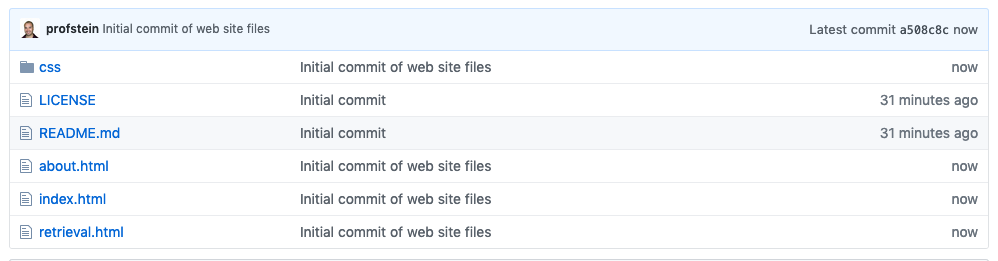
After you click Create Repository you will see your new repository (repo).

Step 4: Upload Files
There are two ways to upload files.
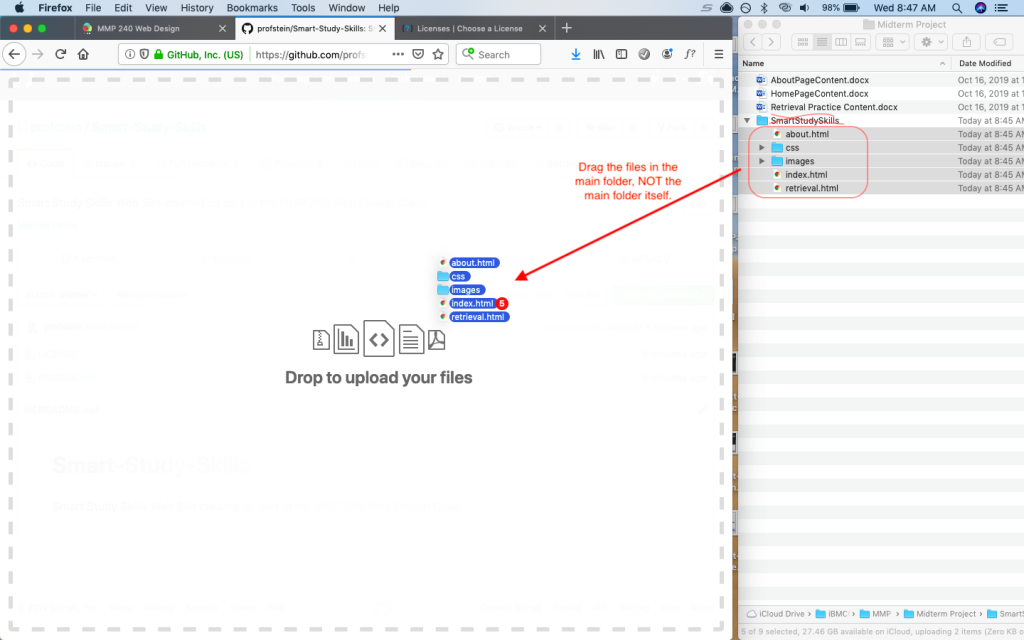
IMPORTANT: when uploading files DO NOT just drag the folder containing your site files. Instead you will only upload the files in the folder, not the folder itself.
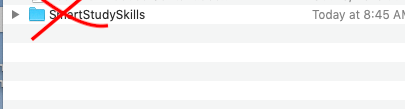
Option 1: Drag the files onto the home screen of the site.
Remember not to drag the main folder. Instead select the files and folders inside and drag those.
Option 2: Click the Upload Files button
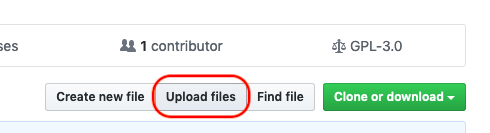
When you choose this option you can either drag files onto the web page or you can click on the choose your files link and use the system controls.
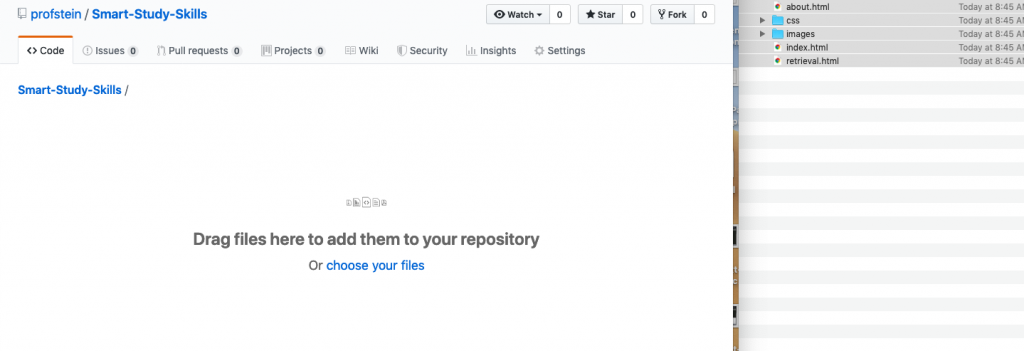
Again, remember NOT to drag or select the main local folder, but instead select the files and folders inside of the main folder.
Step 5: Check that your files have been uploaded
Note: empty files or folders will not be uploaded. Git focuses on files with content so any empty folder or file will not be uploaded.

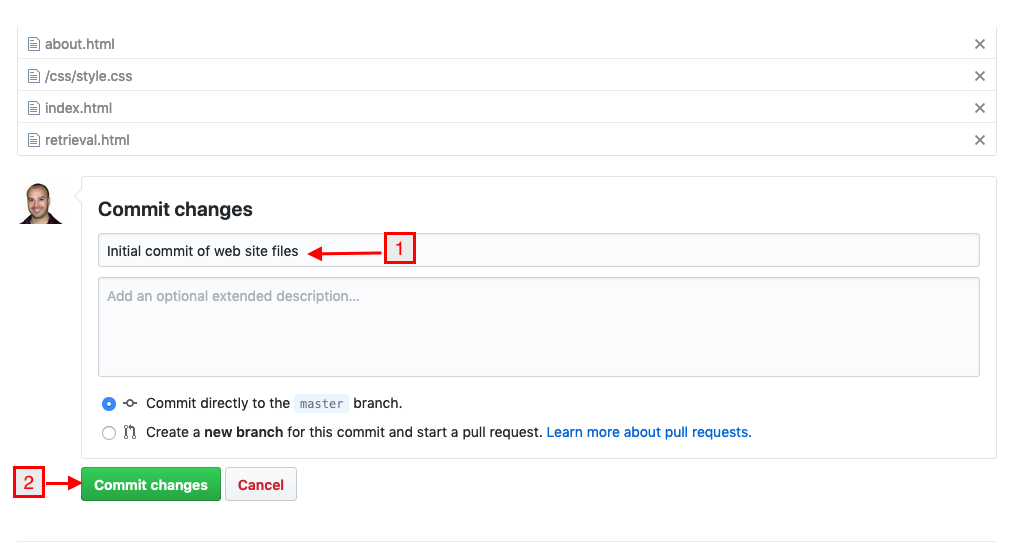
Step 6: Commit the files
Commit is how you save in Git. After you make some kind of change to your repository (add files, edit files, delete files etc) you create a commit where you write a short message about what you did and then commit. These messages will be readble by you and anyone who views the repository.
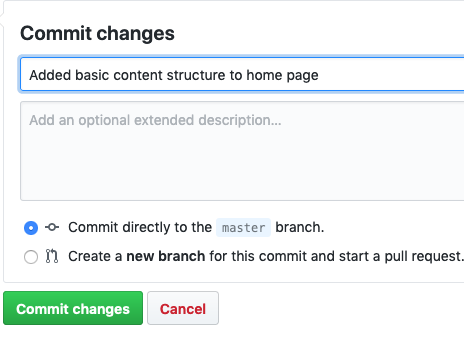
- Write a commit message that describes what actions were taken on the files being committed. This is short. If you need more room you can also add a Description
- Click Commit
You will see a message while it’s committing the files.
Step 7: Check that the commit has everything you expected.
If files are missing then repeat steps 4–6 to upload the missing files. Make sure you put the files in the right location.
Updating A Repository
Again, we will learn another way to do this directly from within your text editor, but if you need to update the files in your repository through the browser, here is how you do it.
1. Locate the local files that have changed
As before you will move the file from your local folder to GitHub. If the file is in a folder (like css) it is easier to just drag the entire folder. GitHub will know what has changed and what hasn’t.
2. Upload the file(s) to GitHub
Same process as step 4 above
3. Check to make sure the correct file(s) uploaded
4. Commit the change
Write a commit message and click the commit button.
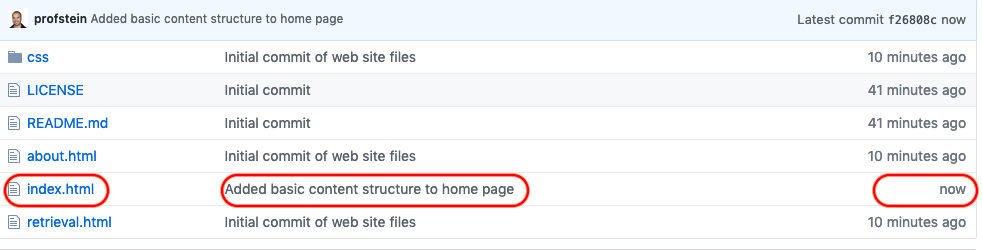
5. You should now see the new updated time and latest commit message with the file.
One thought on “Simple GitHub Upload”