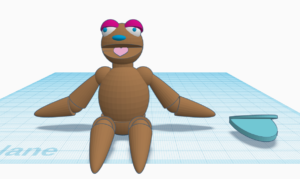
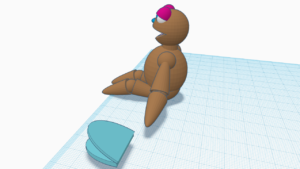
Comet the Sloth
Description of the Sloth process
Step 1. Get the Idea and what is it for?
The idea for Comet came from the Jim Henson’s Muppets, Although not always their design is playful and interesting, something a child would take care of and love forever. Comet’s main use would be to interact with nearby children.
Step 2. Model the figure
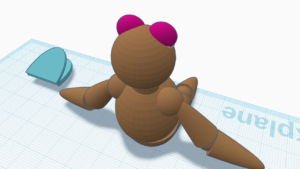
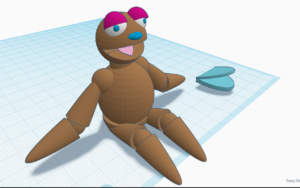
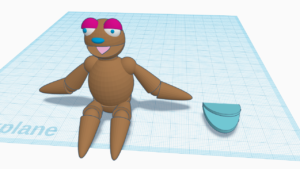
I decided on a sloth as the animal of choice because sloths have thin long arms so kids could swing him around no problem. I added a rounder stomach area to make him more soft and squeezable.
Step 3. Function
Now I’m no computer tech but with enough research I was able to get a code to use LEDs to light his nose a blue color and he responds with little one line sayings. Initial sayings is “Hey (Childs name) Would you like to play?” Or “Ready to hang out best bud?”.
Step 4. 3D print and Stuffing
3D printing was equally difficult but once started it became simpler. Started out with a round circular shape for the head with an opening for the mouth. Next of course was the arms and legs. My goal was to make the arms and legs very long lanky to where the plush could wrap and hug the child. The body area was sketched out and once fur is placed over Comet will be stuffed till he’s huggable.
Step 5. Construction
The head area was my first place to work because that area would be where I’d place the Arduino board. I create a jointed mouth with 3d printed parts and rotating motor for the opening and closing of the mouth. I made a space on the top mouth part for the bread board and wiring to move the mouth. Once complete, the next step was placing the fur over and stuffing Comet. I made sure to place enough stuff to where the speaker that was inside may not be felt. Finally I attached and glued the eyes, checked the huggability and tested the arm length. Once I was satisfied, Comet the Sloth was complete.
