test
Editing The Production
One of the most rewarding and exciting aspects of creating a short film or video is editing. The narrative truly comes together at this point. Your movie will be greatly affected by the choices you make regarding the shots you utilize, how you assemble them, and how you use sound.
Film editing is the art and craft of cutting and assembling finished film. This work is done by a film editor who helps complete the director’s vision of the movie. The creative choices of an editor are usually a combination of what they think is best for the film and what the director (and producers) want for the finished project. Mostly done during post-production, aspects of film editing can involve physical strips of celluloid film, digital files, or both.
The editing system – Consists of a computer with editing software, a fast processor,
high storage capacity, external monitors for easier viewing, and audio listening and
mixing capabilities.
Non-linear editing (NLE) – is an editing process that enables the editor to make changes to a video or audio project without regard to the linear timeline. It’s non-destructive editing. In other words, you can work on whichever clip you want in any order. It doesn’t matter if it lands in the beginning, middle, or end of the project.
Linear Editing – Linear Editing is the process of making cuts and edits on film. It is destructive and must be done sequentially in order to create a final film print of an edited piece. Essentially, you start editing the project at the beginning and finish at the end, with everything staying in order.
The basic principle of editing is file management.
The Stages of Film Editing
Logging
Logging is the process by which the editor watches the raw footage from production, taking note of key moments such as shots that are out of focus or unusable, or moments that are particularly relevant to the story. Logging inside of the editing software usually involves syncing the footage, labeling it with a proper naming convention and color coding as requested by the editor.
Assembly
The editor is cutting footage that comes in, daily, so that by the end of day 2 all of the footage from day 1 is cut and assembled. This allows the director and producers to watch an assembled version of the scene they shot yesterday.
Rough cut
The first cut of a film that is complete, with all of the production materials filmed, is known as the rough cut, or editors cut.
Fine cut
During the creation of the fine cut, many small steps occur. The editor, director, and assistants all begin collaborating with the various collaborators on the film. This includes the composer, the post production sound department, the visual effects team, and the colorist.
Final cut
This can include sending revised scenes to the sound mixer, bringing in music cues from the composer, and cutting in new VFX shots.
Shoot for editing tips
You should be thinking about editing as you plan and shoot your film. The pages about continuity and coverage have advice on how to film shots that will edit together.
Select just what the story needs
Don’t be precious about your footage, however proud of it you are. The finished film is the important thing. You may need to leave out some really good stuff if it doesn’t fit. (But don’t delete any clips unless you’re absolutely sure they’re unusable.)
Select the important action
Choose the clips that show the essential action. You can leave out anything that doesn’t help tell the story. Use just the part of the clip that has the action you need.
Show something new with each edit
Show a different subject, or a different view of the same thing: a different shot size or camera position.
Vary the shot size and angle
Don’t cut between two very similar shots of the same thing, unless you really want a ‘jump cut’ for effect.
Step between shot sizes
If you cut straight from an extreme long shot to an extreme closeup, viewers won’t understand where the closeup fits into the bigger picture. Use an in-between size like a mid shot to bring the viewer with you.
Use cutaways to hide jumpy edits
If you have to cut similar shot sizes together, use another shot to hide the join. Add it as a ‘cutaway’ above the main clips.
Use a master shot for an overview
Long shots and extreme long shots remind viewers of where everything fits into the scene.
Get the pace right
A shot should stay on screen long enough for people to understand it, but not so long that they get bored. Closeups, simple shots, and shots without any action or movement, can be short. Long shots, extreme long shots, and any shots with detail will need to be on screen for longer.
Check that the pace is consistent. Sudden changes of pace look really clunky, whether it’s a shot that out stays its welcome, or one that flashes by too fast to grasp.
Use the right transitions
Transitions are the ‘joins’ between shots. Does your scene show continuous action, or one short space of time? You should use cuts, where the shot goes straight into the next one. If you use fades or dissolves, you’ll confuse people.
In a cross dissolve or cross fade, the shots dissolve into each other (one image gets weaker while the next shot gets stronger). You can use these to show that you’ve left out a short space of time, or part of a journey. You can use a fade out (usually to black) at the end of a scene.
Fade out followed by a fade in means that a period of time has passed. Wipes and other elaborate transitions don’t usually contribute to storytelling.
Edit on the action
If you edit while an action is happening, rather than at the beginning or the end, it’ll look smoother. Viewers will concentrate on the movement, not the edit.
Don’t cut moving shots to still shots
It’s jarring if you show something moving in one shot and it’s not moving in the next shot. Let the movement come to an end before you cut to a static shot.
Pay attention to the sound
Don’t have sudden changes in sound level, or dead silence, unless you’re deliberately trying to shock people. Build your soundtrack carefully. When you have more than one audio track, you need to balance the sound levels. You don’t want background sound, or music, drowning out dialogue.
Use sound that carries across the edit
You can use ‘wild track’, ‘room tone’ or ‘ambience’ – background sound from the location – to avoid silence and keep things smooth. For dialogue scenes – where you cut between shots of each character – try using split edits where the sound changes at a different time from the picture. These are also called J-cuts (where the sound changes first) and L-cuts. You can use a J-cut as a sound bridge between separate scenes, where you hear the sound from the new location before you see it.
Keep track of the bigger picture
Don’t get so bogged down in one edit that you lose track of how it fits into the sequence. Play several shots together – or the whole sequence – to check how it all works together.
Filming Week
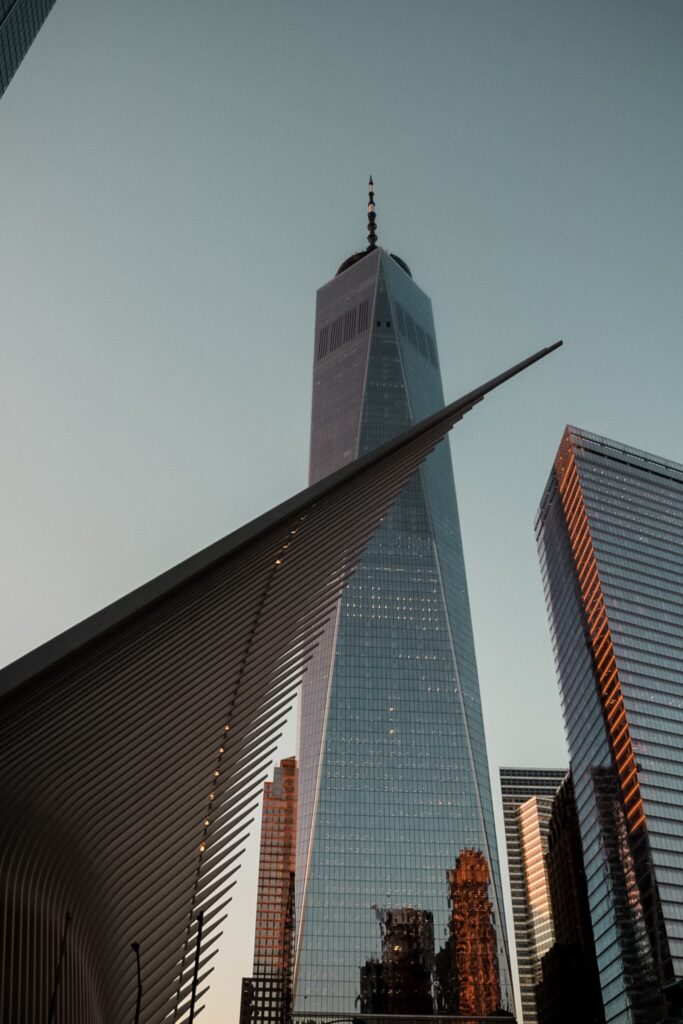
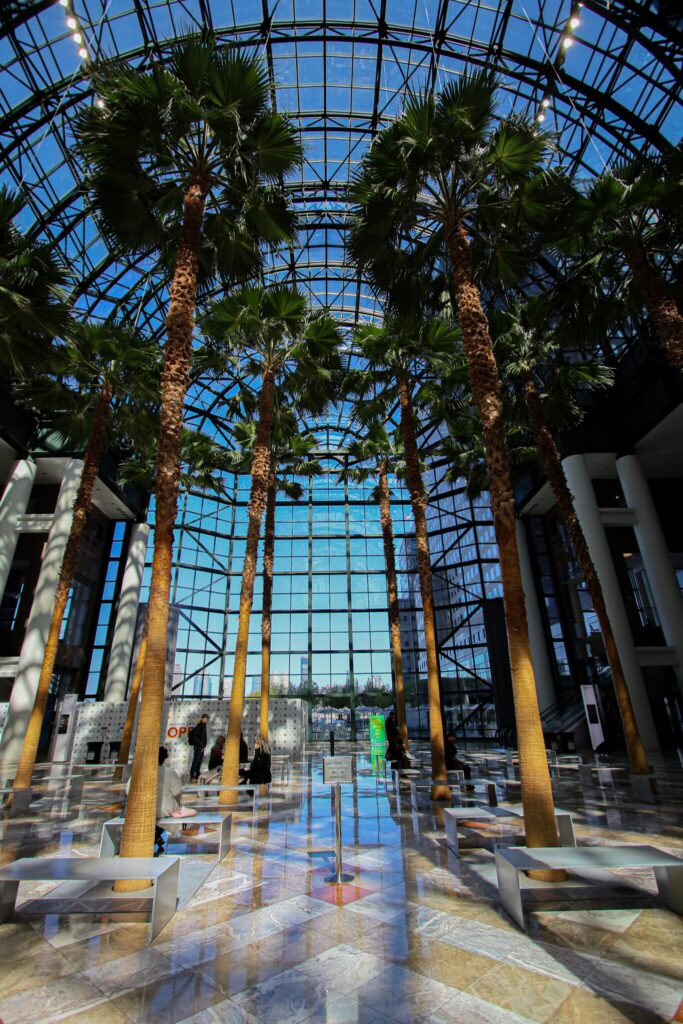
This week you will be blocking, staging, and filming your final projects.
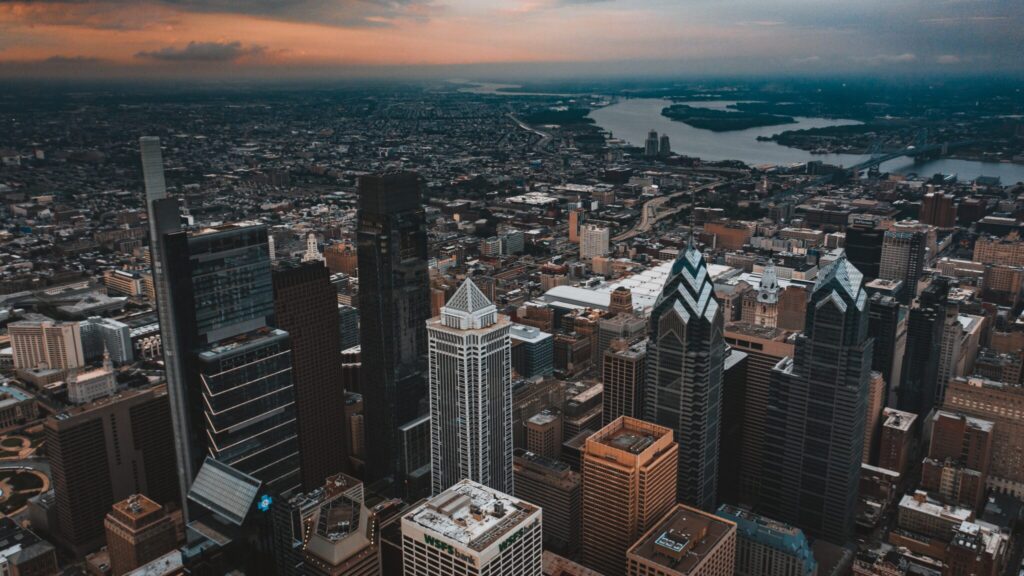
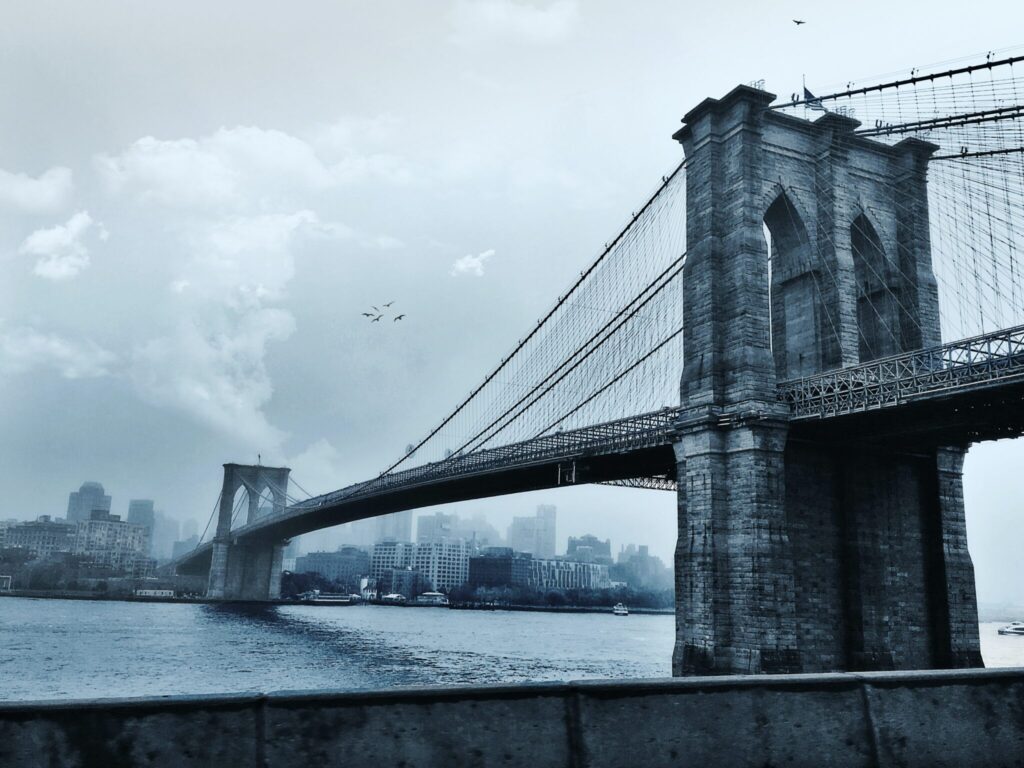
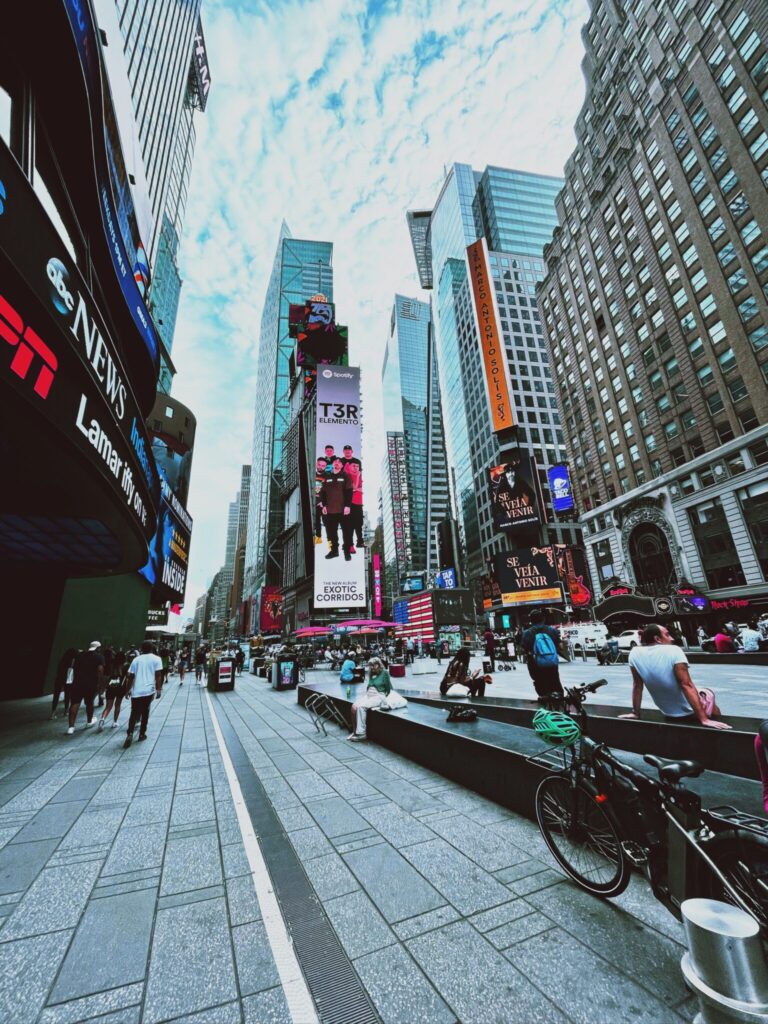
Landscapes / Panoramas




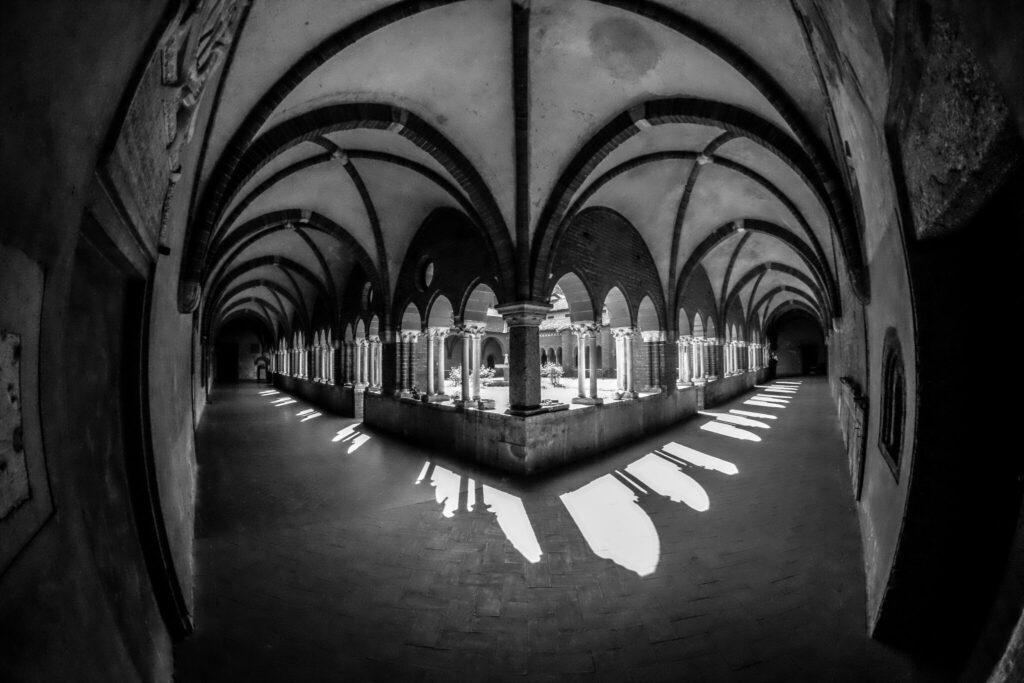
Architecture

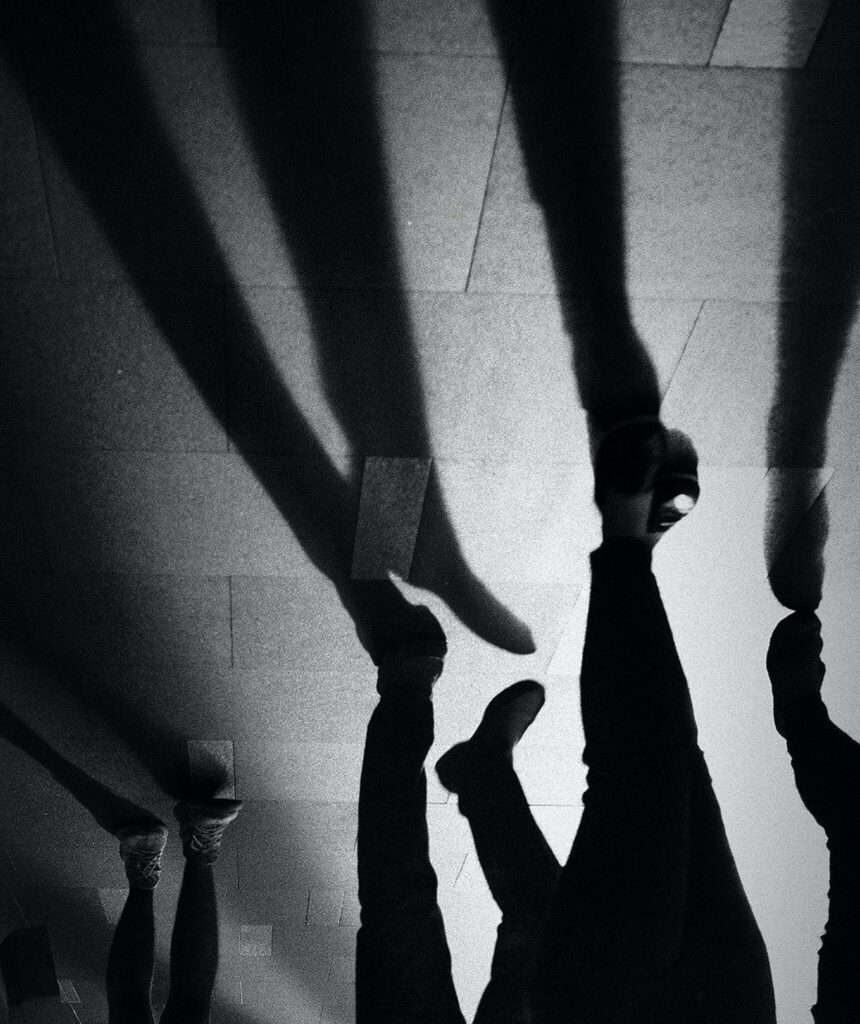
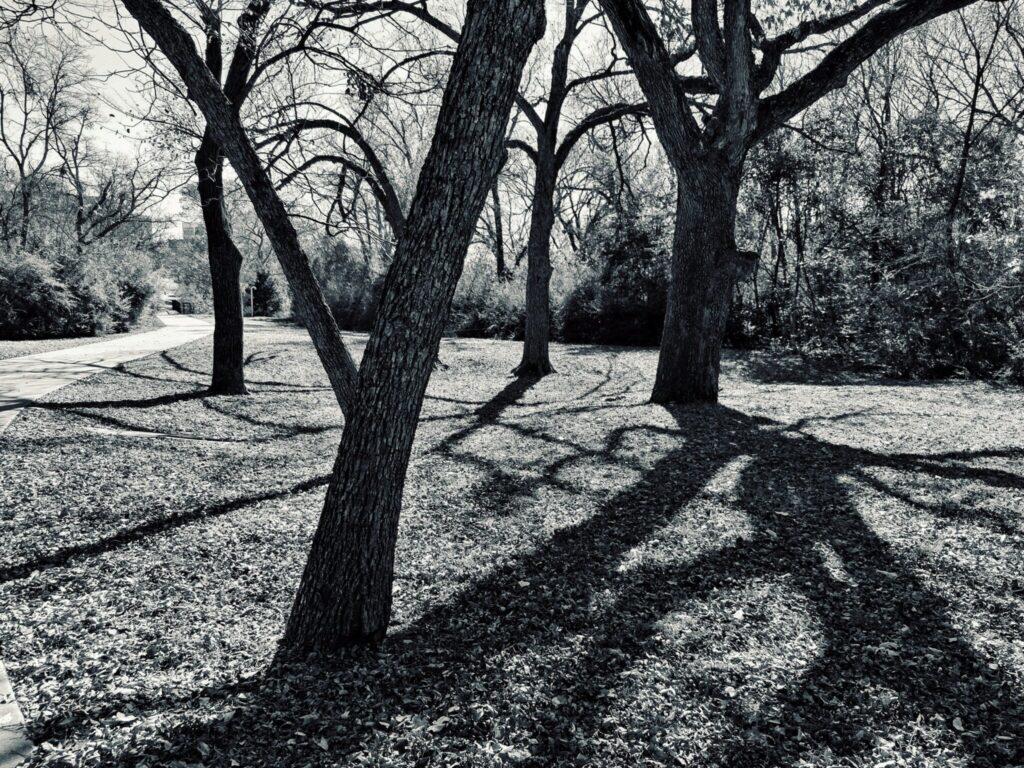
Shadows
Quiz 2 Study Guide
Microphones
Pickup Pattern – the zone within which a microphone can hear well.
Most microphones used in video production are either omnidirectional or unidirectional.
Omnidirectional – Mic hears well from all directions.
Directional – Hears well from one direction, the front.
The most common directional pattern is a cardioid microphone pattern. Cardioid pattern
mics capture sound in the shape of a small heart-shaped circle in front of the mic.
Microphones are made in different ways.
A Dynamic Mic – Rugged, can withstand rough handling.
A Condenser Mic – More sensitive, needs power/phantom power.
Ribbon – high quality, very sensitive, not used in film production that much
Different Mics
Lavalier
Handheld
Boom microphone (shotgun mic) : Major advantage is that you can get good sound pickup while keeping the microphone out of the shot. Because it’s further away from
talent, usually a hypercardioid or supercardioid mic is used.
An audio mixer – Amplifies weak signals, and mix two or more sources.
XLR– Commonly used three-wire audio cable for professional microphones and camcorders.
Interior and Exterior Lighting (Chapter 8)
Types of Light
Directional Light: Precise beam that causes shadows.
Diffused Light: Soft light, its beam spreads out quickly and illuminates a large area.
Color Temperature
The standard by which we measure the relative reddishness or bluishness of
white light is called color temperature. Color temperature is used to describe the color quality of the light.
Color Temperature Standard
5,600K Daylight – outdoors, bluish light
3,200K Indoor – warmer more reddish light
High Key Lighting – Brightly lit frame with soft lighting,
minimal shadows, and low contrast.
Low Key Lighting – Accentuates shadows, high contrast, and dark tones.
3-Point Lighting (triangle lighting)
Key light – Primary light source. Illuminates subject.
Fill light – Fills in shadows from key.
Back light – Separates subject from the background.
Adjusting the color temperature.
Color Correcting Gels: Used to convert the color balance of a light.
If your light is cooler than you want, use a CTO (Color Temperature Orange)
If your light is warmer than you want, use a CTB (Color Temperature Blue)
Graphics (Chapter 9,11)
Essential or Action Area/Title Safe Area
Is centered within the TV screen.
All important information must be contained in the essential area
Lettering For Graphics should be simple and bold so it’s easier to read.
Aspect Ratio
Aspect Ratio describes the basic shape of the television screen.
4×3 SD
16×9 HD
Chroma Key
Green or Blue backgrounds are replaced by the keyed background image. This occurs in post production.
Chroma Keys are often used to simulate backgrounds. Helpful in various production issues such as budget, location logistics, talent conflicts, etc.
Virtual Production
A process where real-time 3D engines (game engines/Unreal Engine) are used to create photorealistic sets, which are then shown on giant LED walls behind actual sets utilizing the game engines’ real-time rendering capabilities. This occurs on set.
The Production Process Filming (Chapter 1, 17)
Shot List
A shot list is a document that maps out everything that will happen in a scene of a film, or video, by describing each shot within that film or video. It serves as a kind of checklist, providing the project with a sense of direction and preparedness for the film crew.
Blocking
Performance blocking, or stage blocking, or actor blocking, refers to how one or more actors move around the space during a production.
Continuity
Generally speaking, the continuity system aims to present a scene so that theediting is “invisible” (not consciously noticed by the viewer) and the viewer is never distracted by awkward jumps between shots or by any confusion about the spatial lay-out of the scene. Classical editing achieves a “smooth” and “seamless” style of NARRATION, both because of its conventionality (it is “invisible” in part because we are so used to it) and because it employs a number of powerful techniques designed to maximize a sense of spatial and temporal continuity
180 DEGREE RULE
A filming technique where the camera must stay on only one side of the actions and objects in a scene. An invisible line, known as the 180 DEGREE LINE or AXIS OF ACTION, runs through the space of the scene. The camera can shoot from any position within one side of that line, but it may never cross it.
Screen Direction
Screen direction is a key component of continuity.
Maintaining a cohesive sense of direction is important to the clarity of a scene and for preserving the continuity of motion. Screen direction, also known as camera direction, is the direction that characters and objects move in the scene in relation to the frame.
EXAMPLE
If a character is walking from camera left to right in one shot, then from right to left in the very next shot within a scene in the same location, the result is jarring and confusing to the viewer. Camera left and right should remain consistent within a scene, unless the intent is to confuse or disorient.
Coverage
Shots needed to cover everything happening in the scene consisting of getting shots that will cut together smoothly, and getting the right shots for the scene to work.
VAT 100 Final Project Guideline
As you know the Pre-Production is an early stage of any project, including commercials, music videos, short films, and feature films. This crucial step defines how efficient, organized and, ultimately, how successful the production stage will be. This is a planning and execution assignment.
As a group you will film an original story. The story has to have a beginning, middle, and end. The story must incorporate concepts and techniques we have learned throughout the semester. The group must take into consideration production value, this includes proper framing, lighting techniques, sound quality, and overall look. The intention is to have a project you can use in your portfolio.
Assignment
● In class, as a group you will develop Pre-production materials which include a synopsis (summary of your story), shot list, storyboard, lighting plot, and crew list. The idea is to be prepared as much as possible for filming. You will turn this in on your filming day (or the following week).
● Film a story that incorporates 2 scenes. For example, a living room and bedroom, or a warehouse, or an office etc. The scenes can take place in any atmosphere or set you like. Think of the different sets we have created throughout the semester and or the props in the class you can use. Be as creative as you want.
● Each scene must have at least 3 camera placement changes and shots (can have as many as you like). For example, 3 people are conversing at a table. Some camera changes may include coverage of the scene from a wide shot. Then the camera moves and films a medium shot of one of the actors then a reverse shot of another actor. Utilize various camera shots and angles such as a wide shot, medium shot, close up, over the shoulder etc. The camera needs to move around your space. Your shot choices should be used to tell the story.
● Assign crew positions, but of course everyone will help each other.
Director / Writer
Cinematographer
Camera Assistant
Gaffers
Assistant Director
Sound Recordist
Boom Operator
Script Supervisor
Actors
Scene Recreation
The Production Process 2
Coverage is a few of the first concepts you learn in filmmaking. It’s an idea that will come up again and again in your career as a filmmaker.
You’ll quickly understand that coverage is one of the most crucial elements of filmmaking – and one of the most difficult to master!
What Exactly Is Film Coverage?
Coverage is the technique of capturing many shots, angles, and performances of a scene. It’s called coverage because it includes all of the pieces needed to edit the scene in post-production. Coverage is considered normal procedure in television and film since sequences are frequently shot out of sequence. Coverage guarantees that the editor has enough possibilities in the edit to create an intriguing and engaging rendition of the scene.
Pre-production decisions are often centered around how they want each shot to feel. Coverage is also influenced by money and scheduling restrictions. After selecting each shot based on plot or style, many copies of the same shot are filmed for eventual use in editing. The editor can use these shots for various editing techniques or as backup material if something goes wrong during production.
Blocking and Staging
What does blocking a scene mean?
Performance blocking, or stage blocking, or actor blocking, refers to how one or more actors move around the space during a production. This can be blocking in a stage play or blocking in a scene for movies or television. This can even include a blocking rehearsal that will help to clarify the intention behind each movement and smooth out the motions. Blocking isn’t simply where the actors move through a scene, but also how they interact with their environment. This can include body language.
What does staging a scene mean?
Staging a scene is the placement and movement of objects in the frame, as well as the camera in relation to your performance blocking. Staging is far less discussed, yet it is equally important to blocking your scenes.
Most people think of scene staging techniques as a small portion of cinematography, which is partially true. But in addition to lighting a scene, a cinematographer’s job also includes working with the director to plan out the camera placement, movement, and area of focus — all in the service of visual storytelling.
Above excerpts from Studio Binder

