A NOTE on Recording. When recording people, record some silence at the beginning. Audacity has a feature that can analyze the room noise and then remove it from your recording. It needs some empty time when nobody is talking to do this.
Also make sure the person is close to the mic (but not touching it). Remember that the further away they are, the quieter their sound is and the lower quality the recording is.
Most laptops have microphones built in. If your computer doesn’t have a microphone, try Recording and Editing Audio with a phone and then transfer the sound into Audacity
A NOTE on Recording with a Microphone. When recording using a microphone, record some silence at the beginning. Audacity has a feature that can analyze the room noise and then remove it from your recording. It needs some empty time when nobody is talking to do this.
Also make sure the person is close to the mic (but not touching it). Remember that the further away they are, the quieter their sound is and the lower quality the recording is.
Editing the recorded audio so it sounds better including removing room noise.
We will walk through the video in class so that you can get help with it. We will also be able to get more insight into some of the audio terms and concepts we started in class previously.
As you work on your file in Audacity and save your project is in a format with .aup3 at the end. This format is important and one you should save because it allows you to edit your project again later.
Files for People to Listen to: Exporting
You can’t send people your .aup3 file to listen to. Instead you want to send them a file they can listen to (.mp3, .wav, .ogg etc.) or a link where they can listen online. You can create both of these from within Audacity.
Exporting an Audio file
We will use this to turn in your projects. If you haven’t yet installed FFmpeg, you wil need to do that for some file formats like m4a and wma.
Use the File > Export Audio menu item and choose On your computer to export. There are a number of options in the dialog box that shows up. We will go over this in class but here are some good options:
File Name: change this to be what you want the file name to be
Folder: this is the location where your file will be saved
Format: use WAV (Microsoft) as a lossless version.
You can also separately save as other formats like mp3, m4a, FLAC depending on your needs and audience.
Channels: mono or stereo
Stereo is only really needed if you have any panning or left/right channel effects
Sample Rate: 44100 Hz minimum
you won’t really need higher than 48000 Hz
Encoding: 16-bit PCM
The higher bit options are only needed if you are going to export a file that will be edited later on. If you are exporting an mp3 or equivalent for people to play then 16-bit PCM is all that’s needed.
Export Range: usually leave this on Entire Project
You would only change this if you just want a part of your project.
Exporting to the Cloud
Audacity has a tie to audio.com This is great because it allows you to save your files to the web and then you can send people a link and they can listen to them (kind of like Soundcloud).
Use the File > Export Audio menu item and choose Share to audio.com to save to the cloud.
If this is your first time you will need to sign up for an account (free) and then it will ask you to link your audio.com account to Audacity.
When you’ve linked your account then you can upload your project to audio.com.
Let’s look at how Media Creation Kitchen metaphor works in an audio project in Audacity. If you haven’t read the Media Creation Kitchen page yet, do that and then come back.
This process will guide you from gathering Ingredients (Source Files) to working in the Kitchen (Project File) and serving the final Dish (Output File).
1. Set up the Kitchen: Project File
Your project file in Audacity is like the workspace in a kitchen with the oven and all of the tools. This is where you prepare and combine your ingredients.
In Audacity, your project file is saved in its native format with the extension .aup3. This file keeps all your tracks, edits, and settings intact so you can revisit and modify your work later.
If you don’t have Audacity yet on your computer, go to the Tools page to find out how to get it.
2.Gather Ingredients: Source Files
Source files are the raw materials for your audio project. You can create or collect them in various ways:
Record Directly in Audacity: Use your computer’s microphone or an external mic to record audio directly into the software.
Record with an External Device: Use a recording device (e.g., a digital recorder or smartphone) and import the audio files into Audacity. Common file types include .wav or .mp3.
Download Source Files: Find Creative Commons or other open-license audio clips from free online libraries. These can include music, sound effects, or spoken word recordings. The post Where to Find Freely Licensed Sound Files has links to these sites.
Once imported, Audacity organizes source files into tracks, which allow you to layer and mix multiple audio elements. Each track represents a distinct audio source (e.g., voiceover, music, sound effects).
3. Work in the Kitchen: Project File
Once you have your source files in place, you can combine and edit them to get ready for your final dish.
Tracks as Workspaces: Audacity’s tracks let you edit, adjust, and align each audio element independently. You can apply effects, trim sections, or adjust volume levels for each track.
Editing: Clean up your audio by removing background noise, cutting unnecessary sections, or adding effects (e.g., fade-ins, equalization, or reverb).
Mixing: Combine tracks to ensure they blend well and achieve the desired result.
In Audacity, your project file is saved in its native format with the extension .aup3. This file keeps all your tracks, edits, and settings intact so you can revisit and modify your work later.
3. Cook and Serve the Dish: Output Files
Once your audio project is complete, it’s time to export the finished audio into shareable formats. In Audacity, the action of creating export files is called Exporting Audio. This step finalizes your work:
Export Options: Audacity allows you to export your project as various file types, including:
.mp3: A compressed format suitable for online sharing, podcasting, or casual listening.
.wav: A high-quality, uncompressed format ideal for professional use or archival purposes.
During the export, tracks are mixed down into a single audio file. Once exported, these files are no longer editable unless you re-import them into a new project.
Summary Table: File Types in the Media Creation Kitchen
Area
File Types
Description
Ingredients
.wav, .mp3, other downloaded files, or recorded raw audio
Source files imported into Audacity. These are the building blocks for your project.
Kitchen
.aup3 (Audacity Project File)
The editable project file in Audacity that organizes tracks and retains your edits and settings.
Finished Dish
.mp3, .wav
Exported, finalized audio files ready for sharing or publication.
By following this process, you’ll will be able to go from an idea to gathering or creating source audio files to producing polished, shareable audio content. Hopefully the Media Creation Kitchen metaphor will help you keep track of everything. We will use this metaphor in the other projects in class as well.
The zip files below have a folder with both Source File sounds and a Project File Audacity file in them. They are meant to be used for you to be able to see how multiple files might fit into an Audacity project. Download them, unzip the files, open the .aup3 Audacity project file and play around with them.
Before you can edit audio files you will have to either record something or import files. For more on recording view the Recording in Audacity post. The guides below cover importing.
This is important especially for recorded audio as it will often have unwanted background noise (like fans, or air conditioners etc). Note, this will not remove things like people talking or music in the background.
Changing Pitch and Tempo
Pitch controls how high or low your sound is. You can use it to make voices sound different or many other effects. Tempo speeds up or slows down your audio. These two can be changed independently of each other.
These are great because they are non-desctructive which means you can turn them on and off.
Tutorial on Editing
This is a PDF file tutorial that covers most of what we will need in this class. it is from a couple of versions ago so not all of the buttons and interface items are in the same place, but the concepts remain.
Install FFmpeg: this is needed to work with files like M4A and WMA
Detailed Instructions
Click on your OS (Windows, maOS or Linnux)
Do NOT download the first option (with Muse). This adds extra options that makes things more complicated than they need to be right now. Choose one of the following
Windows: 64 bit installer
macOS: Universal dmg (older macs may try x86_64 (Intel))
Open the downloaded file and follow the instructions
Install FFmpeg
This is needed to work with files like M4A and WMA. It does not come pre-installed, you have to do a separate install, after you install Audacity.
Open a Finder window. Click on the finder icon in the menu at the bottom of your screen
On the left of the finder window, click the Downloads location
Find the audacity macOS .dmg file and Double Click to open it.
In the dialog that opens up DO NOT drag the Audacity icon to Applications. Instead drag it to the desktop or the Documents folder (their names should be on the left of the Finder Window.
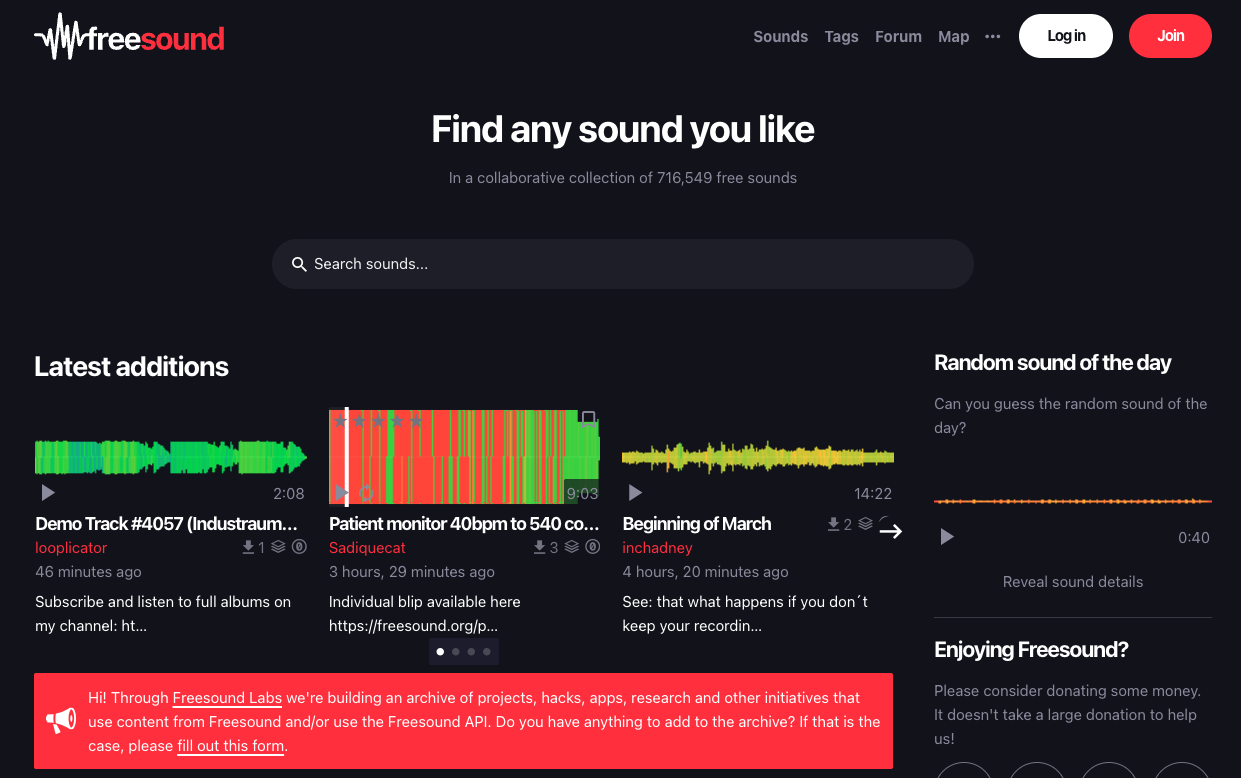
When you use a sound file for your project, the creator must give you explicit license to use the sound, or you will not be able to use the sound in our class. Here are some sites that provide free licensed sounds.
Sound Effects (FX)
This is everything from beeps, to explosions, animal sounds to machine sounds.
These are some other sites, but be careful. Not all of the sounds on them are licensed for general use. For example in the YouTube Library, not everything is licensed to be used outside of YouTube.