Actually putting your site on the web where anyone can see it is called publishing your site. This post describes how to publish a site using GitHub Pages. Pages are a free feature of public GitHub repositories and a great way to host a basic site. Free web hosting through GitHub!
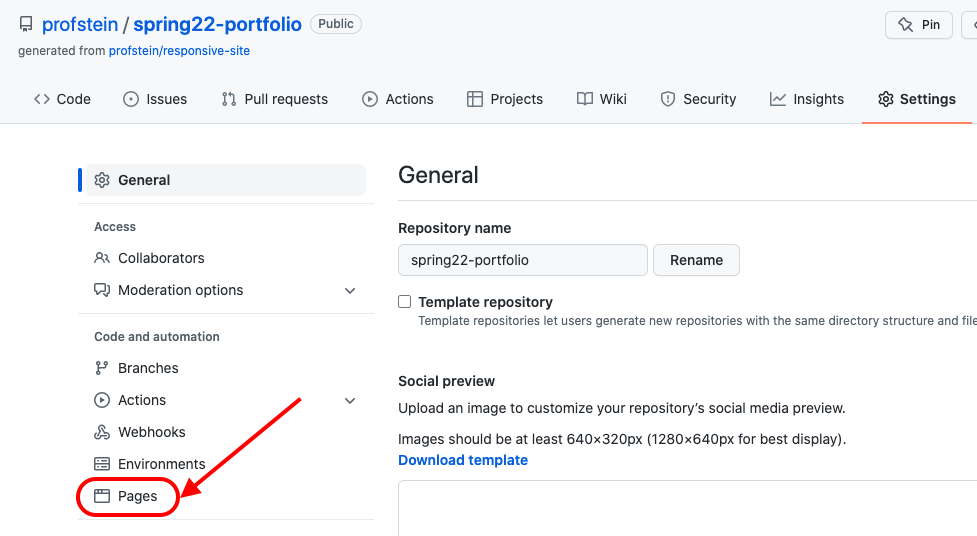
1. Click on the Settings link from your repository’s home page.
- First make sure you have created your repository on GitHub. If you don’t have a repository or there are no files in it, this won’t work.
- You will also need to be signed-in to GitHub to complete this process.
- Go to your repository on GitHub.
- Click on Settings

2. Click on the Pages tab of Settings
It is in the left vertical nav.
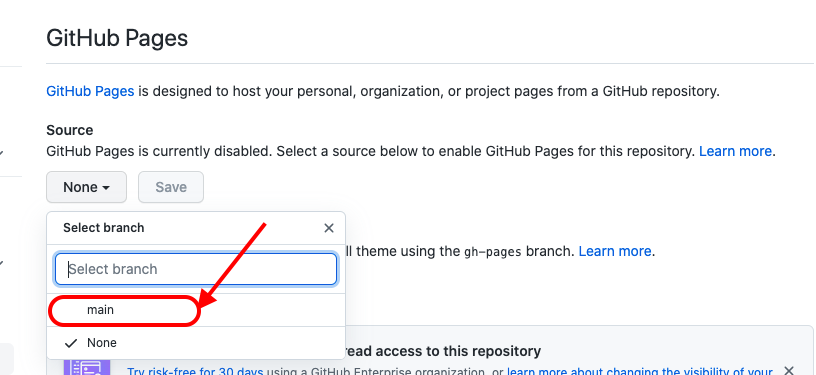
3. Select a Source Branch for your Pages
Click the Select Source dropdown and choose the main branch.
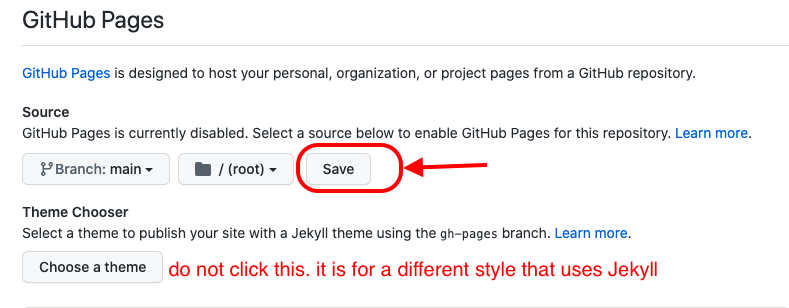
4. Save Your Changes
Click the Save Button.
On a side note, DO NOT use the Theme Chooser. This is a special way of using GitHub pages that does not just publish the pages you have in your repository.
5. Changes are Saved
When you save the changes the page will reload and you will get a message saying your site is ready to be published with a link.

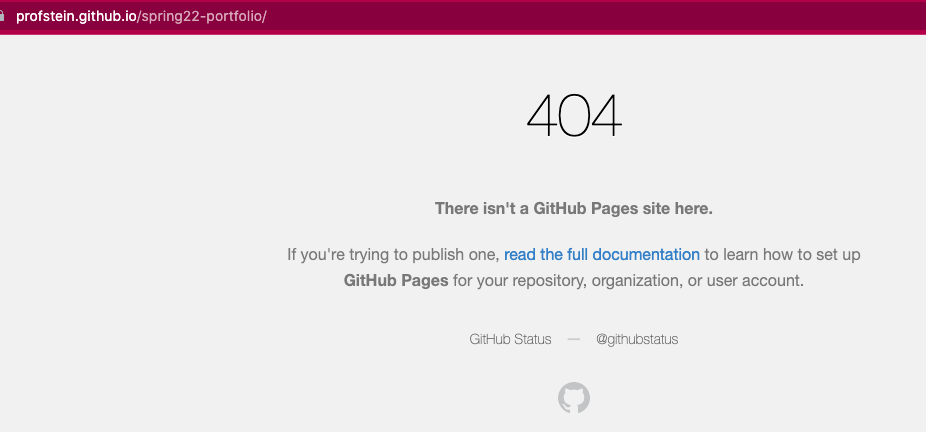
Note that at this time your site won’t be live yet. If you follow the link now you will get a 404 page.
6. When your site is ready
When GitHub has published your site and it can be seen, the background color of the message will change from blue to green and the text will change to read that your site is published

Your GitHub Pages link will now be the link shown. You can give this link to anyone or put it in your portfolio.
Click the link to see your site
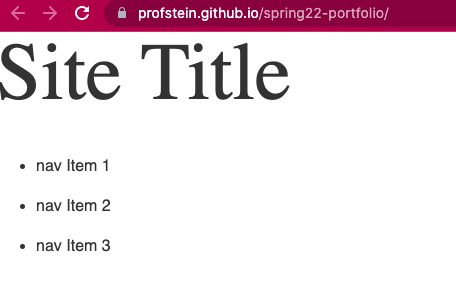
NOTE: There are a few reasons you might not see anything when you click the link.
- It may take a few minutes for your pages to be published and for the link to be active.
- If you don’t have a file named index.html in the root of your repository (and it must be at the top level, not in any sub folders), then you will not see anything.
1 comment