here are my user interface layouts
Category: User Interface Layout
UI Layout/Collecting Items/Checkpoints and Portals/Level Design – Rose
Another mega post! I’ve spent the last few weeks making all this work, because what I wanted to do for my game required a little bit of a lot of labs.
I’ve implemented most of my UI from the last time, and it’s all functional now. I’ve also implemented a checkpoint system which keeps track of the player’s spawnpoint and restores their HP to max.
Upon collecting the egg at the end of the level, the next level UI pops up and acts as a portal to take the player into the 2nd level.
For the design of the first level, the player starts in the woods. They get introduced to the stage hazard of the game, being water. The player can jump to avoid the water, except for the last puddle, which is impossible to not get hit on. This is to introduce the player to the boroughs, which have checkpoints that both save your spawnpoint and restore you to max hp. Upon trying to exit the borough, the player will be prompted on wall jumping, which for this game is to just spam the jump button as fast as possible for velocity. The player then has to use this to get up a mountain, and if they have enough velocity they can go down the secret path. Afterwards, they come to a clearing where the level’s egg is.
Here’s all of that together, in one video:
User Interface Layout – James

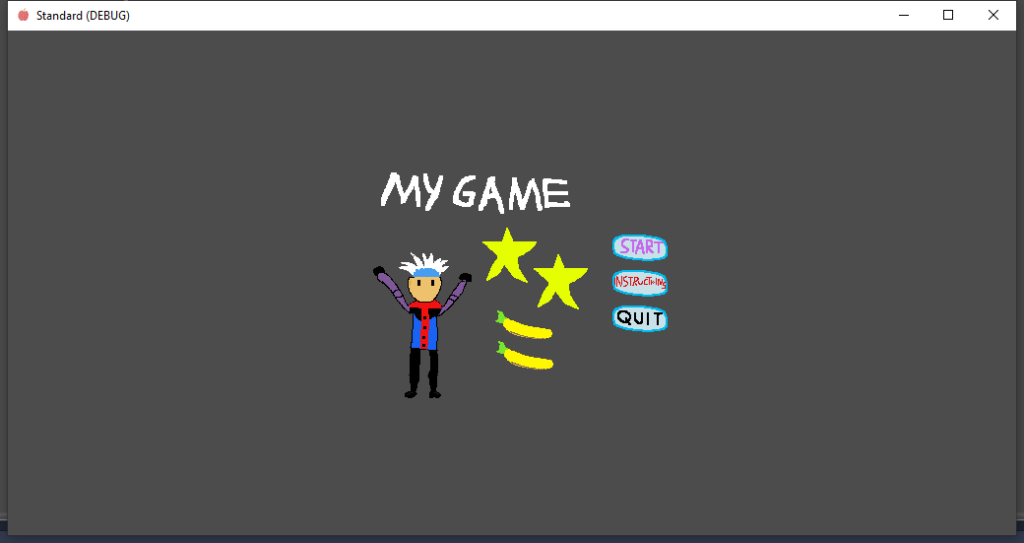
So this is my UI Layout in Godot and this is how it will look like in the Start Menu, with three buttons like the New Game, Options, Exit.
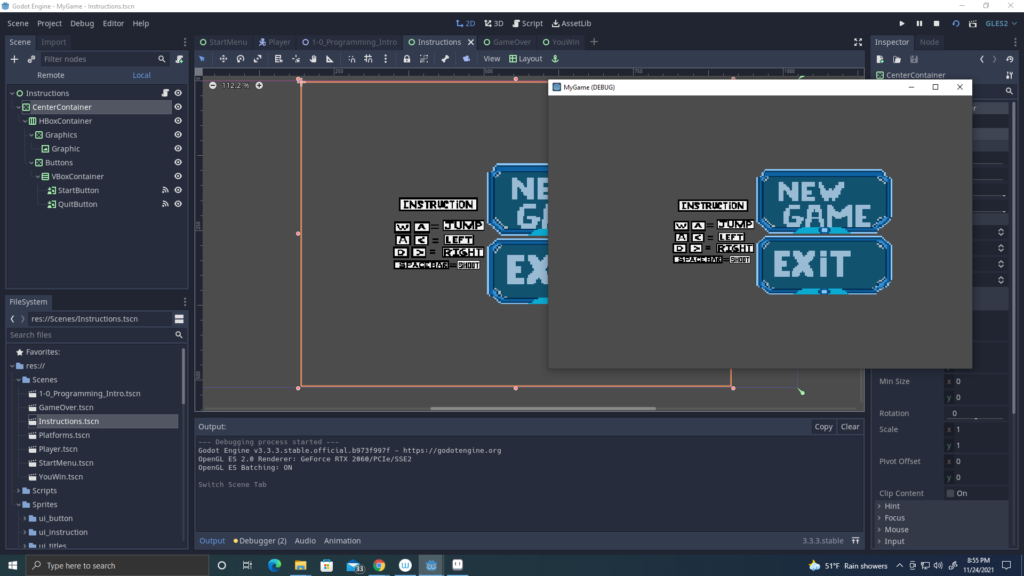
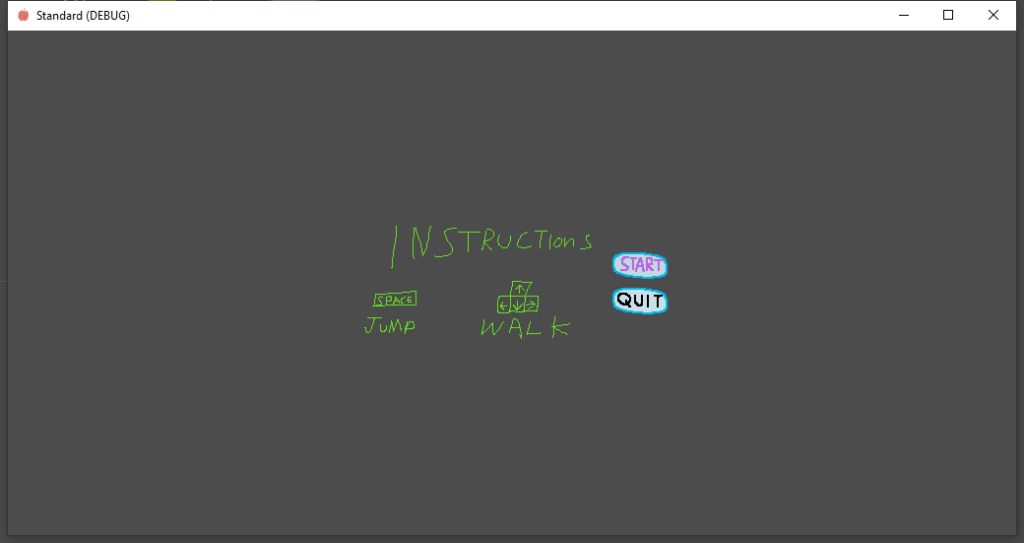
When you click on the Options button, it will show you the Instruction of how to control the player.
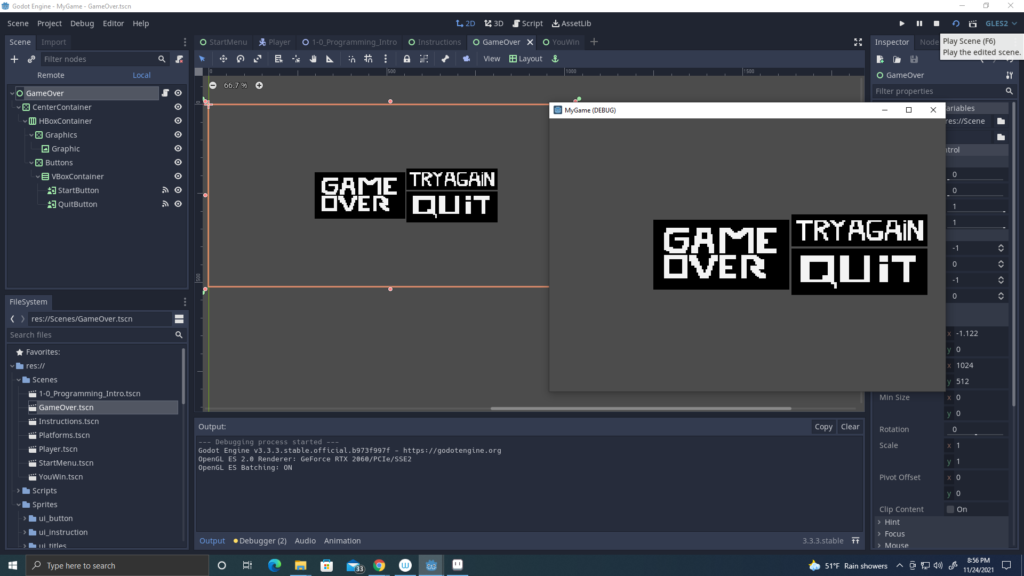
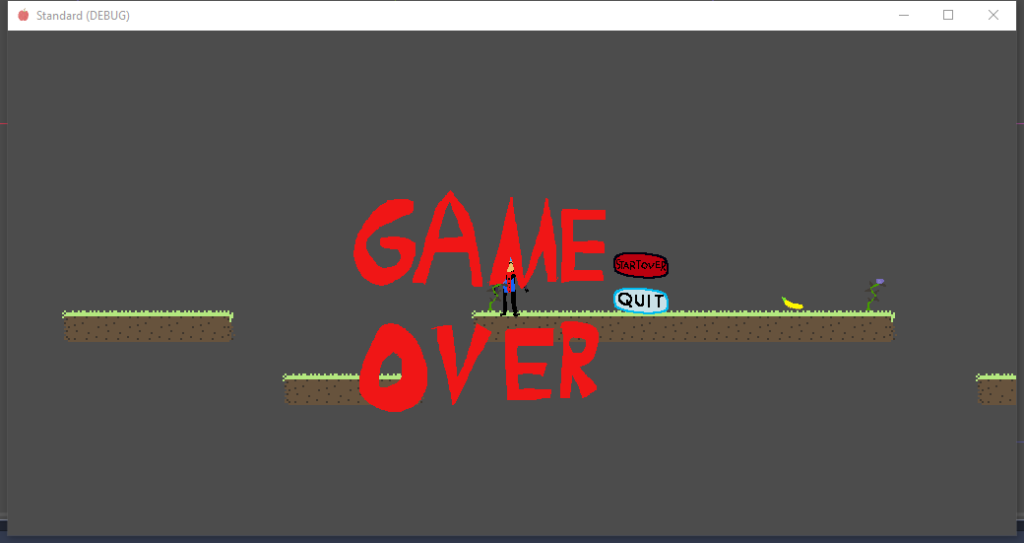
When the player dies, it will show the game over scene with two options. The “try again” and “quit” button will allow you to restart the game or exit the game.

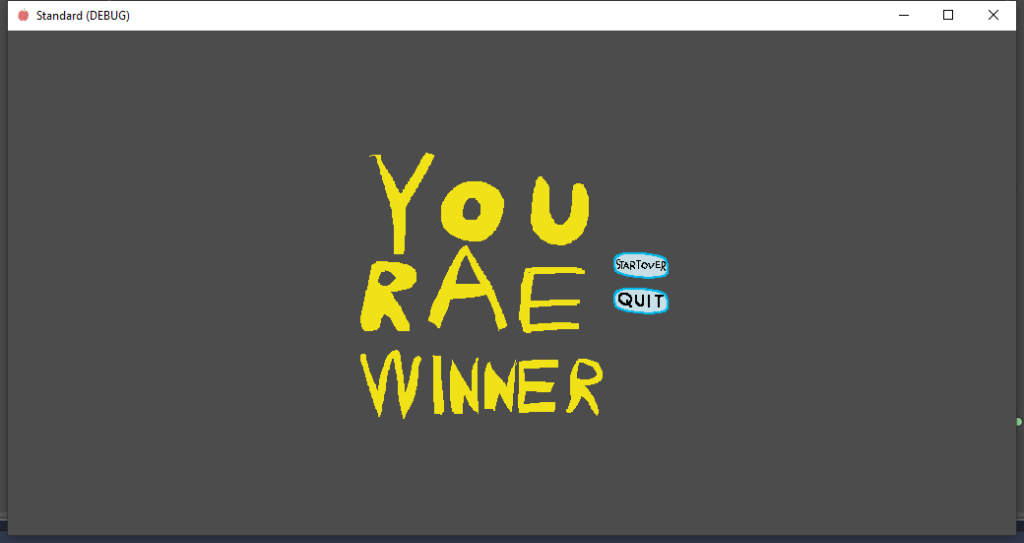
The same will happen if you win the game. I will added them to a level scene, once I finish adding the tile sets and adding the collisions and player physics on the character.