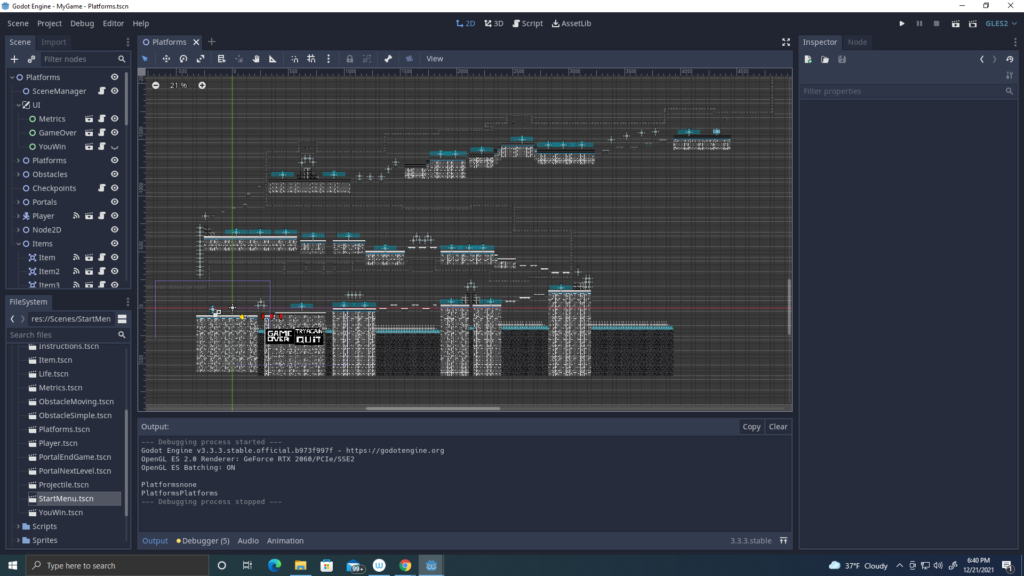
HERE IS MY LEVEL DESIGN. The player starts from the bottom left and has to reach the top to touch the goal. There are robots and spikes that will cause the player damage, so be careful. There are hearts and coins for the USER to collect.
MMP 270: Introduction to Video Game Design
BMCC Fall 2021
HERE IS MY LEVEL DESIGN. The player starts from the bottom left and has to reach the top to touch the goal. There are robots and spikes that will cause the player damage, so be careful. There are hearts and coins for the USER to collect.
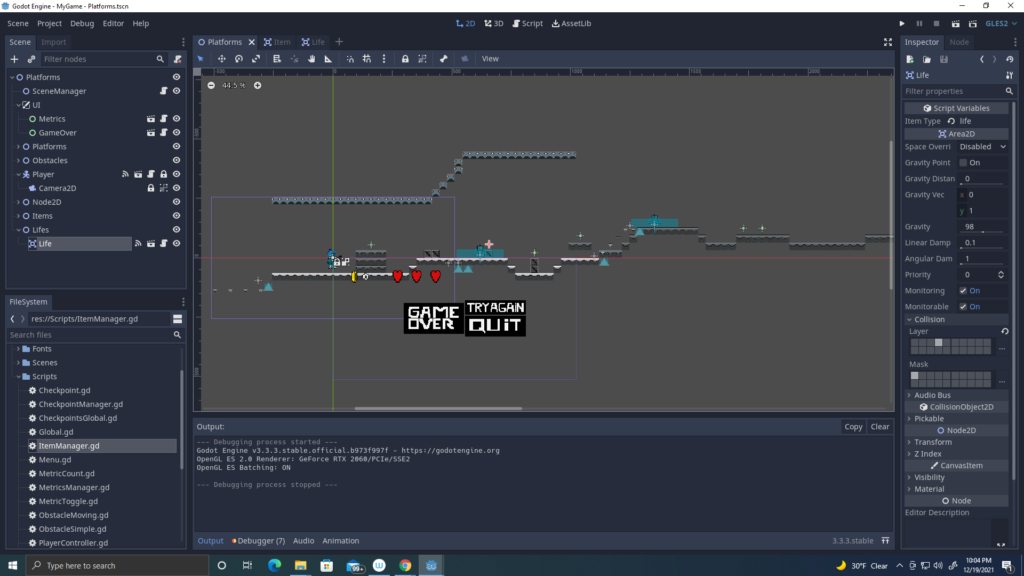

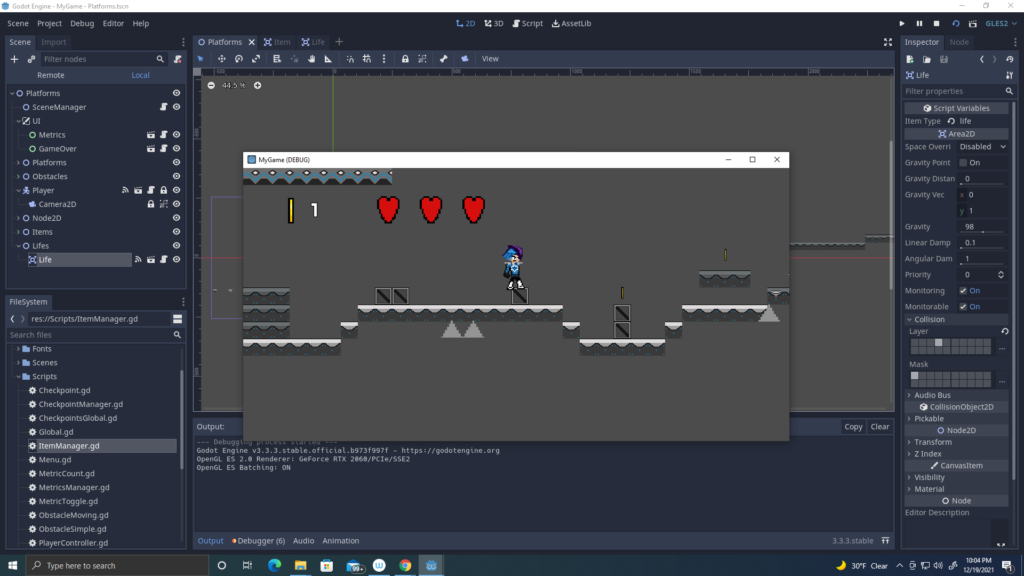
I added the Metrics and Collecting Items in my game. In the second slide you can see that my character can collect coins (Rewards). You can also see that my player has lost a heart from the enemy. In the third slide, my player can collect the hearts to refill his life meter.
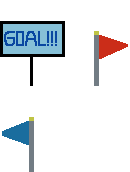
These are my checkpoints for my game. The goal is the finish line in which the player will be teleported to the second level and finish the game. The Red flag represents the checkpoint in which is enemy territory. The blue flag represents that the player has touch the checkpoint and will be teleported if player dies.
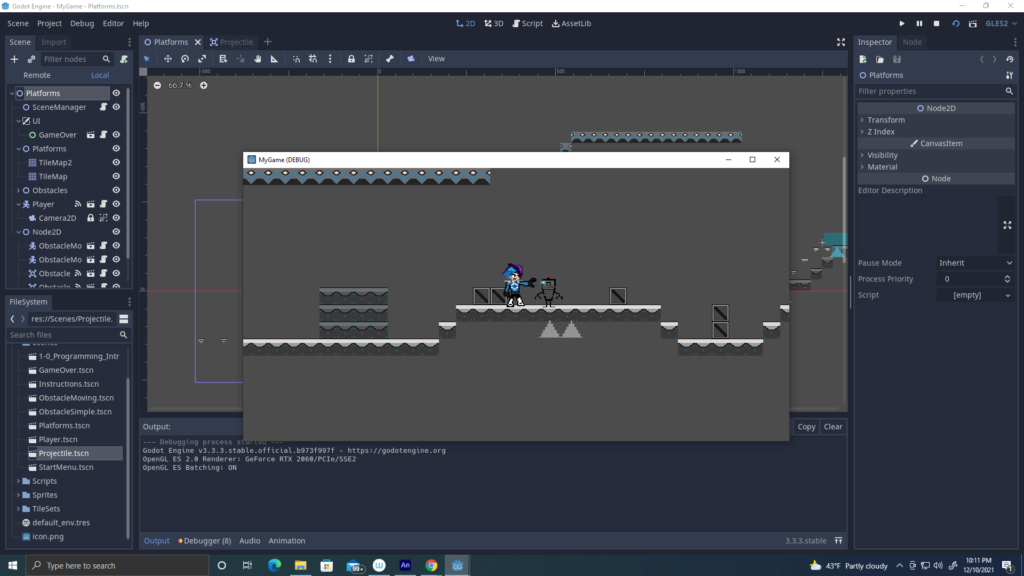
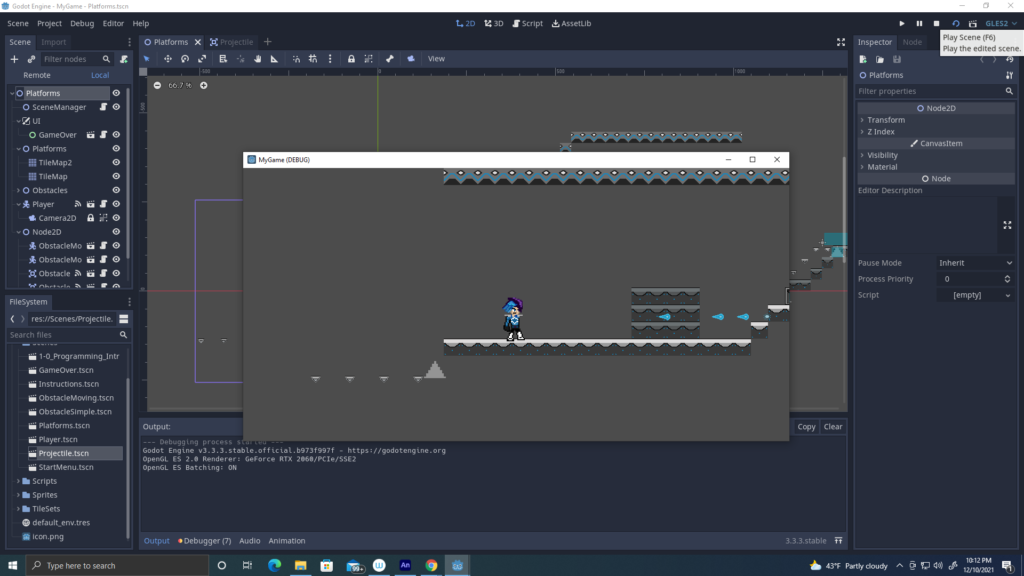
Finally added the projectiles to the game, I did run to a few errors when adding the projectiles to the player. The player can now jump or shot ki blast from the palm of his hand to kill enemies.


Enemie #1 Idle


Enemie #1 Walk


Enemie #1 Dies
Enemie #1 is a Prototype 1 robot, mainly in the first level in my game. When my player touches the enemy, the player gets stun as this robot doesn’t have any attack animations.


Enemie #2 Idle


Enemie #2 Walk


Enemie #2 Dies
Enemie #2 is another Prototype robot that will be in the second level in the game. Identical to the first prototype, this enemy will run fast and now has claws as a way to attack the player.
Obstacle spikes

I’m also adding Spikes to the game to make the game a bit challenging for the USER.
Unfortunately the game bar to record in my desktop doesn’t work, so here are screen shot images of how adding the collisions in my enemies every time my character gets hit.

This screen shot shows how the enemies dies when my character jump on top of the robots head. I’m going to add the projectiles as another way to destroy the enemies.
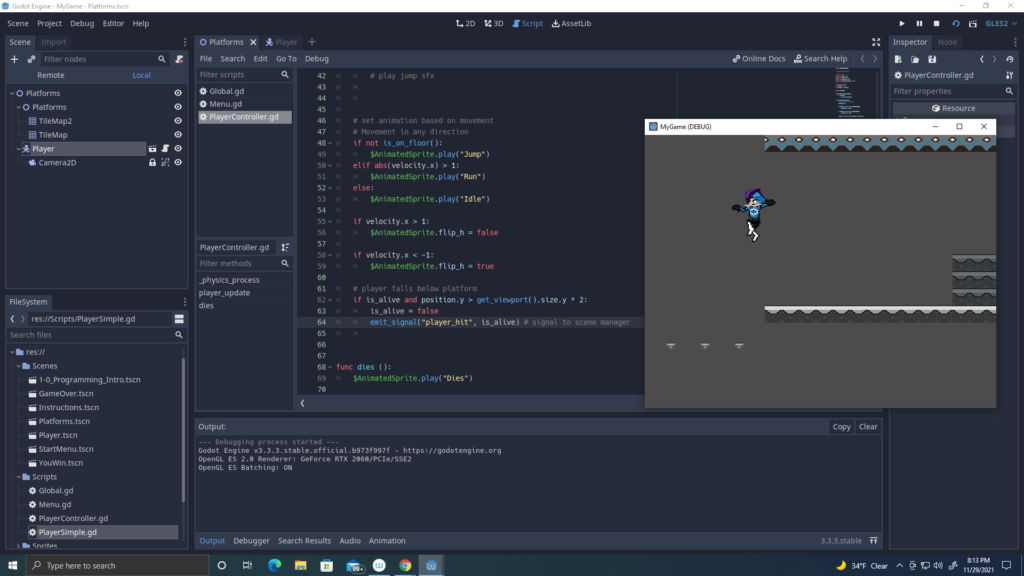
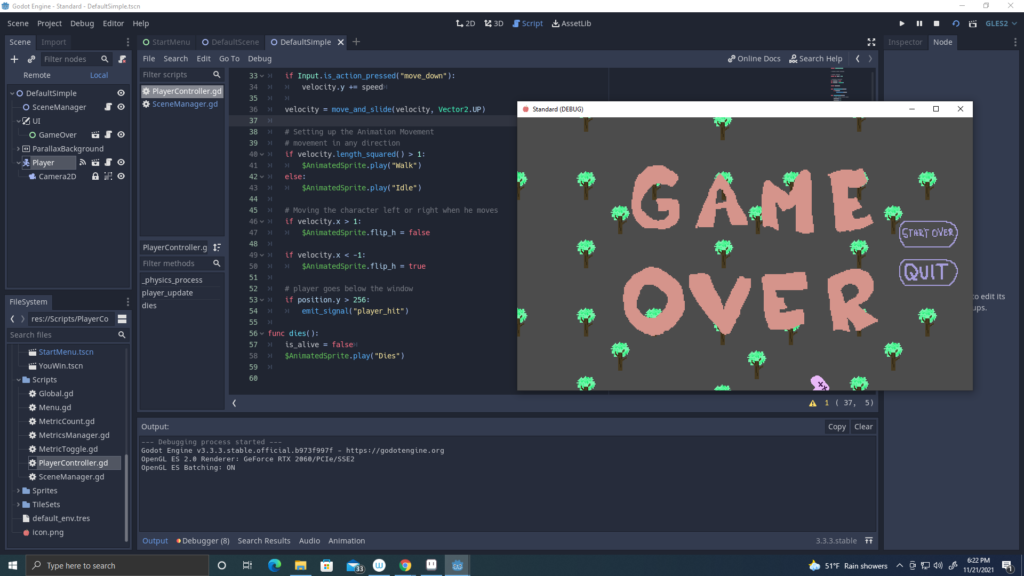
I was able to add the gravity to my character, along with the jump force. So far when the character falls over the screen he dies but I’m not able to see the death animation. Overall, I’m enjoying how well my game is coming along and with the player physics now added, I’m able to begin working on the Projectile Physics lab.
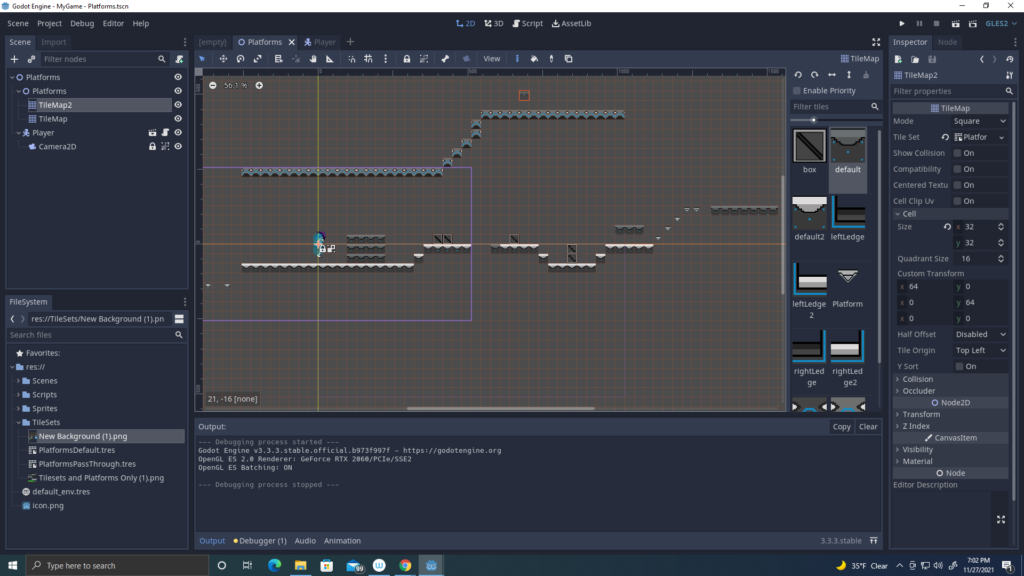
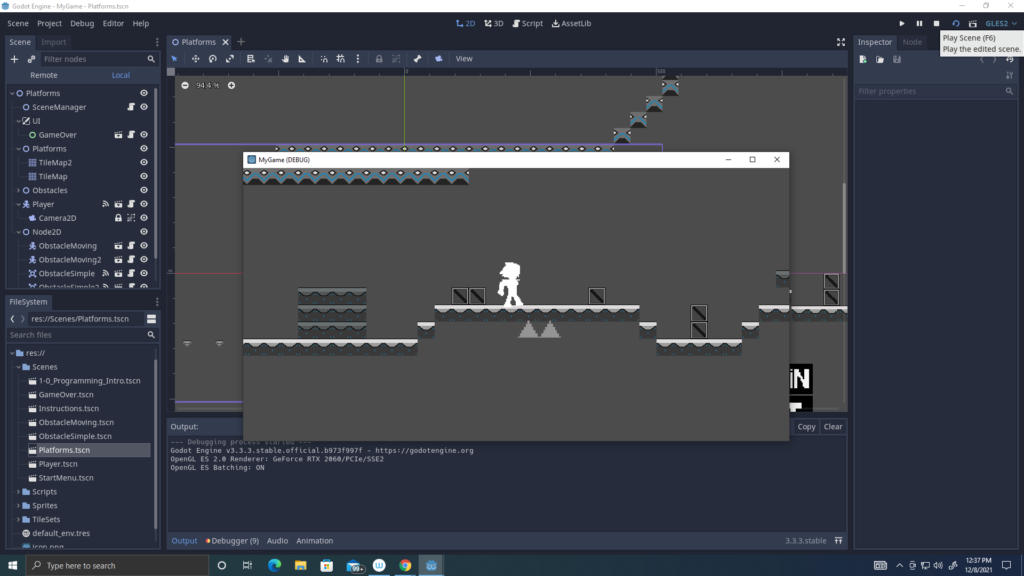
I finally added my tile sets to the godot engine! Mostly I was just watching the video and placing the tile sets in different places. However, I was able to understand how to add the collisions to the tiles and adding pass through tiles.

I was able to also fix the collision shape 2D box of my character as I wanted his legs to touch the ground. I will begin working on the level design and adding and fixing a my tile set for the background.

So this is my UI Layout in Godot and this is how it will look like in the Start Menu, with three buttons like the New Game, Options, Exit.
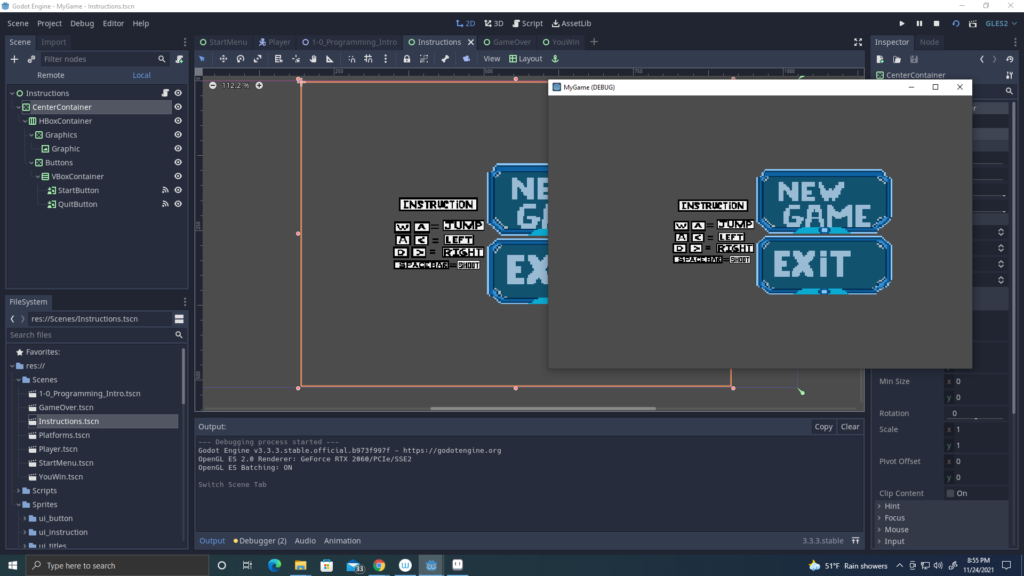
When you click on the Options button, it will show you the Instruction of how to control the player.
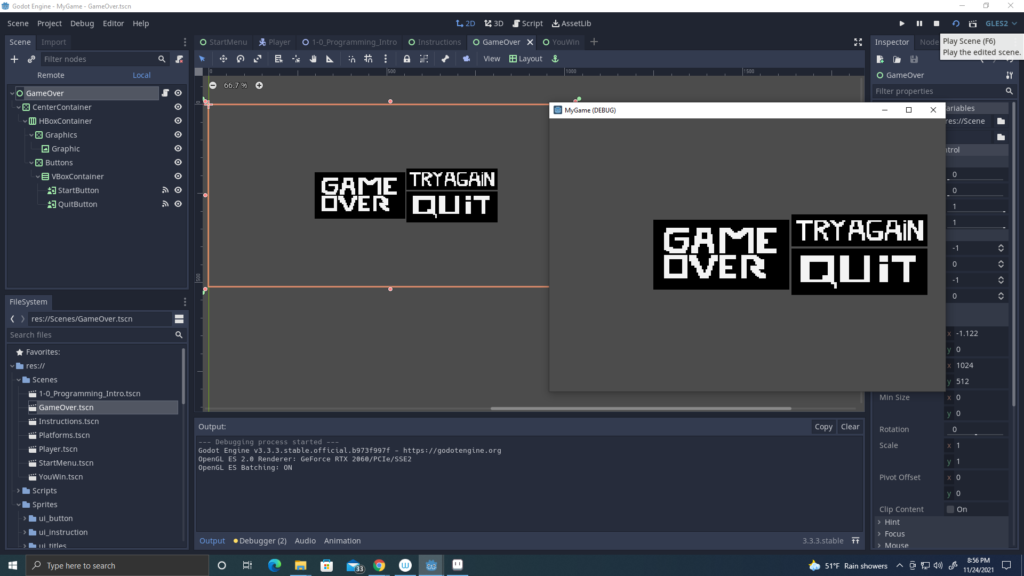
When the player dies, it will show the game over scene with two options. The “try again” and “quit” button will allow you to restart the game or exit the game.

The same will happen if you win the game. I will added them to a level scene, once I finish adding the tile sets and adding the collisions and player physics on the character.
So far I’m beginning to understand how Global, Variables and Functions work in Godot and after having a complete understanding, I feel a confident to begin added my sprites and assets to the Godot engine.
Powered by: