Week #9 -ish
WELCOME BACK!
Did you submit the Second part of Project #2 (the combined Elements & Principles Poster? If not, please send it as soon as you can.)
Lots to catch up on after our two week hiatus!
***We will also be hosting a Meet the Artist event with Ronald Wimberly on Thursday, October 24th at 3 PM, room N451 at 199 Chamber St. This is an exciting opportunity for students to meet an accomplished, multi-talented artist, author, designer and cartoonist.
Information is on eventbrite: https://media-tech-talk.eventbrite.com.

Project 3# Begins! Adobe Illustrator, an Introduction.
Illustrator, Shapes, Forms, Composition & Color -Lets take a dive into adobe Illustrator, a most versatile and awesome tool!
Creating shapes with the shape builder tool. Working with layers, simplifying and reducing images. Working with color, locating color books and pantone colors.
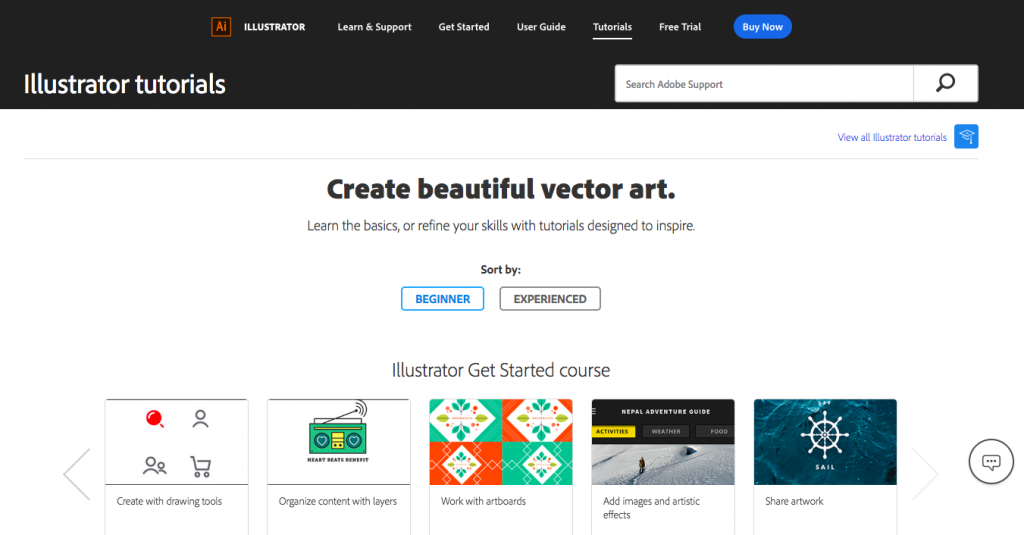
Lab Tutorial – This week we will take a tour of Adobe Illustrator and practice creating new documents and setting up our art boards for print production.
Color Theory! Adobes awesome Color Wheel Simulator (must see) you will apply the use of this tool for this assignment.

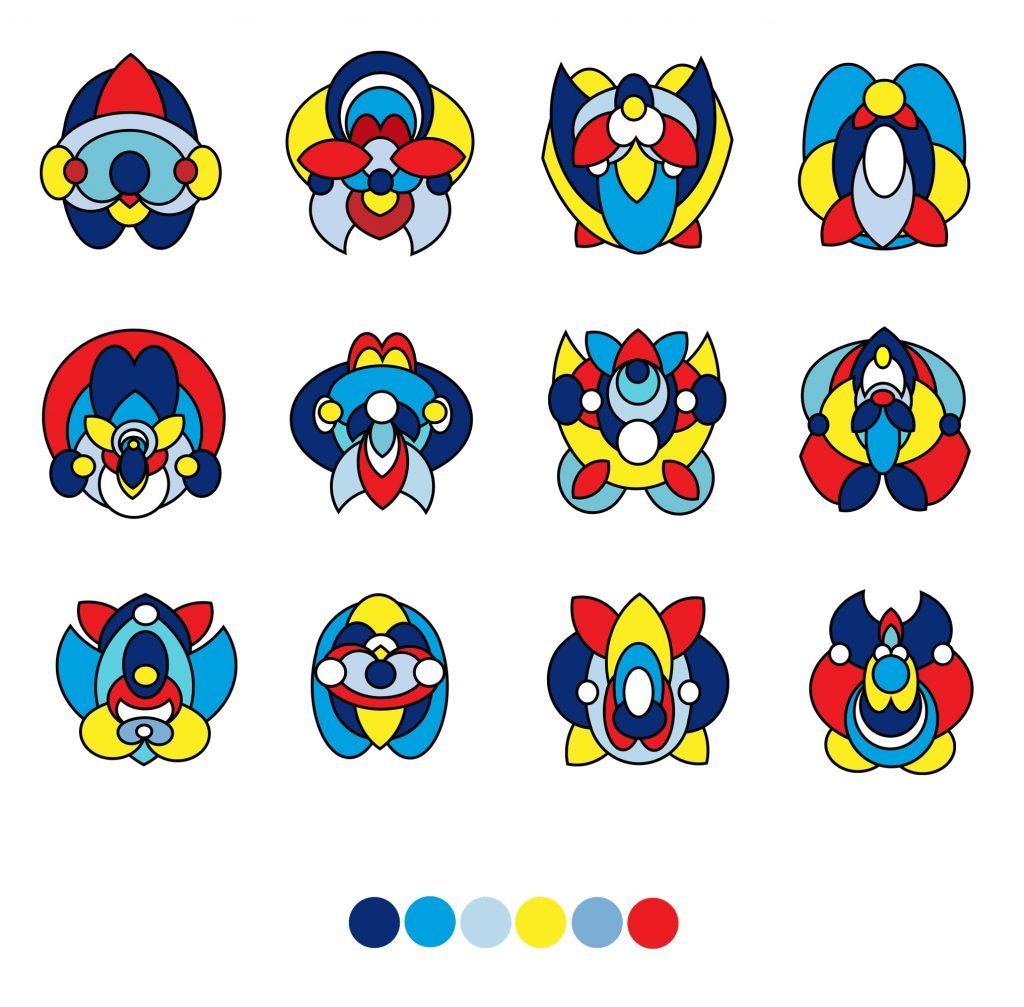
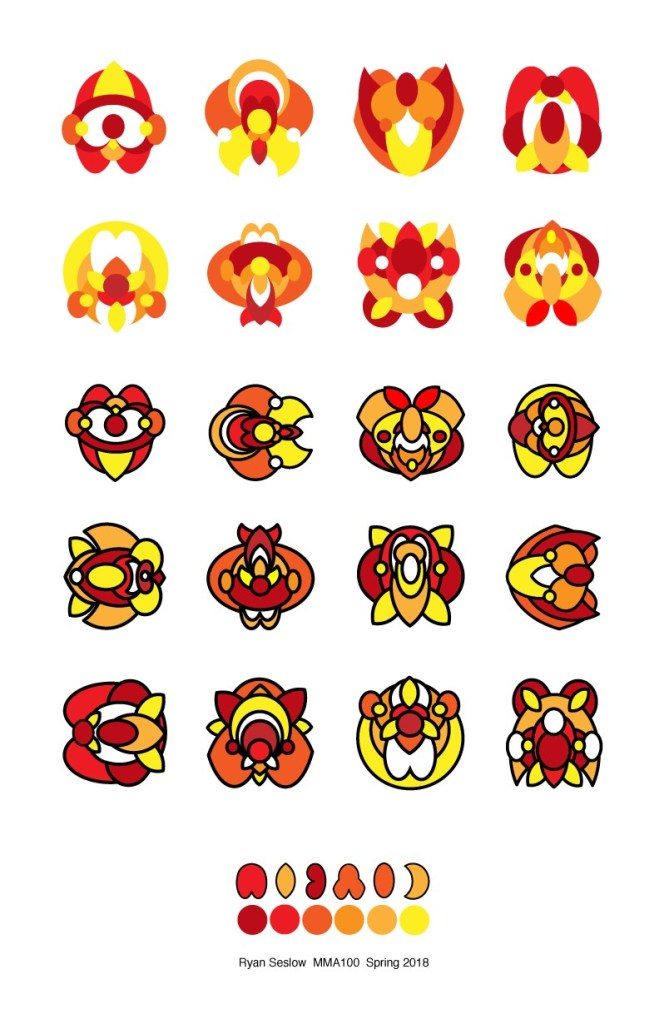 (See Example #1 Above & example #2 below)
1. Open Adobe Illustrator and create a new document sized at 11″ X 17″ in CMYK color mode. We will be both printing and displaying the final work on screen.
Consider, how will you set your guides to equally balance and format the graphics evenly? Will you use a grid? Do you have a preferred method for layout? Lets explore what this means.
2. Generate a new series of “subjective” graphic Icons following the layout and arrangement above. (Don’t re-create my example) make your own, but follow the balanced composition.
3. Limit yourself to 6 values of 1 complimentary color scheme. Consider referring to the color wheel for reference – (Located here)
4. Limit yourself to creating and composing your graphics with no more than 6 shapes created with the pathfinder or the shape builder tool. Begin without using a stroke around your shapes and then apply a stroke for contrast later.
5. Save your work as an Ai. file (adobe illustrator) as well as a .pdf – Print your work in .pdf format.
6. E-mail ALL of your final PDF. files to me – rseslow@bmcc.cuny.edu ****If your .pdf files are too large to send via e-mail (and it may – you can easily use a free service like – wetransfer.com to send the large documents or use google drive)
PART 2 – Each student will follow the images in the gallery below as a guide to further extend and develop their designs.
Size – Use a square shape for this series of designs. I suggest 8″x 8″
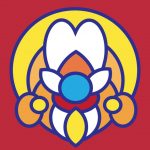
Students will select and isolate their strongest single icon/graphic from the original layout in Part 1 of the assignment – 1 version will include a stroke and one with out(example below). Students will explore a 4-part color variation drawn from their selected color palette as well as 1-3 balanced patterns using their icons.


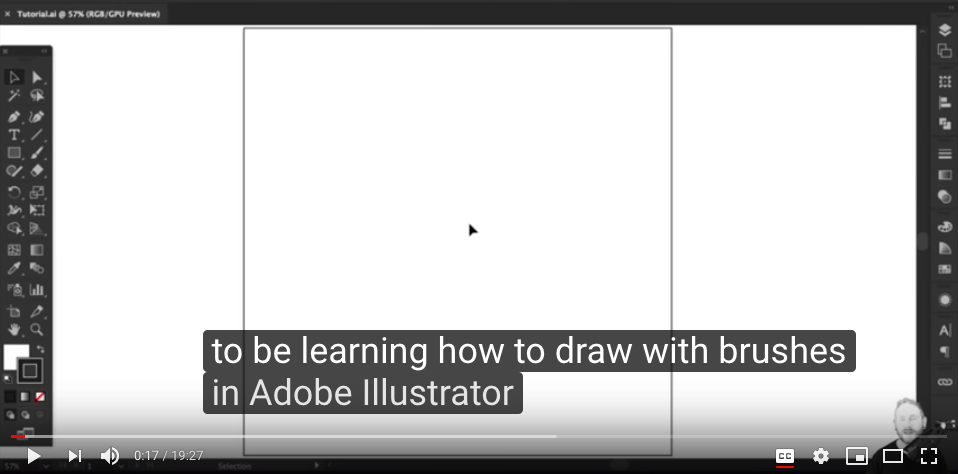
Illustrator basics from Terry White – Subscribe to his channel, trust me!
(((((((((((((((((((((((((((((( 0-0-0 )))))))))))))))))))))))))))))))))))
*** Mid-Term Project *** LETS Discuss!
(Do not Begin this just Yet!)
Poster Design. We will bring together the applications of composition, image and typography.
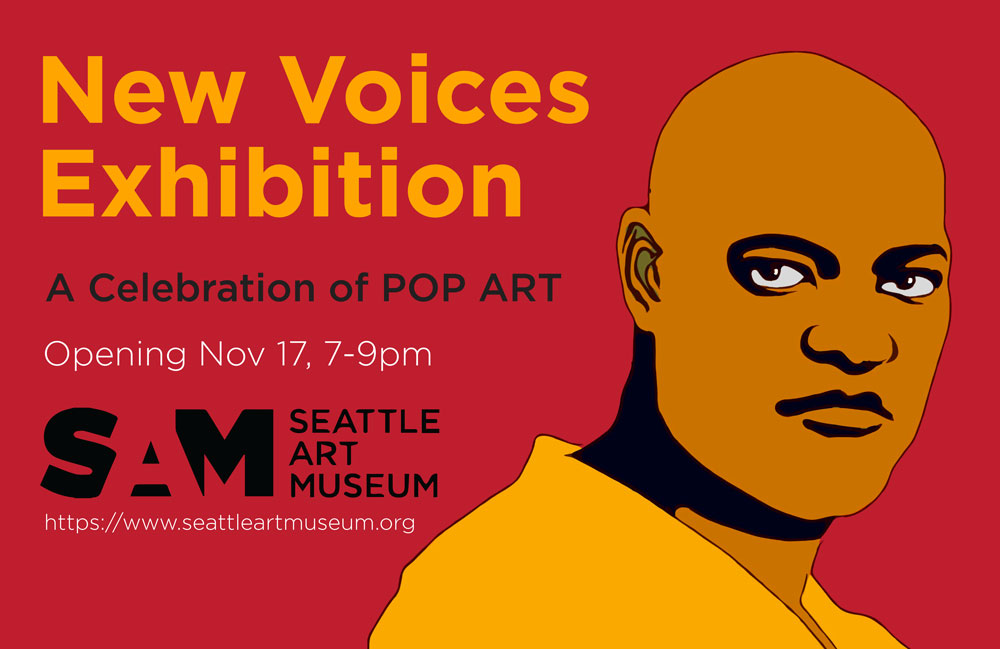
Museum Exhibit Poster (examples will be shown in class – as well as a series of Illustrator vector demonstrations)
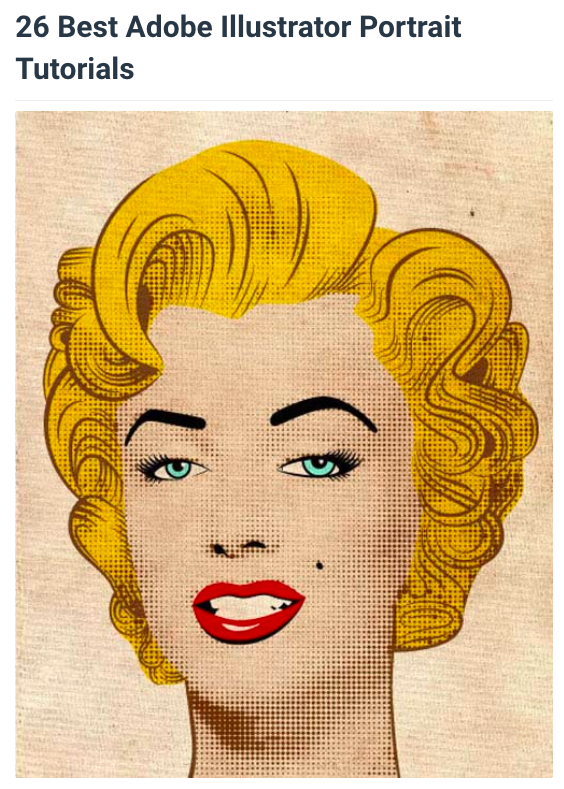
Choose one or more of these styles/movements of art to create a poster using a SELF-Portrait:
POP ART, SURREALISM, MEXICAN MURALISTS AFRO-FUTURISM, ANIME/MANGA, POLITICAL ART, FAUVISM, AFRICAN MASKS, ANIME, VIDEO GAMES or (Another Style Not Listed Here or create a Hybrid using 2 or more styles)
Process: Research! Find and discover a series of images and references to work from. Your research should inspire you! Create a new project folder titled “Mid-Term-Project” – save these images to your project folder. Create your self-portrait in the style of the Art Movement that you chose for a Museum Exhibition. It should be obvious which style you picked WITHOUT seeing the title.
*Your self-portrait IS the artwork for the poster campaign that you create for the exhibit. You must design the poster in 2 sizes – one landscape and one portrait orientation. I suggest 11” x 17” (or slightly smaller)
Your self-portrait must first be drawn in Illustrator and can be brought into Photoshop later for manipulation, (like adding blended color, additional imagery or effects.) After you illustrate your self-portrait, you’ll create the actual poster for the exhibit.
Specifications: The museum having the exhibit you’ve chosen is: SAM, Seattle Art Museum. Find out more about the institution at this website: https://www.seattleartmuseum.org/visit/seattle-art-museum
For the midterm project please use the SAM logo as it is: (attached as a download link here) *feel free to re-render the logo on your own if you wish. (This does not mean change it)
You may use any of the tools in Illustrator that we’ve learned or explored and also find and experiment with new ways to draw. You can work from a photo in Illustrator as demonstrated in class.
Do the Portrait First. Then compose the poster. :))
Minimum required copy/text for the poster is:
New Voices Exhibit
April 15th – May 30th 2019
Opening Reception, April 20th 7PM-9PM
https://www.seattleartmuseum.org
*(and the SAM logo of course)
Fonts and colors – are entirely student choice. Students may ADD additional copy, but may not delete from the minimum above.
———— – – – – – – – – – – – – – – – – – – – – – – – – – – –
Research / Inspiration / Tutorial – Check out these links below:


Art Movement Resources:
https://www.theartstory.org/section_movements.htm
https://mymodernmet.com/important-art-movements