Final Course Completion Information – Weeks #14 & 15
Dear MMA 100 Students,
The end of the semester is upon us…
Here is the final semester wrap up and course completion information in advance:
Please read this information carefully and mark your calendars accordingly.
The same content published here will be sent to your BMCC e-mail address via blackboard (as a reminder) and shared here on this website.
Please reach out with any questions here – rseslow@bmcc.cuny.edu
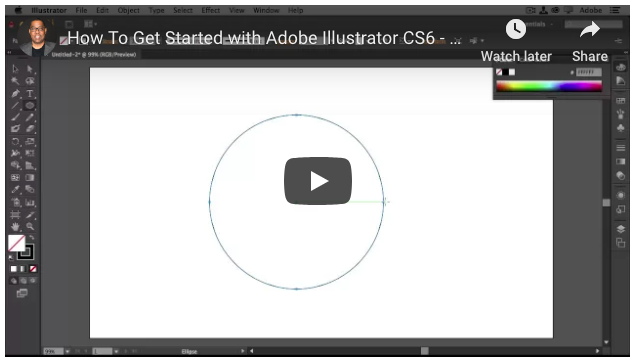
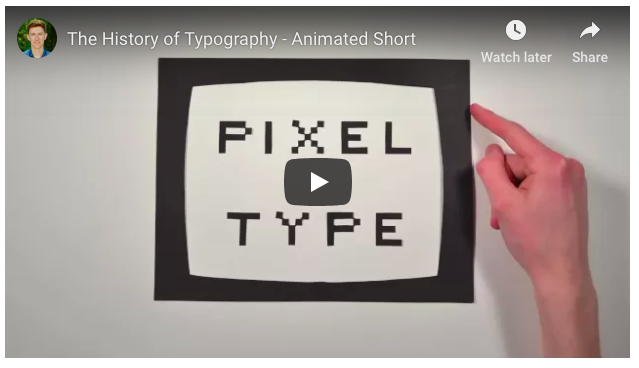
1. Wednesday May 10 is our last regular class / lab working session. As promised we will use this class session to discuss and share a demonstration on how you can create a final portfolio with Adobe Illustrator (saved as a single file PDF) the portfolio will display and organize all of your completed works (the final portfolio is mandatory and serves as Assignment #5 )- it is not mandatory to replicate my exact example, but I highly recommend it as the skill that can be applied to other courses and projects. I will also show you how to organize your google drive assignment folders (as a review) as well.
**Watch the Portfolio Making Tutorial from 5/10 below:
2. Wednesday – May 17th(final exams week) is our last and final meeting for the semester – It is mandatory to attend – We will have a pizza party in our classroom and present our favorite / strongest work from our final portfolios of completed work – please join us at 5:30pm! You can choose to show your work on the big screen or print some out and pin them up on the wall.
****All students will need to have all completed work added to their folders in our google drive no later than May 22nd at 6pm.
3. Submitting your completed assignments – I know I have mentioned this many many times through out the semester, but all student work needs to be submitted via our shared Google Drive Folder – the link to the shared folder is located on Blackboard – You must share all production files that include the adobe photoshop file – .psd and all illustrator files – .ai – you can also share your illustrator work as a PDF. (Please do not save your adobe illustrator work as a png or jpg.)
Please reach out with any questions here – rseslow@bmcc.cuny.edu
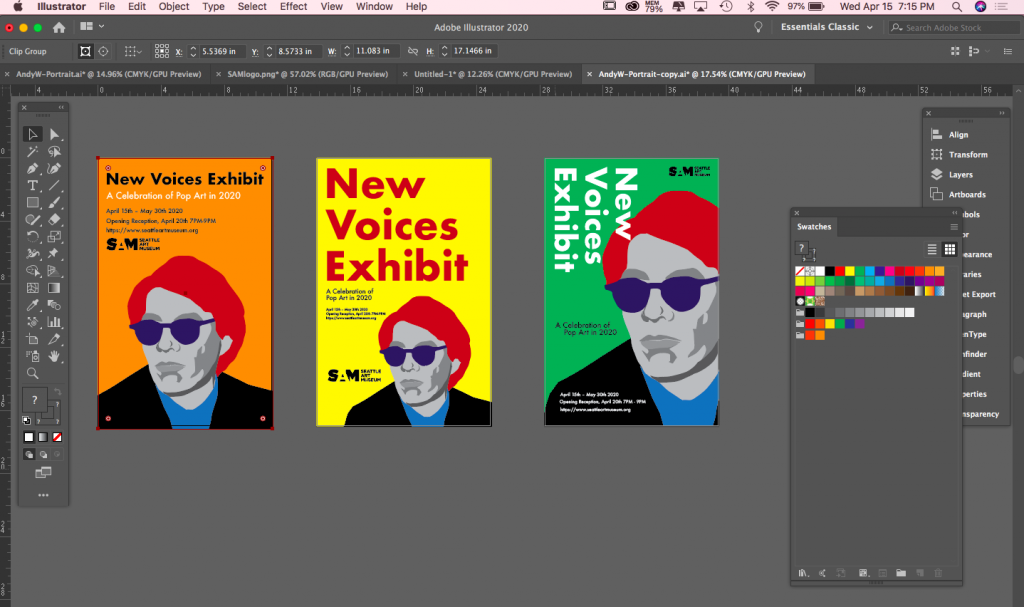
Assignment #3 – & – Assignment #4 are in full effect (and we are ready to move on!) We are becoming versed in Adobe Illustrator – and will continue to do so.
Exciting! The deeper welcoming into the Adobe Illustrator world continues through weeks 10 – 12! (I very much love Illustrator – as you all know!)
***Don’t forget to add your works in progress to our shared google drive folder.
Discussion – Continued class exercises :: Adobe Illustrator. Creating shapes with the pen tool, the pathfinder tools and the shape builder tool.
Simplifying and reducing shapes and forms, working with color, locating color books, pantone colors, making patterns, repetition as a design element and more!
This project contributes to “flat design” which is a popular application and style used in the daily UX / UI interfaces and experiences we have each and everyday. What happens when we click on that link above?
We will begin project #4 by experimenting with creating shapes and forms – composition, as well as building “things” with those basic forms that we make. What are the potentials of working with the seemingly simple shapes and forms that you create?
*The class tutorials will place an emphasis on various digital art & design making techniques with illustrator. The techniques will support all 3 parts of assignment #4 (and beyond!)
Lab Tutorial – This week we will take another tour of Adobe Illustrator and practice creating new documents and setting up our art boards for production. Tonight’ class demonstrations we be recorded and placed here after class, as well as on the assignment #4 page.
————->
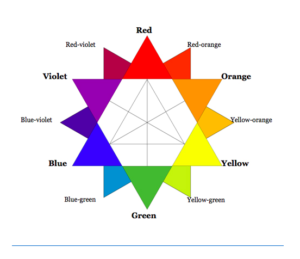
Color Theory Continued!
Adobes awesome Color Wheel Simulator (must see) – If you sign into your Adobe ID on the color picker website you can use the web application and save your discoveries directly to your adobe Library – this will allow you to apply those things into the adobe software that you are working with. (illustrator for this project)
Please keep in mind, there is a lot to see here below, take your time through out each week to explore what is shared, if you have any questions or reactions please add them to the comments section. The comments section is helpful for extending our in class dialogs and gaining clarity by organizing your thoughts in a written format.
*Did you miss the content / post from weeks 3-6?Go Here <—
During weeks #6, 7 & 8 we will take a class tour of Adobe Illustrator and get talking about Assignment #3
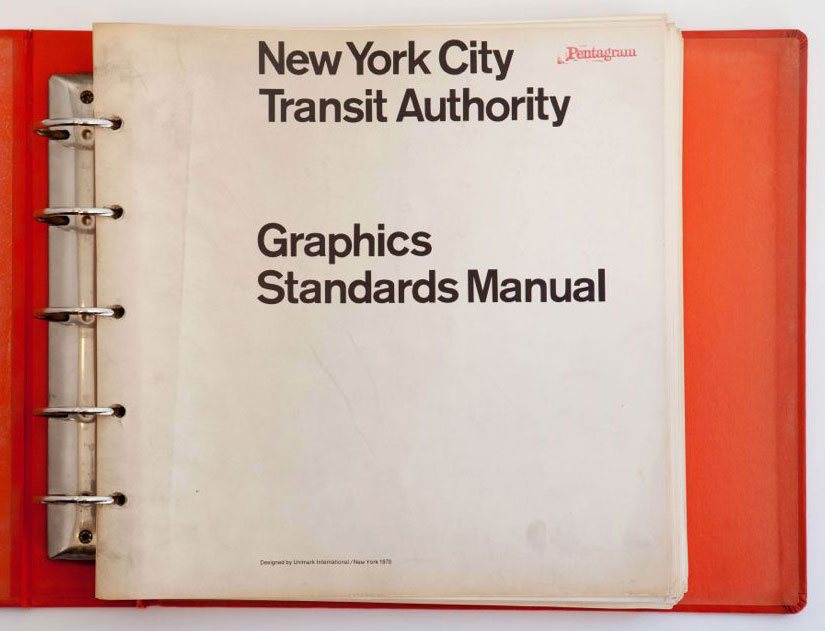
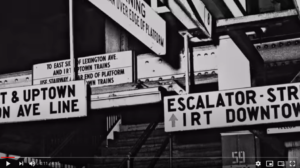
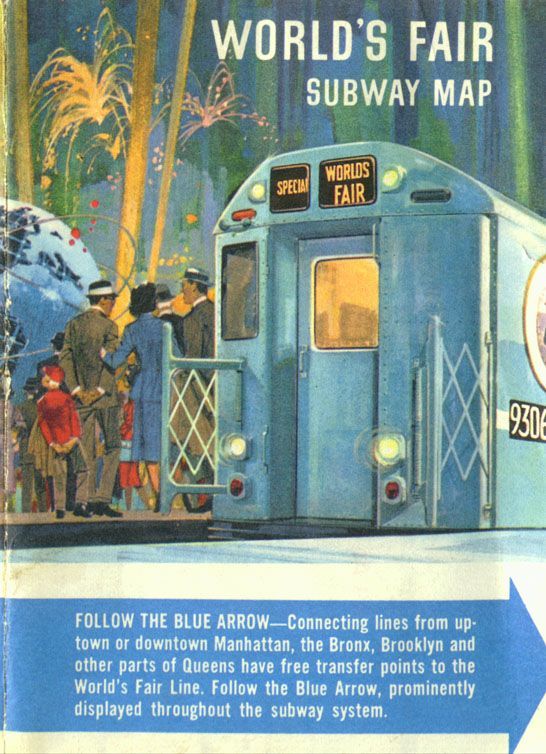
Let’s jump back in and start with some NYC Design History!! Behold, the NYC Transit Authority Graphics Standards Manual. See below
The link above will you take you to a page with an active full PDF version of the manual. If you wish, leave a comment at the bottom of this page after exploring the manual and answering the questions below (you can work on this outside of class over this week or next)
Designed by Massimo Vignelli and Bob Noorda, Unimark, 1970
Some Questions to ponder and react to:
What is your general feedback on the manual? Do you like it? Dislike it? Please Explain. Do you find it to be well designed, illustrated and clear in its application?
2. The manual was published in 1970. Does it still hold up for today’s world? Why or Why not?
3. What is missing or should be added for today’s world to help and expand the NYC Transit System?
Imagine being offered the opportunity to visually solve, design and illustrate the entire NYC transit system!? And then organize it into a concise application procedure? What goes into this process and research? How much does the designer charge for a project of such scale? Let’s discuss.
Forward motion from Assignment #2 —> Assignment #3 –>
Last week we continued talking about Assignment #2 – The Post Card project ! Let’s look at student work and talk about your progress and the potentials of the project. There is a lot of room for image manipulation and creating aesthetics with your work. Discussions about presentation methods and why presentation is so important. Please navigate to the assignment #2 page to view the assignment details with me again.
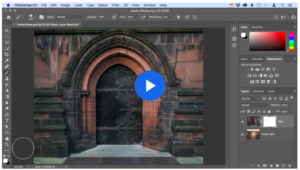
More Photoshop Masking Video Tutorials ->
Creating Layer Masks / Photo Composites – The video below is great example – click here or the image below to view it.
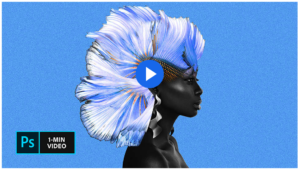
2. Double Expose Technique – Click here or the image below to get started
We continue to cover a lot of information as we began to get acclimated with Adobe photoshop, our Photoshop workspace and our first assignment, we also went over our class website structure again. I shared (and recorded) a video tutorial about our first assignment / project here in MMA 100. Did you find the video helpful (its placed on the Assignment #1 page).
**Did you add or submit your work in progress to our google drive folder? Remember, I would really like for you to keep your work in progress there as we can dialog about it together outside of our class time. The google-drive link is located on our blackboard course page (in the google drive folder, create a folder with your first and last name).
I would also like for you to e-mail me when complete each project or assignment. You can add the files to your folder in g-drive and then send me an e-mail to let me know – rseslow@bmcc.cuny.edu – I will then, leave a few comments on your work.
*** In the comments section below, add a few links and or statements about what is currently inspiring you, or what stands out and catches your interest this week! (not just with our class but in life in general!)
The vocabulary of design is an essential aspect of the design process and includes both elements and principles of design. Understanding these terms helps artists and designers to communicate effectively and ensure that their designs accurately deliver their intended message to the audience.
The elements of design refer to the building blocks that define the visual, including form, shape, line, color, texture, typography, and space. These elements can make a design successful when used correctly, and artists must learn the rules of applying them, which are known as the principles of design.
The elements and principles of design are the guidelines and rules that artists and designers use to create visual compositions. They provide a framework for using the elements of design to achieve the desired effect and deliver an intended message.
One aspect of design vocabulary that is often overlooked is typography. Typography includes elements such as ascenders, descenders, and baselines, which refer to the parts of letters that rise above or descend below the main body of the letter. Understanding these terms is crucial for creating effective typographic designs. (We shall cover and discuss soon)
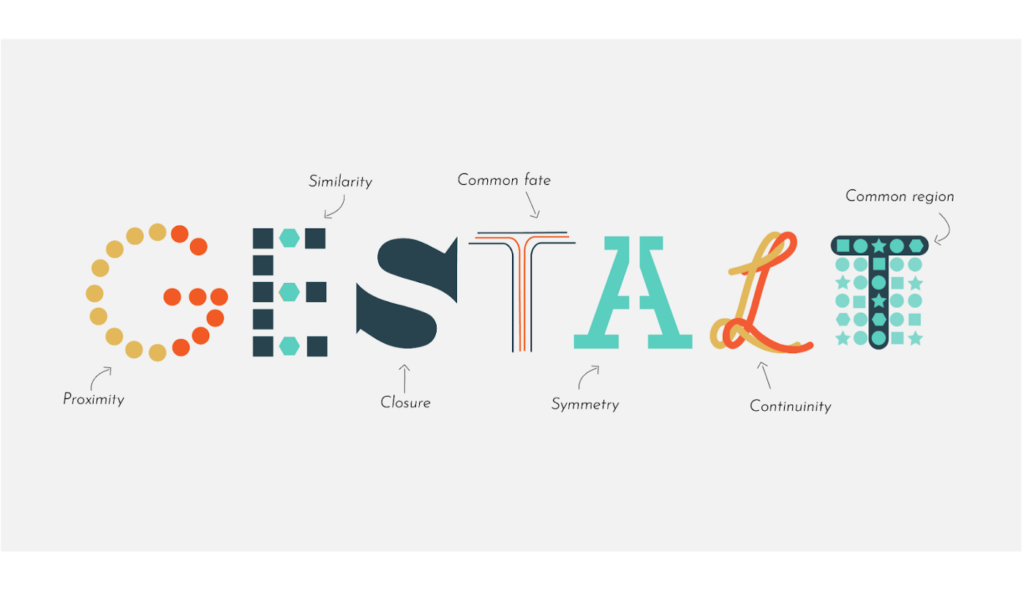
Another aspect of design vocabulary is the Gestalt principles, which refer to the principles of perception that govern how people see and interpret visual elements. The five Gestalt principles are proximity, similarity, continuity, closure, and connectedness, and they help designers to understand how people process and make sense of visual information.
The Elements and Principles of design plays a crucial role in the design process and helps artists and designers to communicate effectively, use the elements of design correctly, and deliver their intended message to the audience. Understanding the elements and principles of design, as well as typography and the Gestalt principles, is essential for creating successful design work.
It is great to meet everyone and share our first class to connect, break the ice, and learn a bit about each other. There is a lot of exciting and compelling content to cover, which will happen beginning on – Wednesday 1/25/23 at 5:30pm – in person in Fiterman – room 706.
The link above is super important as that is where all of the course content will be published each week. I’m not a big fan of using blackboard – so only password sensitive things (like the zoom password and the shared google drive folder link) will be placed there. Only the minimum info needed will be placed there mainly as reminders. I will go over this in full during our 1st class.
The Class Structure – MMA100 will be taught in person synchronously on Wednesdays at 5:30pm in room 706 (Fiterman building) and also via this website. I am here to help you be the best that you can be in our course. And we are all here to do the same for each other. A big part of our class is learning new skills, being experimental with design and seeing how it forms a relationship with “how” you solve problems and revises them. We will cover the many tools that are available to us. (Adobe and beyond) We do quite a bit of the fun and creative work from our own personal work spaces as we integrate the class work into our lives.
Please know, I will screen record each and every class session, “how-to” and “assignment tutorial” for all assignments and share those videos here on our class website. (I said that twice, haha, just want you to know again) 🙂
The Class Website – Our class website takes place here on the BMCC OpenLab! You will soon discover that the OpenLab is a huge resource and regular source of inspiration! I promise.
Meeting Day & Dates: Every Wednesday, as per the CUNY academic calendar (please be aware of the cuny calendar for this semester)
If you have questions please don’t hesitate to reach out to me here – rseslow@bmcc.cuny.edu
Everything that we cover this semester will be posted and published to this website as a weekly blog post (much like this one) and as individual pages that host specific content (like assignments and their details). You will be asked to visit this website each week. At the bottom of each page and post there is a section for comments, please feel free to use it to ask any questions that you may have.
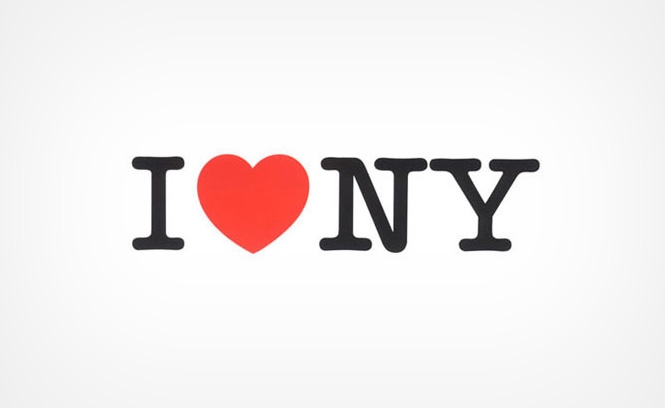
One of the most well known logos around the world, by Milton Glaser
What is Graphic Design? Design Solutions: Strategy, Concept, Design, Execution & Production Exploring the Design Process.
Software skillsthis semester will focus on– Adobe Photoshop & Adobe Illustrator as well as a few other apps and non-conventional methods of image-making.
Logos by Paul Rand
What is Graphic Design?
“Graphic design, also known as communication design, is the art and practice of planning and projecting ideas and experiences with visual and textual content. The form it takes can be physical or virtual and can include images, words, or graphics. The experience can take place in an instant or over a long period of time. The work can happen at any scale, from the design of a single postage stamp to a national postal signage system. It can be intended for a small number of people, such as a one-off or limited-edition book or exhibition design, or can be seen by millions, as with the interlinked digital and physical content of an international news organization. It can also be for any purpose, whether commercial, educational, cultural, or political.” (Via – Juliette Cezzar)
Great explanation of Graphic Design, but what about the speed of the video??
Poster Design by Milton Glaser
The History of Graphic Design – We will be exploring and referencing Design history in our class. Lets explore these two references below over the course of this week.
Lets talk a bit about assignments – Most assignments are broken down into 2-3 parts. For example, assignment #1 has 3 parts. For each assignment, I will be sharing a series of video tutorials during our class time. Each assignment has its own page with all of the details and specifications needed to work on, complete and submit the assignment. The Assignments page is here
Becoming familiar with terms and items like: “design briefs, project sheets and project specifications” are essential to the design industry. We will become familiar with this process and following a simulation like experience 🙂
We will discuss the progress and submissions process of your finished assignments and how to send and share them via google drive. We will discuss the maintaining of your files and data and how to keep it safe and easy to access.
Assignment Submission guidelines:
When your assignment / assignments have been completed please add them to our class google drive shared folder (the google drive link is located on blackboard)
Please create a folder for yourself with your first and last name. And, please name your files with your name, assignment# & assignment status – here are a few Example file names – they may looks like this:
Ryan_Seslow_Assignment#2_progress.psd
Ryan_Seslow_Assignment#2_FInal.JPG
————————–
Tutorials – I will always share a few video tutorials each week that coincide with our assignments. This one below is about getting further acquainted with Photoshop – (Terry White is one of my favorite Adobe evangelists!)
I’ll also share Designer Inspiration each week? Let’s be inspired and see Who’s Who in the field? There are so many great designers out there to follow these days! Each week, let’s showcase one and talk about how their work functions.
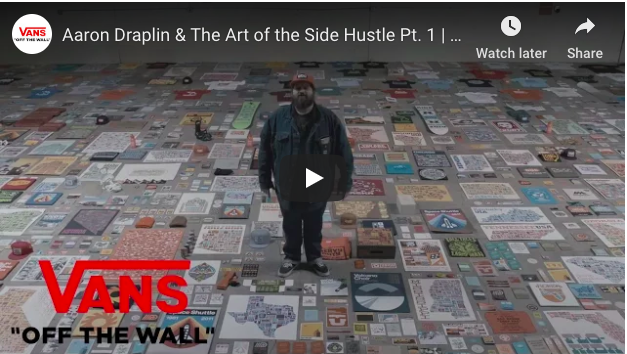
Who is Aaron Draplin? Surely by now you have heard of Aaron Draplin?
———————————————————
Assignment #1 will introduce you to Adobe Photoshop, working with and finding images, and the Elements & Principles of Design, (vocabulary), thats the language of design.
(please note, there are several variations of these definitions that can be found across the web and through out the design world, its ok to mix and mingle variations from other sources to help expand your knowledge)
The Elements & Principles of Design are the governing vocabulary that define, illustrate and communicate how Graphic Design functions all around us. These terms are of great value and importance and should be understood and applied by designers.