Assignment #4 – Illustrator Skills Evolve!
Shapes, Forms, Composition & Color
Class tutorials for Assignment #4 – Parts 1 & 2 – 12/4 & 12/5: Adobe Illustrator:
Passcode: pDJ^n2*0
Passcode: zyx9b?fU
Exploring the 2D / 3D tools with in Illustrator. Project outcomes will instill the skills and techniques to design a series of posters with layout and a new Toy(s) or a Collectible object(s).

Process – This is a 3-Part series of exercises
PART 1 – Working in Adobe Illustrator we will create a new document sized at 11″ X 17″ (or something similar but keep the orientation vertical) Consider, how will you set your guides to equally balance and format the graphics evenly? Will you use a grid? Do you have a preferred method for layout? Let’s explore what this means.
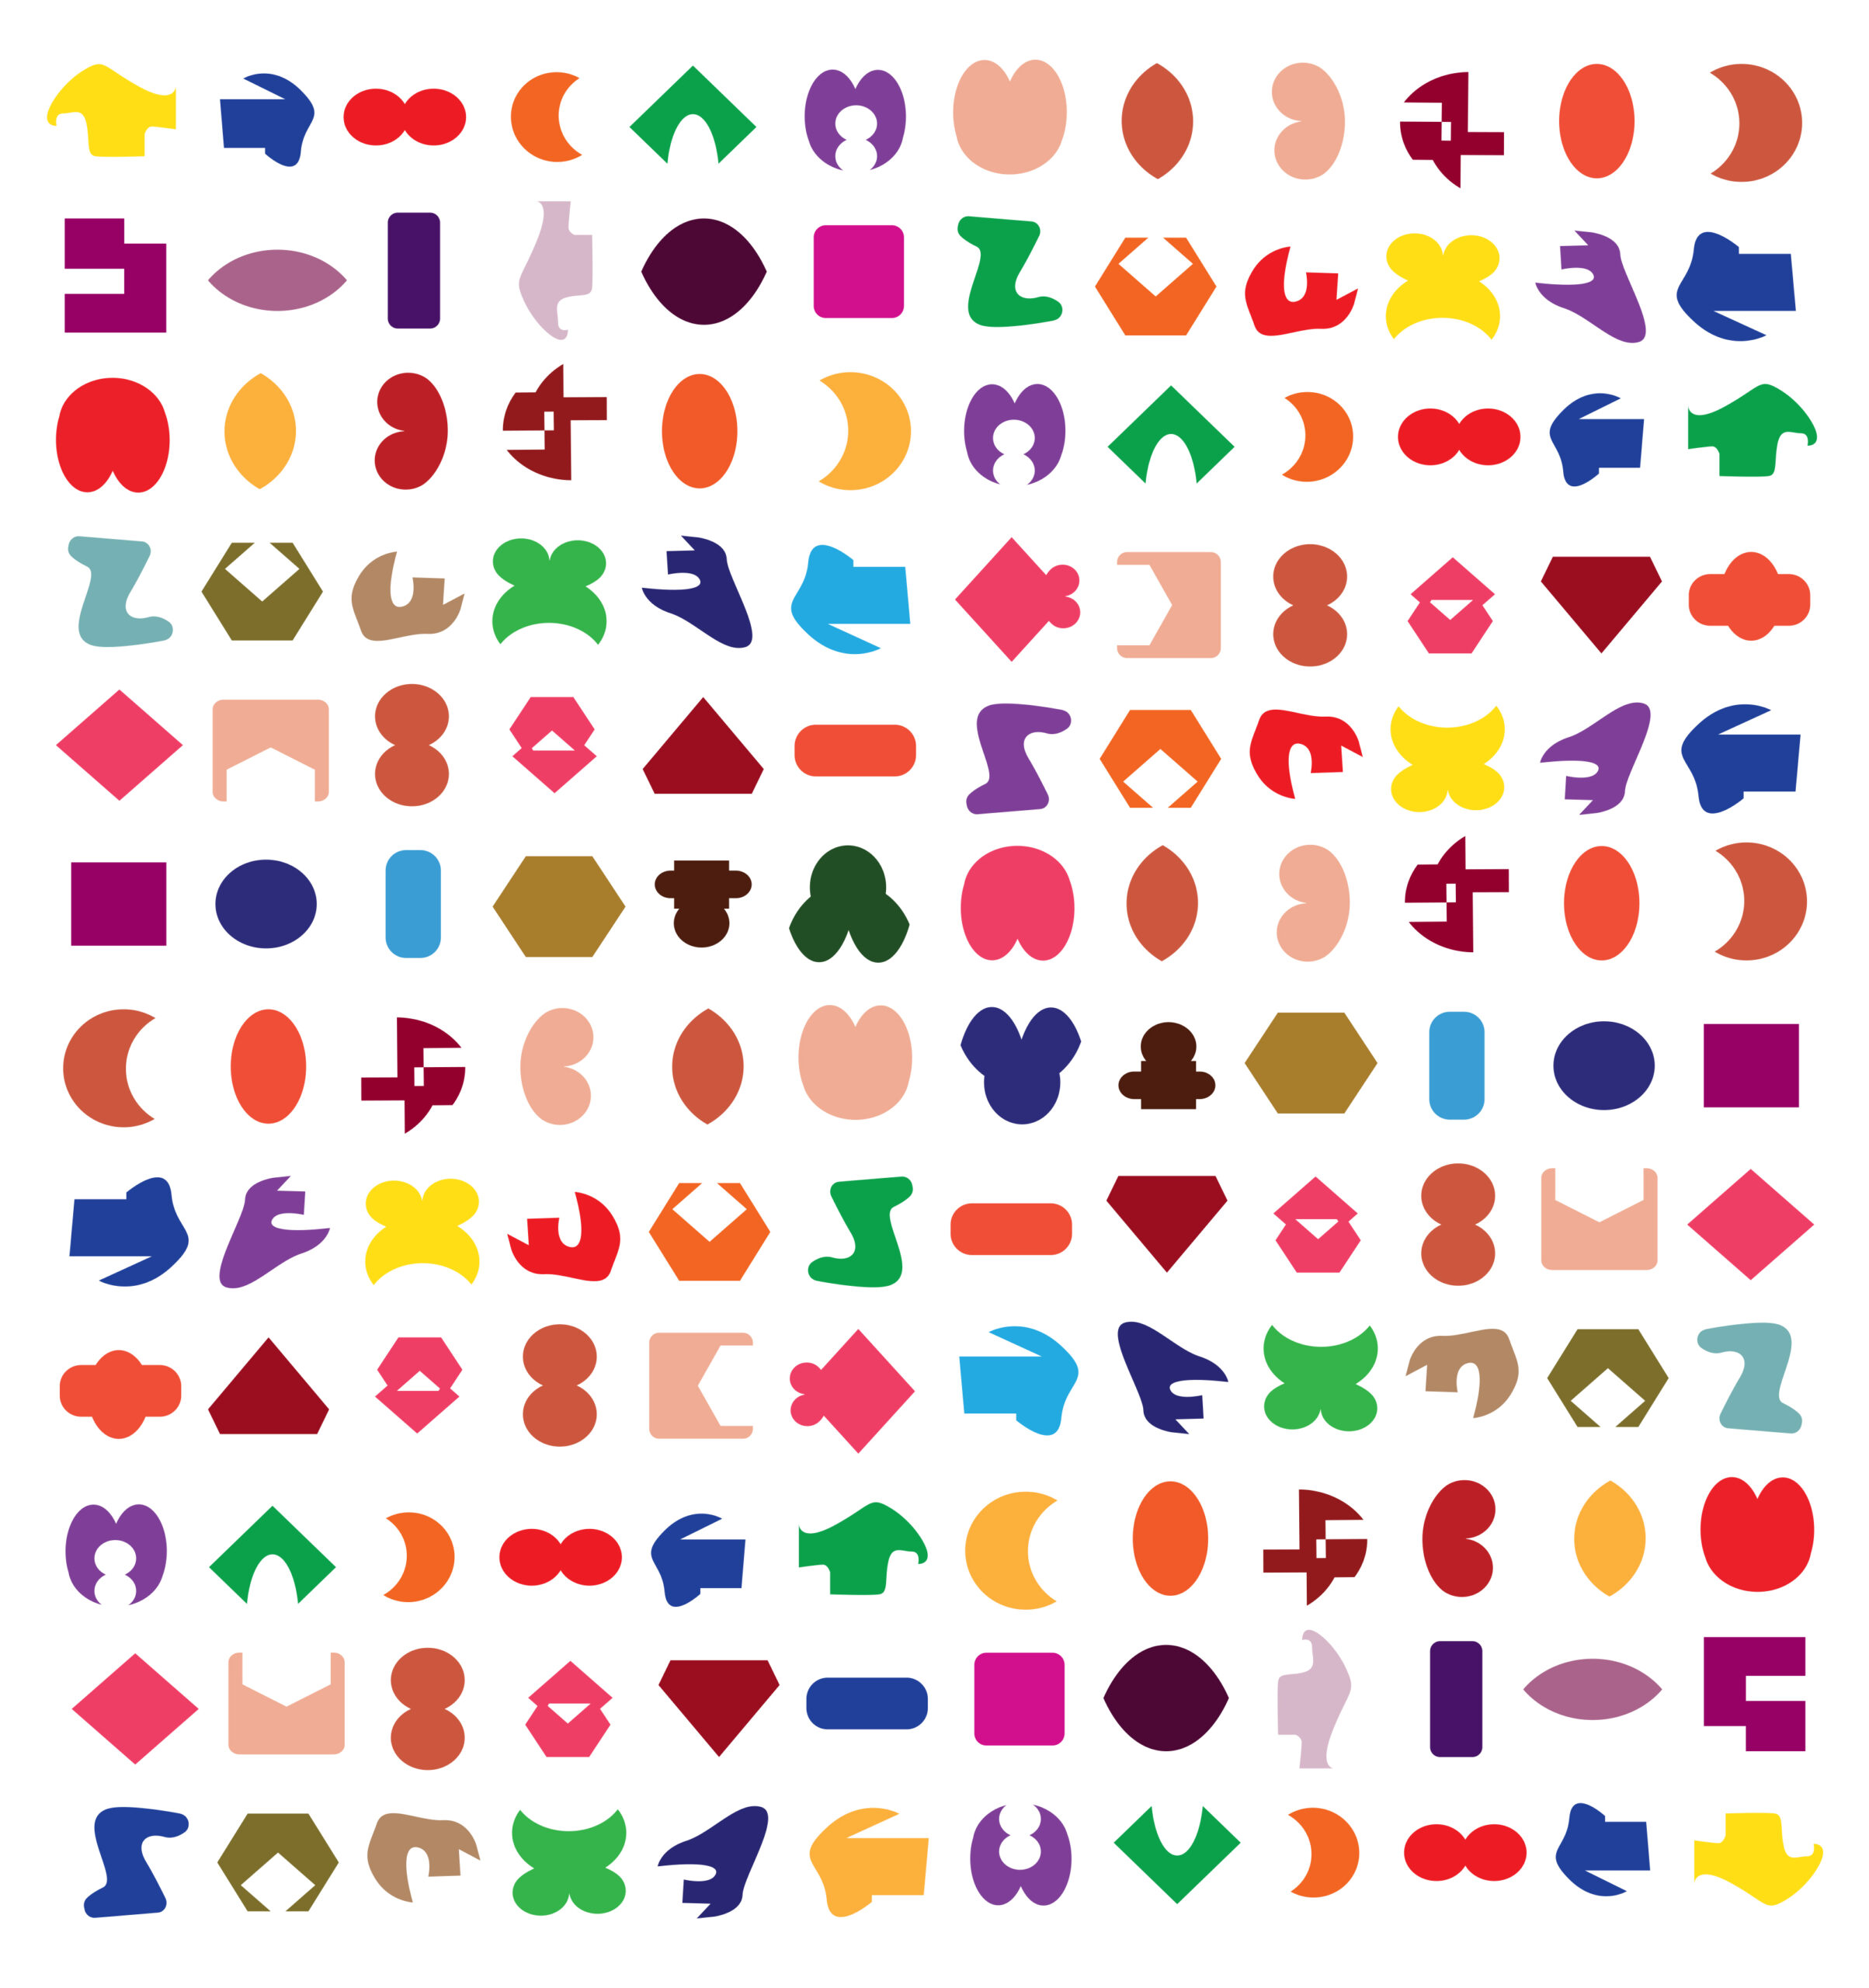
Generating shapes and forms with Illustrator is endless!
Digging into the shape making and building”tools” and develop a new series of 30 -50 shapes and forms, organize them into a rectangle or a square like the examples above.
Allow yourself to be experimental!
There are numerous ways, methods and techniques to generate shapes and forms. I suggest first working with one single color to emphasize the forms and use of positive and negative space. Then move onto the second part below..
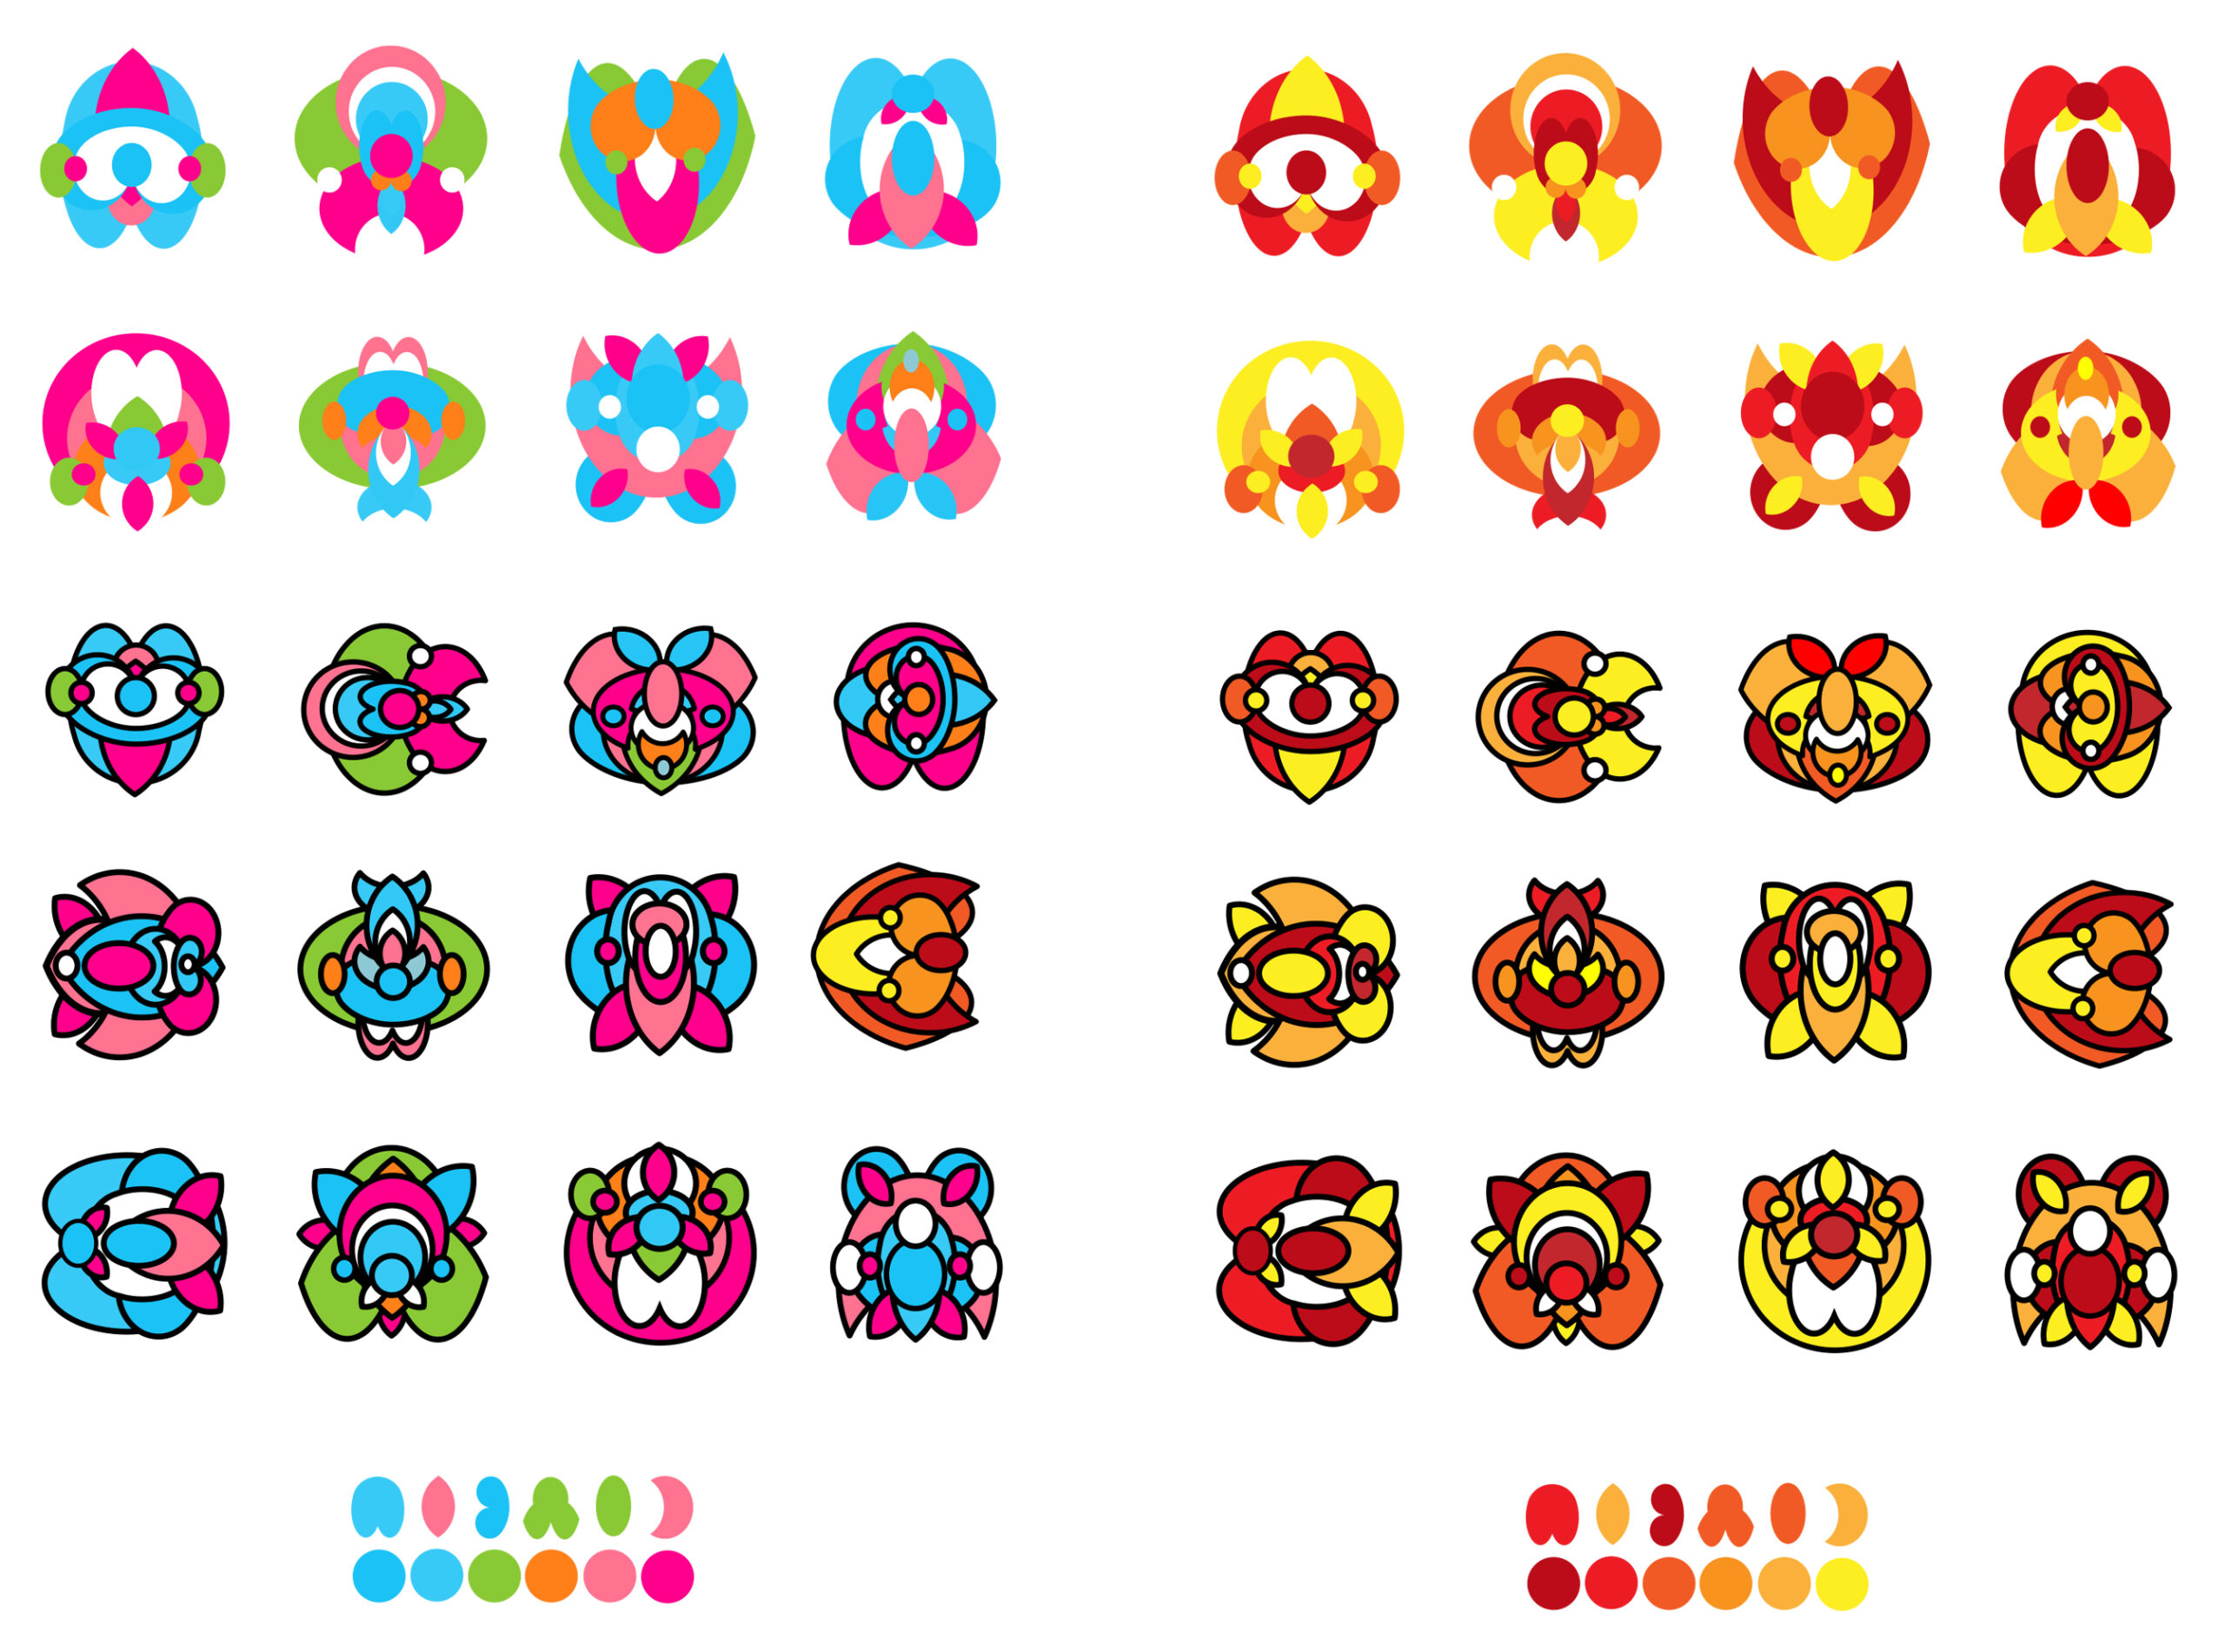
Select and draw your forms from the new series of shapes that you made in part 1.
We are going to then create a series of “subjective” graphic Icons following the layout and arrangement in the example above and below. (Don’t re-create my example) make your own, but follow the balanced composition. Experiment. Select the 6 – 8 most interesting or compelling forms and use those to layer and compose your icons with.
Limit yourself to 6 values of 1 complimentary color scheme. Referring to the adobe color wheel for reference.
Limit yourself to creating and composing your graphics with no more than 6 – 8 shapes created with the basic shapes, pen tool, pathfinder tool or the shape builder tool. Begin composing your icons without using a “stroke” around your shapes and then apply a stroke for contrast later. Save your production work as an Ai. file (adobe illustrator) as well as a .pdf – the PDF files are for viewing on the web and printing.
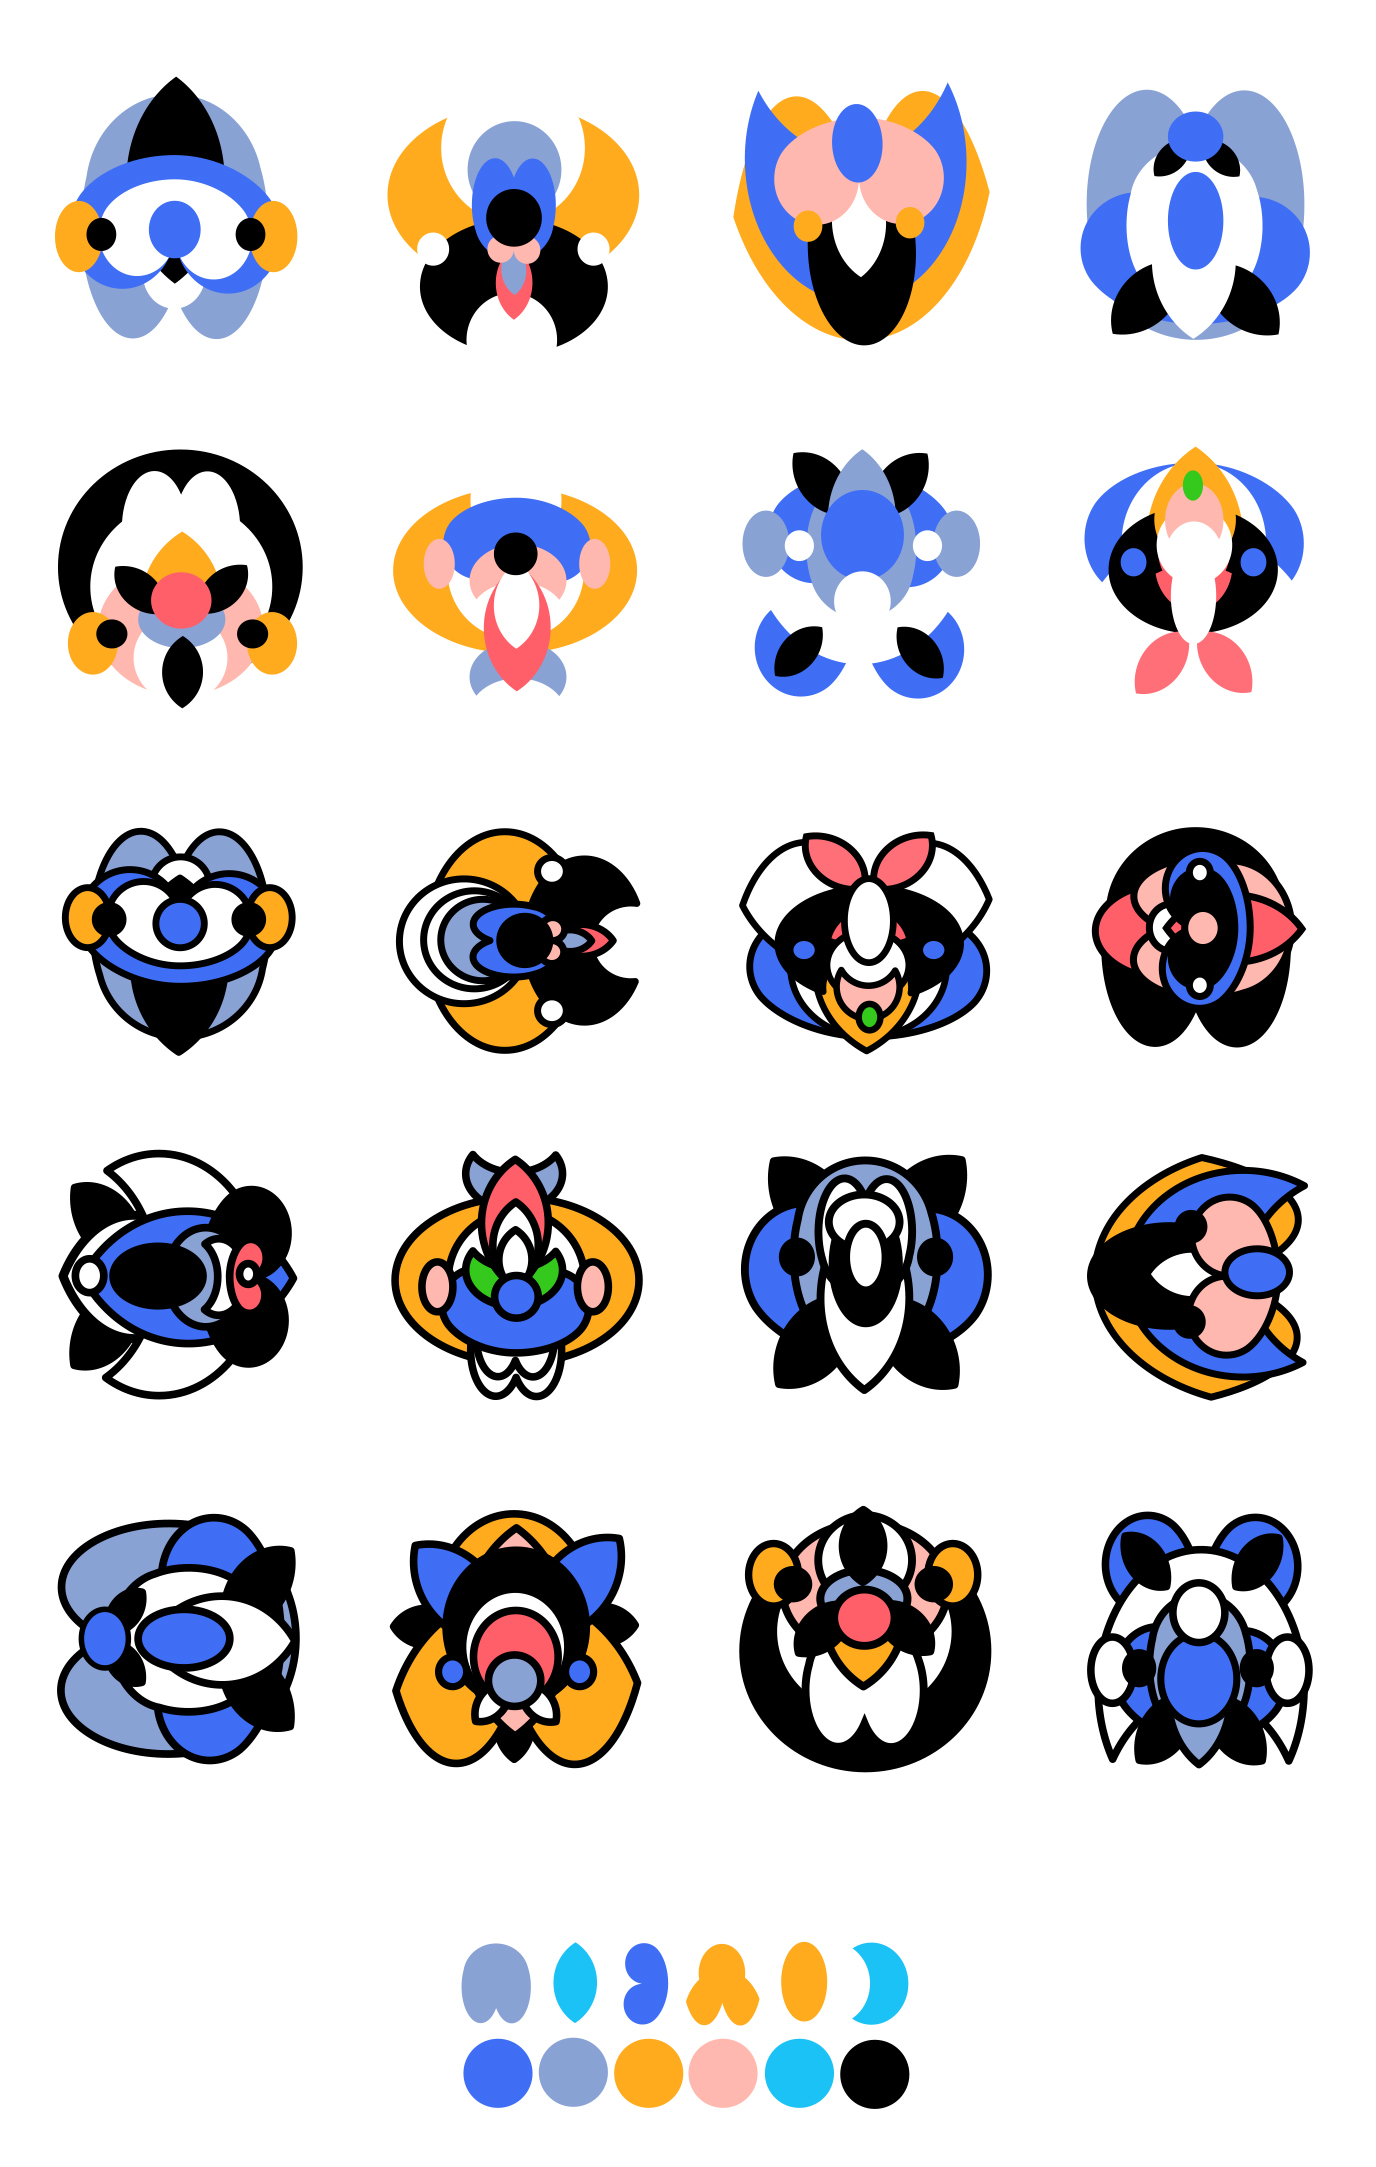
PART 2 – Pattern making, composition and color exploration – each student will follow the images in the example shown below as a guide to further extend and develop their icon designs.
Size – Use a square shape for this series of designs. I suggest 10″x 10″

Students will select and isolate their strongest single icon/graphic(s) from the original layout in Part 1 of the assignment – 1 version will include a stroke and one with out (example). Students will explore a 4-part color variation drawn from their selected color palette as well as 1-3 balanced patterns using their icons. (We will discuss the examples in class)
And then, its time to “build” a new “something” :)))


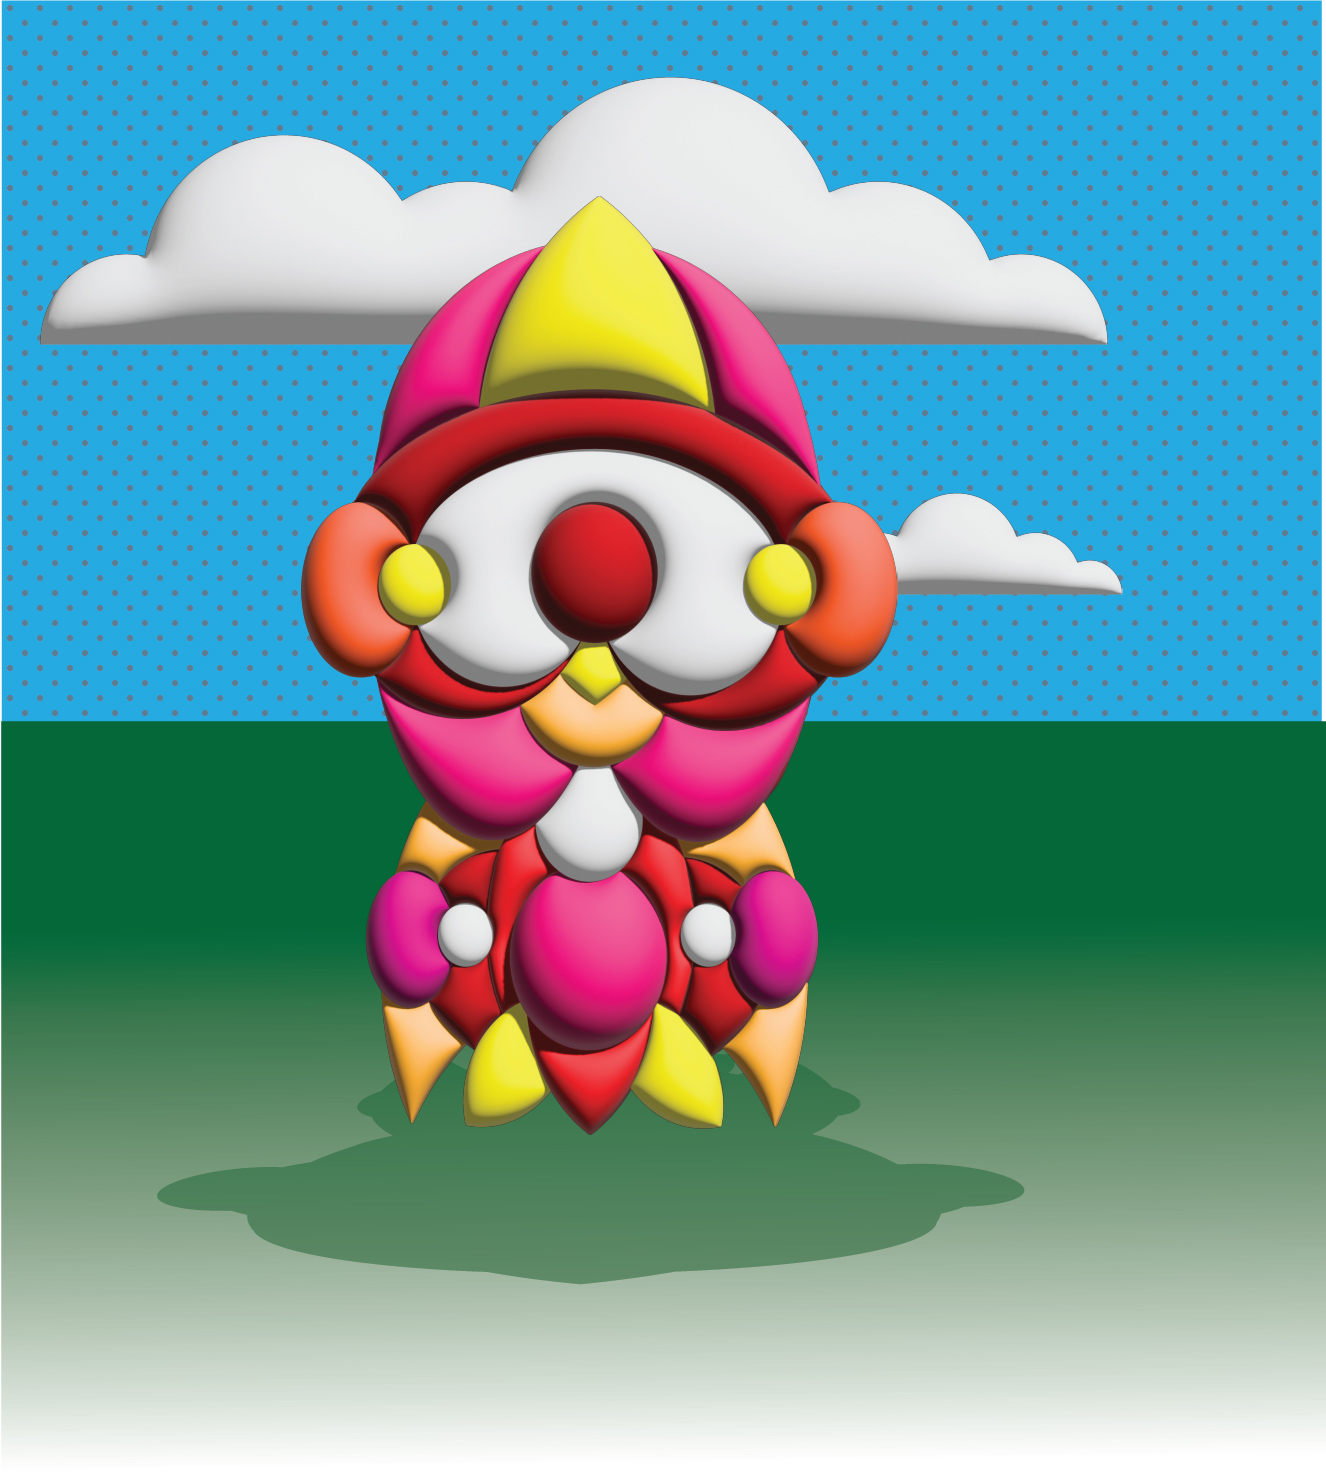
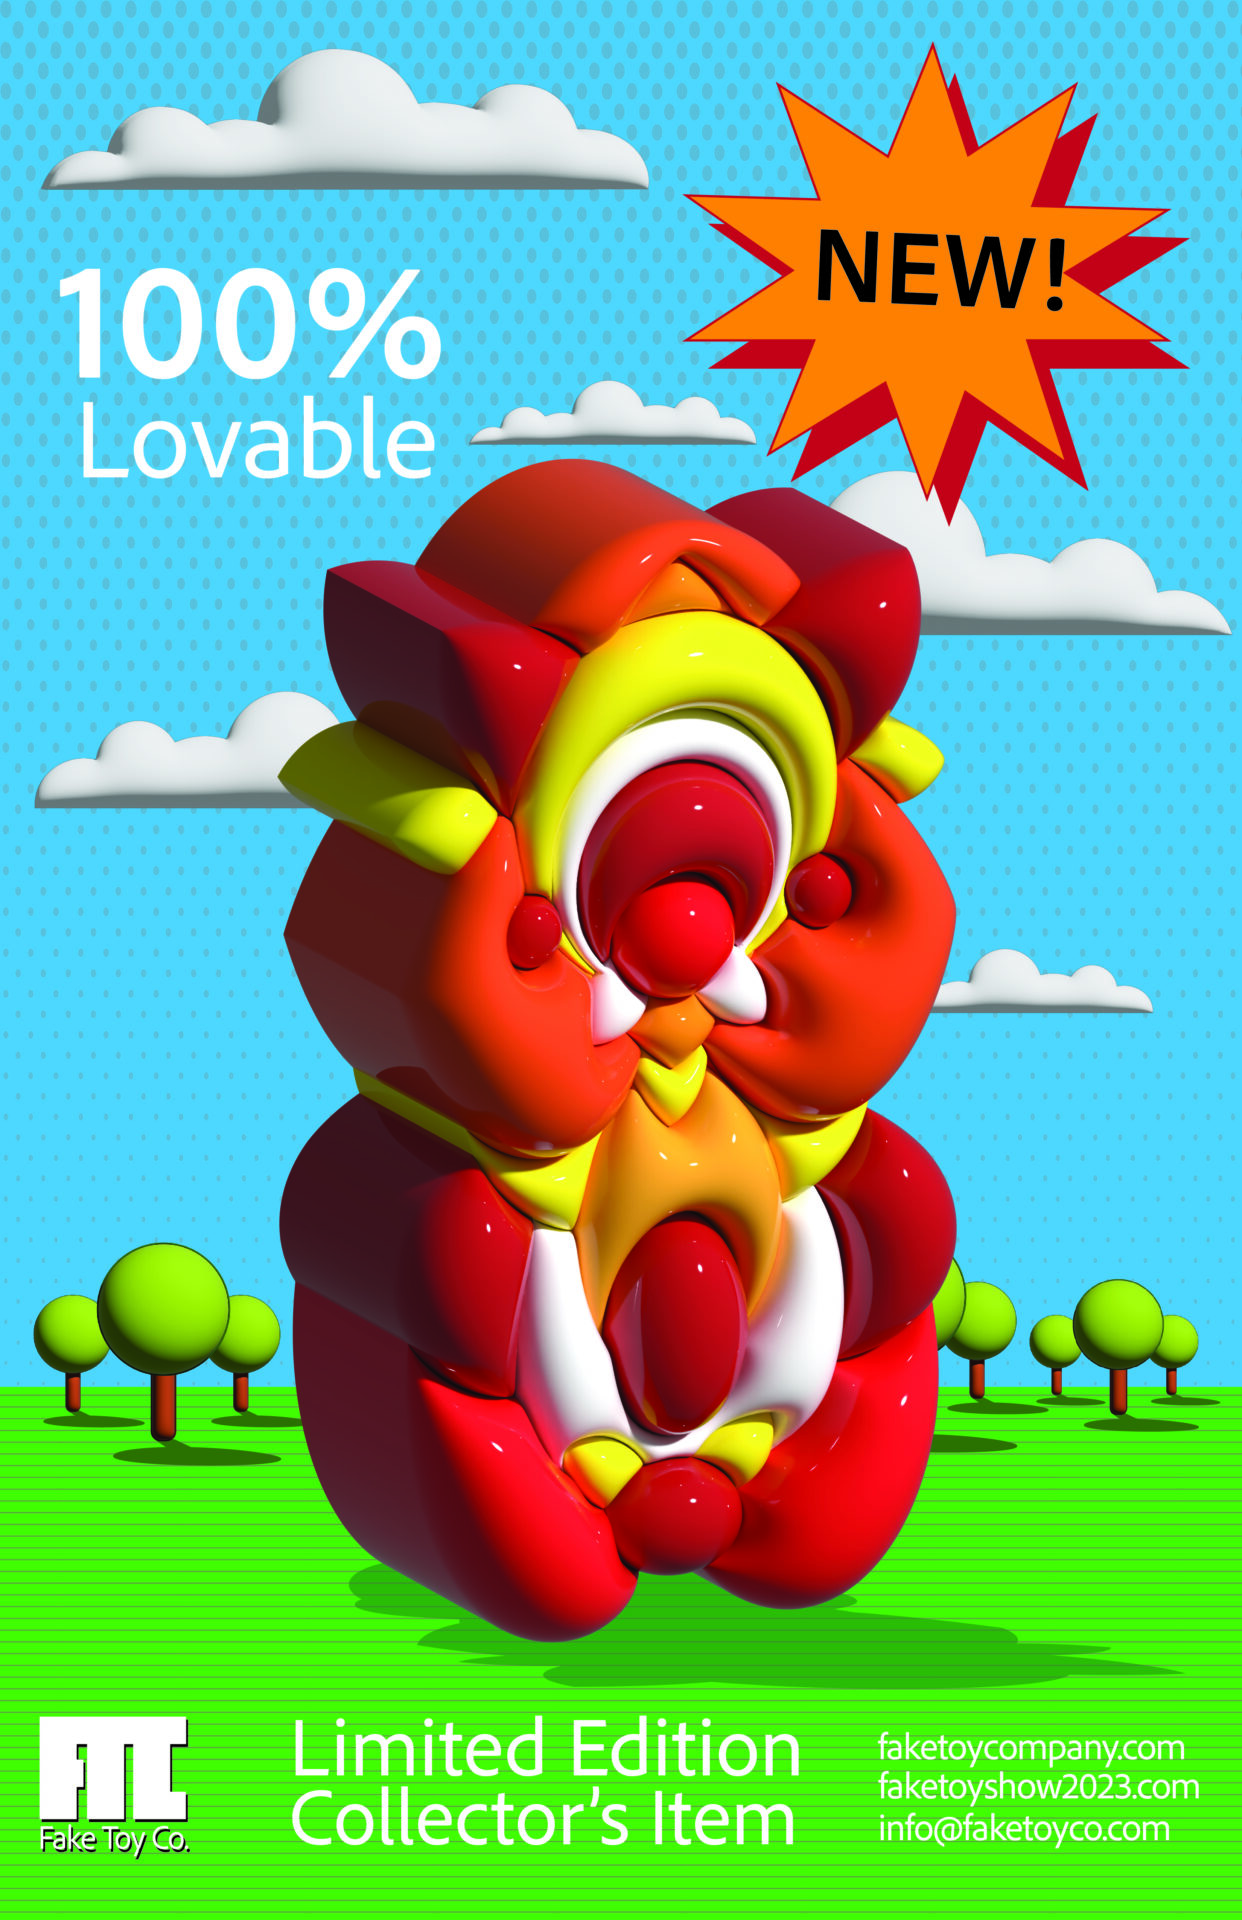
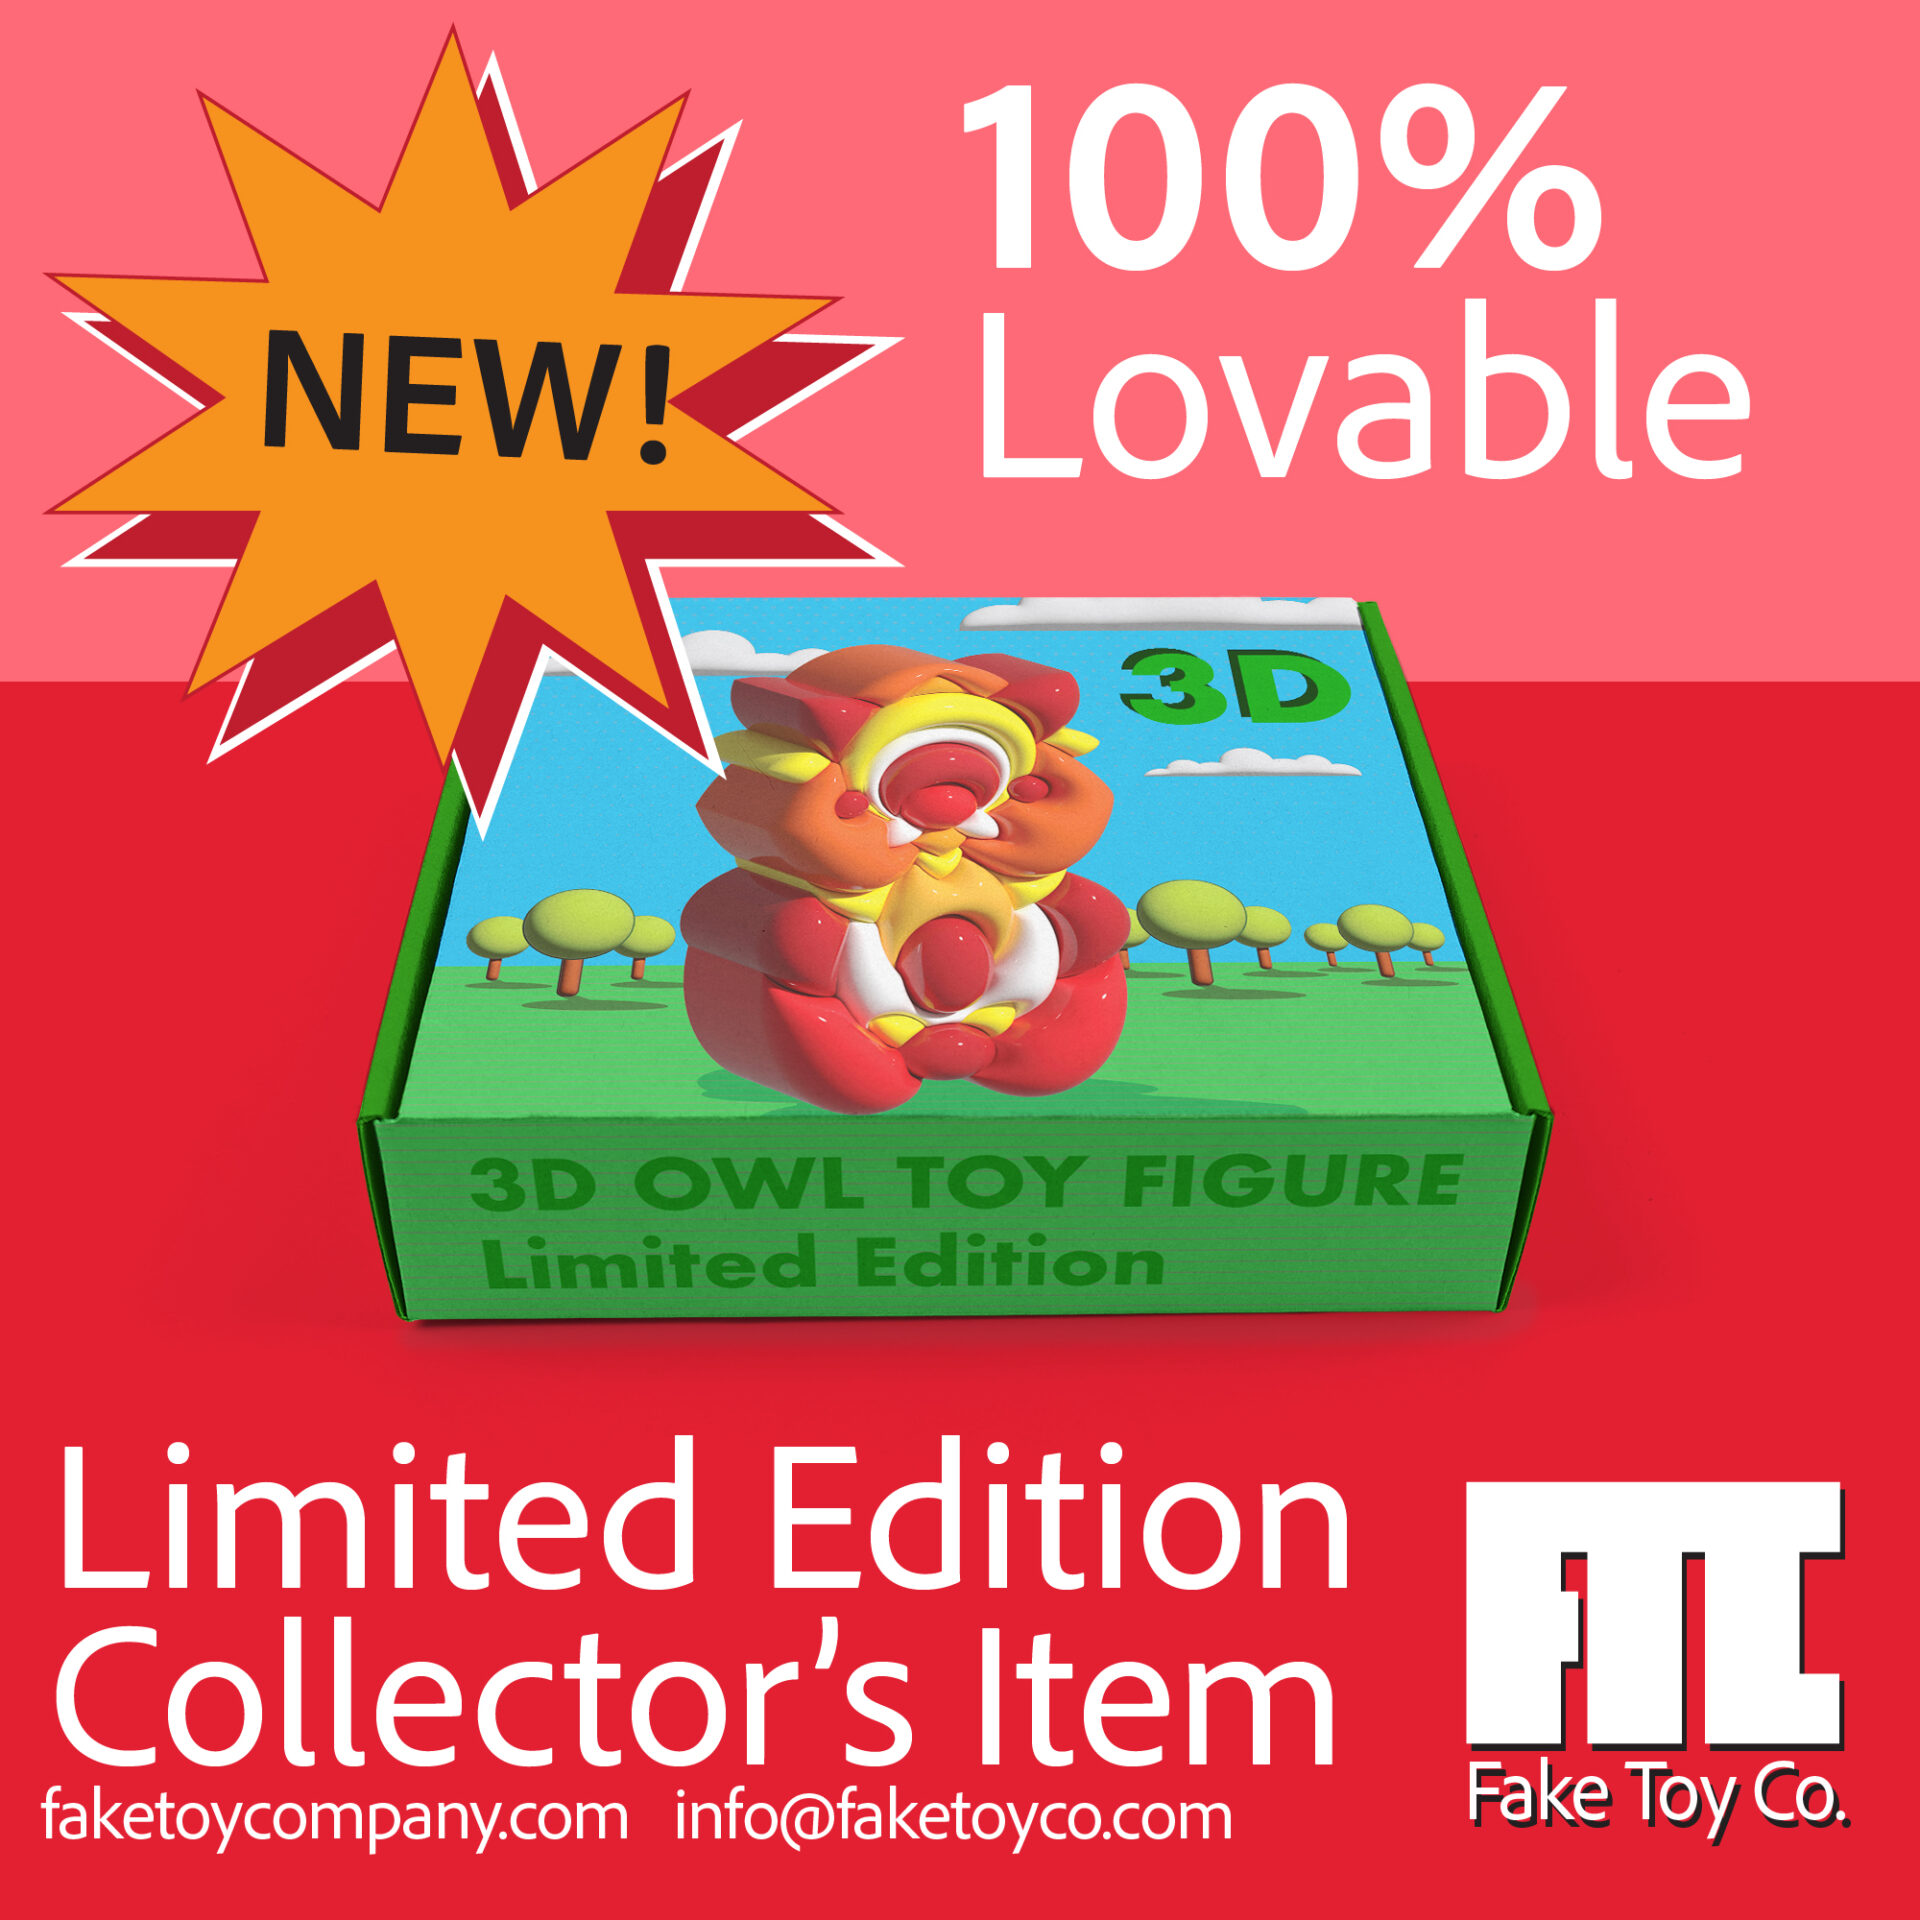
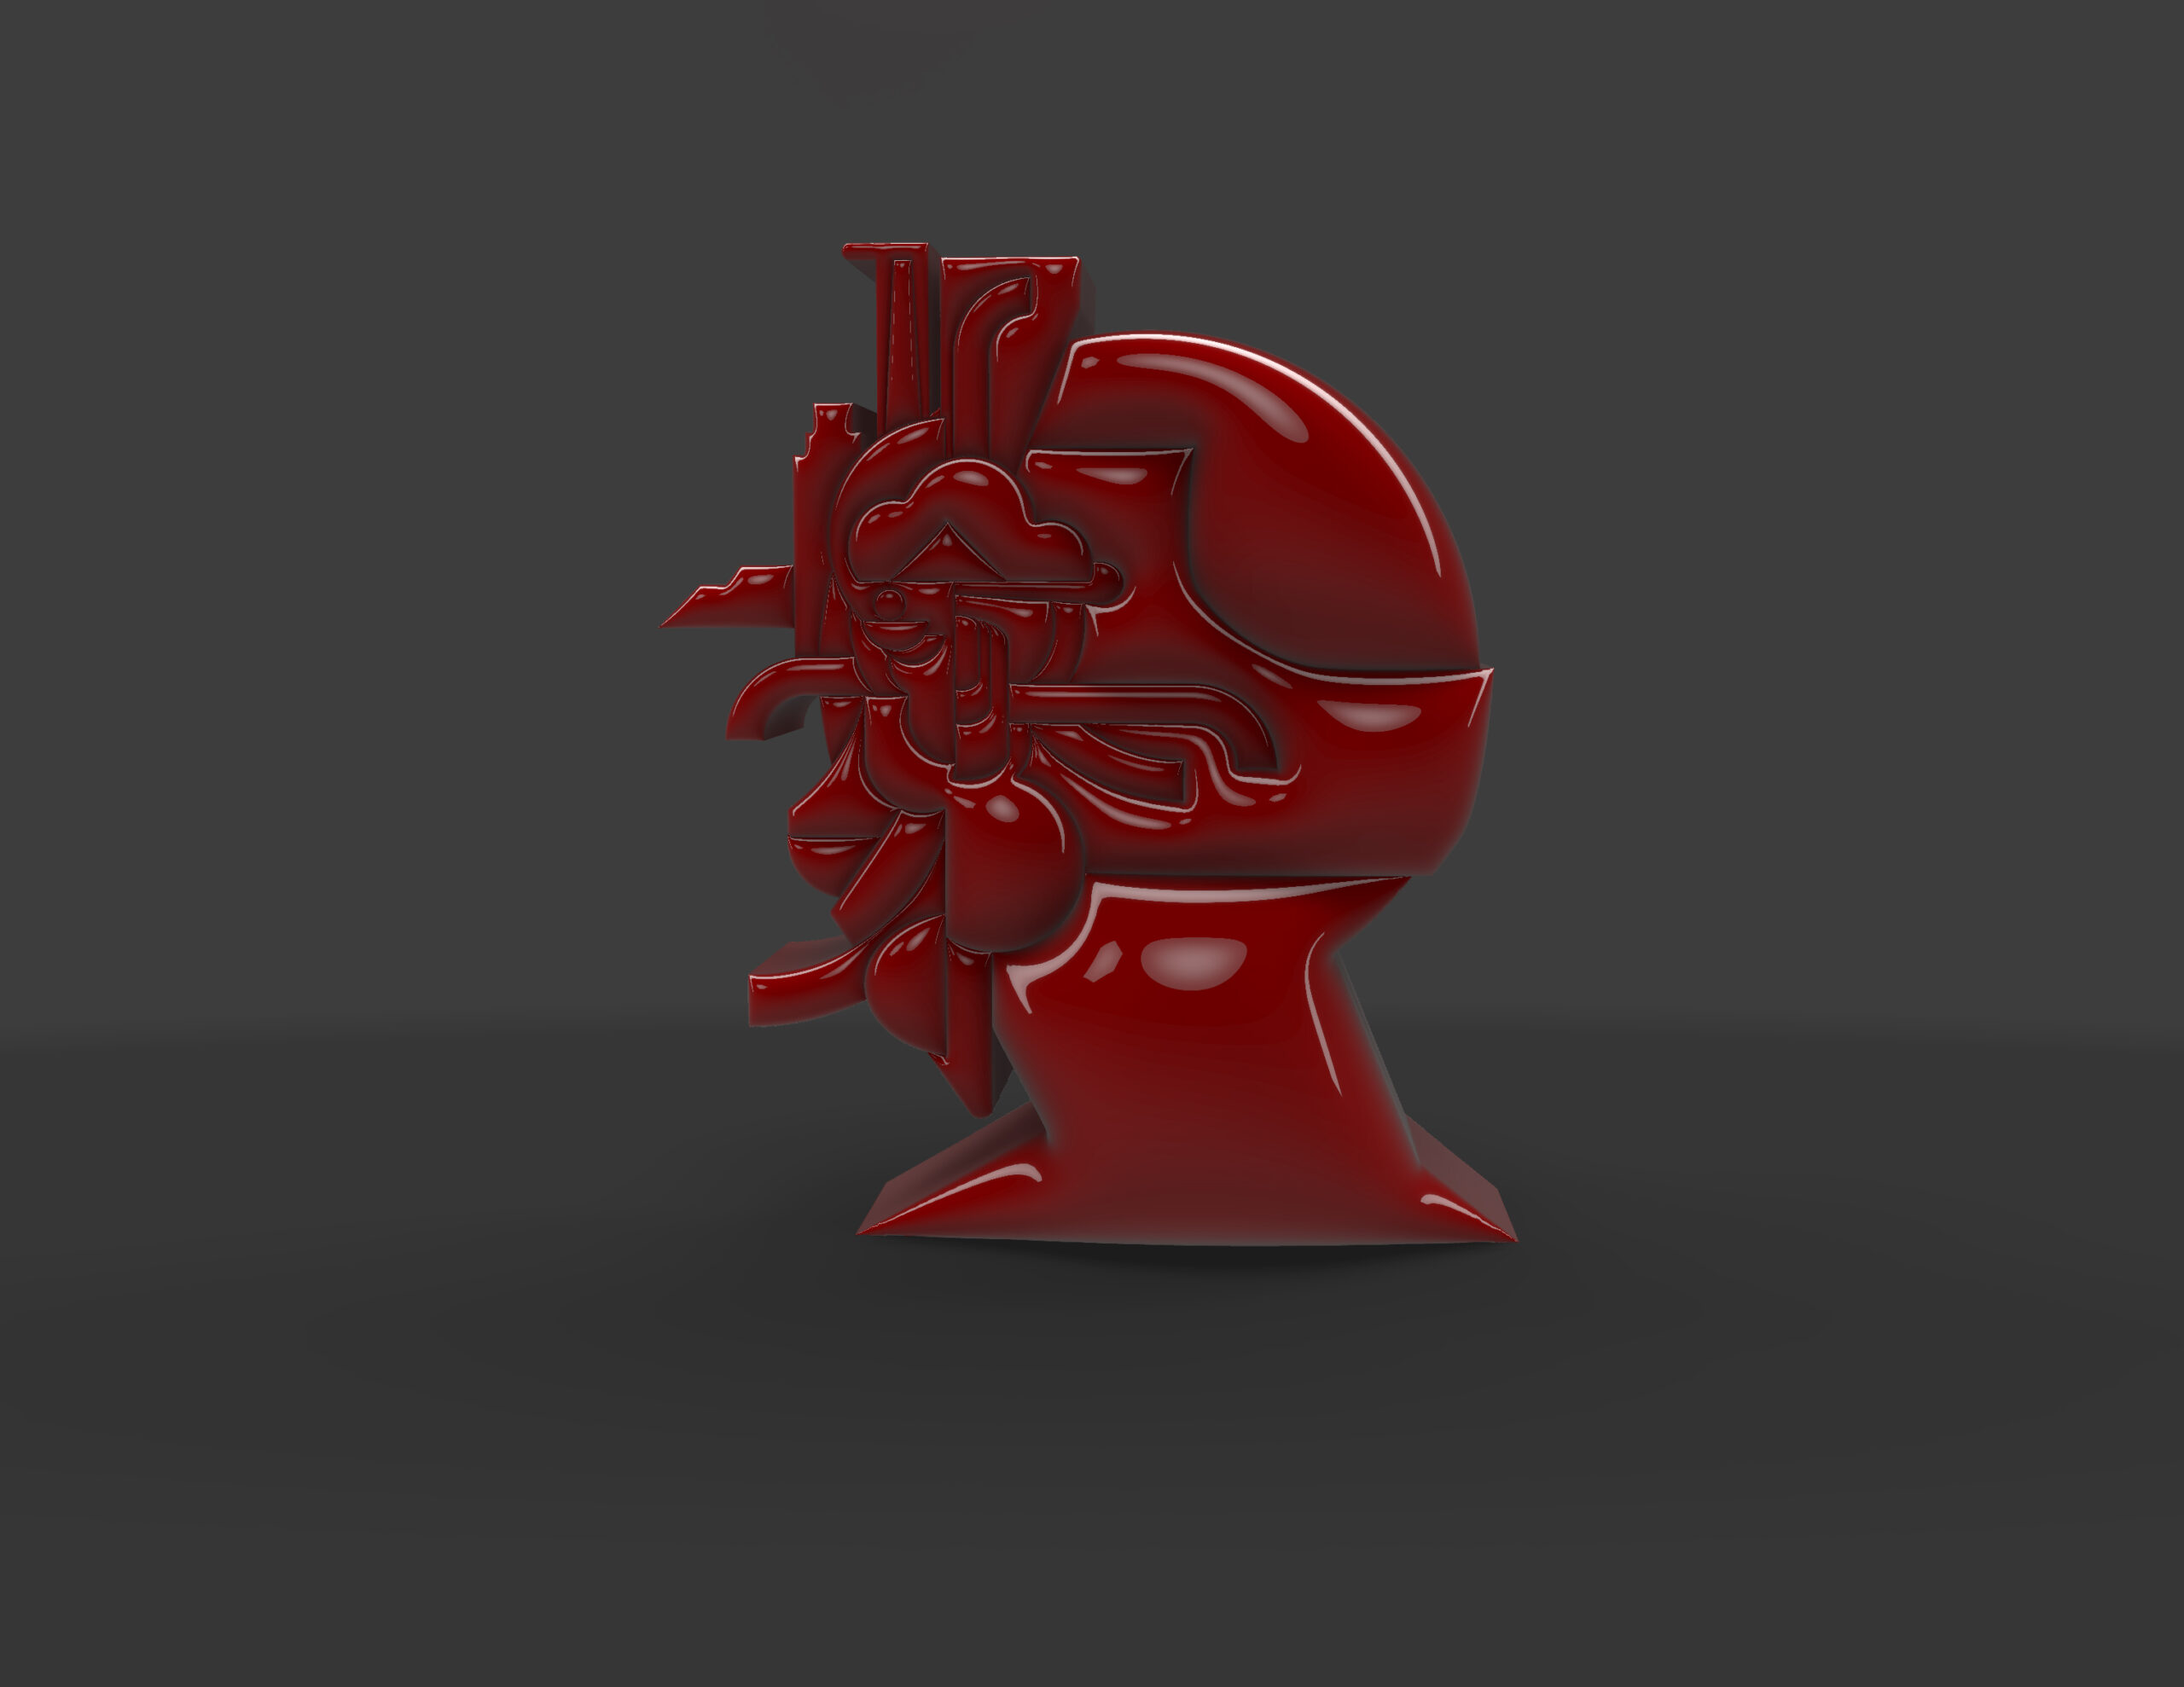
PART 3 – Design a new Toy, Figurine or Collectible Object using the skills practiced in parts 1 & 2. Experiment with bringing your 2D forms together to “build” structure and composition. The subjective forms will be used to design recognizable imagery, applying the 3D tools in Illustrator is exciting. The final design work will function as both a “product” and a “digital Illustration”(or a series of them) of your choice that combines a series of your forms together. Create an environment or a landscape for your figure / character.
Now its time to apply typography to your character / figure and treat the illustration as a poster or an advertisement for the design. Think of a series of solutions that will bring together the use of imagery and typography (much like we did with the museum poster project) How can you create a compelling yet accessible advertisement for your character?
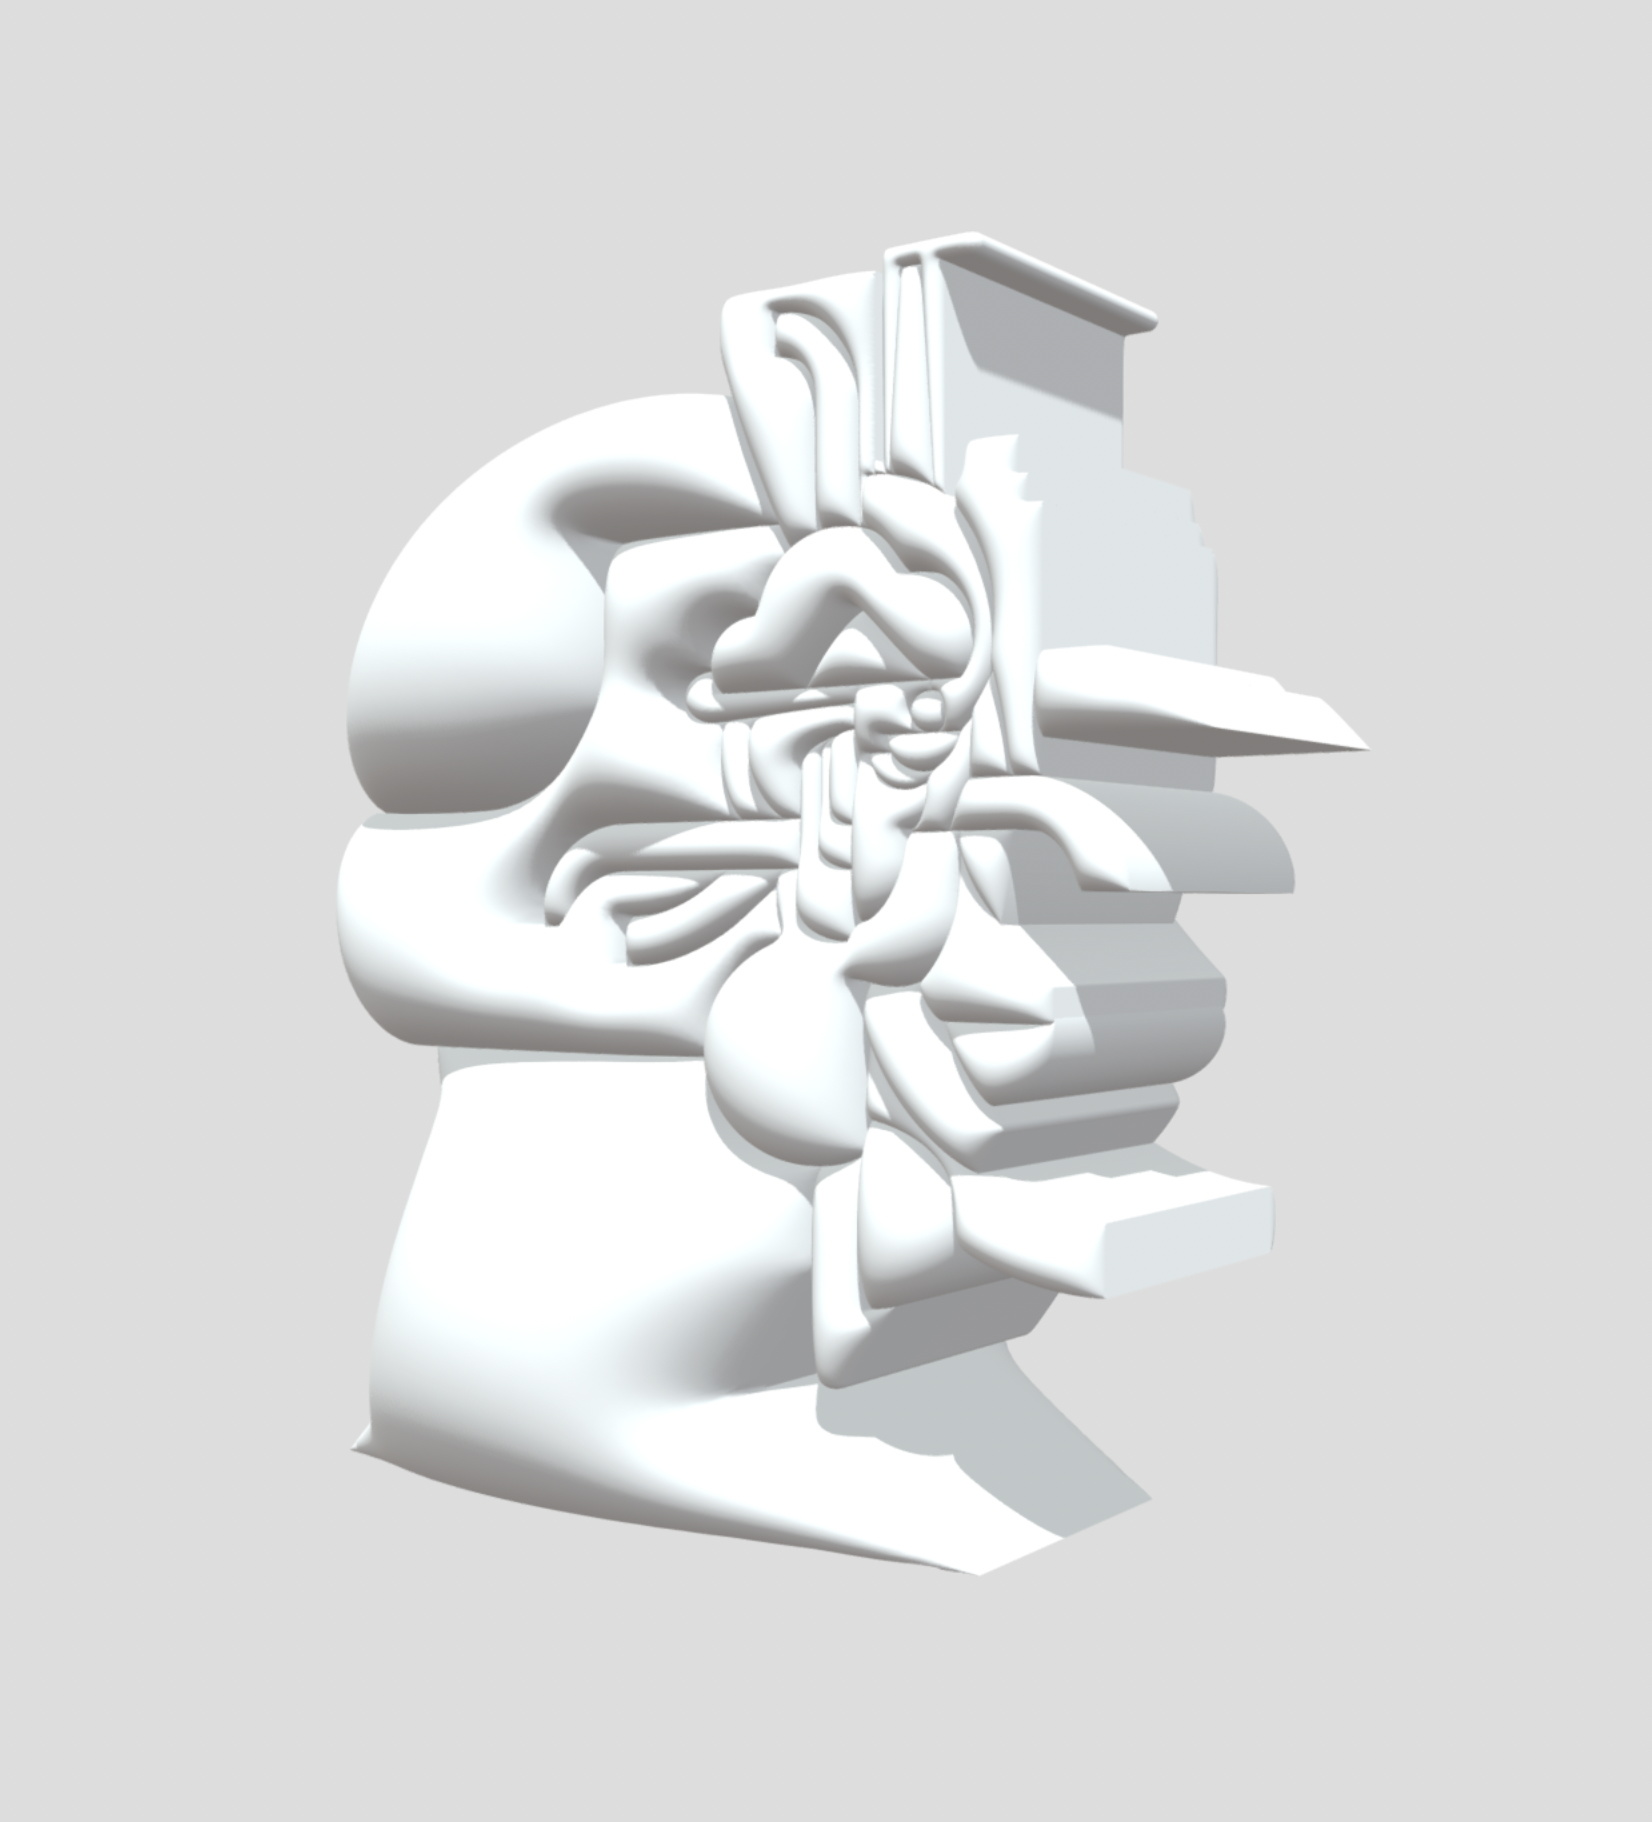
We will experiment with the 3D tools and materials panel in Adobe Illustrator for part 3.

Part 4 – (Advanced techniques – Extra Credit ) Explore the ability to Export a 3D Mesh .OBJ file directly out of Illustrator and apply various materials using a 3D application of your choice! (Adobe Dimension? Adobe Substance? Blender? Maya? Other?)
Helpful Video Tutorials – Context & Support – Helpful!
Please watch and re-watch all of the tutorials below, search and find your own as well! Practice practice!
Artistic Inspiration: (Discover Awesomeness)
https://expertphotography.com/3d-artists/
https://dribbble.com/tags/3d_character_artist
Student Work Submission guidelines:
*Please make sure to create a folder for yourself with your first and last name and please name your files with your name – Example file name(s) look like this below:
Ryan_Seslow_Assignment#1.psd
Ryan_Seslow_Assignment#1.JPG
Ryan_Seslow_Assignment#1part2.JPG
When your assignment / assignments have been completed please add them to our class Google Drive shared folder and e-mail me to let me know.
Please send me an e-mail when your work is ready for review – rseslow@bmcc.cuny.edu