Final Project – LABO

I went through different variations of ideas for this project.

I wanted to create something fun and productive.

Which is when I came across the Nintendo LABO, a cutout cardboard ready to be assembled for a more immersed gameplay.

My idea were making a guitar out of cardboard and strings as a LABO for the Switch.

My first step to making a vector drawing of the LABO.

Final product of the LABO, drawn to scale, with etch indications, and ready to cut.

As for paints and the color of the LABO goes, the color scheme will be Nintendo’s LABO colors. Paint will be either acrylic or spray painted on after the product is printed and assembled.

What the final product will resemble. The screen of the Switch will be inserted within the middle part of the guitar and the controller will be inserted where the strings will be.


Final Project Proposal

Name: Interactive Video Game Play

Description: An Interactive Gameplay experience, much like the Nintendo Labo. It is made of ready-made, cut-out cardboard parts that the player will assemble. It offers a more realistic gameplay with extended playable equipment. It is a guitar made of cardboard, with strings attached to mimic the real guitar strings. In the body of the guitar, there’s a cutout of where the Nintendo Switch screen would be.

Target Audience: The target audience is for everyone, from kids to adults. Everyone is able to enjoy the Interactive Gameplay.

What technologies does your project incorporate: A Nintendo Switch console, cardboard pieces, and some strings.


How to play:

  1. Plan out the cardboard layout and how it will be assembled.
  2. Get cardboard materials.
  3. Cut out pieces based on layout.
  4. Assemble pieces.
  5. Connect to Nintendo Switch.

TinkerCAD 3D Model

Screenshot of my TinkerCAD character model.

I faced some difficulties creating the hair of my character, I tried to combine shapes to make the hair, but none came close or resembles hair. I solved the issues by using the Scribble option and drawing the hair then merging it together.

I have used AutoCAD 3D in the past to create 3 Dimensional architectural models.

This 3D model is more colorful than the other models, which indicates more of the outfit, the hair, and the face. It also contains more structure and more well rounded.


Take Home Museum Assignment

Metropolitan Museum of Art


What is the name of the object?

The name of the object is Ceremonial Arrowhead (Yanone).

What does the object look like?

The object looks like an arrowhead, but instead of the tip being pointy, it is rounded. The object was pierced and chiseled into elaborate figures, showing clouds, birds, dragons, which are Buddhist divinities.


Who designed it? Is it one of a kind or limited edition?

The designer was Umetada Motoshige. The Ceremonial Arrowhead is one of its kind.

What is the object supposed to do?

It was for presentation or a votive offering to a shrine.


Is the function of the object clear from how it works?

Yes, it is clear as to how it works.

Do you think this object functions successfully at what it is supposed to do? Why do you think that?

Yes, I think the object serves its function. It is chiseled beautifully; it would be too beautiful to use as a weapon and it won’t serve a purpose in penetrating armor.

I redrew the arrowhead pointy so that it can serve two functions, as a weapon but beautiful at the same time.

Boondaree’s Paper Model

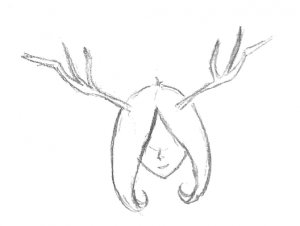
Transitioning from 2D drawing to paper prototype:

It was difficult and very challenging for me, since I mainly create 2D designs within the adobe softwares. Converting a drawing into a 3D object was rather new to me. Though I was familiar with model making since I’ve taken Architecture before.  It took me a few weeks to figure out transitioning my drawing, I researched many references and most didn’t work well. Eventually, I stumbled upon 3D paper doll samples, tried it and it worked well with transitioning my drawing so I stuck to it.

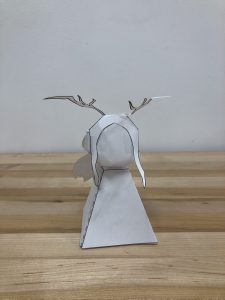
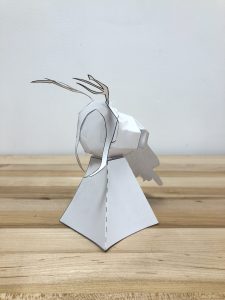
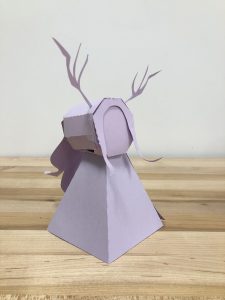
The first prototype was making a paper model, since printing paper is very flimsy, it was difficult to shape it and tape it together (Hence, picture samples). After using the vinyl cutter and using a sturdier paper, the 3D model was easier to shape and tape together.


Transitioning paper model to cardboard:

I didn’t get a chance to make the cardboard version of my character since the school shut down before I could print. But from what I observed, it is not much different from making a vinyl model, except the material is thicker and some parts may need more scoring to make them bendable.