Courses at BMCC have a campus-specific navigation bar (“navbar”) that is described in this post. Instructors can opt to customize their course navbar to meet the specific needs of their courses. We recommend starting by making a copy of the default navbar. You can then edit that copy by adding, deleting, and rearranging navbar items.
Creating a Copy of the Default Navbar
Click on the 3 dots that appear when you hover your mouse to the right of the last item in the navbar.
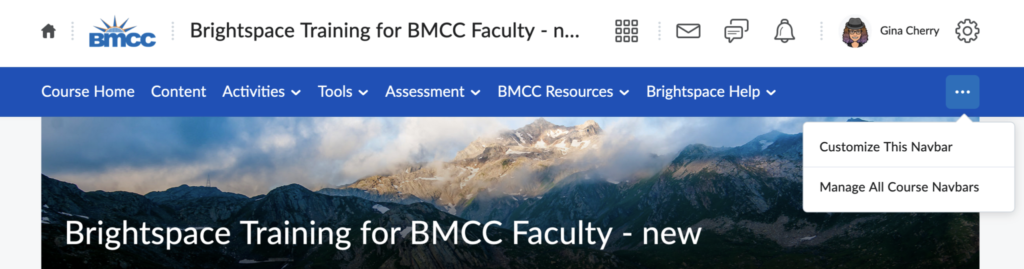
Select Customize This Navbar. You will be prompted to make a copy of the current navbar.
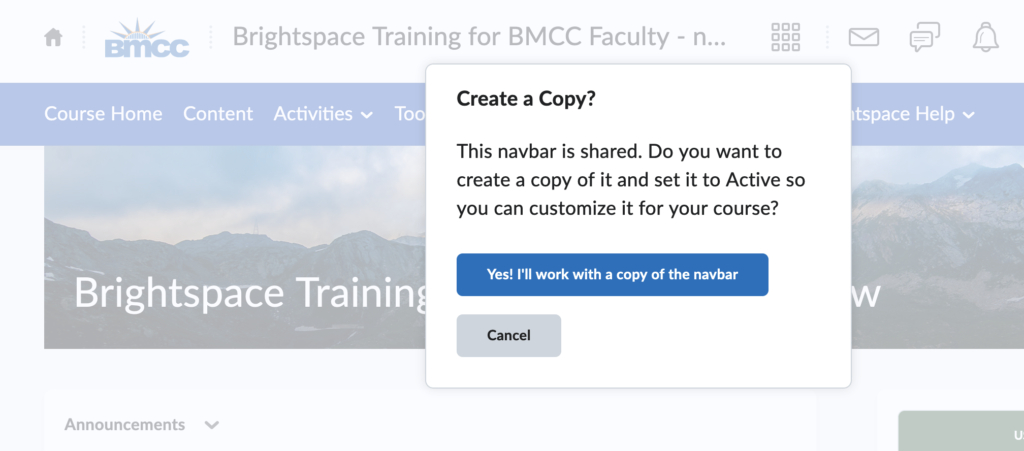
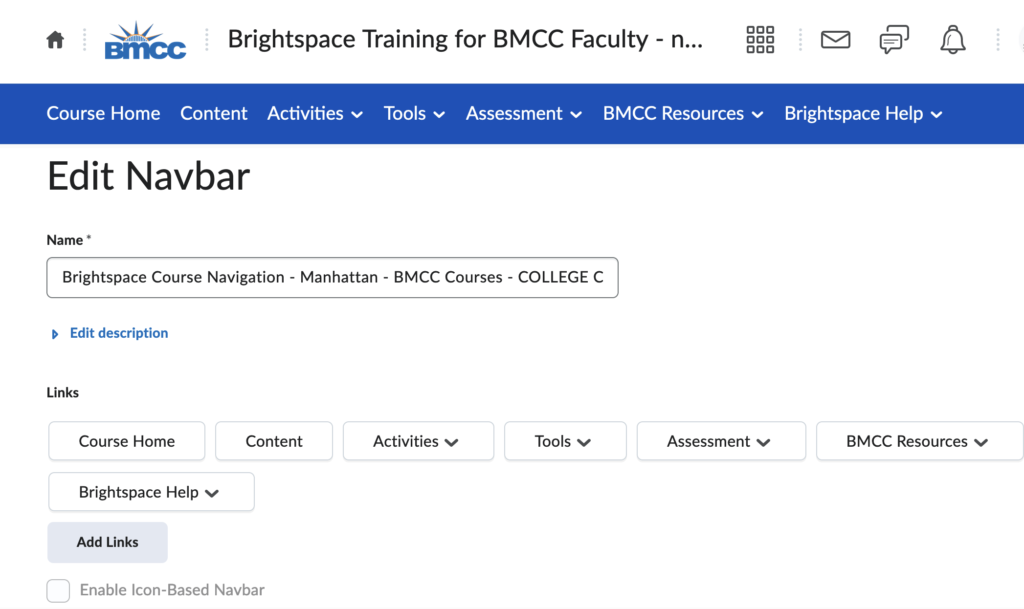
Select Yes! I’ll work with a copy of the navbar. You will now see the Edit Navbar page. We recommend renaming your new navbar so that you will be able to easily find and reuse it.
Understanding Navbar Elements
The Brightspace navbar consists of system links, custom links, and link groups.
System links are links to existing Brightspace tools, such as Discussion or Grades. Some system links are displayed only to class members with specific roles. For example, the Course Administration system link can only be seen by instructors and will not be visible to students.
Custom links are links to external web sites. You can create a custom link and then add it to your course navbar.
Link groups are sets of links that appear in a drop-down menu in the navbar. You can edit an existing link group or create a new link group.
Reordering and Removing Navbar Elements
Reorganize items on the navbar by dragging and dropping them.
Reorganize items within a link group by clicking on the name of the link group, then dragging and dropping by clicking on the 8 dots to the left of the link name.
Remove items from the navbar by clicking on the “x” that appears when you hover over an item. Note: Do NOT remove the Course Admin link from the navbar.
Remove items from a link group by clicking on the name of link group, then clicking on the x to the right of the link name.
Adding Navbar Elements
To add items to the navbar, click the Add Links button. You will be given the option to select from existing links and link groups or to create a new custom link.
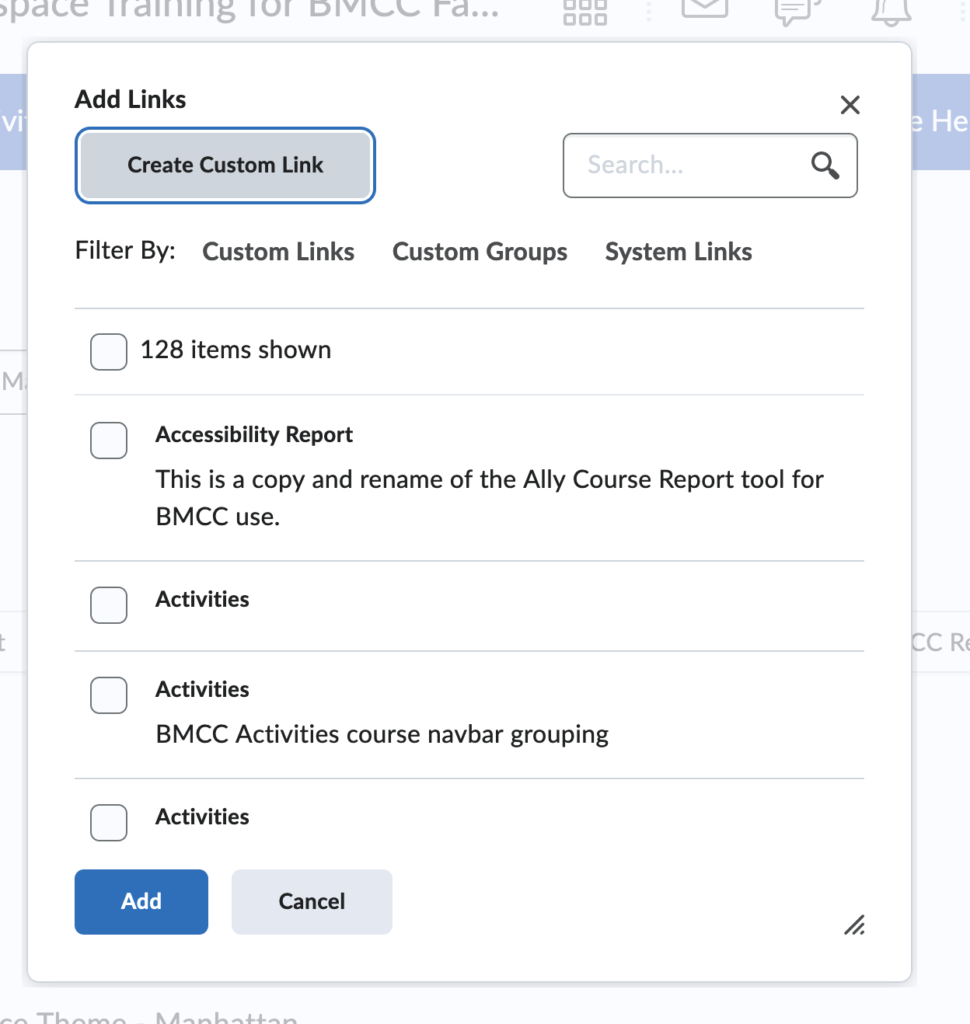
To create a custom link (a link to a website), click the Create Custom Link button. Enter the link name and the URL, then click the Create button.
To add items to the navbar, check off the link(s) you want to add, click the Add button, then click Save and close on the next screen.
Creating a New Link Group
Link groups are groups of links that appear in a drop-down menu in the navbar. When possible, we recommend editing existing link groups to meet your needs rather than creating new link groups. If you do need to create a new link group, here are the steps to do so:
- Click on the 3 dots to the right of the last navbar item and select Manage All Course Navbars.
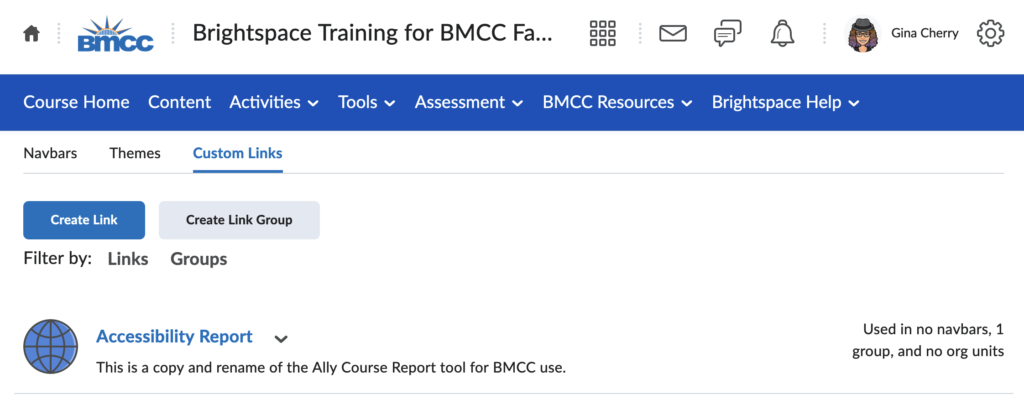
- Click on Custom Links and then on the Create Link Group button.
- Give your link group a name and description.
- Add links to your link group. These links will appear in the drop-down menu in the navbar.
- Click the Save button to save your link group.
Now that you have created a link group, it will be available to add to your navbar by following the process outlined in the previous section.
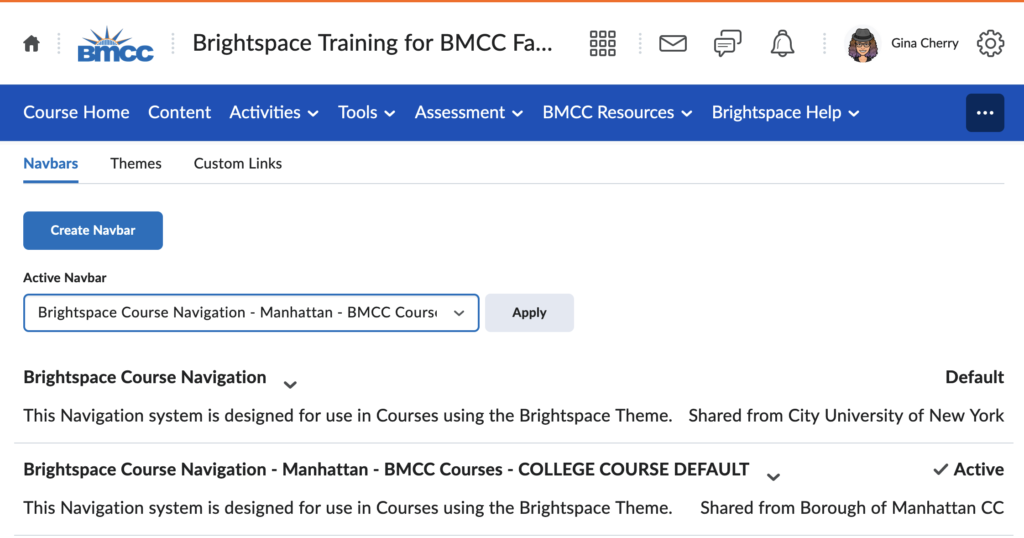
Changing Between Navbars
It is easy to change your course navbar to another existing navbar. All college-wide navbars and navbars that you created are available in a drop-down menu. You can access this library of navbars by clicking on the 3 dots to the right of the navbar and selecting Manage All Course Navbars. The active navbar is displayed. Choose a different navbar from the drop-down menu and click the Apply button to change the active navbar for your course.